
Making a Crankshaft -3
by John
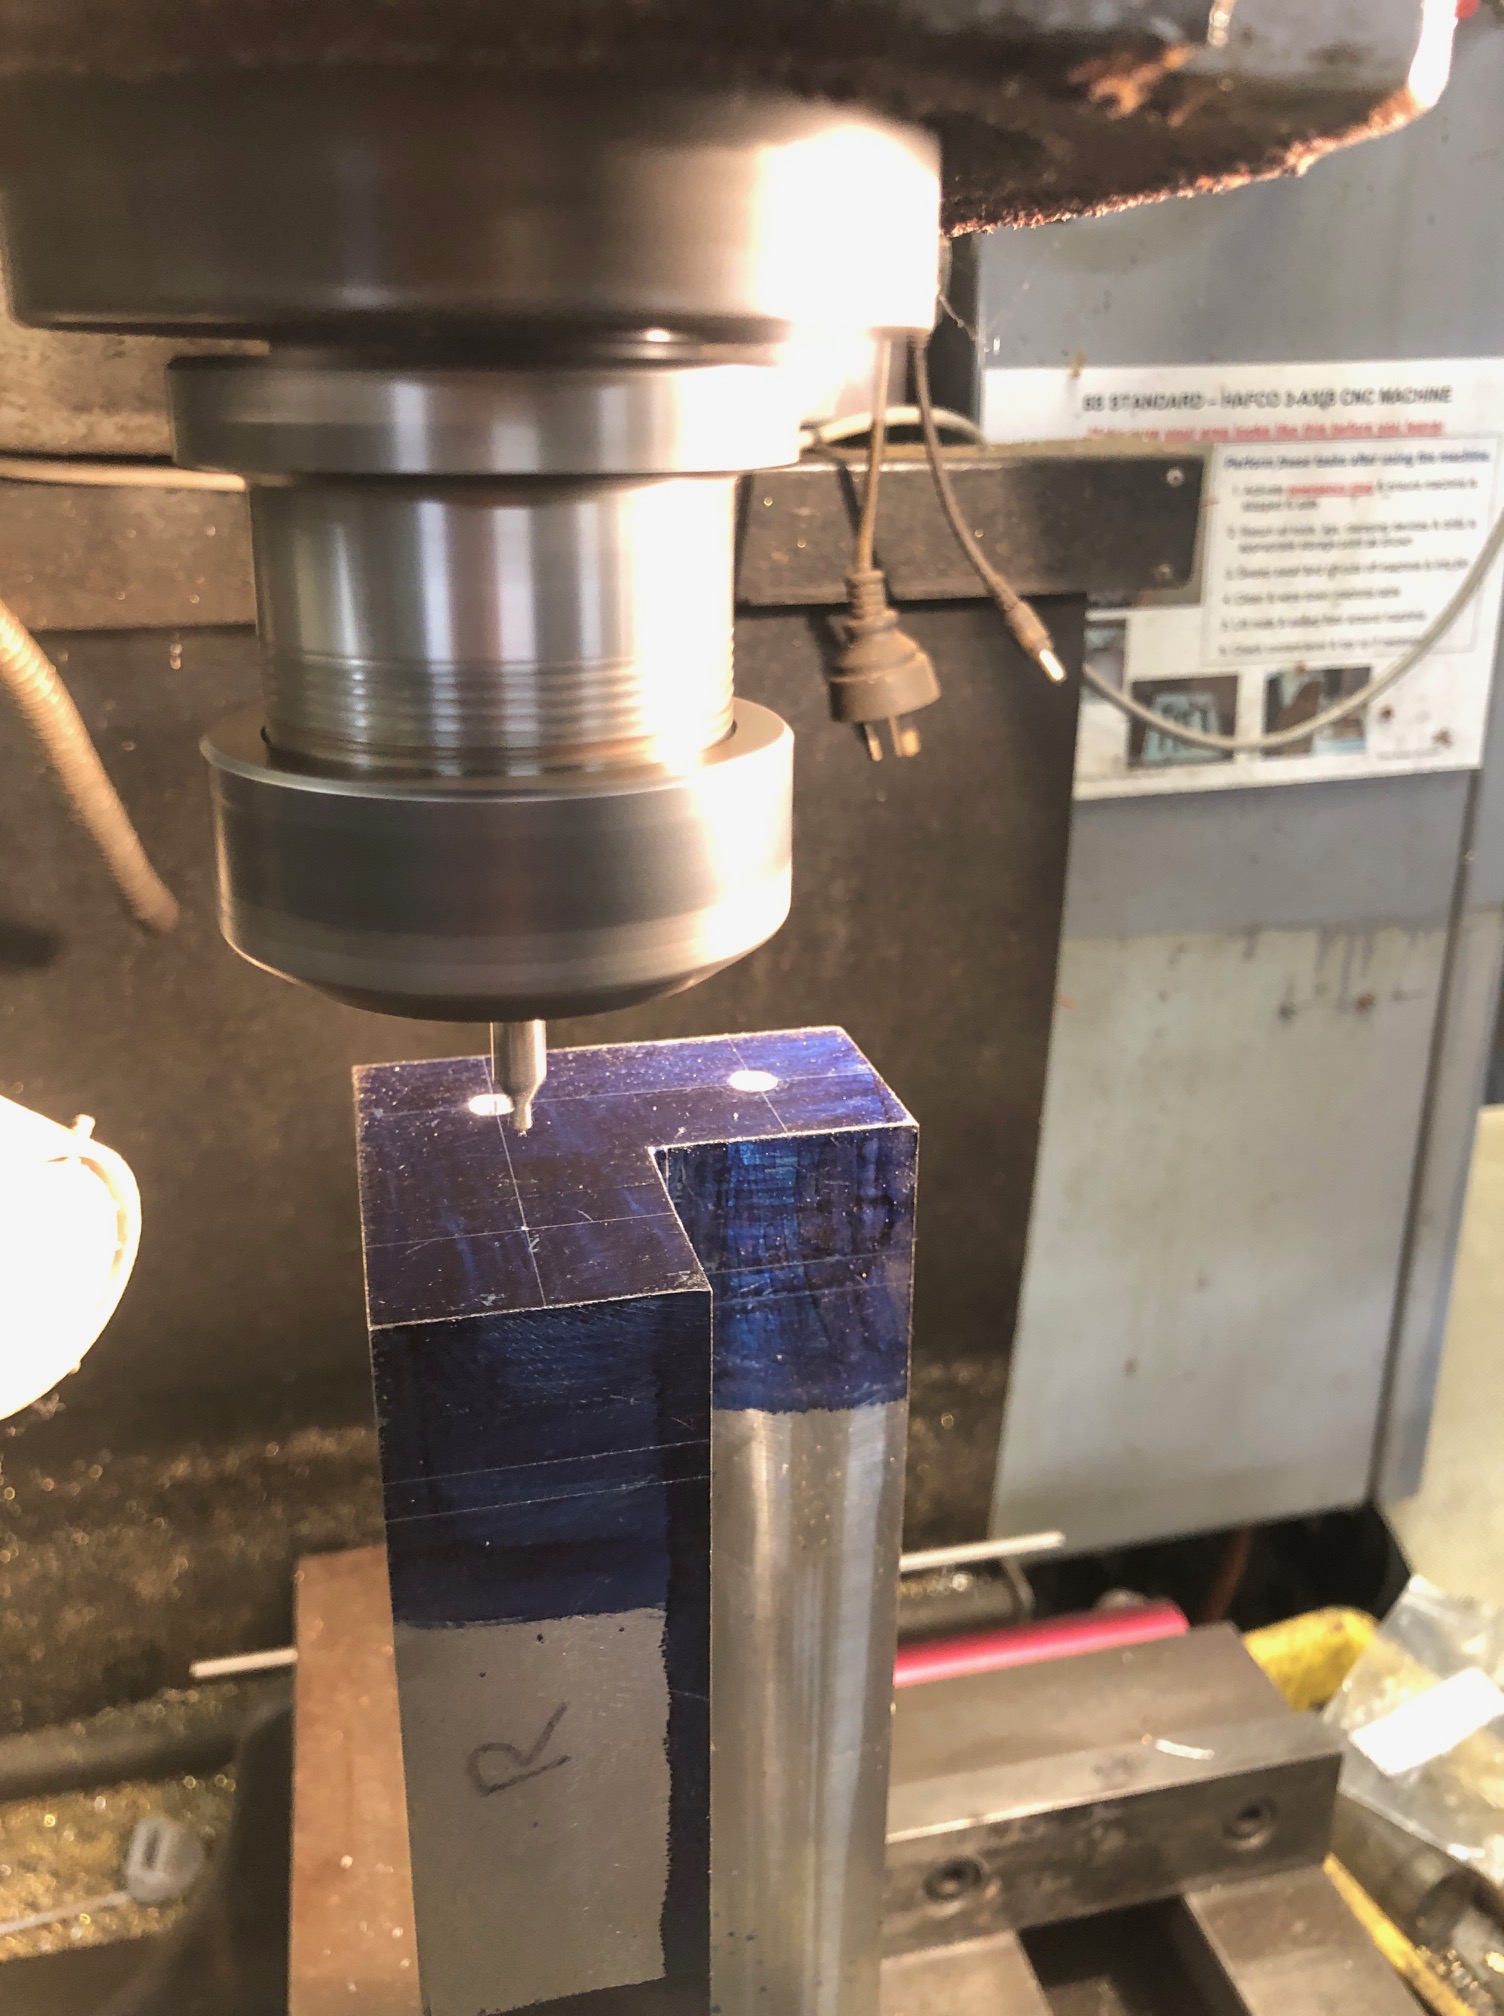
Yesterday I showed my model engineering group GSMEE, the bare old crankshaft, and the milled and marked lump of steel from which I am gradually removing all steel which is not crankshaft, and turning it into hot, sharp tiger snake repellant, I mean swarf.
“why don’t you just fix the old one?” (I tried. Unsuccessfully)
“why don’t you TIG weld the joins in the old one?” (possible, but Nah! It would distort, and would require finish turning, and I would probably be unable to use the existing gears, eccentrics, and big ends).
“You are going to get a lot more swarf”. (Yep!)
“What are the crosses for?” (So I know which bits to remove)
And some helpful suggestions….
“Cramp the steel vertically on the CNC mill, and drill the centers using CNC movements” (yep!)
“Machine the journals a bit oversize, and re-machine the bronze bearings because they will be worn, and a bit oval” (yep!)
“Turn between centres. Use a solid tailstock centre, not a bearing type” (Yep!)
“Turn the journals toward the headstock, and reverse the workpiece to complete the other side” (yep!)
And, considerable skepticism that the job would be completed successfully. (Understandable. It IS a challenge. But so far so good).
Today another half day workshop session. About 5 hours.

But before the turning there is a substantial amount of steel to be removed by other means.
“Other means”.
First I tried milling, using sharp carbide end mills 12mm diameter. After I had broken 2 newish end mills, I thought about other means.

Then I thought about using the bandsaw to make the long cuts, up to 200mm long, through 38.1mm steel. But the bandsaw blade was 25.4mm wide, so I chose to make a milling slot 25.4mm wide to allow access of the bandsaw blade. In the process I broke a HSS then a solid carbide 12.7mm cutter. Expensive.


SO. I have formed an opinion about removing waste metal. BANDSAWING BEATS MILLING, HANDS DOWN! (but for finishing, milling wins.)

I’m enjoying these chapters greatly John. It’s a bit like Hillaty’s ascent of Everest. I’m sure there’ll be a cigar at the end.
Tim
LikeLike
Cigar. Great idea. But why wait?
LikeLike