
Armstrong RML Cannon Trunnions – 2
by John
Silver soldering the trunnions into the barrel and the squared blocks did not go well.
For a start, I did not know the composition of the steel of the barrel. The trunnions were/are silver steel, and the blocks were mild steel. So it is possible that I did not use the best flux.
And the barrel is quite hefty, so I knew that it would require a lot of heat to get it to temperature, and to keep it at soldering temperature. So I used a large oxy-propane torch, and heated it to dull red heat.
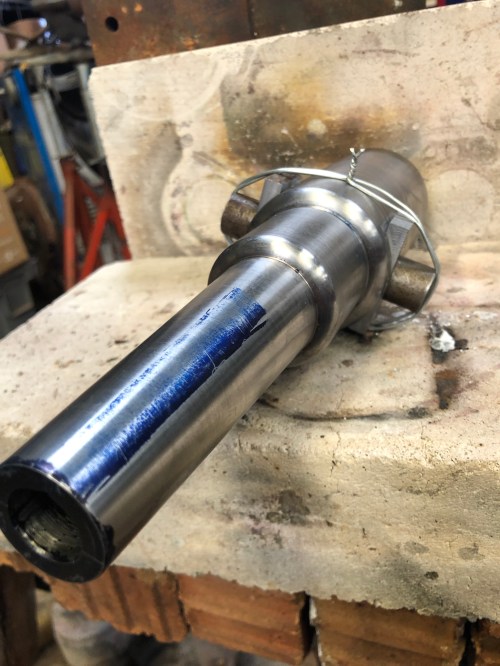
The steel pieces fluxed and wired together, ready for heating
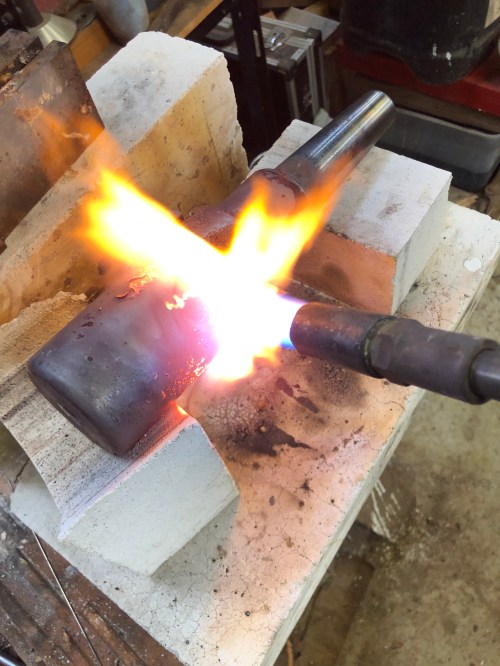
It was a cool day, but the heat output from the red hot barrel was ferocious.

Soldered, but one side was not good, and a hammer blow dislodged it. Damn.

The good side, partially machined.
I dithered about how to deal with the faulty side. I was not enthusiastic about re-soldering it, expecting that the good side would fall apart.
So I cleaned up the pieces, and used high strength, high temperature, Loctite 620, to join the pieces. The machining will test the strength of the joins, so I will give it the full 24 hours before testing it. This is the “reject” barrel.

Still pondering how to join the trunnions of the “good” barrel (front). I will discuss it with my colleagues tomorrow when we have a Model Engineering Society meeting on “Zoom” video link. The 3D printed barrel at back is a handy “how it should look” example.

Hi John, With the online meeting it was great seeing the progress, and then the discussion that followed around the trunnions regarding the clearances and methods to secure them in place.
LikeLike
Yes Brendan. The advice given has proven invaluable. John
LikeLike