johnsmachines

machines which I have made, am making, or intend to make, and some other stuff. If you find this site interesting, please leave a comment. I read every comment and respond to most. n.b. There is a list of my first 800 posts in my post of 17 June 2021, titled "800 Posts"

Category: Tools.

Stripper In Action. (Using an Inexpensive Ebay Tool to Strip Insulation off Copper Wire.)

Almost 25 years ago I contracted an electrician to lay 220 meters of electrical cable to where we intended to build a house on our rural property. The cable route was across planned irrigation lines, so needed to be positioned and buried first.

The house was never built, and we sold most of the property about 10 years ago.

I used a tractor to pull out the 660-700 meters of cable (220 x 3 cables, plus some extra), in several pieces and unfortunately there were too many breaches in the insulation to be reused as electrical cable. It was coiled on a wooden drum, and was in my way on many occasions until I finally got around to dealing with it recently.

The cable had cost around $AUD3000 in 1998. In 2023 I calculated that as scrap copper it would be worth almost as much, ignoring inflation. But still $2-3k.

So, I lashed out, and on Ebay purchased a wire stripper for $60. It has a handle to pull/push the cable over a sharp wheel, and that wheel cuts a slit in the insulation, which then peels off pretty easily. The handle can be replaced with a drill, and with ~700 meters to strip, that’s what happened.

Watch the video to see the stripper in action.

I cut the cables into 1.5-2.5 meter lengths so I could easily handle the heavy cables.

The wire stripper was pretty solid, and well constructed and designed. I did bolt it to a steel base, which was then securely clamped to the trailer. The infeed arrangement was more suitable to undamaged cable than my traumatised cable, but it worked well enough. I wonder if a cone shaped infeed hole would have worked better than the simple hole in a thin plate as supplied, but hey, it was $60, not $600 or $6000.

My original plan was to sell the stripped cable as scrap copper for about $7 per kilogram. But looking at Ebay I note that 1kg copper ingots are advertised for $AUD110-130.

So, I am considering making some ingots. It should not be too difficult to make or purchase some 50mm x 50mm x100mm moulds, and I have a furnace. Hmmm. Maybe a test run?

The AI Assistant supplied by WordPress suggested that I add extra details about working with electrical cable in a wire stripper, so I add the following suggestions for your consideration…..

…..make sure that the electrical cable is disconnected from the electricity supply BEFORE pulling it free with a tractor, and definitely before stripping off the insulation.

Soft Jaws

The bronze gears which I cast yesterday were cut off the tree with small bolt cutters, band saw and hack saw.   Then a belt sander to reduce the daggy bits.

P1074316

The gears, and the tree trunk and branches which will be remelted.

P1074317

The faces needed to be flattened in the lathe, but how to hold the rather thin, delicate, irregular gears?

Soft jaws.

Soft jaws made of aluminium, and exactly machined to match the external diameter of gear teeth, so there are multiple contact points, and minimal chance of damaging the teeth.  I made these soft jaws ages ago, for just this sort of job.

P1074318

The soft jaws are machined to exactly fit the workpiece.

The soft jaws may be used multiple times, machined to shape each time.  Very handy in this situation.

P1074319

The larger gears are good.  I silver soldered some extra material on one of them for the shaft, then turned the shaft to size .  But, holding the small pinion gear is more problematic.  I will need to machine a soft jaw with a taper to hold the teeth.  Next session.  I should have anticipated this situation and designed the gear with a shaft to be PLA printed as one piece.


Making Sanding Belts

This idea is not original.  I spotted it on YouTube.

I have a very nice small bench belt sander  made by Sorby UK.  I don’t use it often, because the Australian made Radius Master is much more versatile and powerful, but occasionally it is the tool of choice.  Problem is the belts.   They are a really odd size.  Not available on ebay, and they are expensive.  So when I saw this method, I decided to try it.

Basically, you buy a roll of relatively inexpensive 50mm wide sanding paper, and make your own belts.   The issue is, the join.

P1074297

I have had this roll, and several others, for years, using a few inches at a time.

P1074286

I removed the old belt, cut it along its join, and used it as a model to cut some pieces off the roll.  The angle of the cut was 30/60º.  I used Tullen cutters in preference to scissors.

P1074287

And this is the method of the join.  Use “Iron On Mending patch”.  Freely and cheaply available on Ebay, and in haberdashery shops.

P1074289

I asked SWMBO if she had some spare IRON for my workshop, and this was produced.  Sorry about the confusing ironing board pattern.

Important:   the ends of the cut sandpaper are precisely aligned, and the side edges are lined up against a straight edge.   Then the mending patch, cut a bit oversize, is laid on the join, and the heated iron is applied according to the instructions on the mending patch.  In this case the iron was heated to “cotton” heat (whatever that means) and pressed down for 25 seconds.  Best to use some brown paper underneath, otherwise the patch will glue to the ironing board cover.

Then I tried it.  Click on the arrow to see a short video.


So, the test was surprisingly successful.   Later I made another belt, and applied the patch obliquely, at the same angle as the join.  It was MUCH improved, totally removing the noise of the patch running over the workpiece.   I would certainly recommend this modification.

P1074294

This patch was applied straight across, but it was a bit noisy and I kept wondering if it would hold.  It stayed intact.  But an oblique patch is better. 

P1074293

After some use, the join opened about a millimeter, but remained intact.  I probably should have let it cool totally before using it.  Or maybe the patch fabric in this case was a little stretchy.

I think that this will be a good method, and I will continue to use it.  It is inexpensive.  I got 4 joins per $AUD5 patch.  I suspect that I overdid the size of the patch, and could probably get double the number of joins from this size material.   Try it!


Axles for a Cannon Carriage

How fascinating is that for a topic!

Well, I found it interesting.  Maybe says something about me.

My 2 carriages have 20 wheels and 20 axles between them.  Plus the 4 big ones under the chassis’.  I had made the wheels.  The axles required some planning and thought, after all, whatever I did was going to be repeated at least 20 times.

I decided on stainless steel for the axles, and brass for the end caps.  The originals were steel, but they will be painted, so the appearance of the metal is irrelevant.

First steps were to cut up 20 pieces of 5mm stainless steel, 25mm long, and drill 5mm holes in 12.7mm brass rod, and part off 20 pieces 5mm wide.  With a few spares.

P1074196

The the brass end caps need to finish 4mm wide, so there was a machining allowance of only 0.5mm on each face.  So the silver soldering of the 2 parts needed to be reasonably precise.

P1074197

To assist with keeping the brass disks square to the rods while soldering, I drilled some 5mm holes in an aerated concrete block, exactly 21mm deep.

P1074198

Fluxed the mating parts, and silver soldered 5 at a time.  Very quickly.  I could have used Loctite 620, but would have had to wait until it cured before machining.

P1074200

A soak in sulphuric acid for a few minutes, then a water rinse.

P1074202

Then turned the end cap shape on the Boxford TCL125

P1074204

P1074206


Not quite finished. M2 Holes to be drilled through the end caps, and threaded to the brackets.  I will use the CNC toolpost milling attachment which I made in 2019.  That might warrant a short video.

A short video.  Well, a bit over 5 minutes…


P1074217

The capscrews are not kosher.  The original cannons had large slot screws.  But will anyone notice?  (idea…  I could fill in the hex hole with JB Weld, and machine a slot?!).  Maybe.

In retrospect I could have done the entire shaping and drilling and milling of the brass end cap using the toolpost mill on the CNC lathe.   Would have been a lot more efficient.

A Chuck in a Chuck

Sometimes, the chuck in your lathe is too big.

I needed to machine some of the aluminium castings which I had made for the cannon chassis.  They were too high by 1-2mm.  But, the flanges were delicate and thin walled, and although the ends were flat and roughly parallel, they were not actually parallel.  I wanted to use my most rigid and precise lathe, which is the Colchester Master 2500.  But the bore on the chuck was greater than the diameter of the part which I was turning.

So this is the setup.  A chuck in a chuck.

PANA4083

The Colchester 3 jaw is 200mm diameter, and it neatly holds a 80mm chuck off my Boxford TCL125 CNC lathe, which holds the part.  It is a centre column from the scale model Armstrong gun which I am currently assembling/making.   It is a bit irregular, with thin 2mm flanges and fins.  I really did not want to damage it, but it needed 1-2mm trimmed from its height.

So, I held the part in the 80mm 3 jaw, centre drilled it, and supported it in the 3 jaw and the tailstock.  It worked well.  No disasters.

PANA4086

I machined the three castings which I had made.  And reversed them to machine the bases.   The setup worked well.   I need only 2 of these, and could use any of them.  The machining did reveal some porosity of the castings, but overall I am quite pleased with the end result.

p.s.  You might notice some advertisements in my posts from now on.  Unfortunately I am at my storage limit on my current WordPress plan, despite deleting virtually all embedded videos, and placing the main ones on YouTube.  I am facing the prospect of either deleting old posts, or increasing my WordPress payment plan to a business plan, which is substantially more expensive.  I have decided to see if monetising the site will cover the cost of upgrading to a business plan.  I do hope that the ads will not be too intrusive.  Let me know what you think.

Lost hearing aid.

Sorry, no photos with this one.  As I was leaving my workshop I realised that I was missing one of my hearing aids.  It was dusk, raining, and I spent almost an hour searching for it, but no luck.  Then I forgot to bring my camera.  So no photos.  Big cleanup of the workshop in daylight tomorrow.

A half day in the workshop today.  Finished silver soldering the chassis angle brackets, then fitted them, and secured them to the girders with bolts.  In order to make sure that the brackets are correctly located for the drilling, I glued them with Super Glue initially.

The first half of the day was spent on the computer, working on Queen Victoria’s Royal cypher which is on the top surface of the cannon barrel.

emblem

The “VR is for Victoria Regina”.  “Honi Soit Qui Mal Y Pense” is the motto of the Order of the Garter.  It translates from the French as “Shamed be (the person) who thinks evil of it”.

It appears to have been machined into the barrel.  On my model it will be about 12.5 x 20mm.  My friend Stuart has a fibre laser which was used to permanently mark guidelines into 2 steel grinder rests (featured in earlier posts), and I am hoping that it will work similarly to put the cypher onto my model Armstrong cannon barrel.  Another option would be to V carve the emblem, using V Carve Pro.  Whichever method is used, I needed a bitmap file of the emblem.  I found several with a Google Images search, but they were very low resolution.  I should have made a rubbing of the cypher when I was at the originals at Port Fairy.

Screen Shot 2020-01-24 at 8.56.44 am

236×277 but I have spent some time with a drawing program (Corel Draw) tidying up the image, then converting it to vectors, suitable for V Carving.  The laser can interpret a bitmap file.

The curve of the barrel must be negotiated during the lasering or V carving.  Still considering options for that.

So, when the Covid restrictions are lifted, that will be one of the first visits.  To Stuart and his laser.   A practice run on some scrap pipe first.

Armstrong RML Model Cannon Parts

Firstly, on the subject of metalworking lubricants, I have previously mentioned my homemade mixture of kerosene and olive oil.   And here is my favourite lubricant…..posing with the not quite finished cannon chassis girders…..

PANA3760 2

For this model cannon I need quite a few sheet metal parts.  At 1:10 scale the final metal thickness is 2mm and 2.5mm.  Having had a good experience with laser cutting the HSS cutters for the rifling tool, I decided to send an electronic file to the laser cutting firm, and see how the parts turned out.  I decided to not include the rivet holes, thinking that the final positions might not be completely predictable.  If all goes well I will probably include all of the holes in future orders.

PANA3762

I ordered enough parts for 2 cannons, and some spares for the inevitable stuff ups.  (or should it be stuffs up?).  If I do not use the spares I might offer them for sale later, along with my plans.

The accuracy and quality of the cuts seems excellent.  All of the parts will require final fitting and drilling for rivets, shafts, etc.   I was pleasantly surprised at the modest cost of these 30 parts.


So next I can start assembling the chassis.  Lots of riveting.  About 500 rivets per cannon. Another skill to be acquired.  Fortunately for me, one of my model engineering club colleagues used to work in aircraft manufacturing, and he has spent a session teaching me the ins and outs of installing solid rivets.  And loaned me a riveting gun suitable for the 2mm rivets which I have chosen.  Thanks Neil!

IMG_8612

The gun is about 40 years old but it works well.  The snaps are all imperial, so I made one, and modified one to fit the metric 2mm size.

IMG_8608

The blank snap in the ER collet is an unhardened punch blank.  Here being drilled with a carbide ball nose end mill.  Not exactly the right size, but with some fiddling I got it very close.  Since I am intending to use copper rivets I will not harden the snap.

IMG_8613

My initial riveting practice run in aluminium was a bit unimpressive…..

IMG_8614

….but I did improve.  These are almost up to scratch.   In aluminium.

And finally for this post, I drilled some holes in the muzzle of the barrel.  Do you know why they are there?

IMG_8616

A staged photo, using the 3D printed barrel, to show the drilling setup.


3D Printing is SLOW

P1053454.JPG

Crealty CR-10s 3D printer.  The machinists parallels were my solution to ensuring that the horizontal arm is parallel to the base frame.

So, I took delivery of the 14kg box, and spent a couple of hours assembling the printer.  It was partly assembled, as delivered, and if I had known what I was doing the final assembly would have been done in a fraction of the time.  The assembly instructions were adequate.  The wiring connections were well labelled.  The wiring connectors were delicate, and I took care not to bend or break them.

The vertical frame bolts to the base frame, and it is surprisingly rigid.  There are 2 Z axis stepper motors, and when not powered up, they can be individually turned.  It occurred to me that the horizontal arm which the Z axis motors raise and lower should be exactly parallel to the base, so I placed the machinist’s parallels as shown in the above photo and screwed the horizontal arm down onto the parallels to set the horizontal position.  I assume that the Z steppers will move the arm equally. (Hmm… I will check that assumption later.)

Next day, I downloaded the operating software.  An older version was supplied with the machine, and the newer version would not work on my old XP Pro Windows computer, so I used the old version.

I spent some time manually levelling the bed, then ran the automatic bed levelling software.

The printed operating instructions are very basic.  An Internet connection is assumed, and I did not have one available, so my first printed object was with default settings and the supplied white filament.

Somewhat to my surprise, it worked.

P1053455.JPG

The platten is aluminium.  A glass plate was also supplied, so I used that on top of the aluminium.

The filename was “dog”.  I had no idea whether “dog” was a 3D dog, a picture, or whatever.  Neither did I have any idea of its size.  After an hour, I had printed a disk about 125mm diameter and 1.1mm thick.  Then the disk came off the platten, so I aborted the print.

Today, after getting some advice from Stuart T regarding print adhesion I removed the glass platten cover and applied some special adhesive 3D printer cover.  It is called “3M double coated tissue tape 9080A”.  Then I printed 2 more items.  Neither broke free.  in fact they were difficult to remove at the conclusion of the prints.

P1053466.JPG

This tiny Tyranosaurus was printed from a 3D file which I found on my computer.  It printed in about 20 minutes.  Default settings again.  The supports were too big for the object, and when I broke them free I also broke off the T Rex arms.  Some settings for supports need to be changed.

The next print was a tool which I planned for the 3D printer…..

P1053468.JPG

The item is a speed handle for a milling vise.  It is 80mm diameter with some grippy indentations on the circumference.  The tricky feature to make is the hex hole, to fit a 19mm hex shaft.  This is the 3D drawing, imported into the Creality software, so the G code can be generated.

P1053469.JPG

First layers.  Each layer is 0.2mm thick

P1053475.JPG

The internal framework is a bit lighter than I wanted.  I thought that I had chosen 90% density.  (ps.  a couple of weeks later.  The speed handle seems to be standing up to the usual rough treatment in my workshop, despite my misgivings about its lightness.)


P1053477.JPG

The speed handle on the vise.  Nice fit.  The print took over 2 hours.

Error
This video doesn’t exist

Not perfect, but too bad at all.


30 watt Laser in action.

Not mine, unfortunately.  This one is Stuart Tankard’s.  It is a Ytterbium generated, 30w, fibre laser, and the wavelength is such that the 0.01mm diameter beam will burn holes in metal.  Ytterbium, for those who can’t be bothered to look it up,  is a rare earth metal, atomic number 70,  Stuart has used the laser to cut parts from a 1.2mm thick hacksaw blade.  And in the following video he is making marks in a work-tool rest which I will use on my Radius Master sander grinder.

P1053243.JPG

P1053242.JPG

It is a 360º protractor, and grid lines at 10mm intervals.   Looks purposeful.  Time will tell if it is useful.

Watch the video.  I am experiencing tool envy.


Listening to my own voice is pretty painful.  I hope that it doesn’t grate too much on you.


Melbourne Society of Model and Experimental Engineers. Xmas meeting.

The December meeting includes the competition for best model, best workshop tooling, and best engine.  The 3 happy winners were all from Geelong.

78947095_10218922337503859_5458110964505247744_o

Stuart Tankard, John Viggers, Swen Pettig

79025950_2448598021904988_6639730611655278592_o

Trevithick dredger engine model by John

78899194_2448597938571663_1550976217446875136_o.jpg

79084789_2448598095238314_3887537897913450496_o

CNC lathe tools, toolholders and toolpost milling attachment by Stuart.

Following is a video of Stuart’s toolpost milling attachment in action.  It has been posted before, but is worth watching again.  It is quite remarkable.

(Photo of the flame gulper to be added.)

But, the best part of the meeting was this demo of a model aeroplane which was made by Don.  The plane weighs 2.5 grams!!!   The wing material is mylar which is 1 micron thick!!!  The flight was cut short by hitting a ceiling projector, but apparently the world record for a flight by a similar plane lasted for over an hour!  This YouTube video has had 360,000+ views in 5 days!


A modification to the Radius Master

The Radius Master is a quality 48″ x 2″ belt sander which is impressively versatile with its 7 work stations.

The work station which is vertical, and against a platten is the one which I expect to use most often.

P1043100.JPG

Vertical belt, and using the backing platten.

But the supplied work – tool rest is a bit narrow for my taste, and I decided to make another one.

I really like the one which was supplied with the Acute Tool Sharpening System (ATSS).

P1043139

The Acute Tool Sharpening System from Eccentric Engineering.

So I bought some 4mm steel plate and cut it to size (150 x 150mm), and CNC milled a support bracket to fit the Radius Master.

IMG_8342.JPG

The Radius Master with larger work-tool rest.

IMG_8343.JPG

The rest is adjustable for angle and distance from the belt.  Copied from the original.  The bracket is screwed to the plate.  I did not want to risk heat distortion by welding the join.

Then the penny dropped.

Why not use all of the ATSS fittings and fixtures on the Radius Master?  So that is what I have done.

IMG_8344.JPG

The ATSS system looks quite at home, yes?

IMG_8345.JPG

Hey Gary Sneezby, maybe you should do a deal with Radius Master.

I can quickly swap the ATSS fittings and fixtures between the CBN grinding wheel and the Radius Master.  It will be interesting to see whether the cubic boron nitride wheel or the belt is preferred for different applications.  I expect that the belt will be best for quick removal of material and the CBN wheel for tool sharpening, but we will see.

Oh, and by the way, the bigger work plate does not interfere with any of the other work stations.

And I will ask my friend Stuart to laser engrave some guide lines on the plate.  I have a new design to try.

And finally, here is a link to the video of using the ATSS, by Eccentric Engineering.  It is worth considering.  If you have not done so, I suggest that you look at Eccentric Engineering’s other tools too.  They are very interesting.  The lathe parting tool is the best one which I have used.  And the Diamond lathe tool gets more use on my lathe than any other.


A Modification to the Acute Tool Sharpening System

I have several tool sharpening machines, including an industrial Macson 3 phase machine, a Harold Hall grinder rest, and a Quorn Tool and Cutter Grinder.

But, the one that I use most often is this Eccentric Engineering “Acute Sharpening System”. It was made from a kit and plans supplied by Eccentric Engineering.

P1043139.JPG

Photo 1: The Acute Tool Sharpening System (Photo courtesy of Eccentric Engineering)

The system consists of a table which is adjustable for tilt and height, a work arm consisting of parallel links and a work head, a straight arm which is adjustable for position and angle and which the work head will slide along, and various fittings for holding lathe tools, ER collets, and others.

P1043149.JPG

Photo 2: My ATSS. The ATSS with cubic boron nitride wheel on the LHS, and the elegant but less frequently used Harold Hall grinder rest with diamond cup wheel on the RHS.

I purchased the kit of laser cut and spotted parts and the excellent 32 page bound plans from Eccentric Engineering. The parts in the kit require final machining, including drilling, reaming, tapping, turning and milling. It would be quite possible to use bar stock for the parts, having purchased the plans, but the kit is good value ($AUD 250 + GST) and it made the job quick and straightforward. A completely machined, assembled system is also available.  Details at https://eccentricengineering.com.au.

P1043141.JPG

Photo 3 These are the fittings which I made from the kit, and some extra parts which I bought later.

From the left: hex keys for quick adjustments, angle and gauge templates – most bought from Eccentric, but some made by me, tool holder centre, and collets on the right. Some of the collets are blank to be machined as required. Top right is an ER collet chuck.

P1043143.JPG

Photo 4 This collet holds a 6mm lathe tool.

This post was not really intended as free publicity for Eccentric, although I am very happy to give it a good rap. It is actually to show a modification which I made to the ATSS table. Shown in the next photos…

P1043147.JPG
My colleague Stuart Tankard recently acquired a CNC laser engraver which will engrave steel and brass and cut thin metal. I thought that it would be useful to have some accurate lines on the table in a grid, and others at angles to assist with setups. The grids are at 10mm intervals, and the angles are 30/45/60 degrees. In the above photo the straight slide is easily set parallel with the wheel face.

Of course, the cubic boron nitride wheel must first be accurately set to the table, and the grid assists with that….

P1043140.JPG

Photo 5 Straight edge lined up with the wheel edges and grid.


P1043145.JPG

Photo 6 And here the tool holder base is set at 60º to the wheel.

The angle gauges supplied by Eccentric will serve the same function.  Time will tell if the table marks are useful.

Also I am thinking that the work table on the RadiusMaster could use similar guide lines!

RadiusMaster

I have been watching Ebay for a year or more for one of these belt sanders, but they just never seem to appear second hand.

Then I wondered about making a 72×2″ belt sander.  I even bought a set of plans.   There are many versions of these sanders on YouTube, of varying complexity and sophistication.  The plans by Jeremy Schmidt looked very promising, well explained in his YouTube video, and the plans are thorough.  But the sander appeared to me to be fairly large and very heavy, and it was not going to be a cheap build.  I estimated about $AUD1000 by the time I bought a motor with speed control, and other materials.

Then, a stroke of good fortune.  SWMBO really wanted me to do a rather unpleasant job for her, and I was not enthusiastic.  She is renovating a small house.  The previous tenant had a cat which was either incontinent, lazy, or constantly locked inside the house.  Or maybe it was the tenant.  Anyway, the carpets stank to high heaven.  So bad, that SWMBO felt that she could not ask anyone else to remove the floor coverings and take them to the tip.   But she was prepared to ask me.  She knew that I really wanted to buy a RadiusMaster, and said that if I did the job, she would not object to the rather self indulgent purchase of the sander.  I had not really decided what to do about the sander….   buy or build…. but it would leave me free to make the choice.  So I did the job for her.  After the initial assault on the olfactory senses, it was not too bad.  Took a couple of hours.  And very thorough washing afterwards.

I still had not made a final decision about the RadiusMaster, so a few days later I drove to the dealer, and had another close look.  Meanwhile I had been reading reviews.  And I bought one.  The obvious quality, compact size, plentiful power, rave reviews, and ready re-saleability were all persuasive.

P1043117.JPG

It came with a stand, not yet attached to the floor because I have not finalised the position.

It is made in Australia, and I was looking forward to understanding the instruction manual for a change

Assembly was straight forward, took about an hour.  The instructions recommended a 2 man lift, but I managed OK solo.

P1043103

Enough power for my uses.  240V 8.19A.  No speed control, but that might be added in future.

Overall this is a quality machine, but one aspect was not up to standard.

P1043098.JPG

The vertical grinding table was noticeably not square to the platen.  In fact it was 2 degrees out.

I considered rejecting it and insisting on another table, but that would have involved another 2 hours each way to the dealer, so I fixed it myself.  The angle bracket was quite solid 6mm thick steel, welded to the table.  Some persuasion with a heavy hammer in the 6″ vise did the trick.

P1043116.JPG

The grinding table is now within 0.25 degrees of the platen.

This table will be temporary anyway.  I am intending to make a larger table, with fence slots, and and indexable protractors.

The RadiusMaster takes 48×2″ belts which are widely available and inexpensive.

The machine has 7 separate stations, which are selected within seconds.  I expect that the vertical one pictured above will be most used.  Others are…….

P1043102.JPG

The 8″ 200mm rubber wheel, for hollow grinding (used in knife making)

P1043106.JPG

The unsupported section of belt, and the notching wheels.  The guards swing easily out of the way.

P1043107

Horizontal positioning for pipe notching.  3 wheels are provided, and quickly selected, and other sizes are available. The horizontal position can also be used with an optional horizontal platen, which I have ordered.  Vertical-horizontal positioning takes a few seconds.

P1043108.JPG

Underneath view of the horizontal pipe notching rest.  If it looks confusing, it is.  This was one aspect where the instructions were vague and unclear.

P1043112.JPG

That large, heavy,  gold casting is the heart of the machine.  A lot of thought has gone into the design.

When I have had some experience with using the grinder sander I will write a review.  No buyer regret for a change.


Lathe Toolpost Milling attachment (CNC)


Although my recent posts indicate that I have spent  a fair amount of time recently on Google Earth Pro, I have also been busy in the workshop.  Mainly finishing the toolpost milling attachment for the Boxford CNC lathe, but also fiddling with the laser attachment for the CNC mill.  Neither of those projects is completely finished, but I thought that you might be interested in some progress photos.

IMG_8279

This is what the Boxford TCL125 CNC lathe now looks like from the front.  It is substantially modified from the original which I purchased 5 years ago.  To mention a few changes…..

the axis stepper motors are bigger and more powerful than the originals

the ball screws are now 10mm diameter, compared with the original 8mm

there are some adjustable axis limit switches

the 3 jaw chuck is replaced by an ER32 collet chuck

there is a removable toolpost milling attachment with ER 16 Collet chuck, with a speed controller, cables, and panic switch.

there is a removable safety screen (not seen in the photo)

And hidden in the electronics compartment….

IMG_8278.JPG

There is a 750 watt AC Servo spindle motor and controller (RHS, under the coiled cable)

The electronics have been replaced with a Mach3 compatible breakout board and associated peripherals.  Anyone with an original 1985 machine will hardly recognise these components.

And the software is now Mach3, running off an old Windows XP computer.  And using “Ezilathe” for most of the G coding, especially threading, and interpreting shapes which have been drawn as CAD dxf’s.

The new toolpost spindle works, but the software  needs a bit more fiddling to tie it into the CNC controls of the lathe.

The Boxford has provided an excellent base on which to make these changes, and I look forward to producing some videos soon of the renewed machine in action.


CNC Lathe Toolpost Mill

Just a quickie to show you a progress photo of my current project.

It is a very small milling motor with a small ER collet, mounted onto the toolpost of my Boxford CNC lathe, which will convert the lathe from 2 to 3 axes.

IMG_8265.JPG

At this early stage the toolpost holder and cylindrical motor have been mounted to the water jet cut bracket on the right side.  Pulleys and drive belt yet to be fitted and I will trim the shaft at the left hand end of the motor.  Then the motor wires are connected to a speed and direction and on-off controller.

The usefulness of this tool is apparent in the following video of a completed unit in use.  The main spindle motor of the lathe is now a 750w AC servo motor, which can be controlled from Mach 3, to go to programmed positions and hold the position while a milling procedure takes place.  Of course the milling procedure will be with small cutters or drills, perhaps up to 3-4mm diameter.

The idea, plans, and some of the parts are courtesy of Stuart Tankard, my very clever friend, whose completed machine is the subject of the following video.

Stuart’s video is republished here with permission.  The original, with comments, is visible on YouTube.  If you have technical questions about the setup, I suggest that you contact Stuart via his YouTube post.

CONFESSION

When I was making the triple expansion steam engine I turned the crankshaft from a piece of 50mm diameter stainless steel rod.   One centre for the main bearings, and 3 other eccentric centres for the big ends.  I spent a long time marking out the centres, then turned the bearings, gluing in a packing piece after turning each one, so that pressure on the ends of the crankshaft would not distort it.

After a whole day on the job, I was pretty pleased with the progress, and I lined up the almost finished crankshaft with the bearings on the bed, to see how it would look.

#%&*##

I had made a 3mm mistake with the position of one of the big ends.  It was a fatal mistake.

So I made another crankshaft the next day, and that one worked out fine, and is on the triple to this day.

The ruined crankshaft sits prominently on a shelf in my workshop, as a reminder.

Today I am making another confession, of another stupid mistake.

This was a beautifully smooth, accurate, keyless Rohm chuck which I used often in my mill, mounted on a quick release quality JT6 Japanese fitting.  I used it successfully on drills down to 1mm size for several years.

P1043067.JPG

But lately it seemed to have a bit of runout.  Inspection appeared to show that the JT6 taper part of the chuck had dislodged a bit.  Not the taper itself, but the sleeve that the taper was machined into.

So, I put it in the press to snug it back home.

No movement, so I pushed a bit harder.  (stupid stupid stupid!)

BANG!

I don’t know what let go, but I think that I cracked the tapered sleeve.  The chuck was seized solid.  Would not move despite heavy persuasion.  I had really buggered it.

O well, you live and learn.  I figured that I would remove the chuck, buy a new one, and install it on the expensive Japanese JT6 spindle.

P1043071.JPG

So I applied a gear remover, one of those double C shaped ones, with the hardened steel jaws, and tightened the bolts.  But it would not move.  Tightened the bolts further, and further, until I was not game to apply more pressure for fear of breaking the gear remover or the Sidchrome spanner.   Considered applying heat with oxyacetylene, but I really did not want to wreck the Japanese fitting as well, so I put the question to a colleague at the model engineering club today.  As a result of that conversation, this is what I did…..with an angle grinder.

P1043070.JPG

As you can see.

I considered putting it on the shelf next to the crankshaft, but you know what…. I don’t think that I can bear to look at it, so it is going out with the rubbish to be forgotten as quickly as possible.  (ps.  now sitting next to the crankshaft)

The JT6 spindle seems to survived unscathed.

P1043068.JPG

The other side of the chuck and the spindle, after separation.

In retrospect, I wonder if I should have tried some heat, but the chuck was busted, so it would not have made much difference.

End of confession.  But I dont feel any better.

A VIDEO GIMBAL

A gimbal is a device which keeps an object on a steady horizontal level, even as its support moves and tilts.   Such as a ship’s compass.

Hand held videos often show unwanted evidence of movements due to shaking, walking or distractions.

Expensive gimbals have been available to professionals for a long time.  Recently gimbals have become much less expensive, and available to people shooting videos on smart phones, mirrorless cameras, and DSLR’s.

The following video was shot on my iphone, without a gimbal, but about a gimbal, which I recently purchased.  The video is brief, and not intended to be anything but a glimpse.  To be honest, there is a bit of a learning curve with the gimbal, and I am just beginning.

I hope that it will help to improve my video shoots.

ZHIYUN CRANE M2

Workshop with security

Every time that I open my workshop I wonder if it will have been robbed.  So far, I have had unsecured implements which are stored outside, stolen, and an attempt at stealing my Landcruiser ute, but no breaking and entering of the workshop itself.  Mind you, any thief would have a tough time working out what to take…   everything is scattered around, sitting where I last used it.  And then there are the tiger snakes….

Reader Brendan has a couple of guard dogs for his workshop when he is not present.

Brendan guard dogs.jpg

They might not look too scary, but they do make a hell of a racket when a stranger approaches.

And Brendan’s workshop is not all in one location.  I counted 5 separate locations….

Brendan office.jpg

The computer room and security monitor.  Mostly CAD and G codes here.

Brendan laser cutter.jpg

The laser cutter occupies the entry porch.   See the backing board pattern?  That is from the gasket for my Trevithick engine.

Brendan bench.jpg

Then the main workshop.  Hmm… what is that red thing?

Brendan bearing press

Brendan lathes.jpg

2 lathes in the garage.  Hafco with DRO, and CNC with Siemens controller.

Meanwhile, in my workshop…

I am taking some of my stuff to an exhibition at the Royal Geelong Show in a week.  The beam engine working on steam always gets some interest.   And the Trevithick dredger engine has not featured at this event before, so that can go.   I am currently working on the vertical boiler.   The Southworth Duplex pump which is attached to the boiler, was working on air, but it refused on steam, so another tear down is due.  If I can get it going that will be the third entry.  If not, well, there is always next year.   Fortunately Keith Appleton recently produced some videos on the Southworths, one of which had a similar problem, so I think that I know where my problem is.

Incidentally,  I showed the beam engine, the Trevithick, and the boiler at an exhibition in Melbourne last weekend.   Mostly well received.  But I had a succession of people who said of the beam engine “very nice.  Except for the cap screws.”  When it reached 6 separate commenters on the same theme I was starting to suspect a conspiracy from these rivet counters.   Yes it does have cap screws as the main fasteners.  And no, they are not true to the period (late 19th century).  But I quite liked the look of them.  But, one does prefer approval in preference to criticism, and after this concerted barrage of criticism, I relented, and spent a couple of workshop sessions swapping out the cap screws for studs with hex nuts.

IMG_3167

The before.  With cap screws.

P1032976.JPG

After the upgrade with studs and hex nuts.  Was it worth the 2 workshop sessions?

Sometime soon I will paint parts of this engine, and apply wooden lagging to the cylinder.


A Workshop as Dark, Messy, and Dirty as Mine! Well, almost.

These shots were sent in by reader Russ, from Tasmania.  He reckons that he will tidy up the shop after retirement…. Ha!   Little does he know, that there is less spare time after stopping work…  there is so much other fun stuff to do.

file5.jpeg

file2.jpeg

Is that a Porsche 924 or 928?

Image.jpeg

No!  Much better! It is a Jensen Interceptor Mk 1. Love that aesthetic rear window.   Beautiful Tasmanian landscape.  Number plate ablated by me.

file6

file1

file

Now that is a real man-cave!

I think that I still win the prize for the messiest, dirtiest, darkest workshop, but Russ comes in a close second.  Note that Russ is a busy surgeon.  Hmmm.


Workshop in the Deep North of Oz. North Queensland.

This one is interesting.  It is located in the basement of a multi storey apartment building,  in the centre of a major city, and occupies a car parking space.  It is screened off from the other car parking spaces, with security mesh and visual blocking.

In the photos you will see some of Peter’s projects.  Woodworking, kids toys, and metalworking.  Peter also is involved in model railways.

Nice to see some mess.  Must be genetic.

IMG_1294.JPG

Nice bandsaw!  I wonder what the bell is used for.  Maybe to warn the other apartment occupants that Peter is about to fire up some machinery.

IMG_1288.JPG

IMG_1289.JPG

Heavy duty lathe.

IMG_1290.JPG

It is obviously used!

IMG_1292.JPG

A grand daughter will be very happy with that!

Thanks for those photos Peter.  It is interesting to see another workshop in confined space.  I do wonder how the other apartment occupants respond to woodworking thicknesser noise.

A European Workshop

Most of the workshop pictures so far have come from Australia, and one from UK.  This one is from Holland, sorry Huib, the Netherlands.

Interesting differences.  Huib built his own workshop, and he has some nice gear.  All of these photos came upside-down.  Funny how they consider Oz to be “down-under”.  Obviously their reference points are wrong. THEY are the upside-down ones.  I mean, we are walking upright, right?  They must be upside-down!


Hello John,

Here finally my contribution to your workshop series, as always I might want to show and share too much with others, that’s why I want you to show  what you can support and is in line with the possibilities you have on your blog. 

See if you can make one blog part of it or cut it into pieces. That’s up to you. I transfer the pictures with WE TRANSFER to you, as it is right you got a mail with the link to download the pictures.

It looks like the pictures that it is all clean and tidy maybe but appearances are deceptive, most of the time it’s not so tidy for me either, for the pictures I cleaned it up.

I have tried to be as complete as possible but if there are any questions please let me know.

I built the barn myself, so as the floor plan was drawn. First I built room 1 which is completely isolated and where I can work during the winter, there are also the most expensive machines. 

Later on I built room 2, to store also the wood for the stove. Finally, 5 years ago I built room 3, the largest room where also other things are stored as only hobby stuff, also our bikes and everthing els.

Room 1 is the room where I stay most in, coarse work I do room 2, such as sawing, sanding and coarse drilling.  In room 3 I mainly do business that need some space, the large, homemade workbench is a good tool for that. And as you can see, I can’t throw anything away and I keep everything I think of that can be useful in the next hundred years.

The photos contain references to the machine and the space where they are located.

I hope you like the total information.

Kindest regards

Huib

headfront of the barn.jpg

The barn self build longsite room 3.jpg

big workbench with storage against the sailing room 3.jpg

The thing about Holland, is that they HAVE to make the world’s best pumps.  Otherwise they are under water.  Much of the country is below sea level.

Emco lathe room 1.jpg

Now, that is nice!

Emco mill room 1.jpg

Ahhh!

storage3 room 1.jpg

Ahhhhhh!

Deckel Fe12 room 3.jpg

Nice!  But I will stick with CNC.

Huib also sent a video of his steam plant.  Unfortunately I do not have the space to post it, but if Huib can remember the YouTube address I will include that later.

storage beneed big workbench room 3.jpg

Storage is always a problem no?

So, thank you Huib, for sharing your workplace with us.  It is very interesting to see how other model engineers work, and their equipment.  I have posted only a fraction of Huib’s photos, due to space limitations.    I hope that the chosen shots are of interest to my readers.

ps.  Huib, I found the YouTube video…Very nice work!


Another John’s Workshop.

Now this is a workshop where I would feel at home…..

“Hi John some photo’s attached.

I work in my double garage 56 square meters. I have been self employed for the last 30 years but have reached the stage where I want to retire, some of my customers still send me jobs to do which I cannot say no to so it keeps the hobby going.
I have a Bridgeport copy converted to 4 axis CNC running Mach3 using MachStdMill screen set (love it).
My lathe is a Prototrak SLX on a King Rich lathe bed ( toolroom quality).
Misc other machines small surface grinder,tool & cutter grinder, compressor, 15 tonne press, bandsaw,welding gear electric & oxy acetylene, overhead crane ( 250kg capacity )
I am running out of space.
I am close to finishing my boiler will send some photo’s soon.
Cheers
John”
20190924_083811.jpg
20190924_083828.jpg
20190924_083850.jpg
20190924_145636.jpg
Thanks for the pics John.  A bit of gear envy happening here.  Love the gantry!

Workshop Photos. Are all Modellers Obsessive -Compulsive Neat Freaks?

I am starting to regret asking for the workshop photos.  Another reader, John, has sent in photos of his super organised, super clean workshop.  We must admit that it looks quite inviting,….

and fairly safe, unlike my disorganised dirty mess.

Here are the photos.   Somewhere in Oz.

20190922_103350_resized.jpg

20190922_103450_resized.jpg

20190922_103535_resized.jpg

20190922_103558_resized.jpg

20190922_103633_resized.jpg

20190922_103716_resized.jpg

20190922_104002_resized.jpg

20190922_104041_resized.jpg

And some notes from John….

“Thought you and possibly your readers might enjoy some pics of my ‘shop. All crammed into a two car garage! I really am running out of space and have to try and be as efficient as possible in that regard . Note the ladders etc hung on brackets from the ceiling in one of the pics. I also have an anvil and coke forge outside, plus materials, bolts and the like stored in one of the garden sheds outside the workshop.

A few notes to go:

103350 my ML7 Myford lathe lives behind the large red tool chest which is handily placed to mill and lathes. Parts washer (green lid) to right of pic, under cloth foreground is completed riding trailer to go behind current long term project 2 ½ “ Burrell traction engine. In welding area, BOC Industrial MIG, Unimig plasma cutter sitting on top, orange cabinet is sand blaster. Note also the copper pipes across the ceiling – they run across and back to help cool the air and dehumidify, with droppers and drain cocks at various locations, plus there’s two inline filters (one to 3 micron) to help ensure dry air for spray painting and sand blasting.

103407 ac/dcTIG, folder/g’tine/rolls (blue in corner), new welding/fab bench frames under construction on floor by current welding bench.

103450 press, tool and cutter grinder, bandsaw, oxy, compressor.

103575 mill, drill press and two grinders/linisher.

103558 ML7 – my first lathe

103633 bench area, tall grey cabinet holds lots of gear – taps, dies, tooling, roatab, dividing head etc etc

104041 recent mods to compressor to quieten the beast using an old Holden red motor air cleaner. Replaces the small plastic jobbies that screw into the heads. It’s been quite effective.”

So, thank you John, for further magnifying my inferiority complex regarding workshop organisation.  And I know that these machines are put to work, making a traction engine, and currently a beam engine.  Plus a full time job, unlike this retired medico who has time to kill.

Dear readers, if anyone has a dirty, disorganised, dark workshop, please send me some photos.  It will do wonders for my self esteem.


Southworth Steam/Water Pump

I am progressing my Southworth pump.   Today, Stuart brought his completed version, so I photographed the incomplete and complete versions together.   Actually, it was very useful to see Stuart’s pump again.  An obvious difference in one of the components made me realise that I had made a mistake.   Now rectified.

IMG_8181.JPG

My incomplete version and the working version.

IMG_8179.JPG

Stuart’s working version.

Three more workshops. Why are they all so neat? Or am I just very messy?

Reader Tim from NSW, Oz, sent these pics

DSC_0346.JPG

Optimum mill, Chicago compressor “very quiet”,  Myford Super 7 lathe, drill press.


DSC_0347.JPG

Optimum 6″lathe, drop band saw, linisher.   Plenty of light.  No swarf on the floor (no snakes apparently).

And from Victoria Oz,  Neil sent these shots of his workshop, with some work in progress visible…

58191733505__6B74FE77-E129-4C55-97E9-CAF82DDA43D7 - Copy

58191735252__8CEB8081-2B20-4AF8-8342-EF78B6D81B0E - Copy.jpg

58191737940__61565B84-1378-4F6E-ACE1-47F034D45FED.jpg

58191741840__08AB947B-076D-4ADC-BE0F-10001A8F5C44.jpg

Reading Neil’s signs reminds me of a sign which I saw on someone else’s mill or lathe… “Not to be operated by fuckwits”.   Maybe I should put up such a sign on in my workshop, but then, it might invite comments about the current occupant.

And finally, my friend and mentor Stuart’s workshop…

20190917_131049.jpg

This is Stuart’s kitchen, which he is putting to the best use!   Note the laser cutter, which will cut metal up to 1mm thick, and the optical comparator.   But does the laser slice the toast, Stuart?

20190914_142925.jpg

Stuart’s actual workshop is the garage.  The car, very sensibly has been expelled to the outside.  Note the Boxford CNC lathe (the same as my Boxford CNC lathe), and the old green manual lathe on the back wall, still gets a lot of use.  Disgustingly neat and clean.   Starting to get a complex about this.

20190914_142955.jpg

And in the other direction is Stuart’s CNC mill (blue base), CNC router on the bench.

20190914_142943.jpg

And finally, I decided to add a shot of the spare bedroom in my home.  Note the Boxford CNC lathe,

IMG_8186.JPG

This is the spare bedroom in my house.  You are welcome to stay, after moving some stuff.

IMG_8182.JPG

My Boxford CNC lathe in the spare bedroom.  Well, no-one comes to stay very often!

IMG_8183.JPG

Another view of the spare bedroom.  2 Boley jeweller’s lathes.  They do occasionally get used.

IMG_8184.JPG

And another view of the spare bedroom.  Plenty of bedtime reading.  And another jeweller’s lathe in case you get the urge in the middle of the night.

So there you are.   Please send your photos of your heaven on Earth.


TWO WORKSHOPS

This post was inspired by one of my readers sending me some photos of her workshop.  The photos grabbed my attention for several reasons.

Firstly, the metal working machines share the space with tomatoes!  Unusual, eclectic use of the space.  Secondly, the roof and walls are made of glass!   Great for natural lighting, and nice views for the machinist, and possibly the neighbours.  Thirdly, it is such a small space, requiring planning to accomodate quite a few machines and work space.   And fourthly, it is so neat and clean.  I do see an occasional bit of swarf, but it is so unlike the mess that I work in, that it is quite striking to see such a clean workshop.

Thanks to reader Jennifer for sending these photos.  For obvious reasons I will not publish further location details except to reveal that the location is in the UK.

IMG_4710-1

IMG_4722.jpg

Jennifer tells me that it is all double glazed, and is open to the living area of the house, so it is heated.  Apparently it never becomes too hot in summer.

And as a complete antithesis, this is my main workshop in Oz.  Bigger, messier, dirtier, darker.    Actually, when I looked over my photos I could not find one decent view of my workshop, so I took some new pics.  Needless to say, there was no special tidying for the photo.

Workshop2.jpg

It is a tin shed, unlined, but does have a wood heater.  This view takes in about 2/3 of the area.  There are 3 lathes in this shot.  Can you see them?  CNC lathe in foreground.  Also my CNC mill on the right.  There is also a tool and cutter grinder, vertical bandsaw, drop bandsaw.  And lots of ancillary tooling.

Workshop5.jpg

And a pedestal drill, 2 linishers, grinder, and part view of the drop band saw.  The anvil gets quite a lot of use.  It is mounted on heavy duty wheels so I can take it to the job.

Workshop3.jpg

My workbench in the foreground, A very heavy cast iron setup table (blue) with granite surface plate.  Shop made ring roller centre.

So, that is where I spend most of my waking hours.  The shed started life as a farm workshop, where a lot of welding, and repair and maintenance of farm machinery was done.   These days it is mainly used for model engineering.  In my working life I was an obsessively neat, organised and particular surgeon.  Not quite sure how my activities ended in this mess.  But you know what?… I feel totally comfortable here.


If you have some photos of your own workshop area, please send them in and I will publish them for the interest of other readers.  Big areas, small areas, old machines or new.  Show us where you spend your most enjoyable hours.   Send them to me at jviggers@iinet.net.au


Steam Powered Water Feed Pump

My CNC mill is now mostly functioning, although several functions are yet to be connected.  The main spindle and XY&Z axes are working, and responding appropriately to Mach3 commands from the laptop computer.  It has taken longer than anticipated so far, mainly due to difficulty in understanding manuals supplied from Asia.   Axis limit and homing switches, oil pump, coolant pump, work light, and cooling fans still to be connected.

So there has been little of general interest coming out of my workshop.  Hence no posts on this site.  Not that I have been idle.

I disassembled the top slide on the Colchester lathe to discover the cause for excessive back-lash.  It was a worn acme thread bronze nut.   No luck yet in finding a new nut for this 45 year old lathe.   I will have to make one.  Meanwhile, I used a quick and dirty trick to reduce the back-lash which I will detail soon.

IMG_8156.JPG

The top-slide acme screw and bronze nut which needs replacing.

I also cleaned and freed up a 3 jaw 10″ chuck which I bought on Ebay.  It was frozen solid, so I soaked it in kerosene bath for a few months.  Actually, I forgot all about it while it was in the kerosene, and accidentally rediscovered it.   This time, after using an impact screwdriver, I was able to open it up and expose the gears and get them moving.  Might be worth a photo also.

IMG_8161.JPG

The 240mm diameter chuck.  I was tempted to buy by the removable, reversible  jaws.  Thinking that I could make some soft jaws.   Trouble is that it is an industrial production line chuck with very little movement.   But it is nice and tight.  Still deciding.  At least I can wind the jaws in and out a bit now.

And I finally got around to installing piston rings in the triple expansion steam engine.  Used Viton O-rings.  Not a difficult task, and it should not be difficult to replace them from time to time in future.   Will be interesting to see if the engine performance improves.

Now to get onto my next project.  I have plans and bronze castings for a Southworth design water pump, for replenishing the vertical boiler water while it is in use.  It was a surprise to me, just how much water is consumed by a boiler which is powering a model steam engine.  To date I have used a hand pump, but having seen a steam powered pump in action, I have decided to make one.

The steam is supplied from the boiler which is being replenished.  The pump has to use steam at boiler steam pressure, to force water into the boiler.  So the pump has to raise the pressure of the feed water above the pressure of the steam which is powering the pump.   The clever pump design uses large steam driven pistons to drive smaller water pump pistons.

IMG_6664

Larger steam pistons top right 5/8″ dia,  water pistons bottom left 3/8″ dia.

Here is a video of a Southworth pump in action.  It was made by Stuart Tankard.  Here it is running on compressed air, but I have seen it working similarly on steam.  I will be making one of the same design, hopefully approaching this level of finish.


A build of larger version of the pump was described by J. Bertinat in  a series of articles “Model Engineer” in 1993 (first article 18 June 1993).

Screen Shot 2019-08-20 at 9.39.27 am.png

Southworth castings.jpg

The unmachined castings.  Lumps of rough bronze.   And the plans.

water cyls casting.jpg

One of the castings after preliminary machining to establish some faces.  The “water cylinders” block.   Part no. 6

P1032886.JPG

Good quality castings.


CNC Mill Upgrade -8

Fitted the new VSD Friday.  Ordered Tues pm.  Arrived Thurs am.  Impressive.

$AUD315, inc shipping.   Job cost is mounting.  Still within reasonable limits.

P1032876

The old VSD, top right.  The axis controllers (top left) had not been wired when this photo was taken.

IMG_8151.JPG

The new VSD (variable speed drive) 4kw.  Fitted neatly with some new mounting holes, without any drama.  The rats nest looks less daunting every day.

Now, except for the main spindle motor, there are no more original major electrical components.  All have been updated and replaced, along with the cables.

Yet to be wired are the VSD, coolant pump, oil feed pump, limit switches, homing switches, and the Gecko driver and 48v power supply for the rotary table.   But the mill is useable now.   Video coming up soon.


CNC Mill Upgrade – 7.

2 steps forward, 1 step back.   That’s what this project is experiencing.

The axis servo motors, their controllers and connections to power, breakout boards, and computer connections are complete, and all working.

An old laptop has found a use.  Installed Mach3, Vectric V-Carve Pro.   And the connections to the Smooth Stepper board.  Windows 10.   Deleted all non CNC related programs to gain space on the hard drive.

A problem with the main spindle.  It is essentially unchanged from the original.  Same motor (4kw/5hp 3 phase), same VSD, and same 3 phase power which is supplied through a phase changer, because the property has only 2 phases supplied.  When powered up, it worked, but the RPM’s could not be altered from a very slow rate.  The controlling voltage from the breakout board was not changing despite changing the inputs.  ? due to a problem with the settings, or a faulty BOB.  Didn’t seem serious.

So I was a bit surprised when later I switched on the mill, intending to change some settings, to hear 2 significant pops, and to smell that disgusting burnt electrical component smell, with smoke coming from the electrical enclosure.

Quickly shut everything down, and waited for the cavalry to arrive.

Stuart found that a 24v power supply had failed.  No big deal.  Not an expensive component.  Maybe got a short circuit from a bit of swarf?   But further inspection revealed that the VSD had also failed.  A capacitor and diode burnt out.  ? caused by a surge from the failing power supply? Repairable, but I decided to buy a new VSD.  The failed VSD is probably as old as the mill (24 years), so it had a pretty good run.  If the old VSD is repairable, it will serve as a spare.

Meanwhile, as a consequence, the main spindle is not working.  I have a list of jobs that I want to get into, particularly the steam pump for the vertical boiler.   So I will reattach the high speed spindle and use that.  It is 2.2kw, but uses high revs to develop power, so I will be limited to small end mills and drills, until the new components (VSD and power supply) arrive.  The high speed spindle is single phase, and the speed control is manually selected.   Not quite as convenient but useable for the time being.

While Stuart has his head buried in the electrical enclosure, I have been his gopher and TA.  But also fitting in a couple of other jobs which have been on the “to do” list for ages.  Like clearing out rubbish from the workshop, tidying up etc.

One task which has been vexing me, was to remove a sheet of flooring board which was under the Colchester lathe.  The sheet was originally placed under the lathe to protect the vinyl floor covering, but it was not a good decision.  As the flooring board became wet with cutting oil and coolant, it would swell and shrink, and I was aware that the lathe levels and settings were changing.  So I decided to remove the sheet of flooring, and let the lathe feet sit directly on steel pads on the vinyl/concrete floor.

But how to remove the sheet of flooring from underneath the almost 1 ton lathe?  The lathe was originally placed into its rather tight position with a forklift, which is no longer available.  The wooden sheet was the same size as the base of the lathe.

So I made these…

img_8146.jpg

The bolt adjusts the height of the jack.

IMG_8142.JPG

From a piece of scrap I-beam.

I used a crow bar to raise the corners of the lathe enough to place the jacks into position.  A bit of trial and error to get the heights correct.    When the lathe was about 25mm clear of the flooring, I pulled the sheet out.  Then used the crowbar to remove the jacks, and lower the lathe onto its base plates.

I will reset the lathe’s screw feet in the next day or 2, using a precision level and test cuts.  There was an excellent YouTube video by “This Old Tony” on the subject recently.


CNC Mill Upgrade – 6. Where to put the computer?

Not much more to report today, but I have decided how to position the computer.

Not easy, because the computer needs to be protected from flying swarf and coolant spray from the CNC mill and the manual mill which is immediately adjacent.    And I want the computer to be close to the machine.  The CNC mill is NOT in an enclosure.

So this is what I have decided….

IMG_8128.JPG

The laptop is just low enough to reach while standing.   The E stop and other buttons are underneath.

And if the swarf is really flying, I can turn the PC away…

IMG_8129.JPG

Might need some adjustments.  The laptop is an old Dell ATG.   Said to be resistant to fluids and relatively resistant to shock/vibration etc.   Military specs.   I might add some side protection and perhaps a roof.


CNC Mill Upgrade -5

I have been putting quite a few hours into the upgrade, but not much to show photographically.

Finally got the new servo motors installed.  Replaced the X axis belt.  The most difficult servo to access was the Y axis, and of course that was the only one where the alignment of the timing belt was out.   Finally sorted by using a fibre optic camera to see why the belt was climbing onto the flange of the pulley.  The pulley was 1.2mm too far onto its shaft.  I know that, because I solved the problem by inserting washers under the motor mounts.  1mm washers did not work, nor did 1.5mm washers.  But 1.2mm washes did work perfectly.

Today Stuart arrived and removed more of the old wiring.

P1032880.JPG

Stuart, doing another CNC upgrade wiring.

P1032881.JPG

The old 7k computer has been removed, leaving some buttons.  I might be able to use those. The computer enclosure might disappear too.  Not decided yet.

P1032882.JPG

The old CNC mill has lost some weight.  Those cartons are full of old parts.  Note that the floor has been swept.  Stuart was concerned that we might be infested with snakes, but it is winter here, so we should OK until the weather warms up.

P1032883.JPG

The rats nest is disappearing.

CNC Mill Upgrade -4

I removed the old XY & Z axis servo motors from the mill.  Each one weighs about 15kg (33lb).

IMG_8119.JPG

The old servo motors.  The X and Z were working fine.  The Y was faulty, but I do not know whether the fault was in the motor, the encoder, the controller, or the connecting wires.  I will put them on Ebay as 2 working, one for parts.

Then I removed the belt drive pulley off each motor.  There was a grub screw, which would not budge.  Assuming that it had been Loctited, I applied some heat, judiciously.  The grub screw came out, but the pulley would not budge, so a little more heat, and a gear puller.   Two of the gears came off, but one still would not budge.

I asked for advice, and I was loaned a different type of gear puller. (thanks Rudi).  This time, some movement of the gear on the shaft was noted, and eventually the last motor gave up its gear.

img_8122.jpg

This one worked.

The shaft of the old motors was 16mm diameter.  The new motors had 19mm shafts.  So I spent some time on the lathe boring out the gears to fit the shafts of the new motors.  The keyways of the old motors were 5x5mm, and the new ones were 6x6mm.  So, I borrowed a 6mm broach (thanks Stuart), and enlarged the keyways in the rebored gears to 6mm width.   The new keyways needed a lower profile, so some time on the mill and surface grinder  to reduce the thickness of the keys to 4.5mm.

That was quite a few peasant hours hours on the lathe, mill, and surface grinder, but the end result was good.

P1032877.JPG

The new servo motors, with the timing belt gears fitted, with keys in place.  I will set each motor in place on the CNC mill, determine the final exact position of the gear on the shaft, then indent the shaft for the grub screw.  Then, when I am sure that all is correct, the gear, grubscrew and shaft will be Loctited.

Another small issue was that the boss on the new motors was 5mm deep compared to 3.5mm deep for the originals.  So the mounting plate for each motor needed the recess to be deepened by about 1.5mm.

P1032878.JPG

I used a boring head on the mill to deepen the first one, but it did not produce a good finish, so the next 2 (shown) were deepened on the lathe, in a 4 jaw chuck.

Meanwhile, back to the rats nest in the electric control enclosure….


P1032875

The bare space top left is where the old servo controllers lived.  They were removed.  Then I spent a half day tracing each wire from the controller to the old servo, and removing it.  That produced a carton full of wires.  The rats nest is now a little less tangled.  A lot more of those wires will be removed as the job progresses.

P1032879.JPG

The new servo controllers bolted into position.  They are fatter than the originals, so a bit of rearranging was required.  The yellow box top right is the main spindle speed control (VSD) which is being retained.

P1032876.JPG

And on the right hand side, newly bolted into position today, from the top down, are the smooth stepper, the C11 breakout board, and two C10 breakout boards.   Awaiting some expert wiring.  (Stuart, are you reading this?)


Upgrading the CNC mill -3. Moving a threaded hole in steel plate.

P1032869.JPG

this is the new Y axis servo motor, sitting on its mounting plate, after the old servo has been removed

P1032863.JPG

Unfortunately the existing M8 threaded holes in the mounting plate are just in the wrong position for the new motor’s 8mm mounting holes.

So, do I 1. make a new mounting plate and assembly?   2. machine or file the new motor’s holes to fit the old plate?   Or 3. Fill the old mounting plate hole, then drill and tap new holes in the correct position  ??

  1.  seemed a lot of work   2. would have looked ugly and probably voided the motor’s warranty      3.  Seemed tricky, but I decided to give it a go.   If unsuccessful I could always revert to 1.

Filling the old holes.  Could have used steel thread and silver soldered it into place.  In retrospect, would probably have been the best option.   Could have used steel thread and Loctited it into place…. decided against, in case subsequent machining  softened the Loctite.   Could have filled the old holes with bronze, and drilled and tapped new threaded holes….   well, for better or worse, that’s what I decided to do.

The new holes impinged about 25-33% on the old holes.

P1032870.JPG

The old holes were bronzed.   I improved my technique as I moved around the holes.

P1032871.JPG

After cleaning up on the mill, the new holes were center drilled 

P1032872.JPG

Then drilled to size, and tapped.  revealed that the bronze did not entirely fill the voids. 

P1032874.JPG

I wondered if the bronze would accept a suitable degree of tightening of the M8 cap screws, but all seemed fine.   Note the jacking bolts, to prevent distortion of the weldment in the milling vice.

The bronze-steel sandwich did cause the tapping drill to wander slightly, but not enough to cause concern.  Next time I will try silver soldering in a steel filler piece.

Meanwhile, I have been removing parts and wires from the electrical enclosure.

P1032875.JPG

The servo controllers are removed.  Bit of a rats’ nest hey!  About 90% to go…


Installing the lathe gear

IMG_8080

I neglected to take a photo of the completed gear.  In this shot it is almost finished.

I intended to reassemble the spindle and its cluster of gears, spacers, and taper roller bearings myself, but after talking to an expert on the topic (Swen Pettig), I realised that sometimes it is better to leave surgery to a surgeon.

I gratefully accepted Swen’s offer to help.  In his working  life Swen had performed this task on many, many occasions.

Firstly Swen reinserted the taper bearing outer races in the headstock.  The lathe spindle is approx 80mm diameter and 800mm long so it is heavy.  After careful cleaning, it was fed into the headstock, progressively loading the bearings, gears, spacers, clips and nuts, and moving and tapping them down the shaft as it was moved into place.

IMG_8113.JPG

Note the photo prints to remind us of the order of reassembly.  Board to protect the lathe bed.  Repaired gear laying flat.  Surgeons’ towels blue rags.

when it was all reassembled and tightened, the retaining disk at the chuck end was loosened, sealed with liquid gasket (Loctite product- cannot remember the name), and retightened.

Then Swen went through a lengthy process of checking the end play, using a dial indicator, tapping each end of the shaft with a copper hammer, and finally settling on 0.01mm of play.

Then we had a short test run at low speed, and he tested the end play again, with no change.

Then we set it running at 200 rpm, and went and had a cup of coffee for 20 minutes.  Came back and checked the bearings temperatures.   All cold, all good.

I reinstalled the external gears, the cover, etc, and took some decent cuts in some cold rolled bar.

All good.  Oil change soon.


CNC Mill Upgrade -2

The major components arrived this week, from China and USA.  Switches, and other components which go “ping” will be bought locally as required.  I am hoping that existing pulleys, belts, brackets will be adaptable.

The motors to drive the X, Y and Z axes are 1.2kW AC servo motors which can be connected to single or 3 phase power.  Each one weighs 6.7kg (14.7lb) .  From China, they are nicely finished.   Substantially shorter than the old servos which they are replacing and slightly larger diameter.  I am hoping that the slightly larger diameter will not cause major problems.

IMG_8088.JPG

AC servo.  There are 3 of these.  Kitchen knife to open the box and for scale.

IMG_8115.JPG

Old Y axis servo on the right, and the new AC servo left.


And each servo motor came with a controller and cables and connectors.

IMG_8093.JPG

And the electronics came from USA.

img_8096.jpg

C11 breakout board.

img_8097.jpg

C10 breakout boards x2

img_8098.jpg

And the Smooth stepper control board.  It is tiny, but the most expensive electronic component.

All up cost so far is ~$AUD2100, of which shipping is about 25%.

Next step is to swap over the servos.  The old shafts are 16mm and the new ones are 19mm.  I intend to machine the bores of the pulleys.  Hope there is enough meat  Tofu to allow that.

Preparations for gear cutting

Almost ready to cut the lathe gear.  It is 237mm diameter, 25mm thick, with a new rim Loctited and Scotch pinned to the old hub.

IMG_8061.JPG

I borrowed the 6-12″ Mitutoyo micrometer from a GSMEE member.  Thanks Rudi.  I had to learn how to read an imperial micrometer.  The rim is glued and pinned to the original hub.

And today I made a tool holder for the new-old gear cutter which I purchased from Russia.  It was meant to have a 27mm bore, but when measured was closer to 27.1mm, so I made an arbor to match.

IMG_8062.JPG

The cutter on the new arbor.  It required 2 attempts to get acceptable dimensions. It will be held in the vertical mill with an Er40 collet chuck.  It runs true.   Not bad for an ex gynaecologist hey?   Might need to sharpen the teeth on this old-new cutter.

Meanwhile, on advice from Swen, another GSMEE member, thinking ahead, and setting up to trial fit the new gear after it is cut.   Here is Swen, making some steel temporary bearings to try the new gear on the shaft, after the gear is made.  Tapping out the old taper bearing races.   This is what Swen did for a living when he was in the work force.  I have learned heaps just watching Swen doing his stuff.

IMG_8055.JPG

I admit that I would not have been brave enough to do this.  “Piece of cake” says Swen, tapping out the race with a copper drift.

CNC rotary table and preparing a gear blank

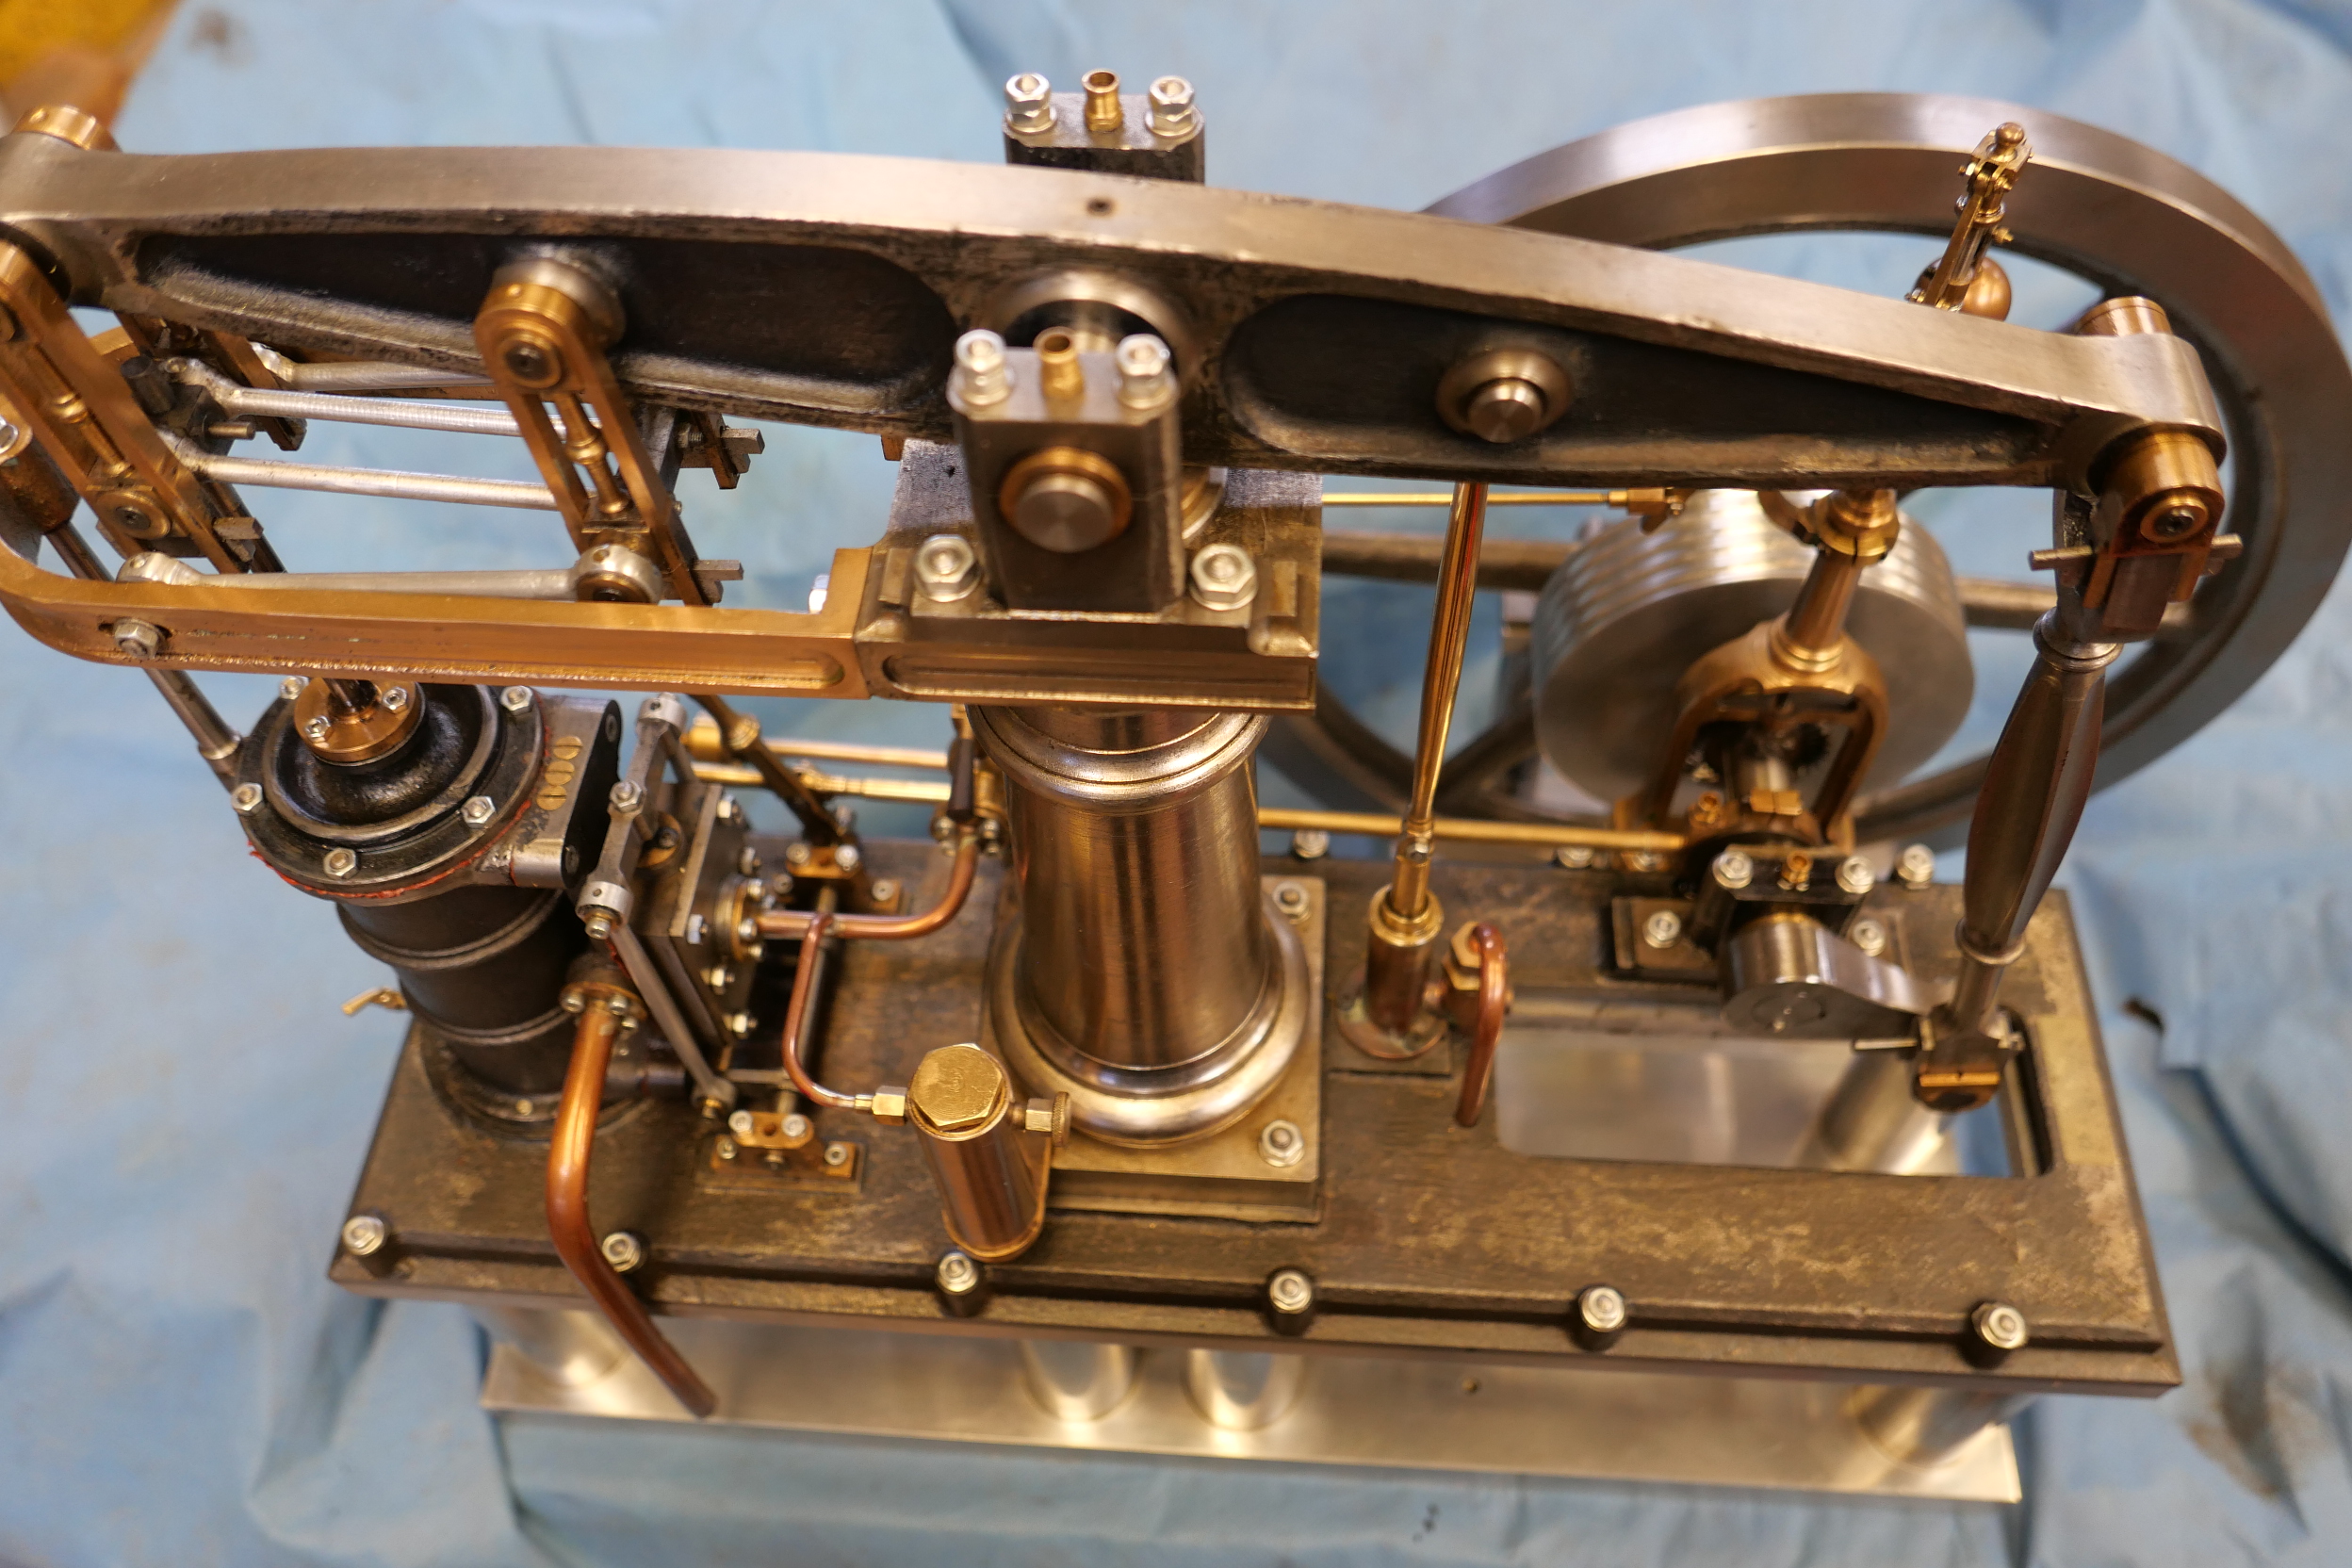
Hi readers.   Sorry for the long break.  Since my return from UK I have been severely jet lagged, then very busy, and not much time in the workshop.

The jet lag going westwards to from Oz to UK was minimal, but after the homeward trip it took 2 weeks to start feeling normal again.  It is a 22 hour flight, plus 2 hour stop over in Singapore.   I do not remember ever having such marked jet lag before, and  not much was done during those initial 2 weeks.

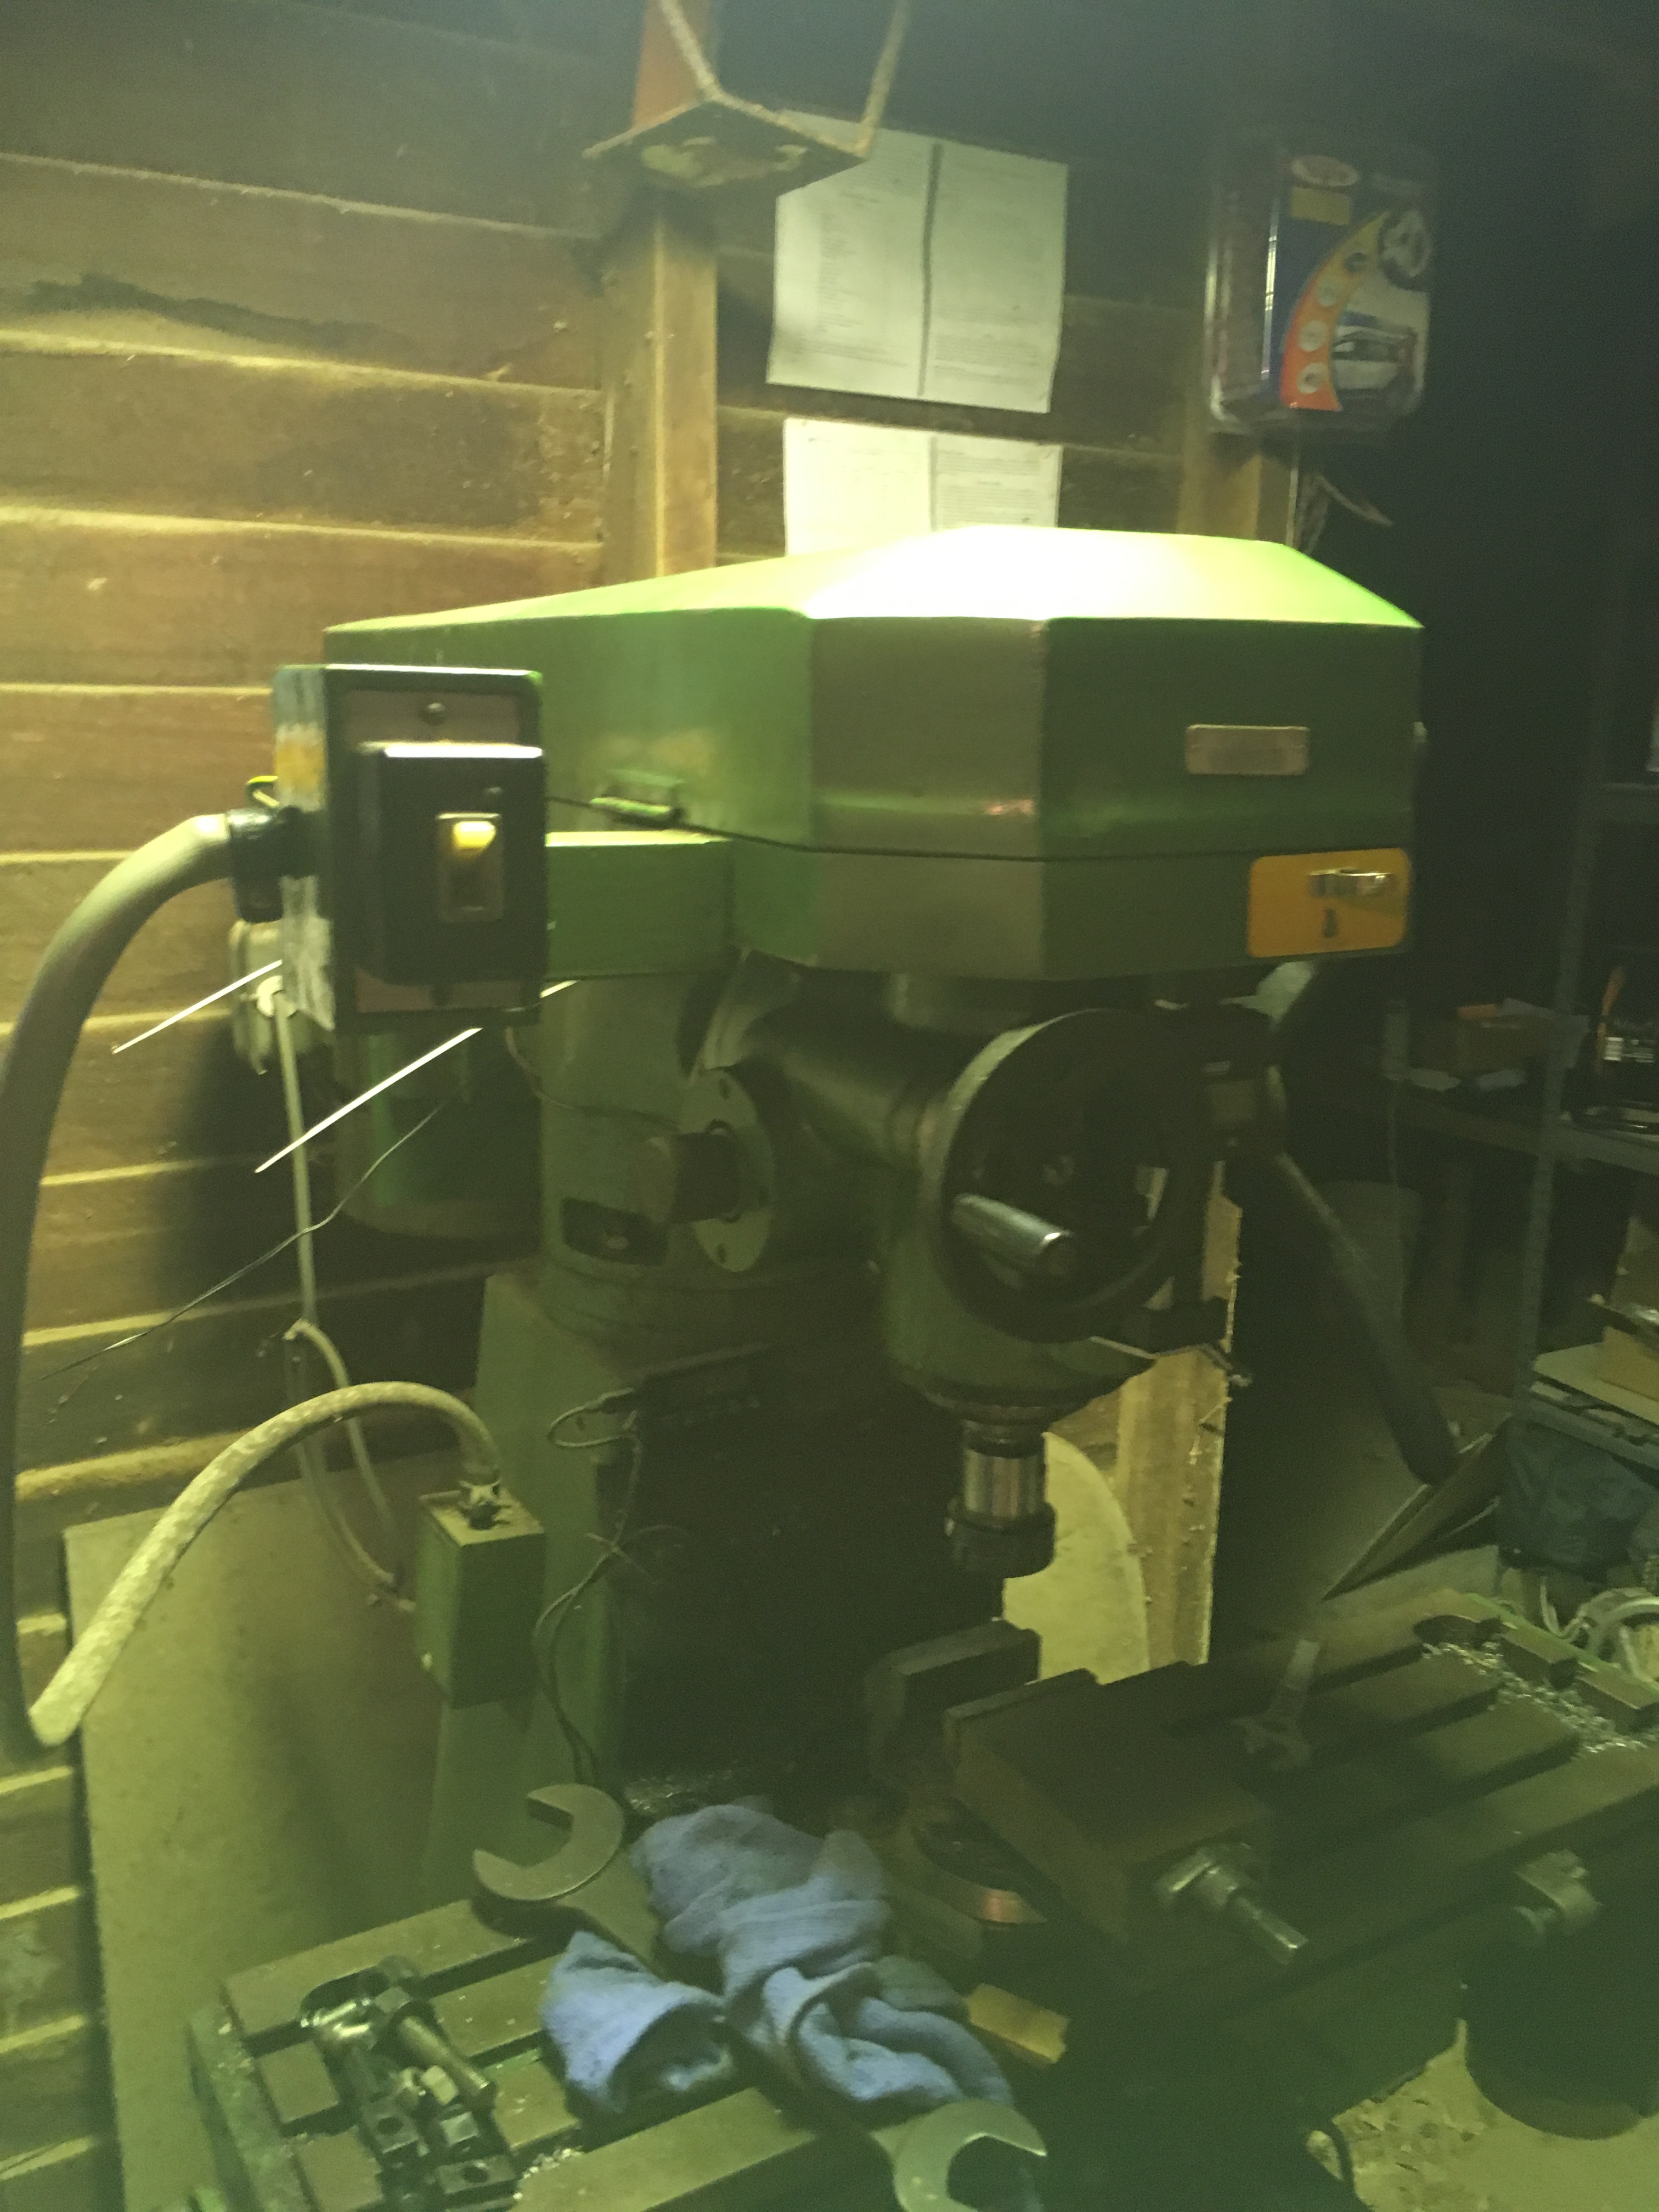
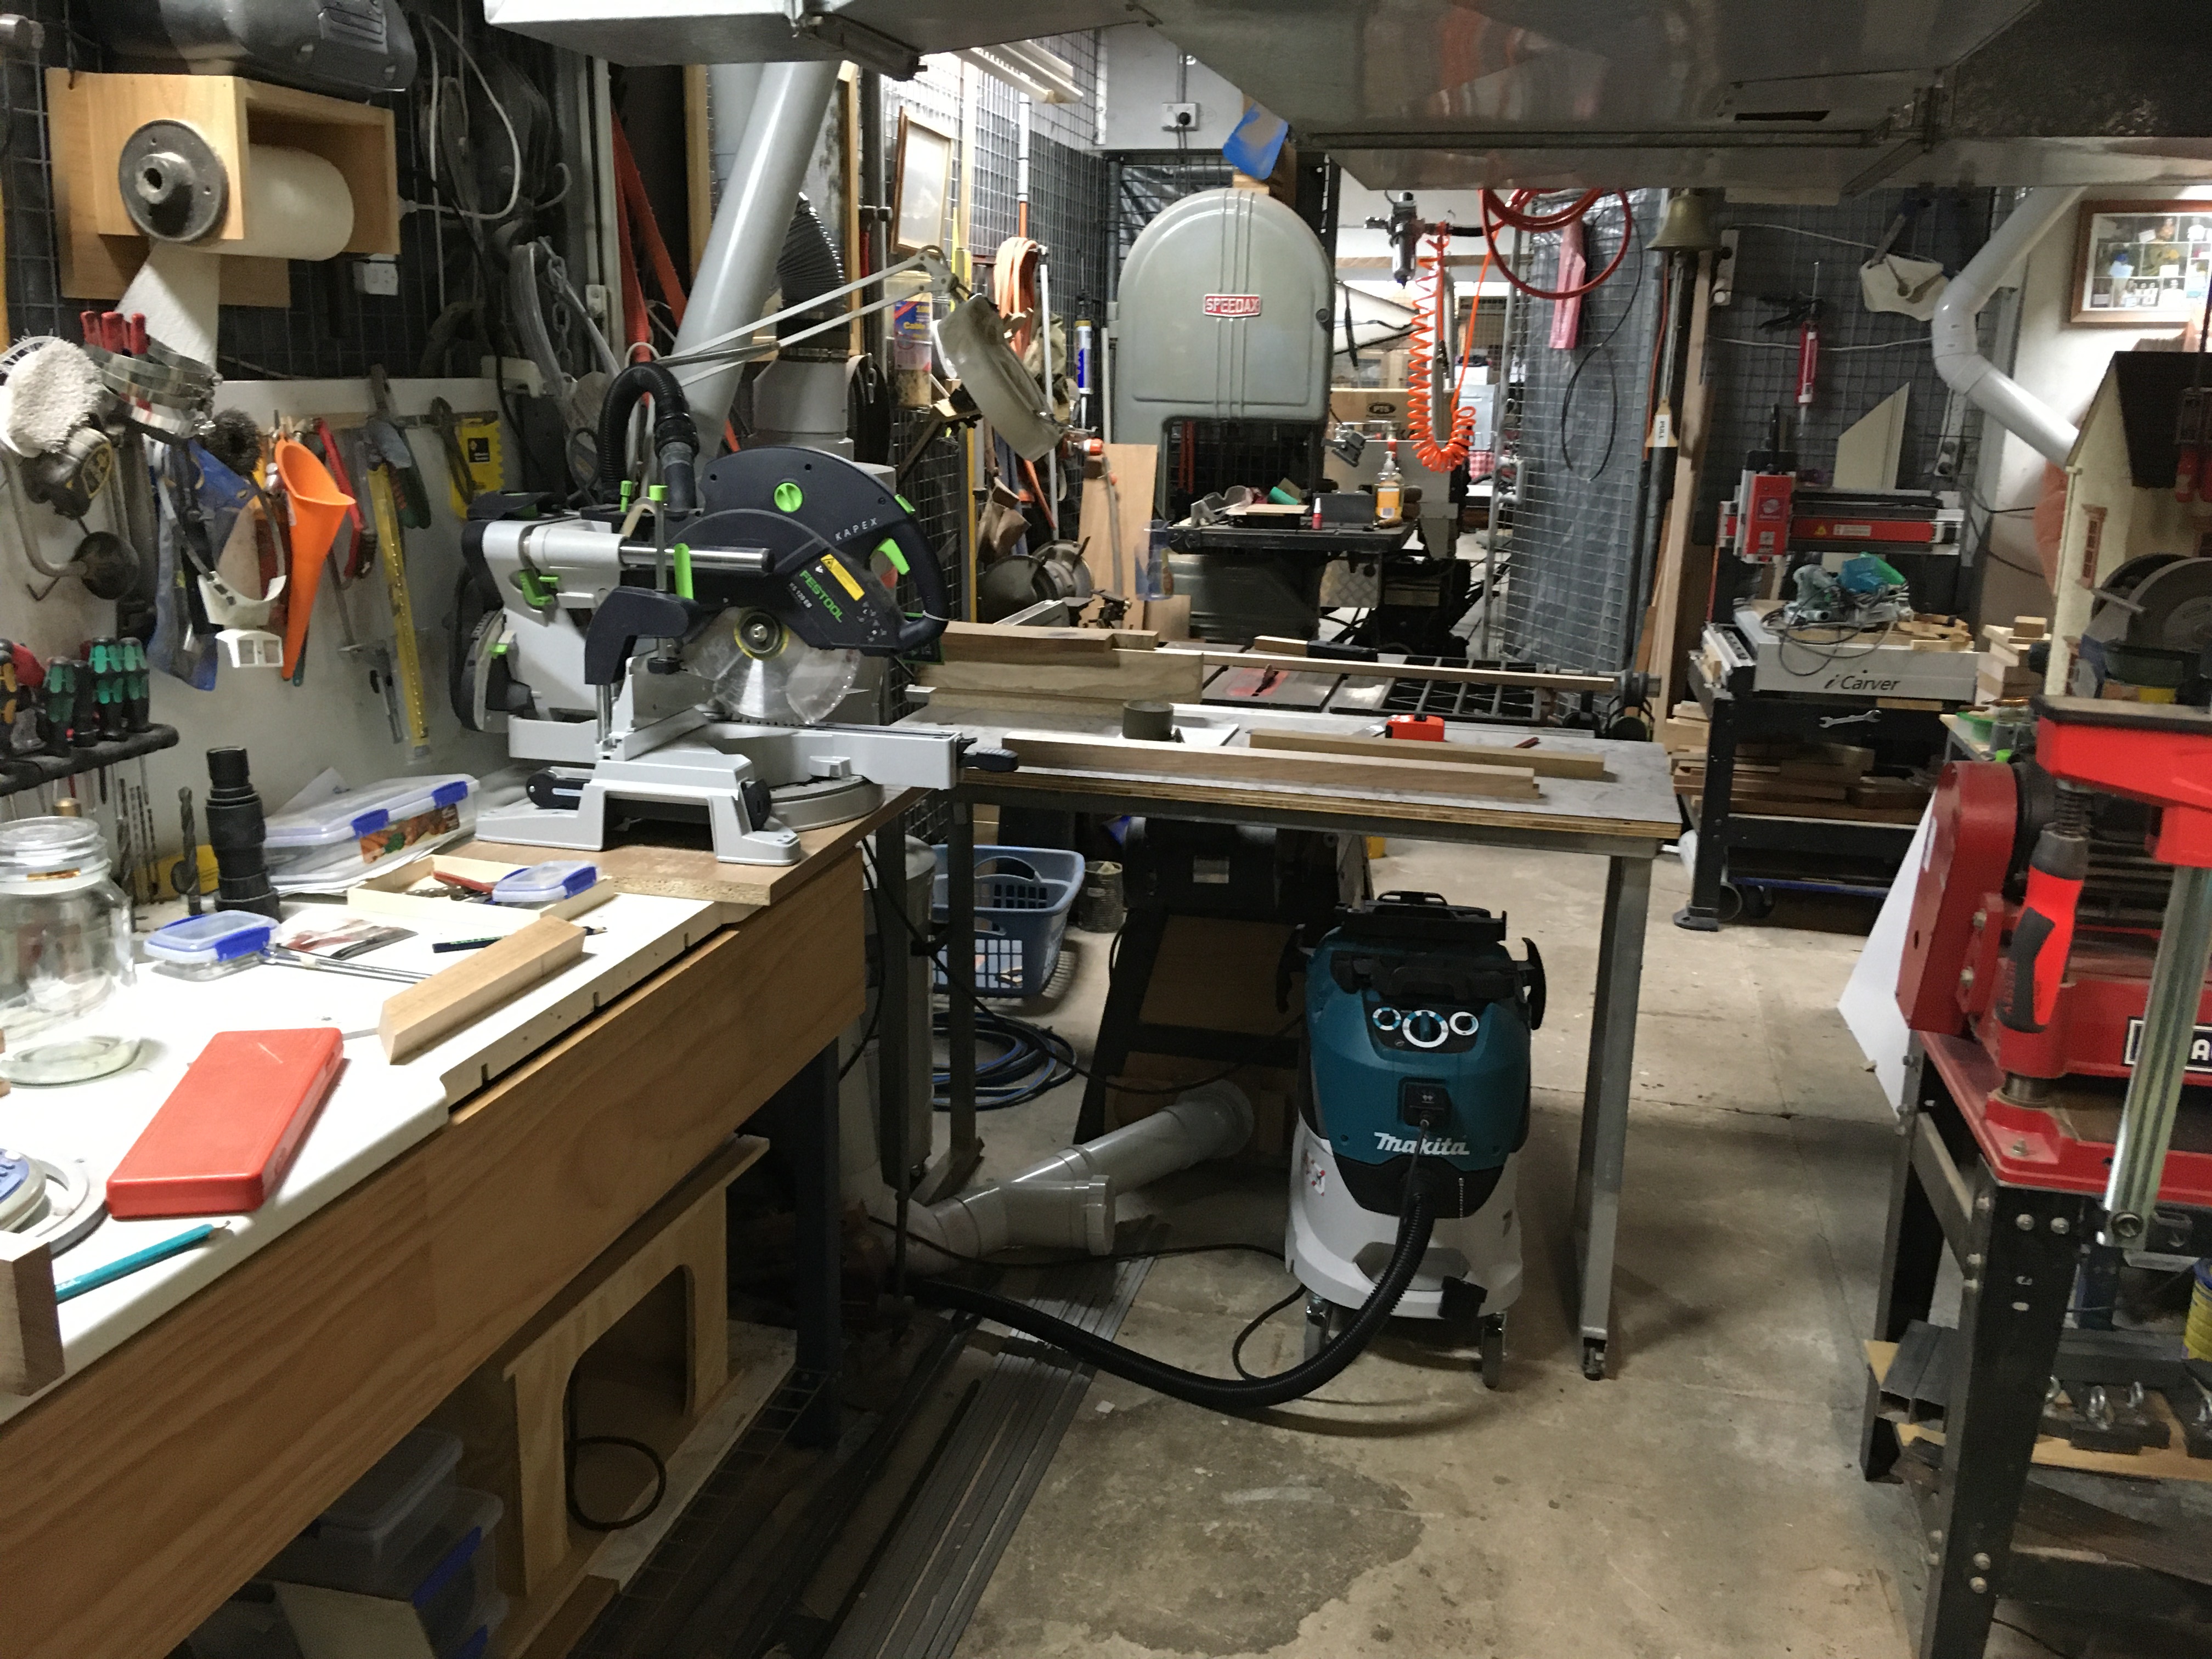
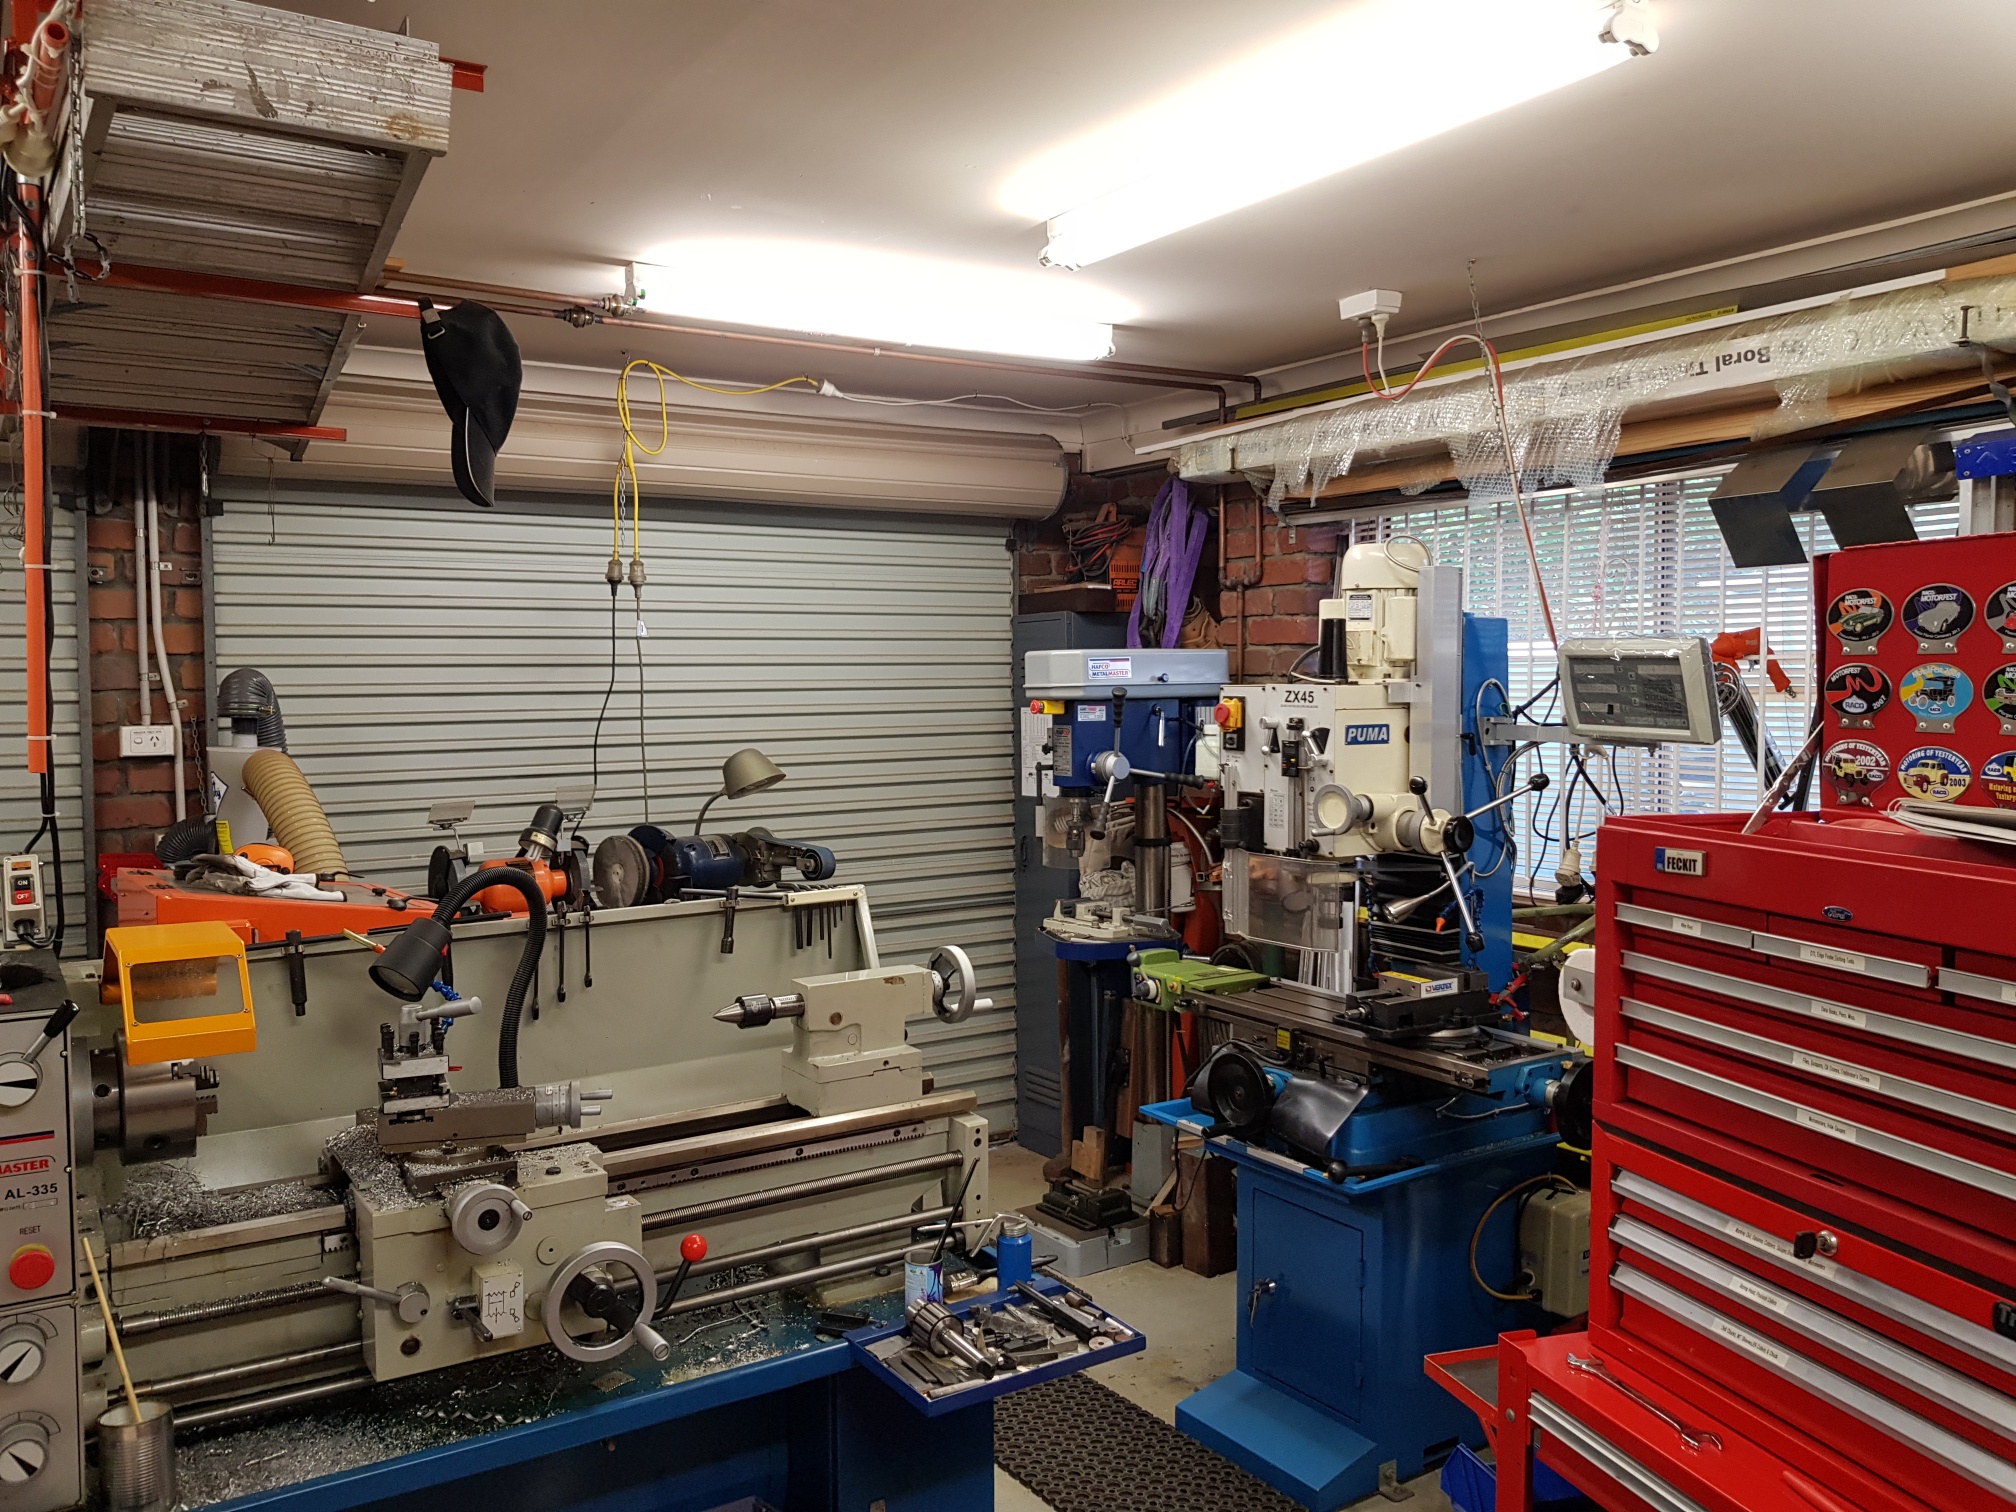
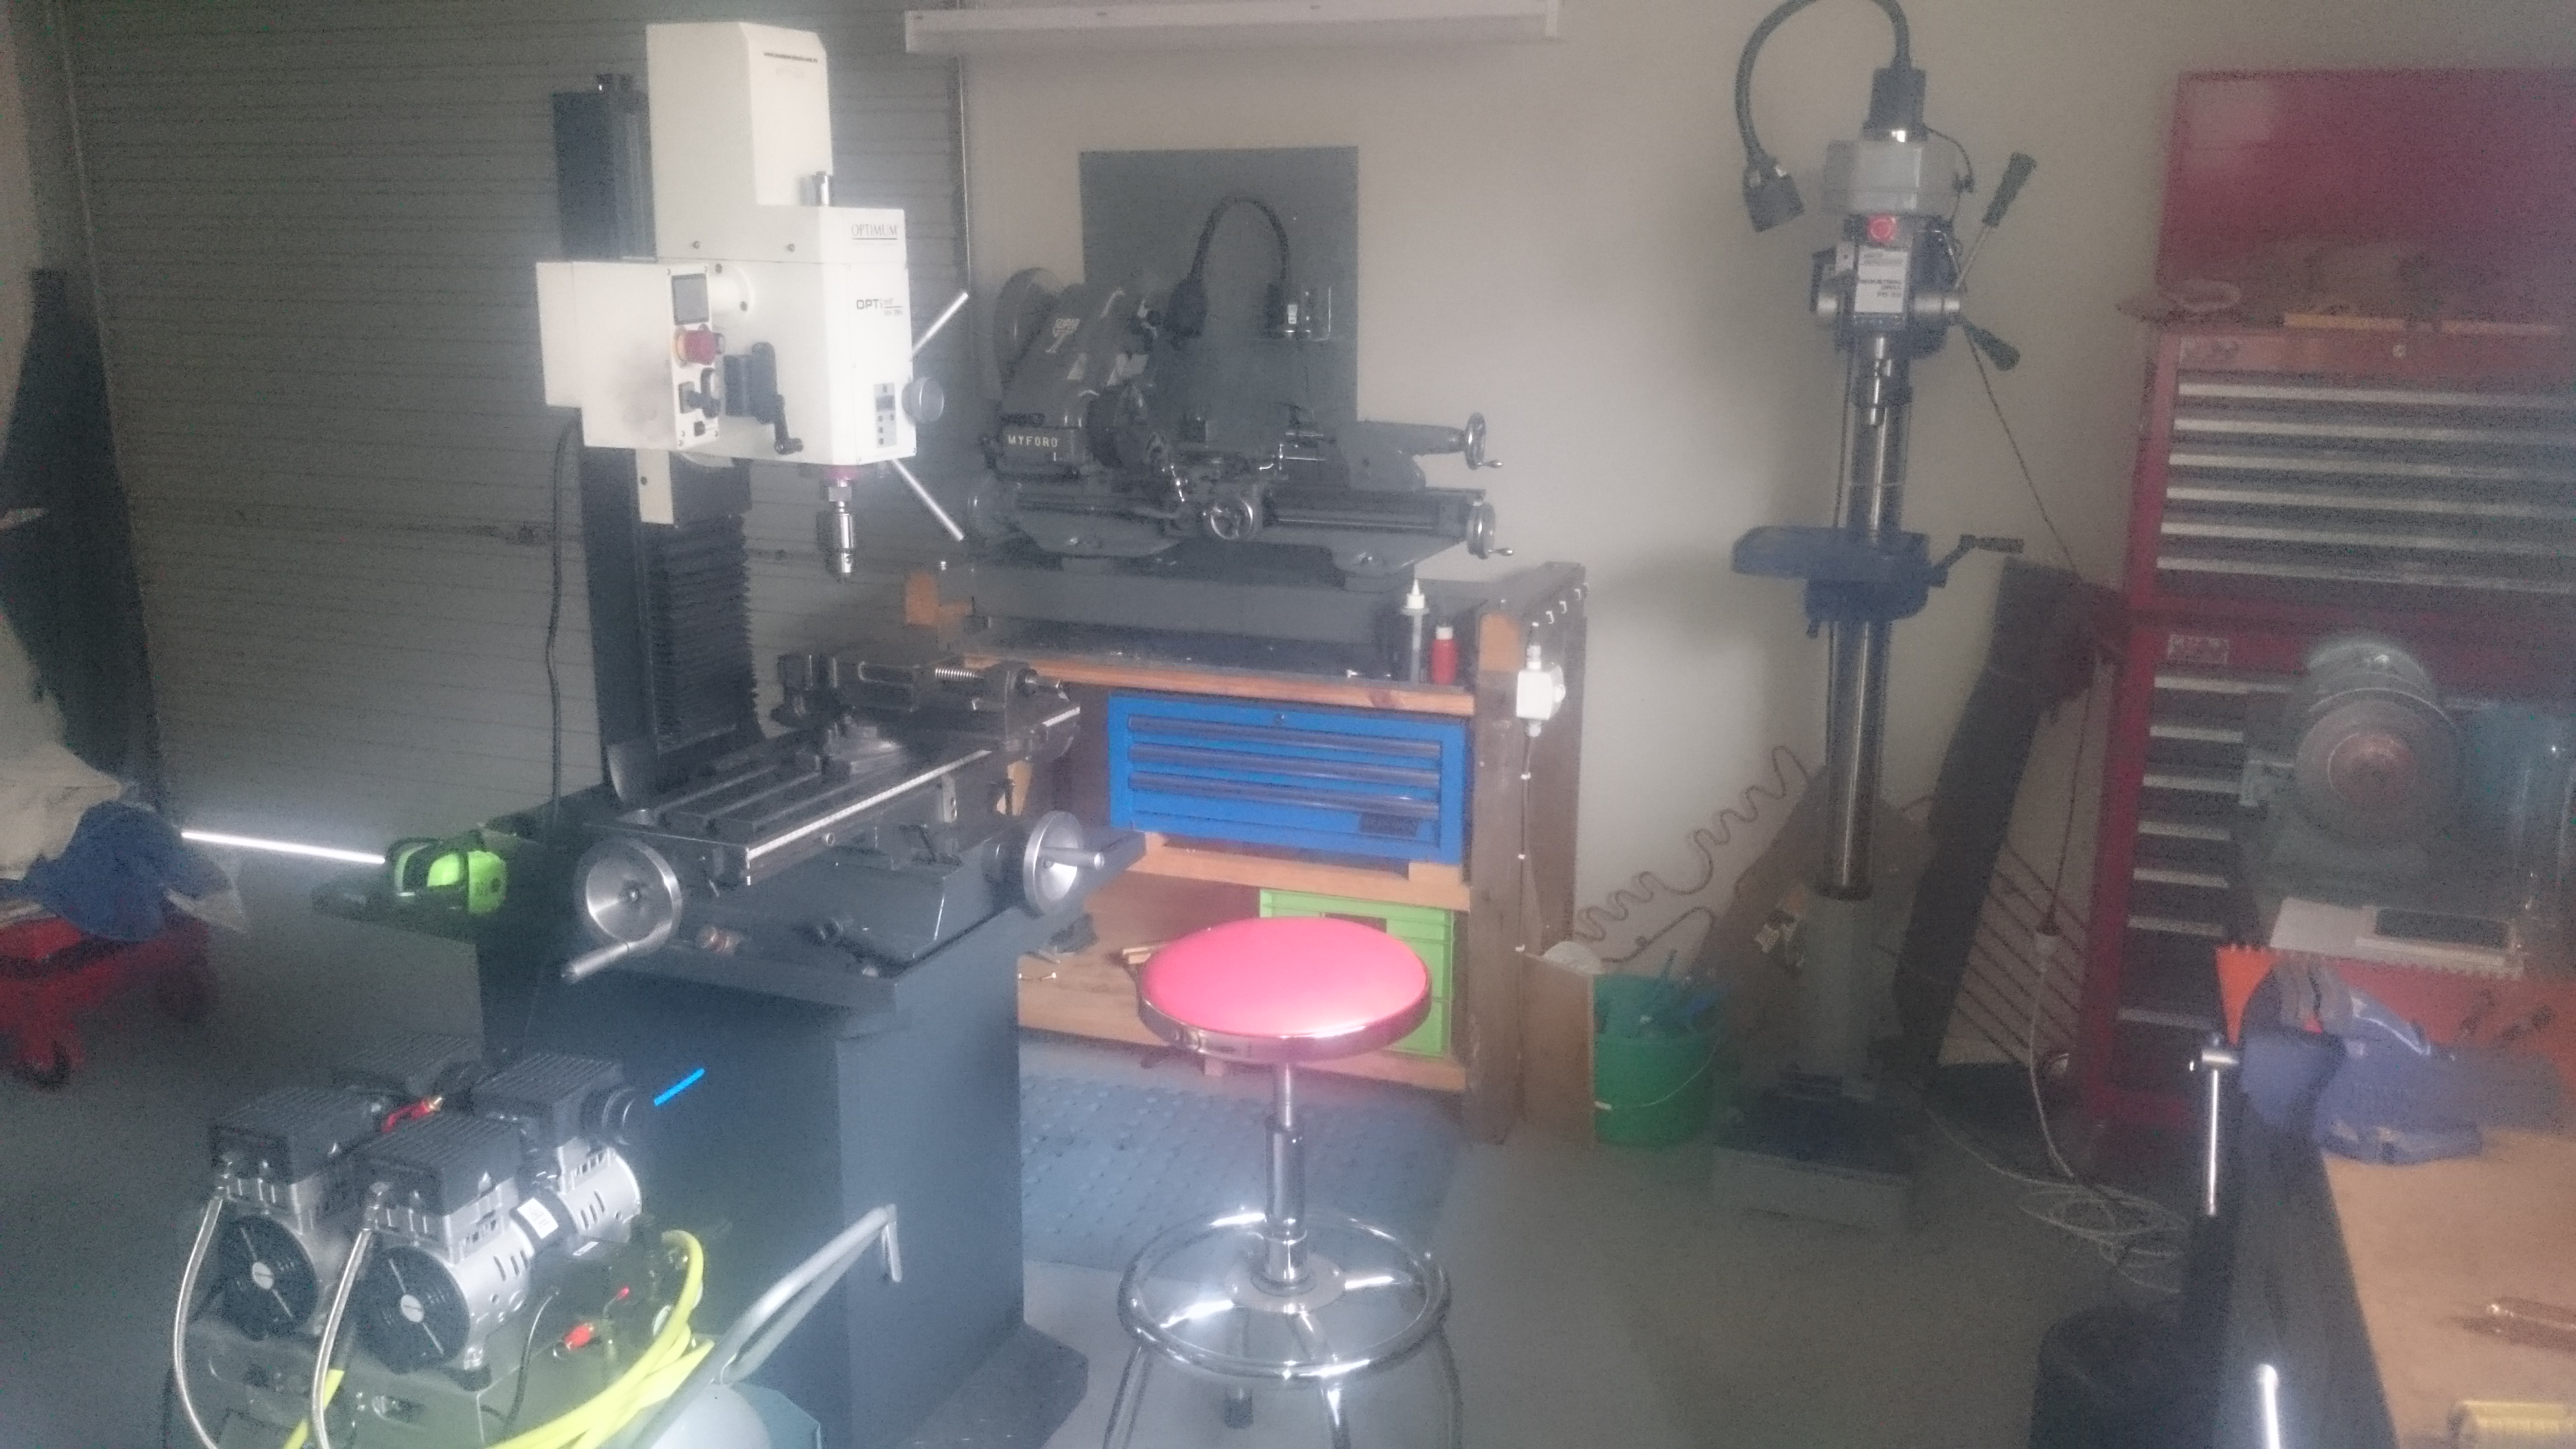
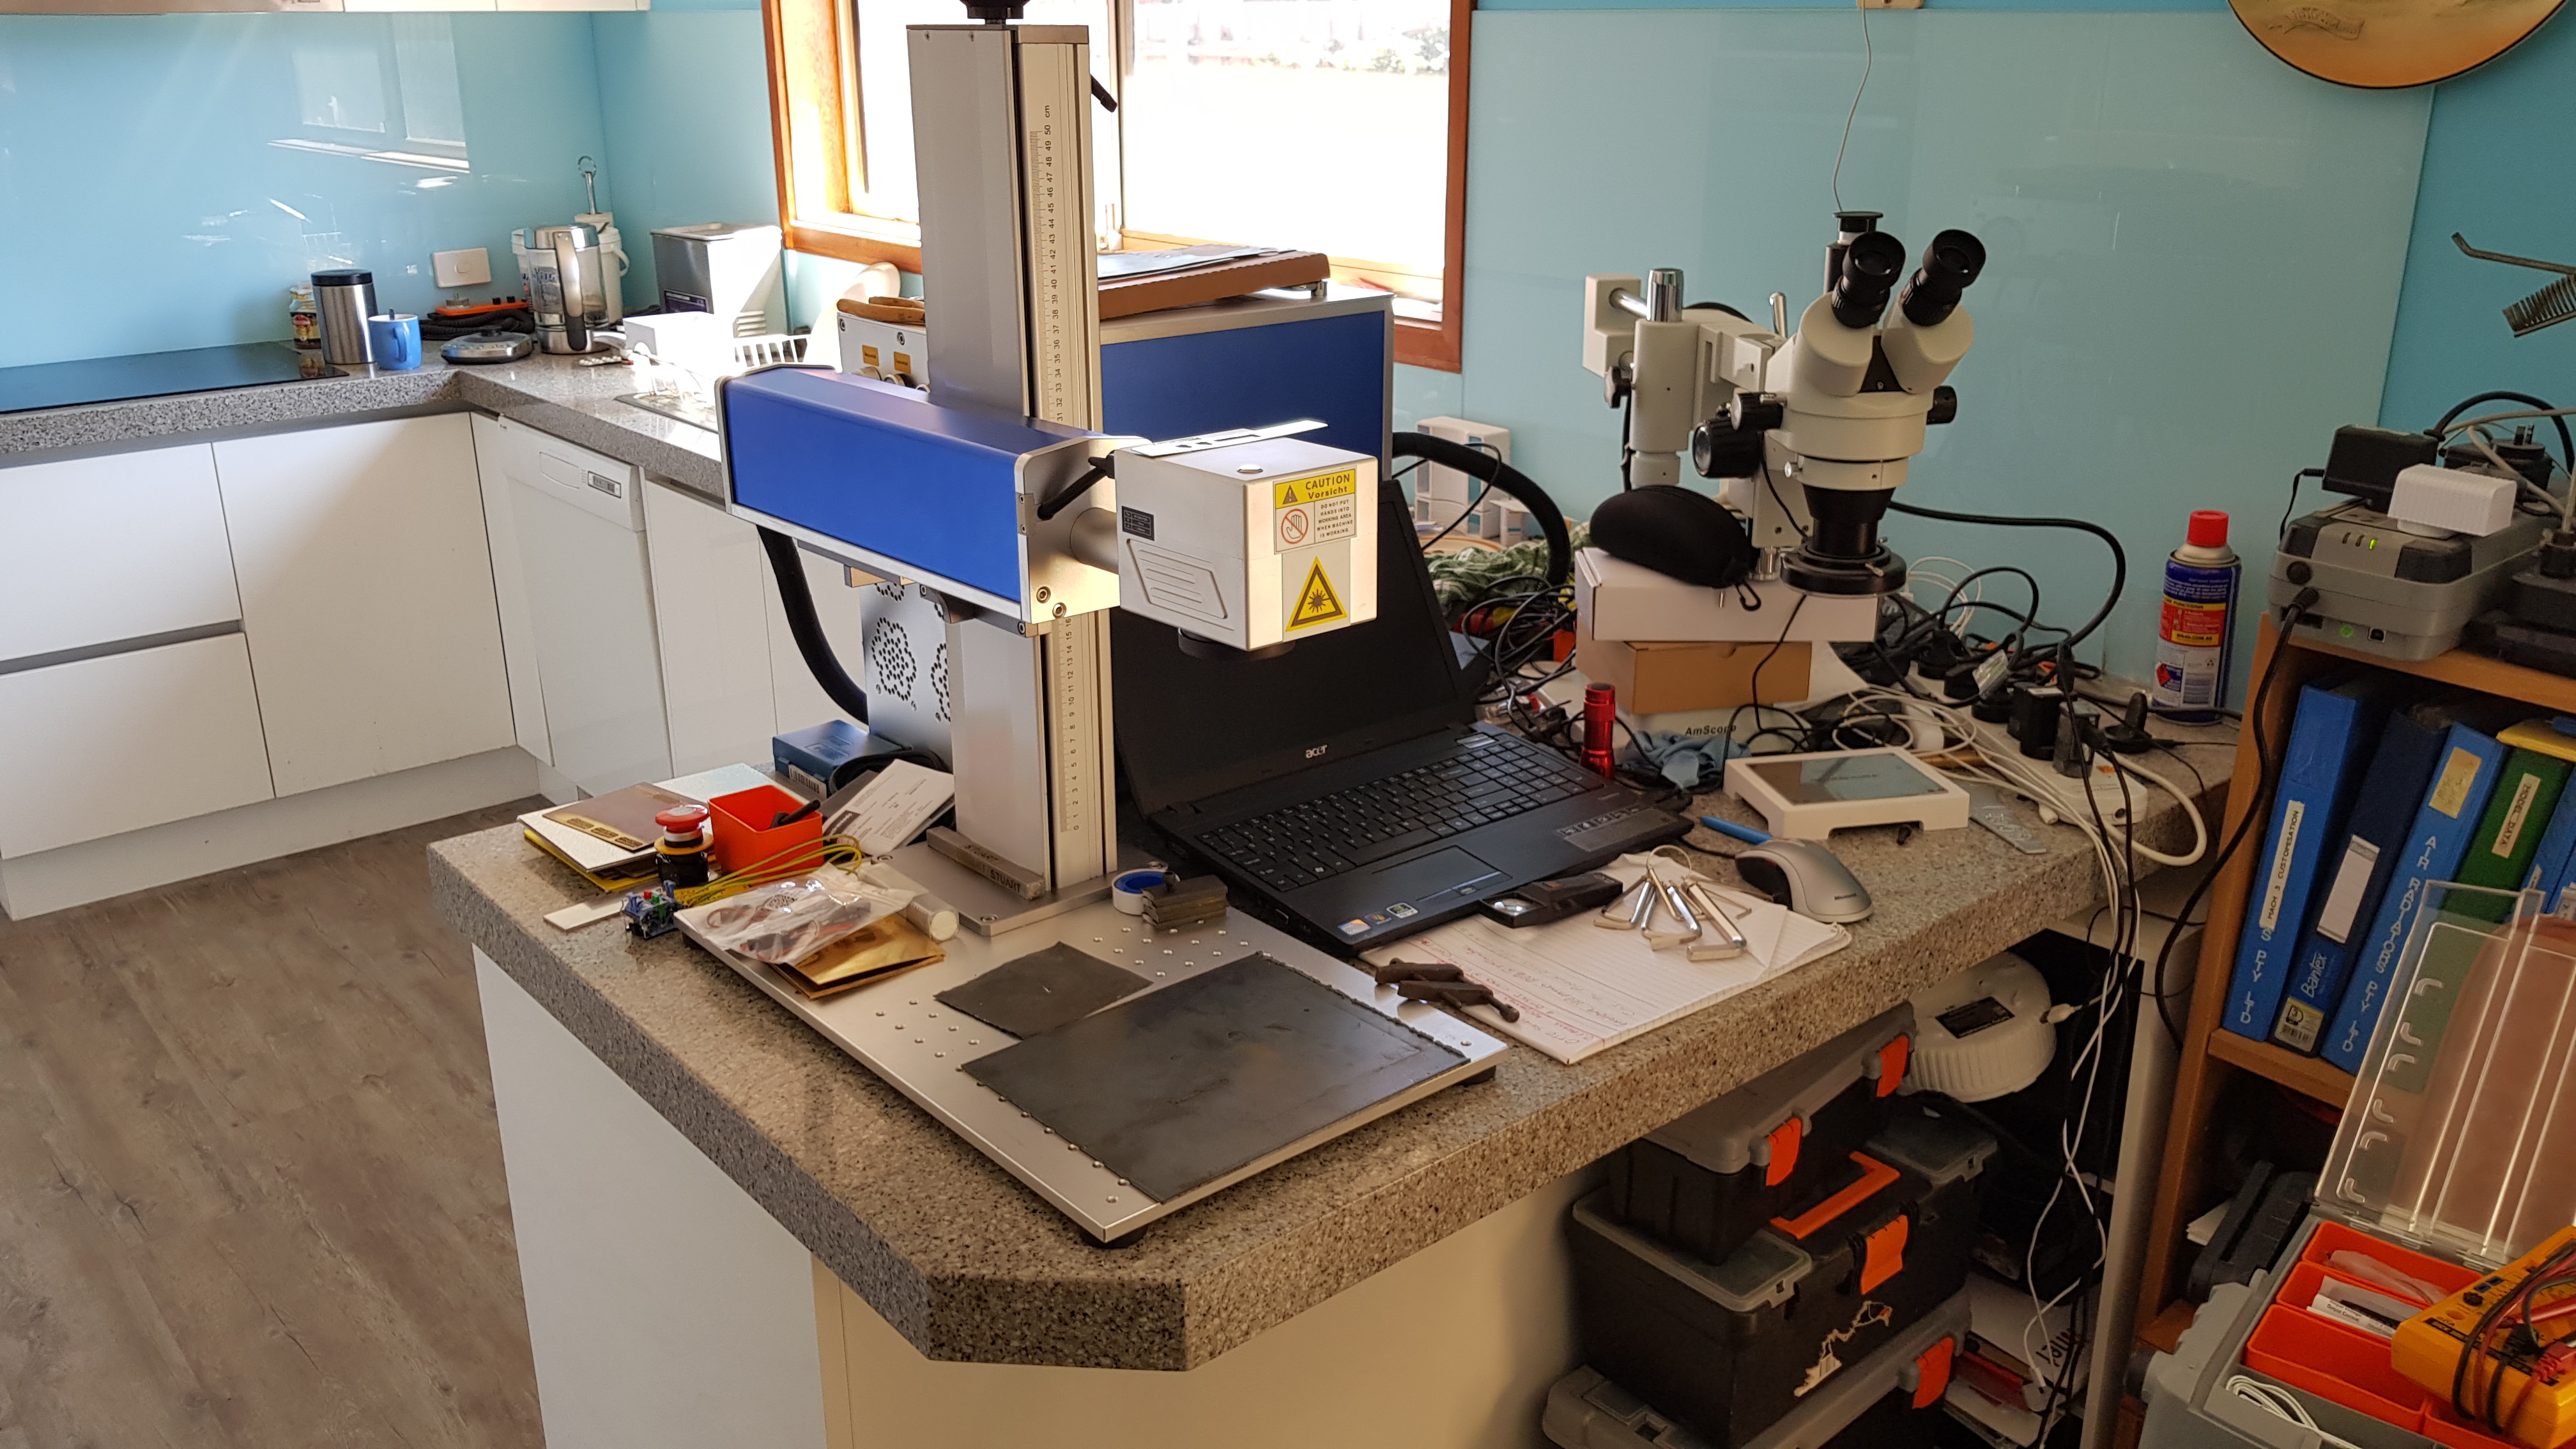
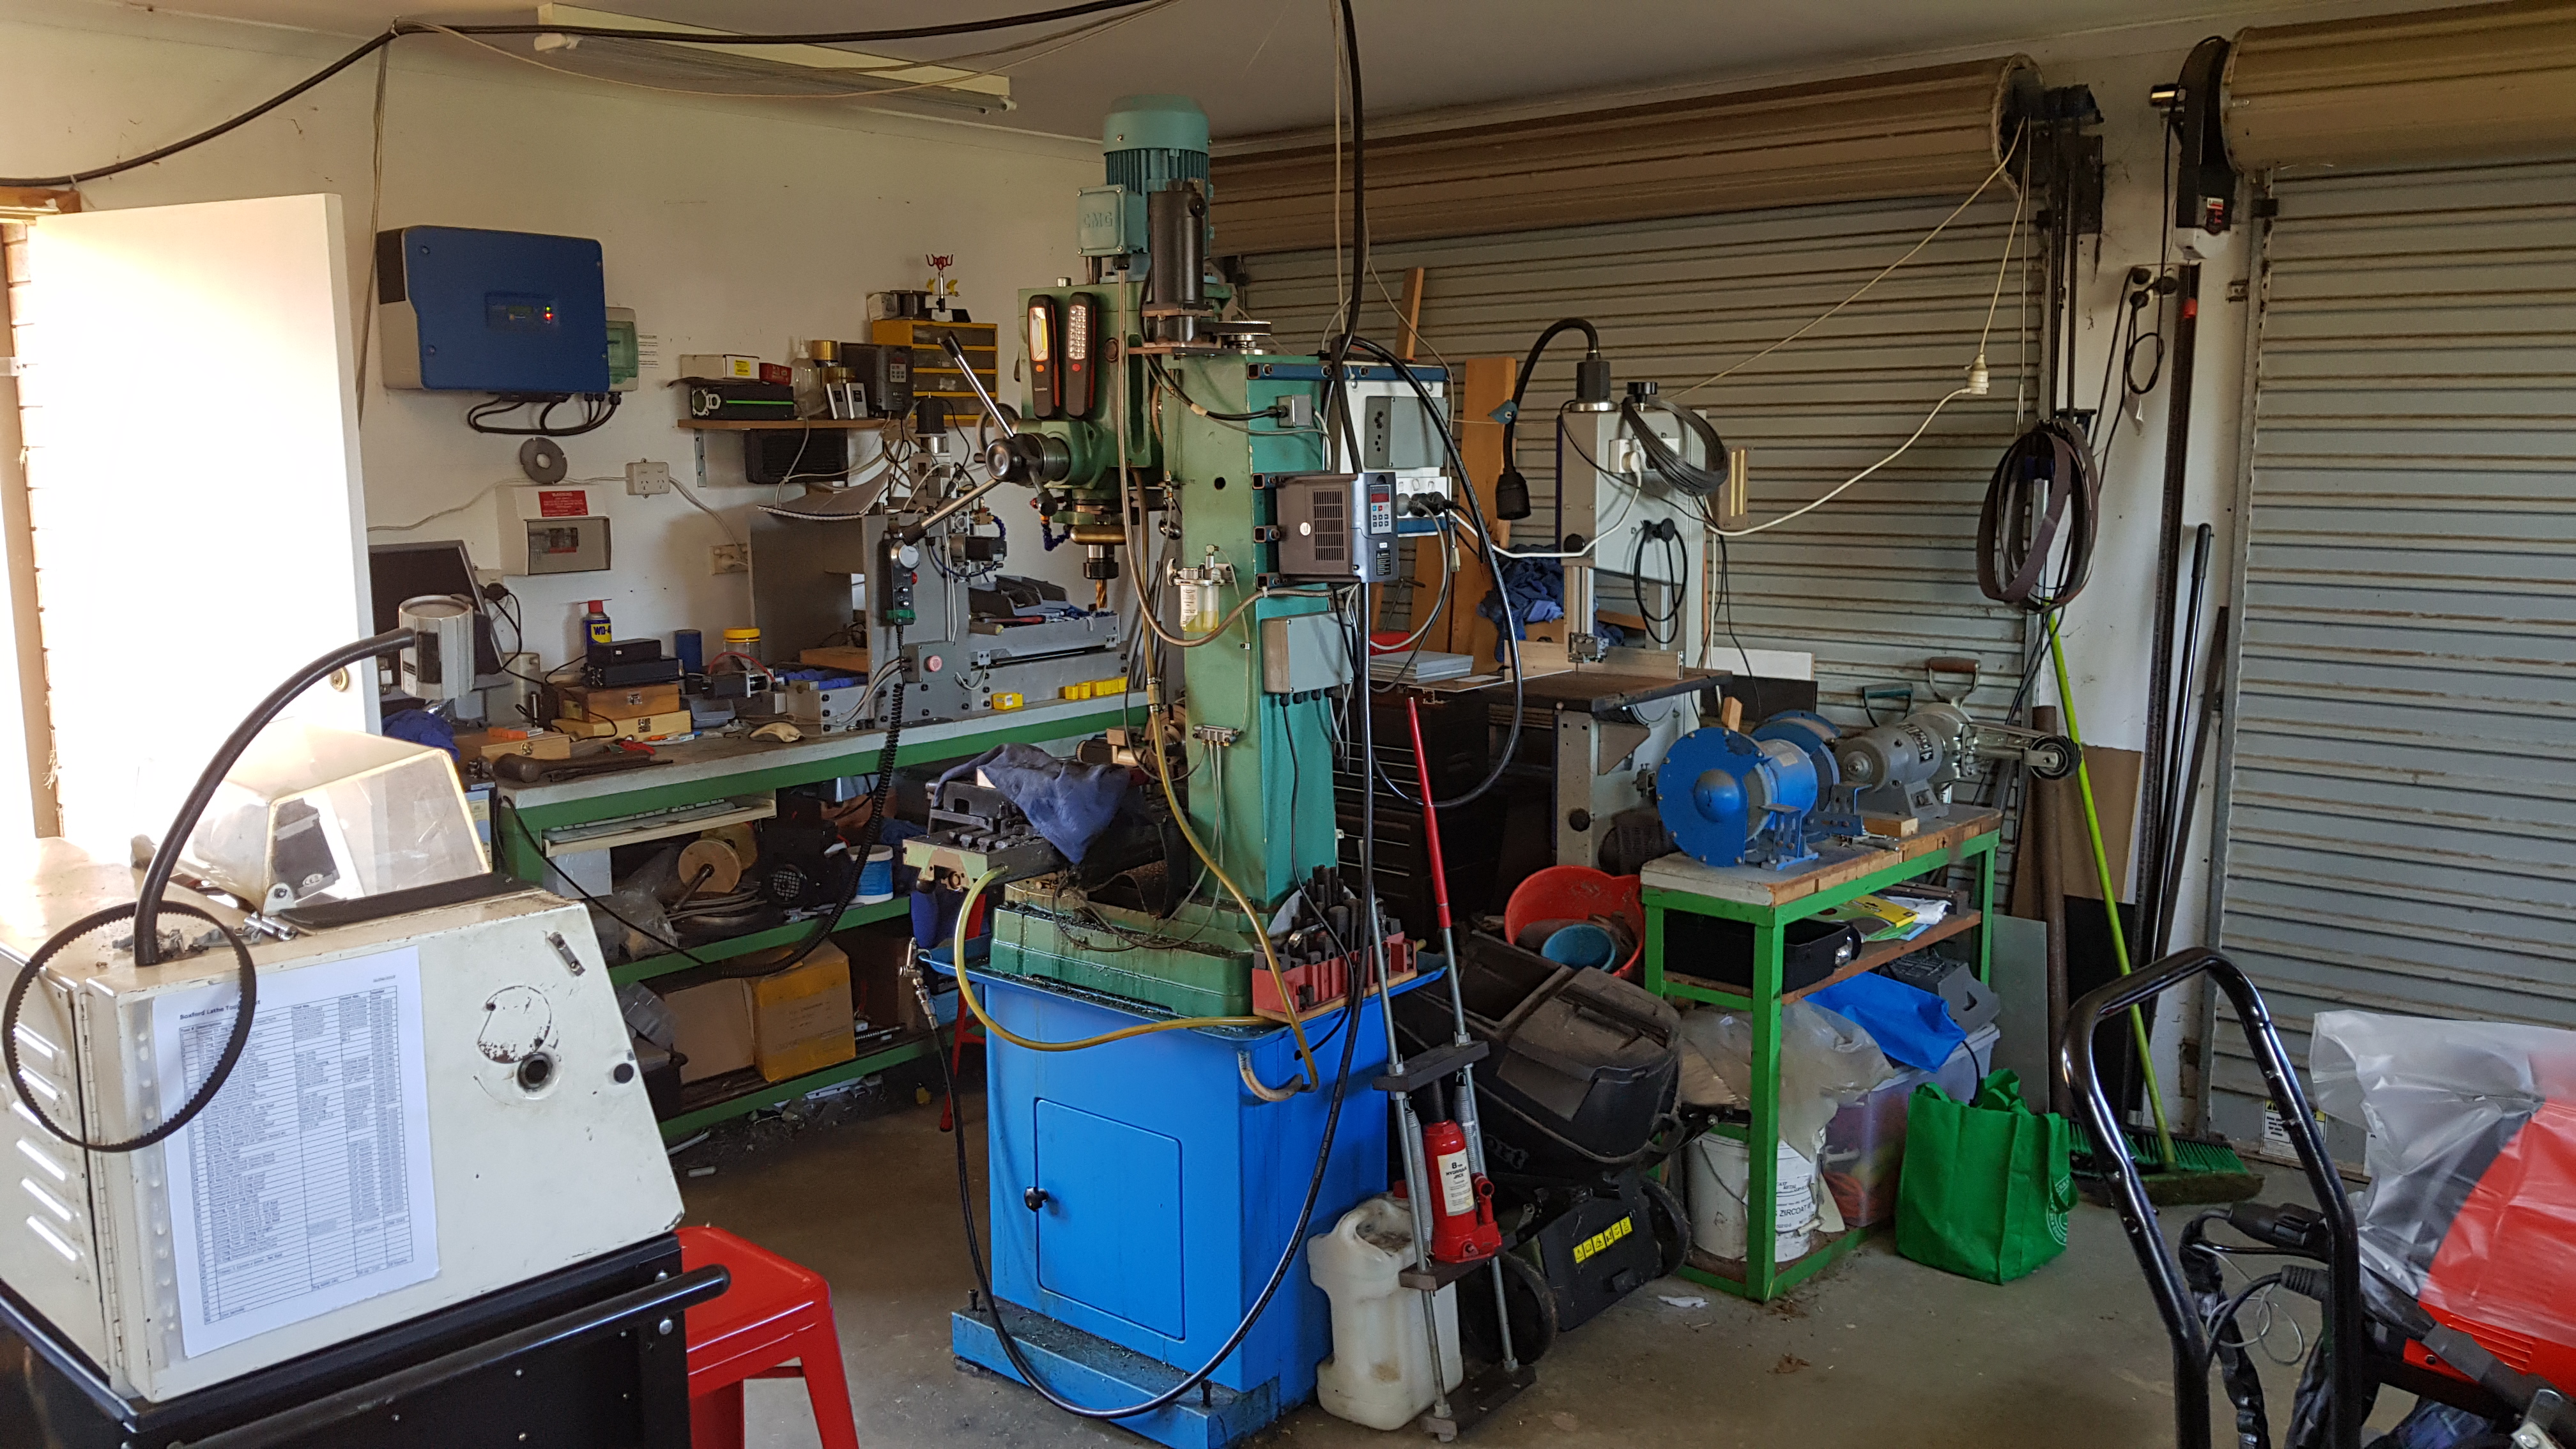
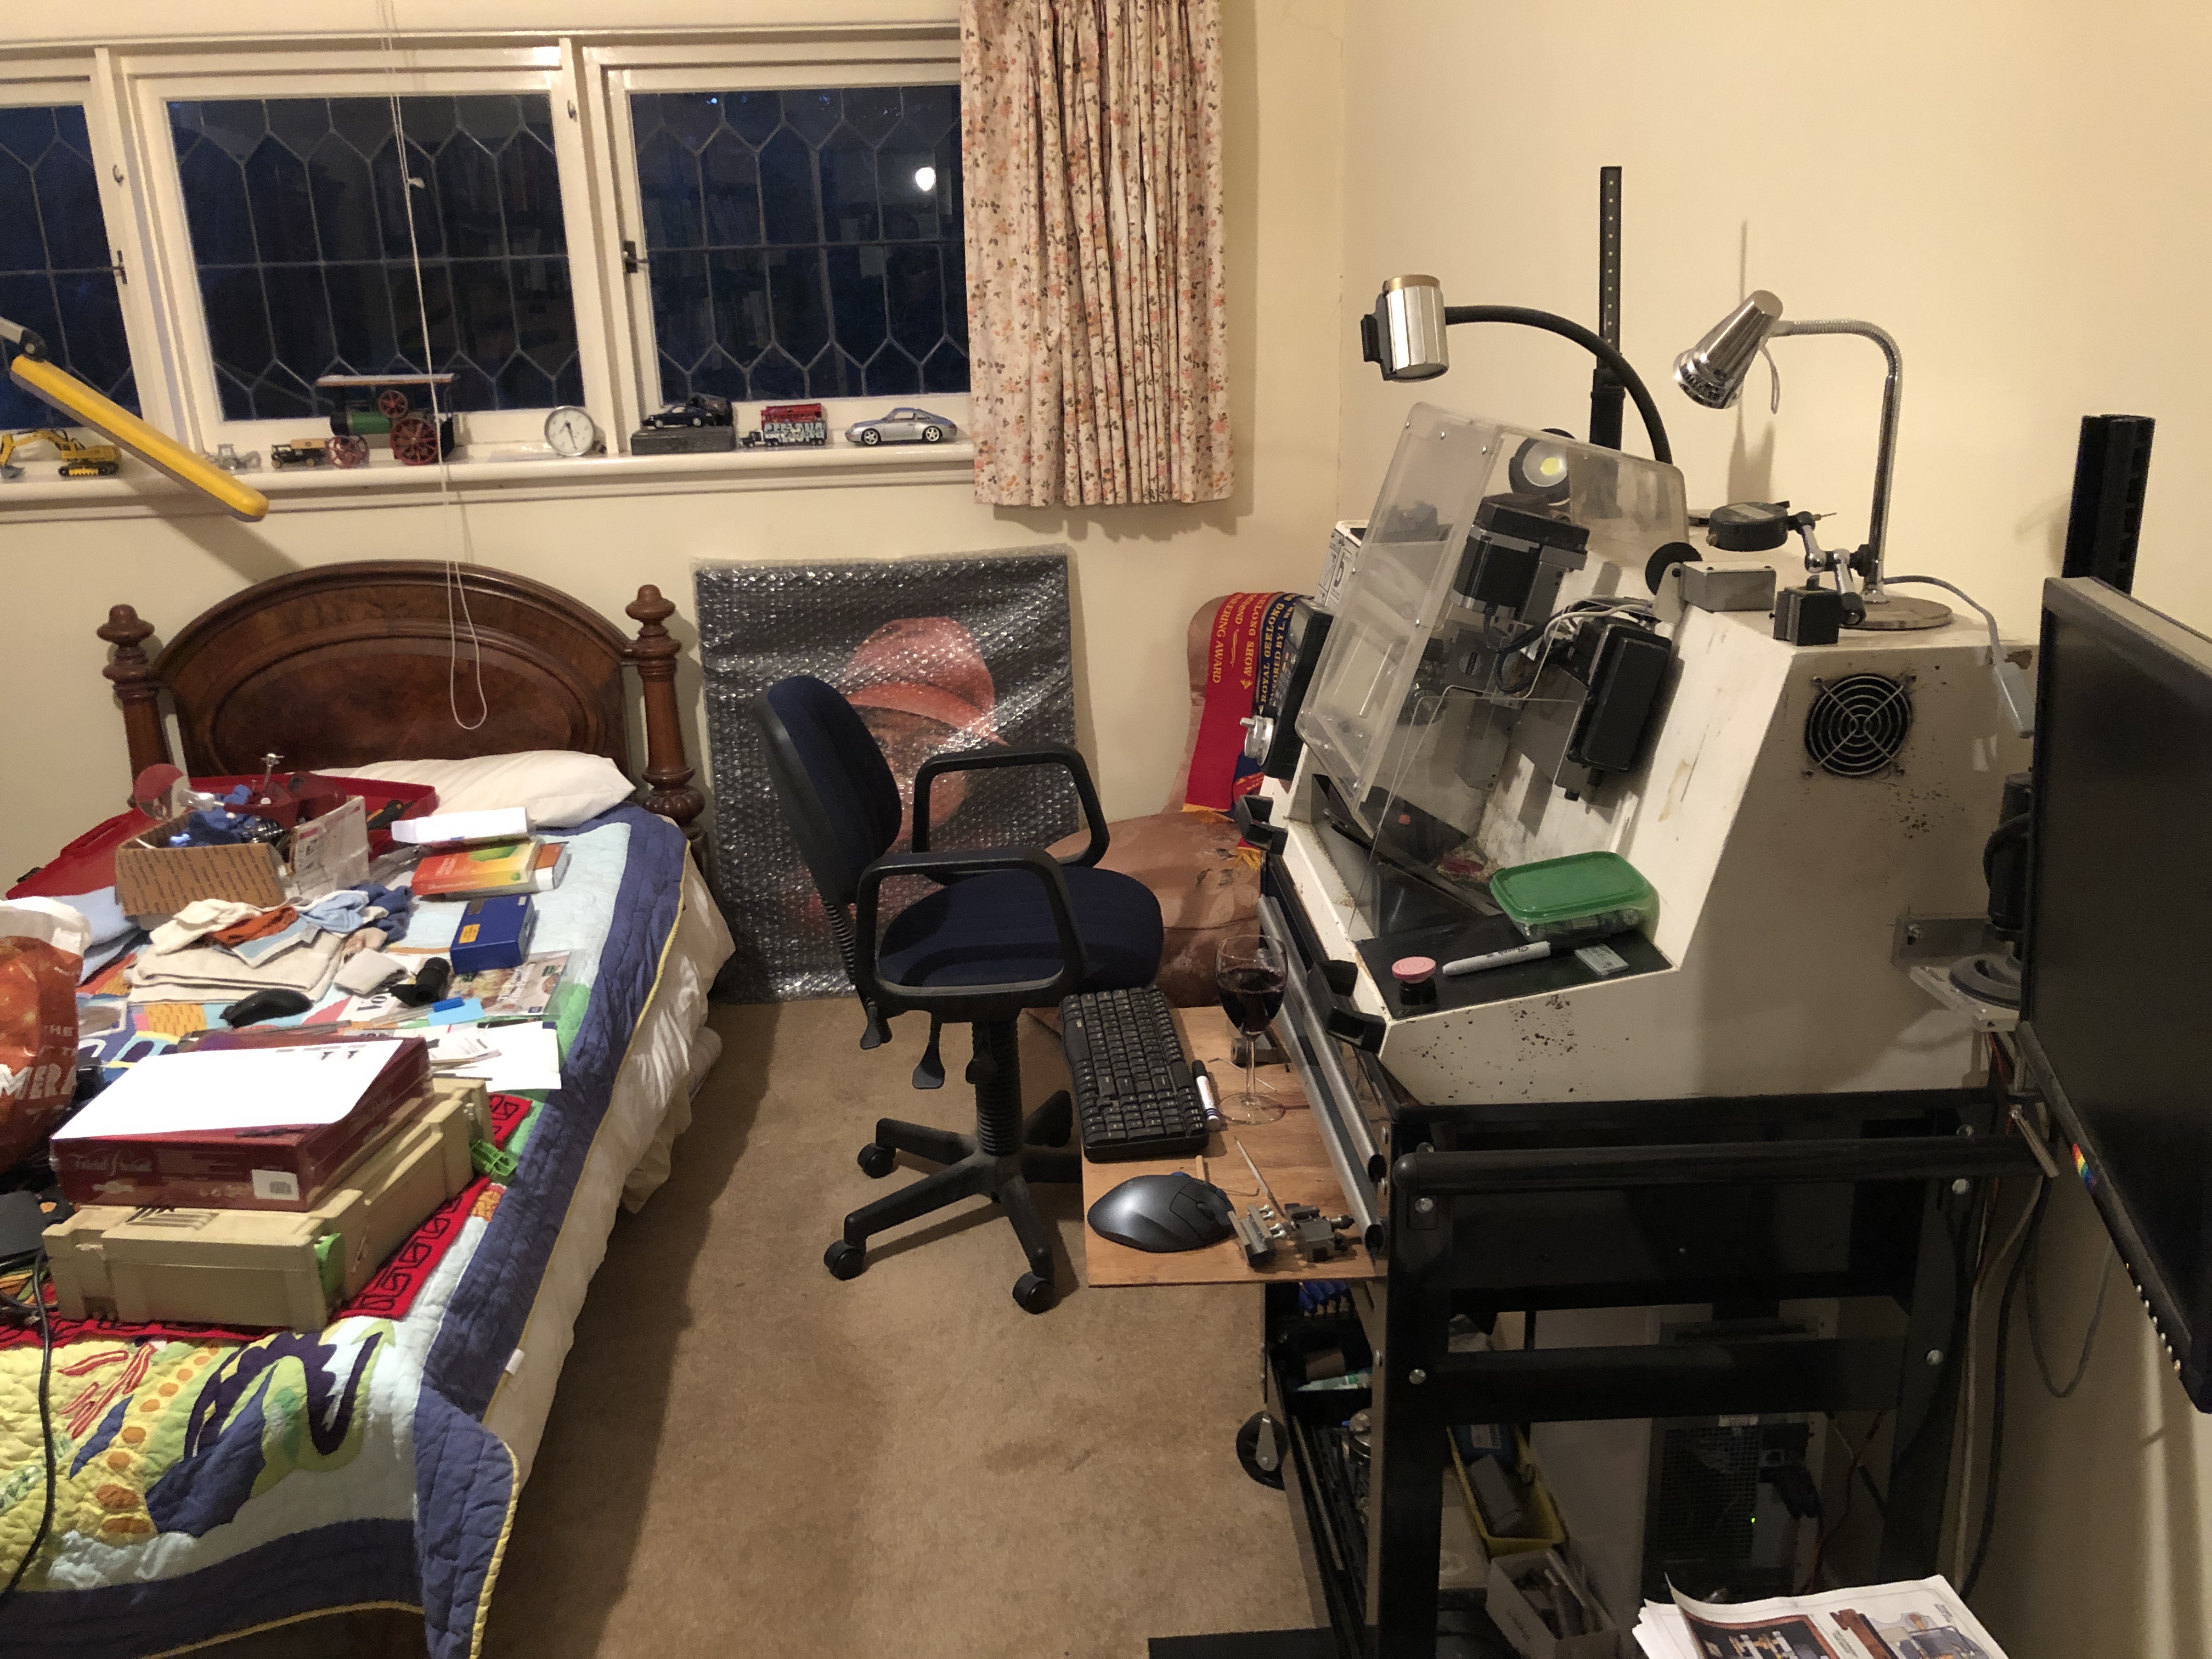
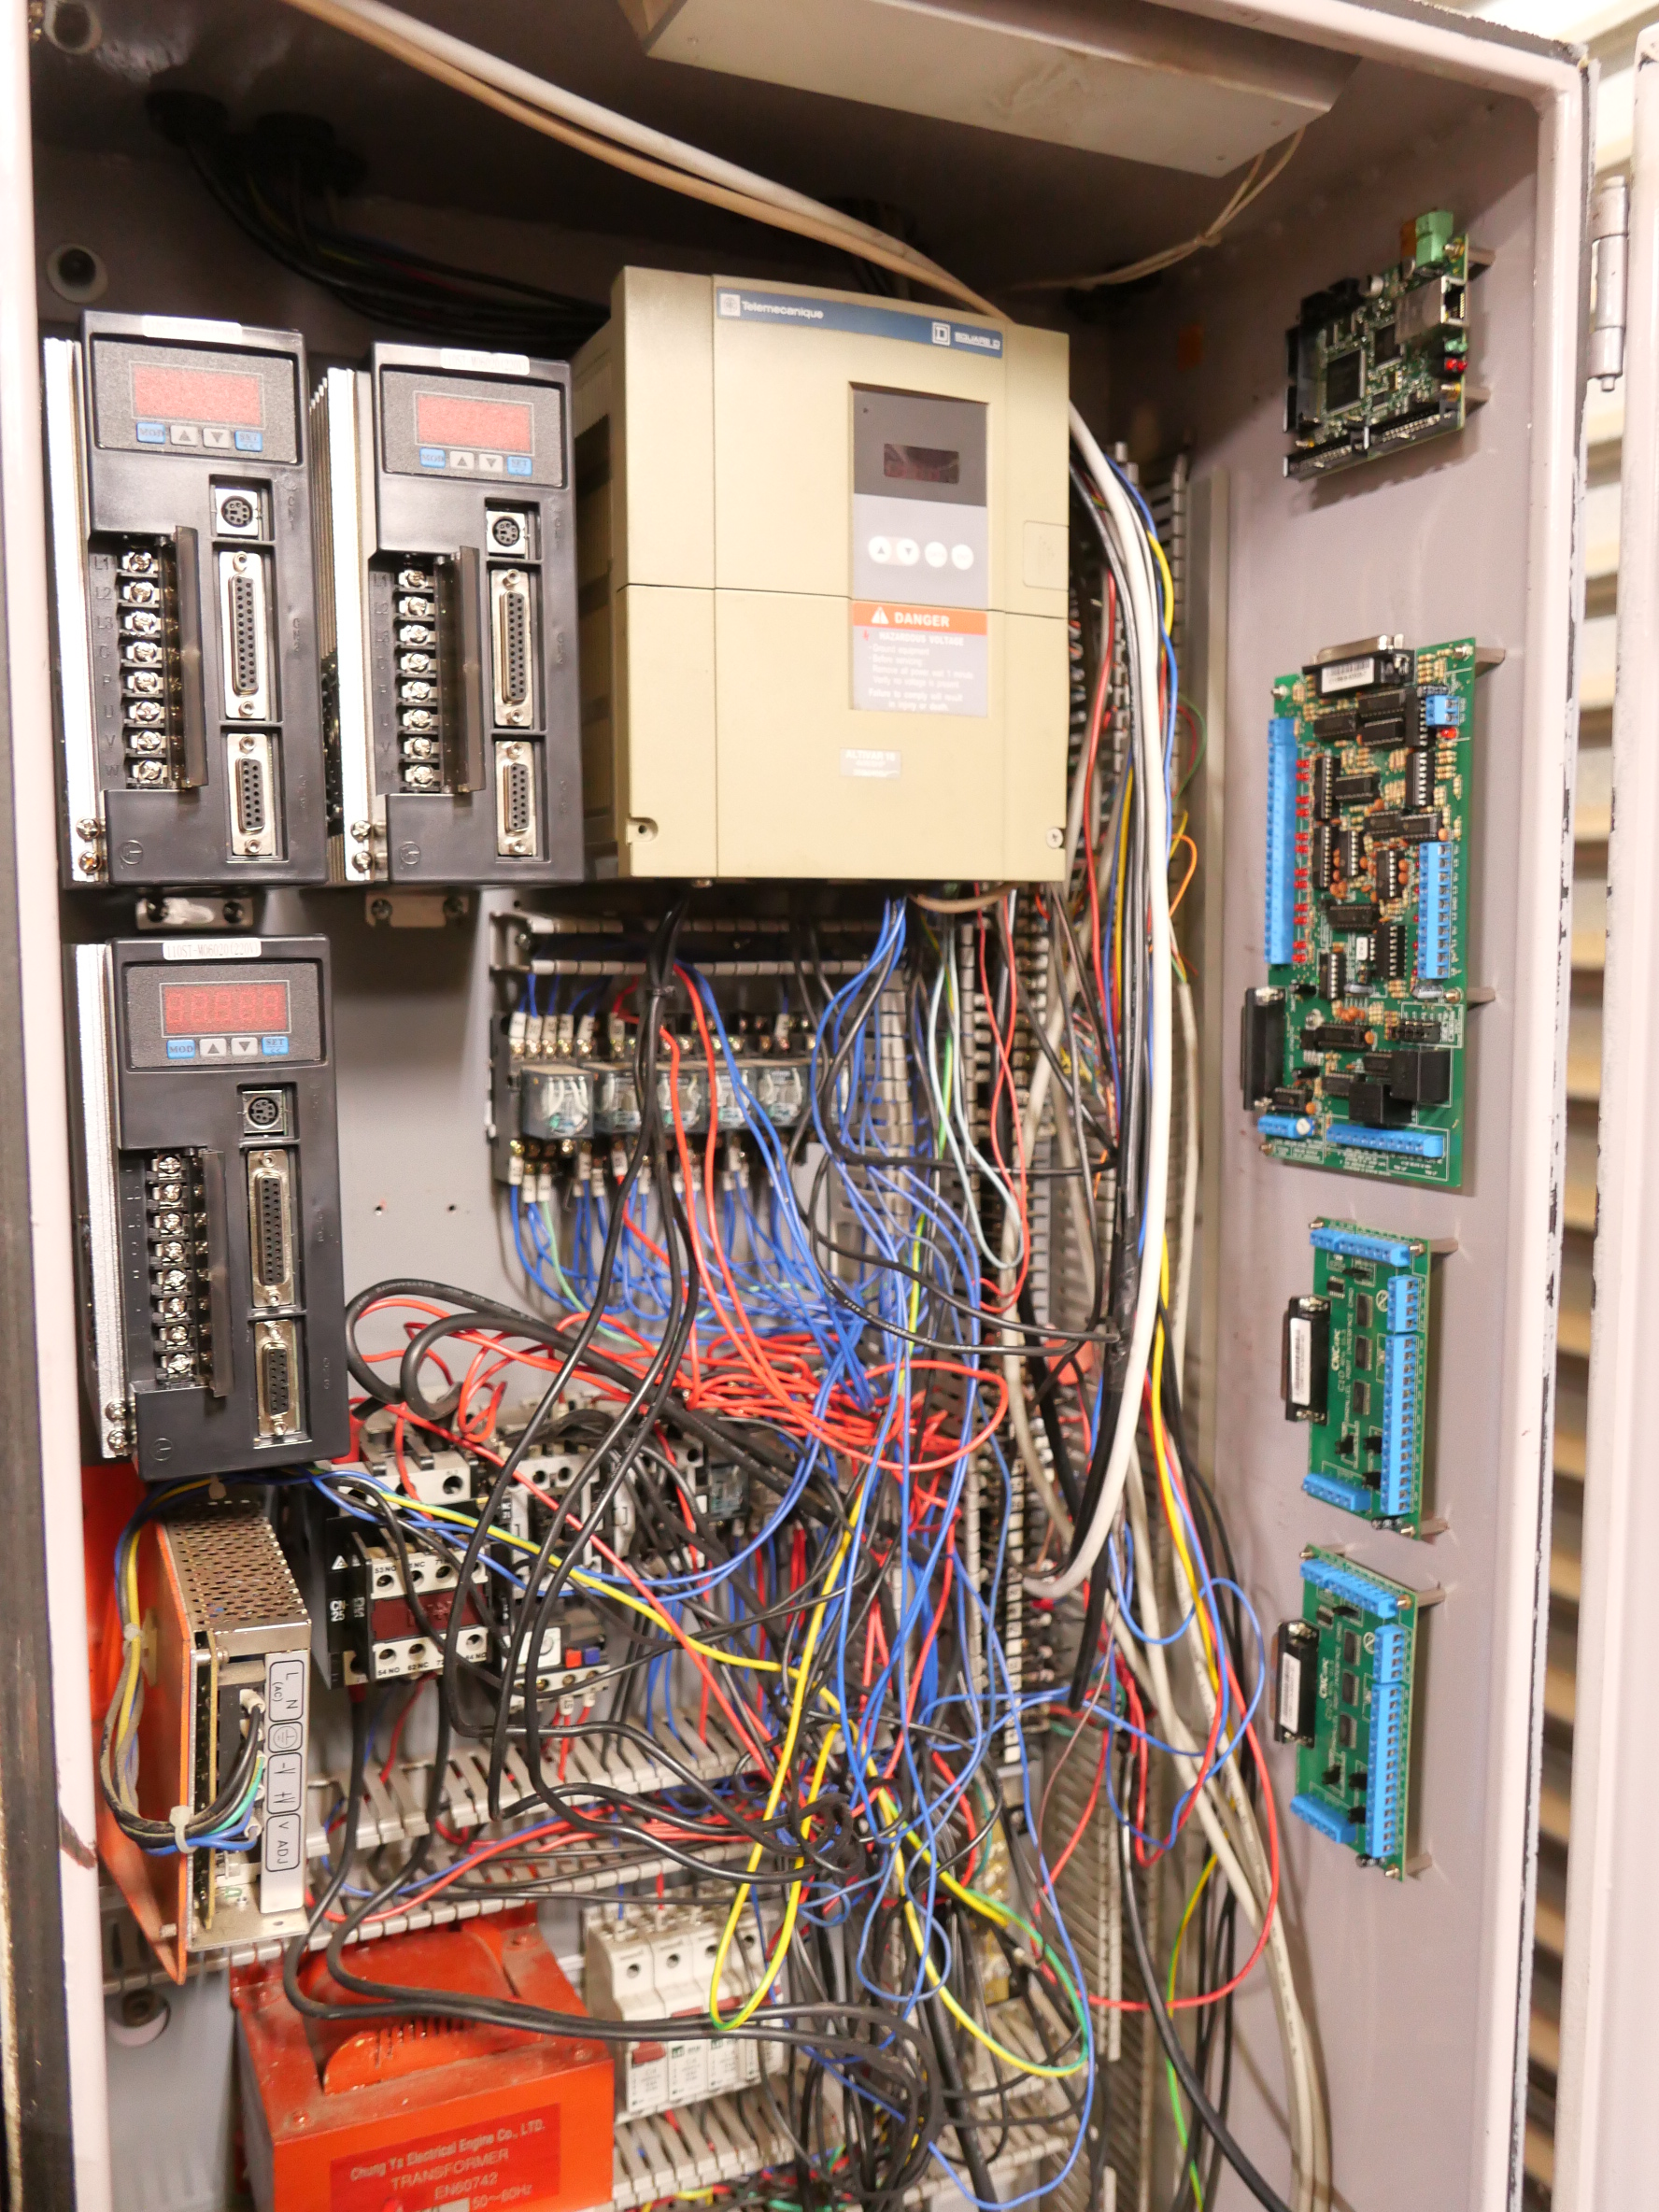
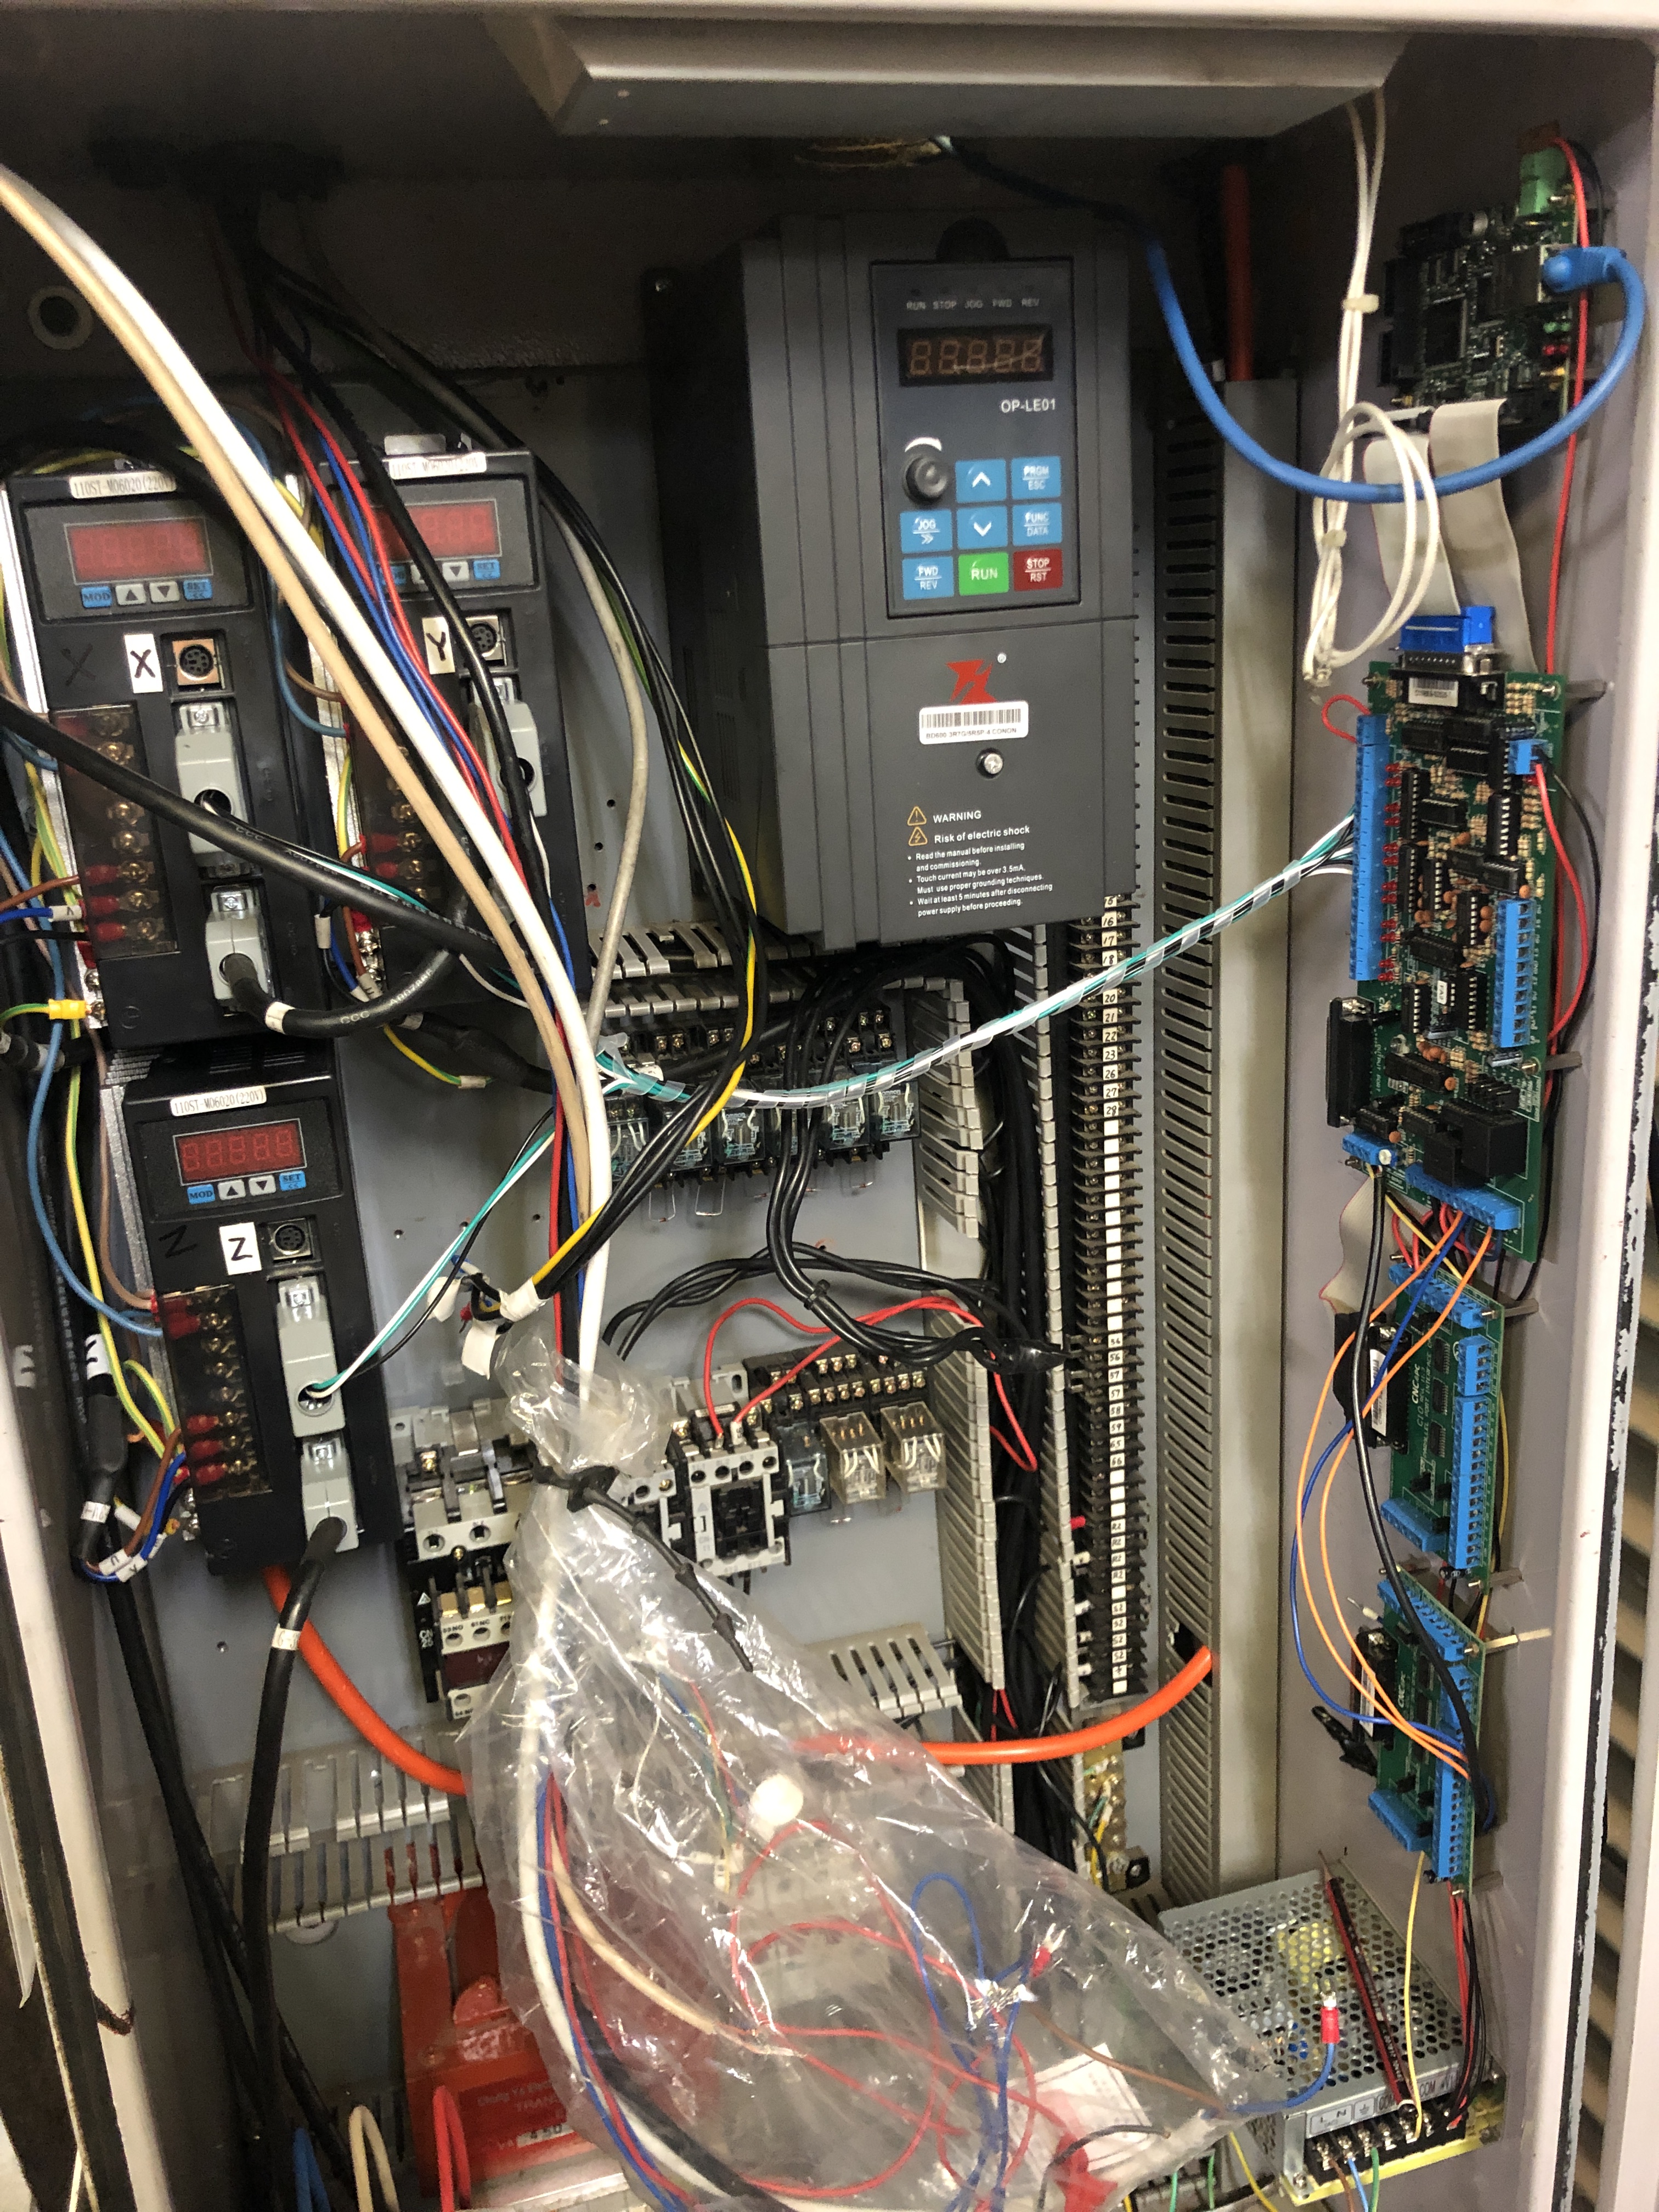
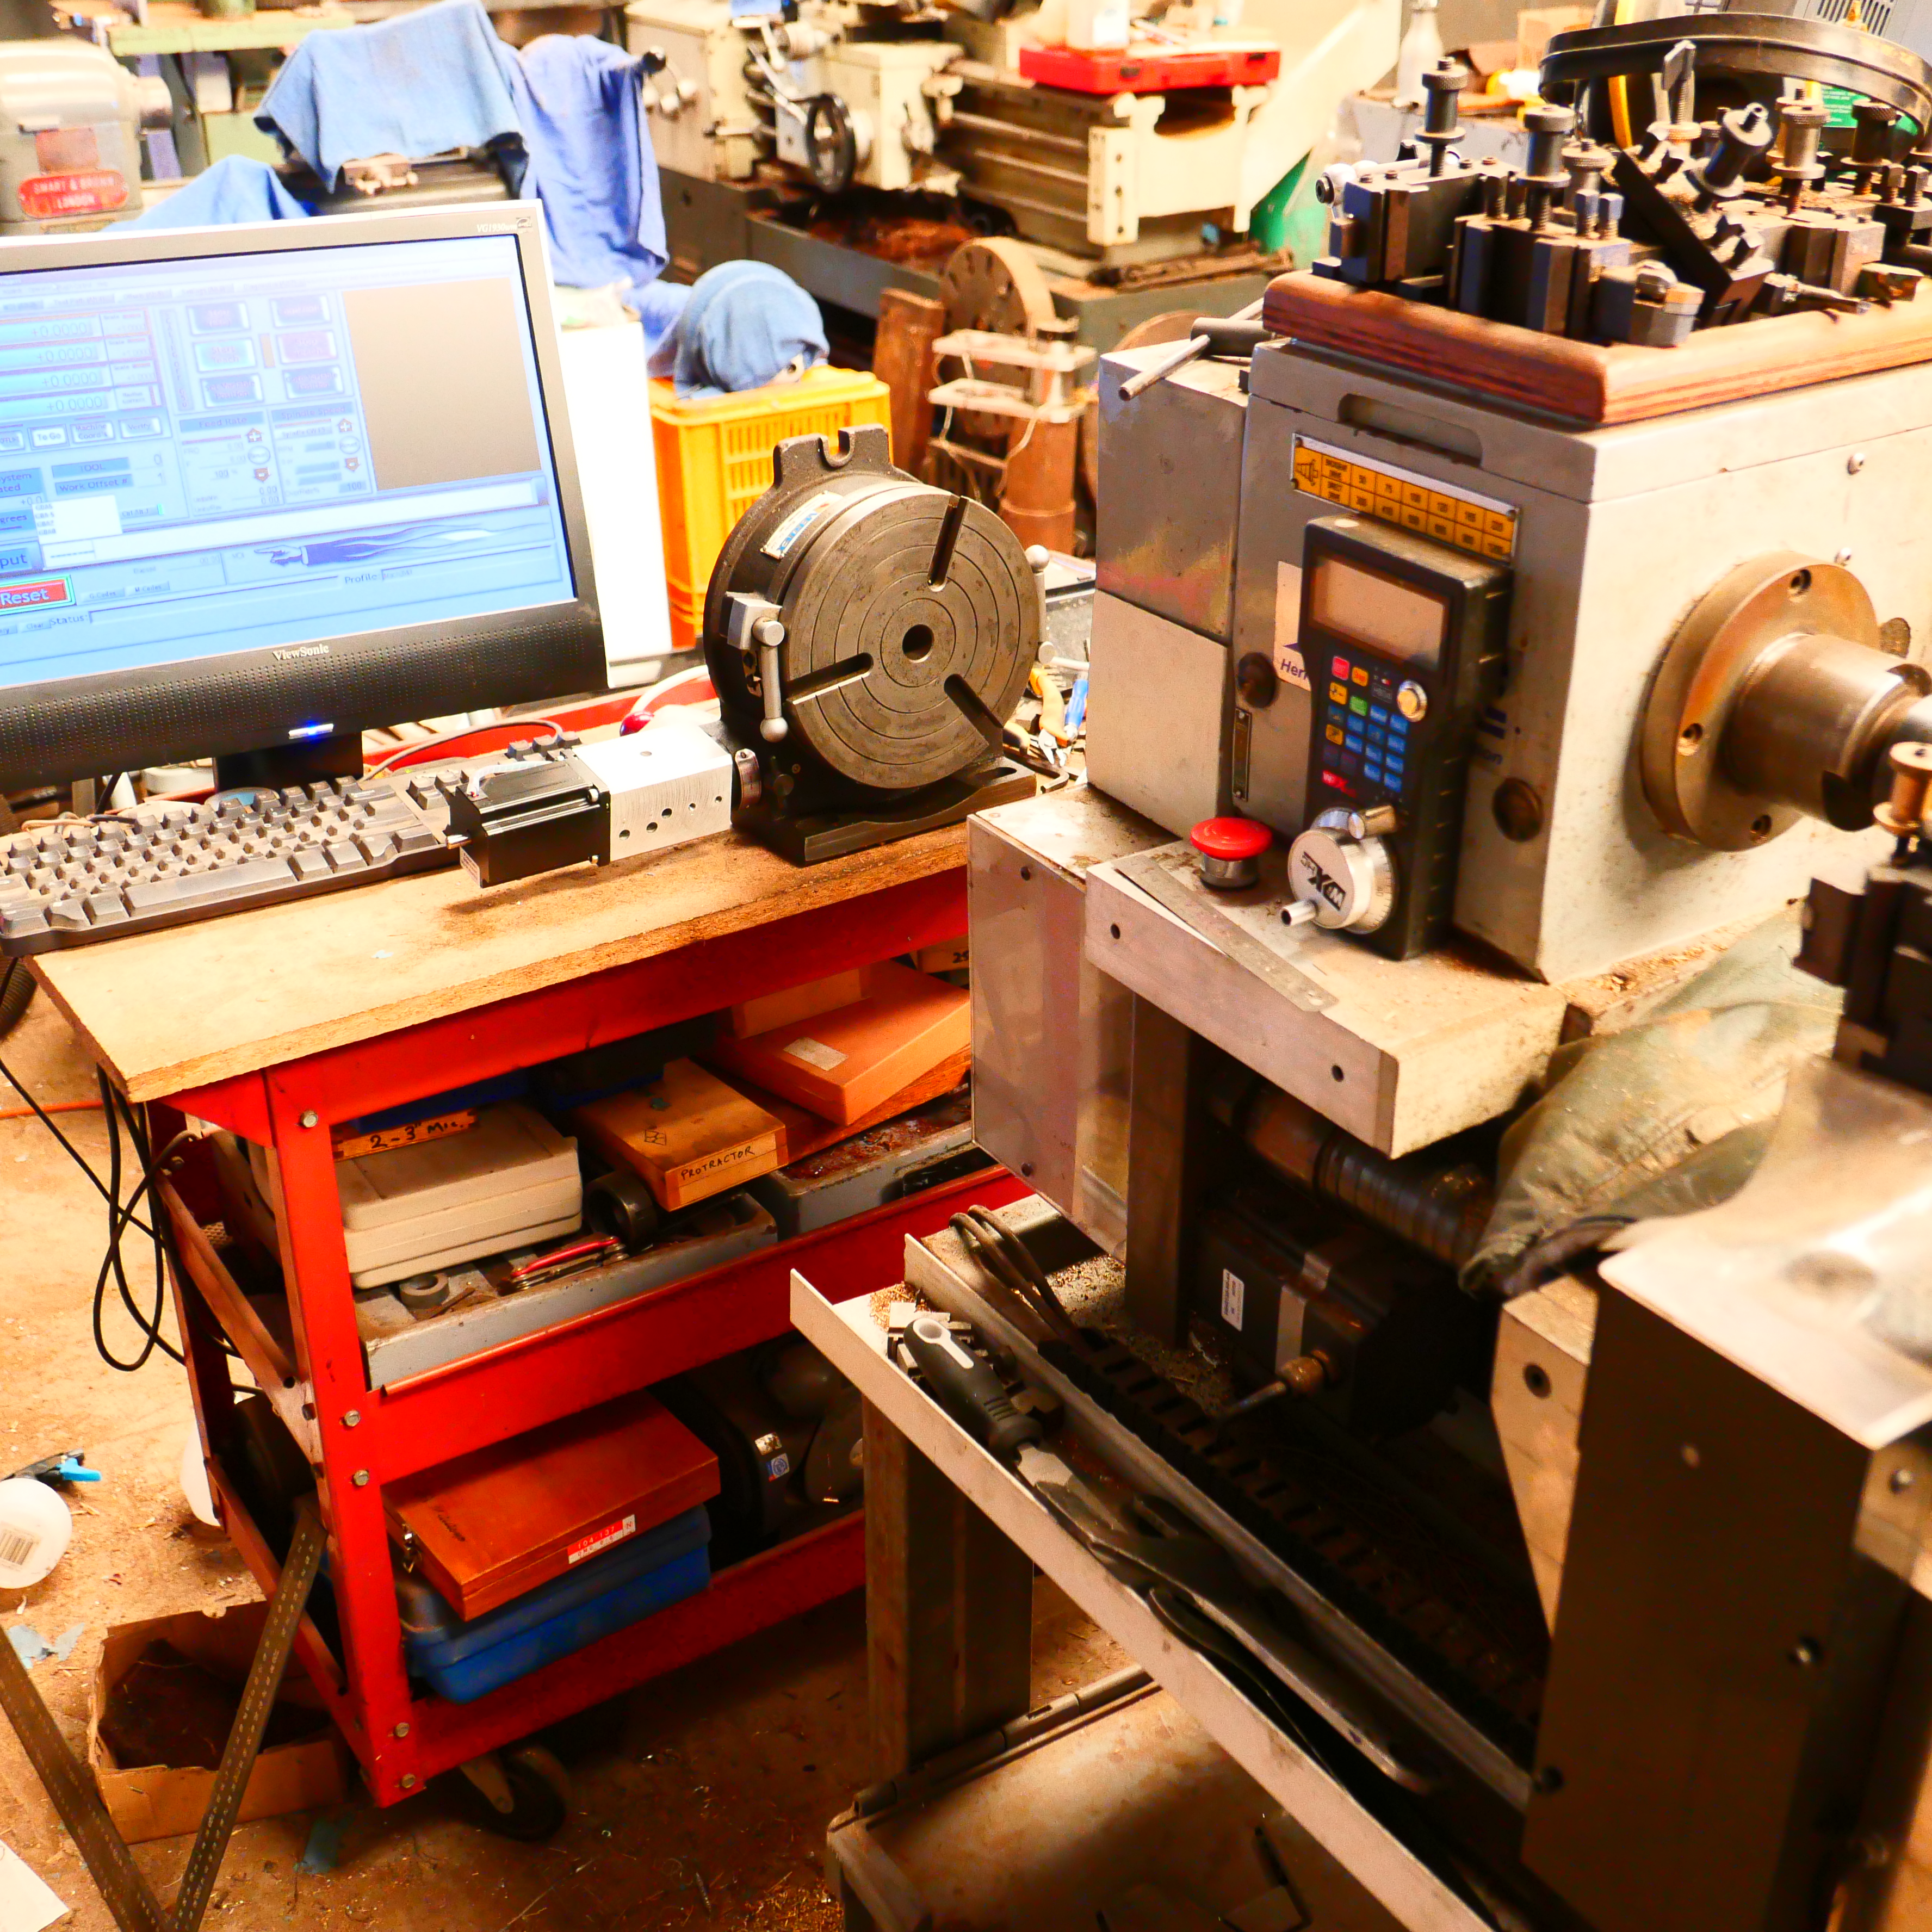
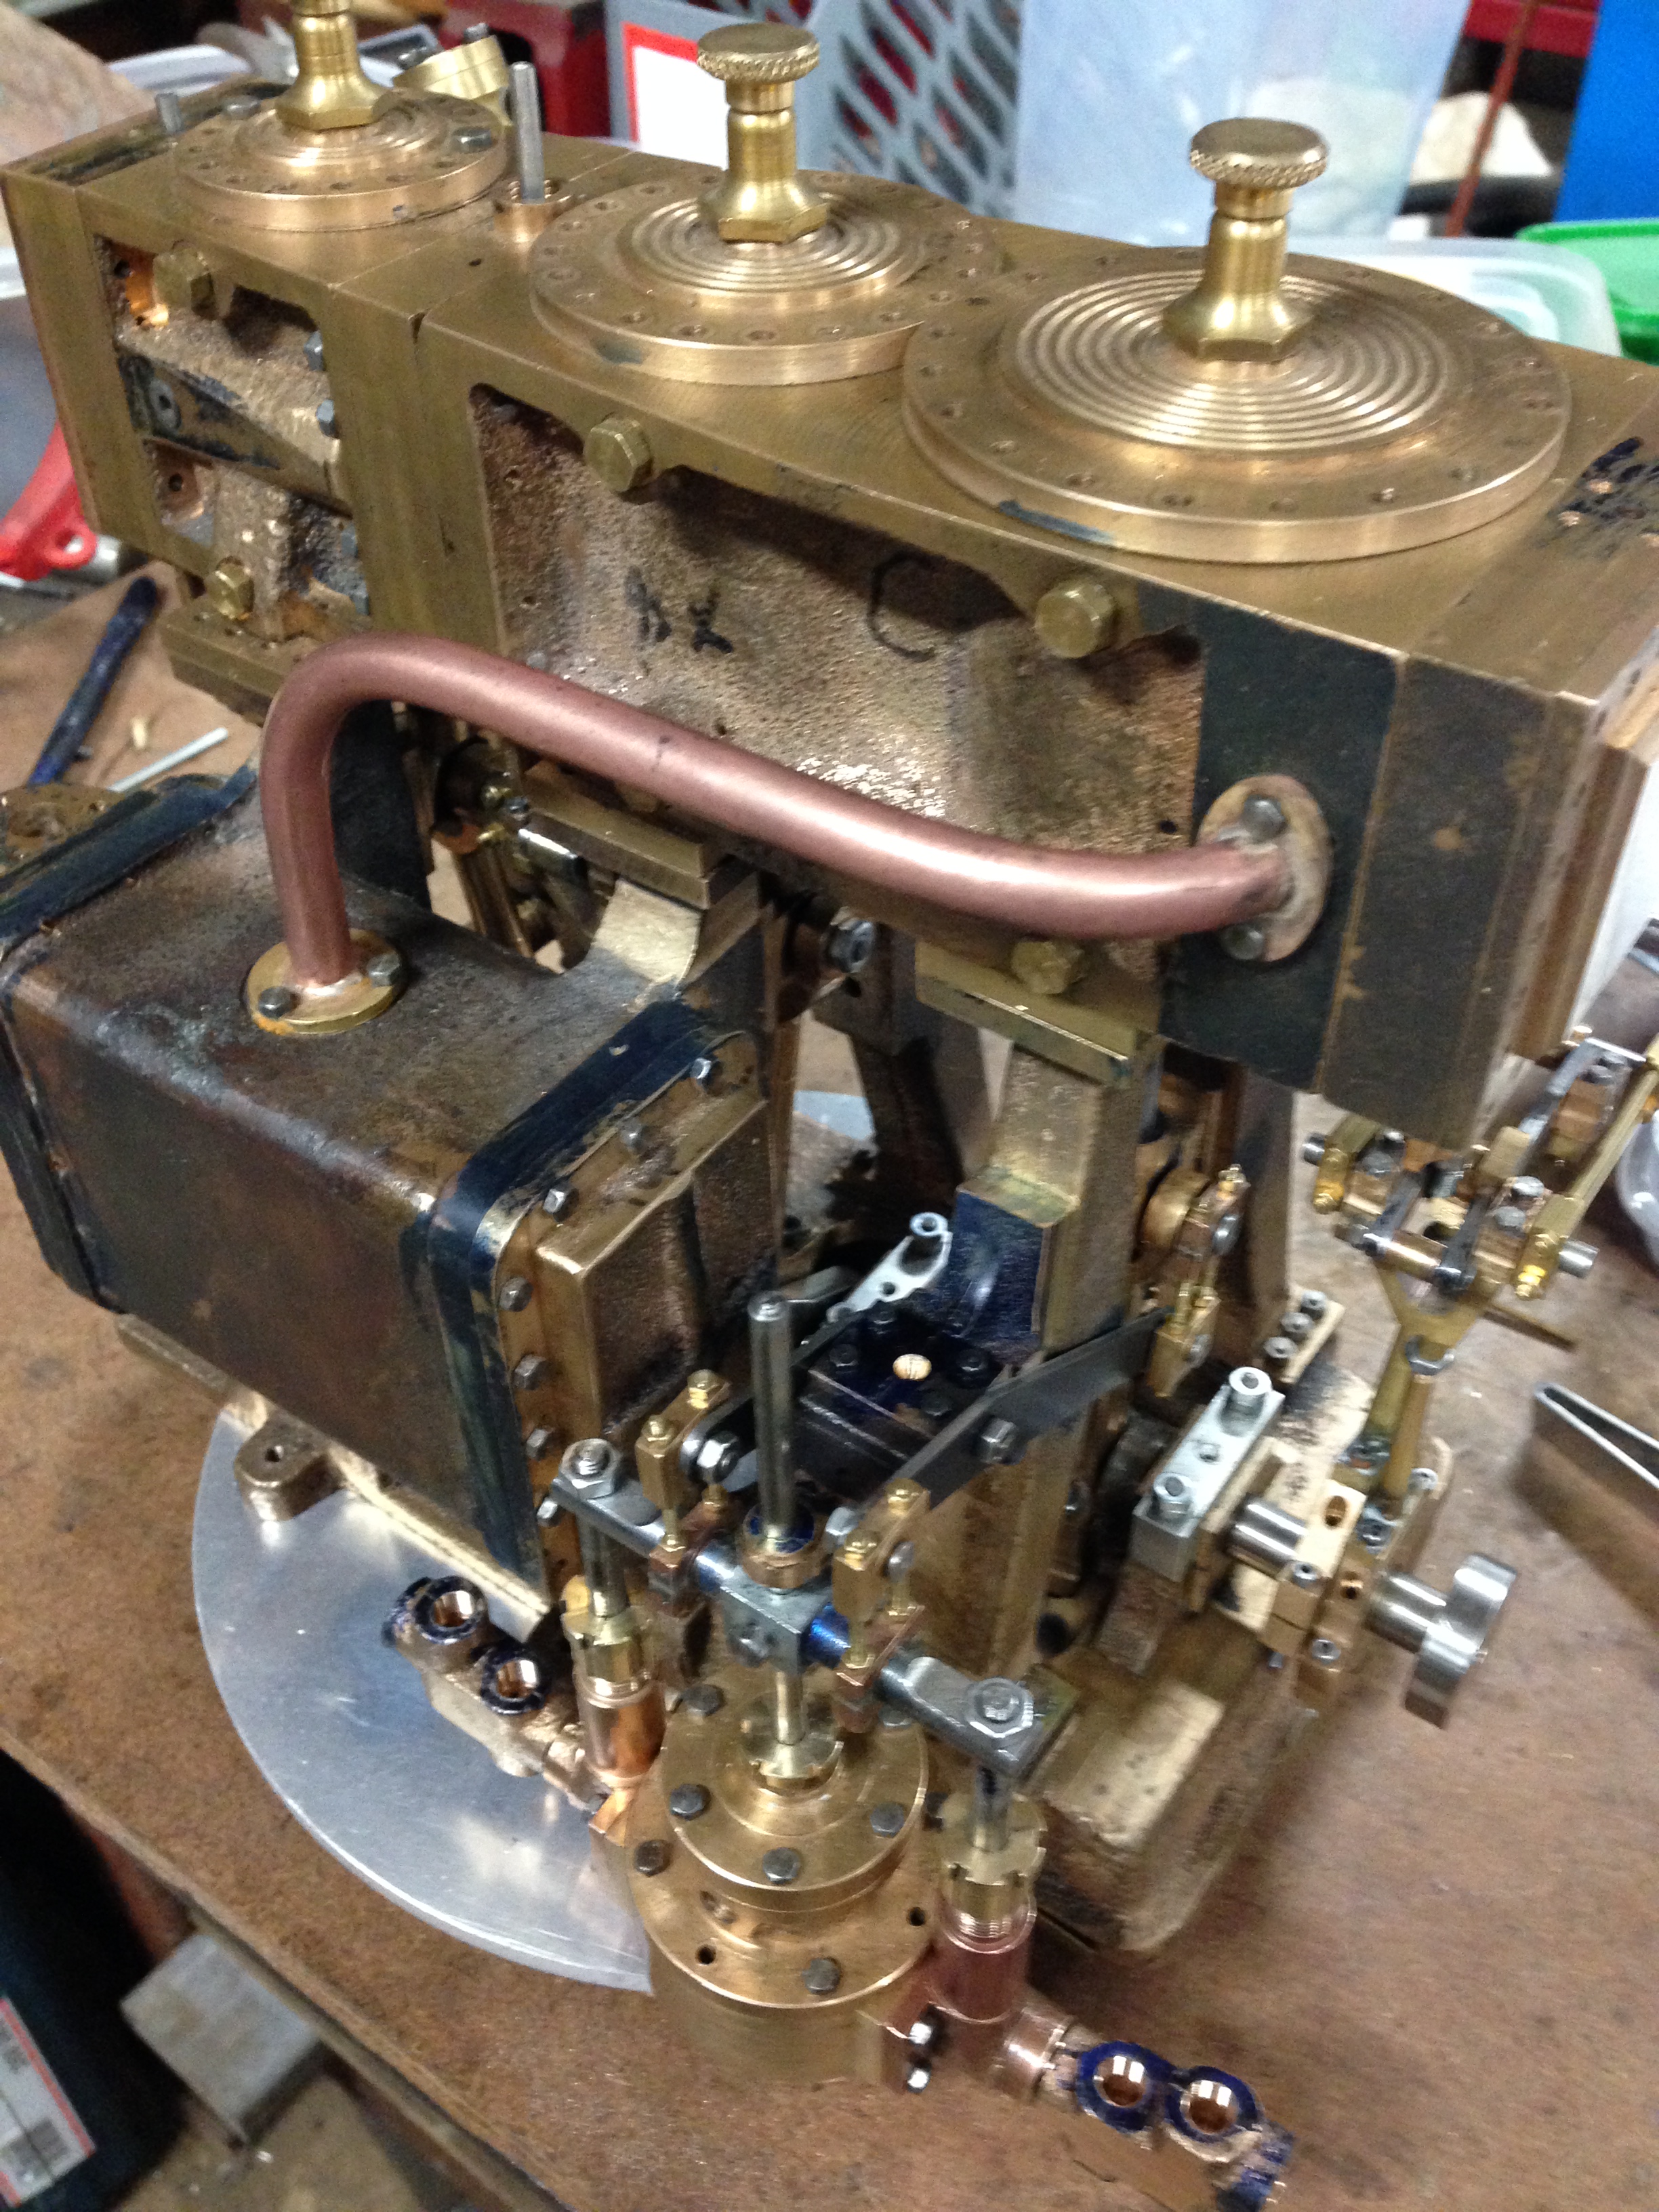
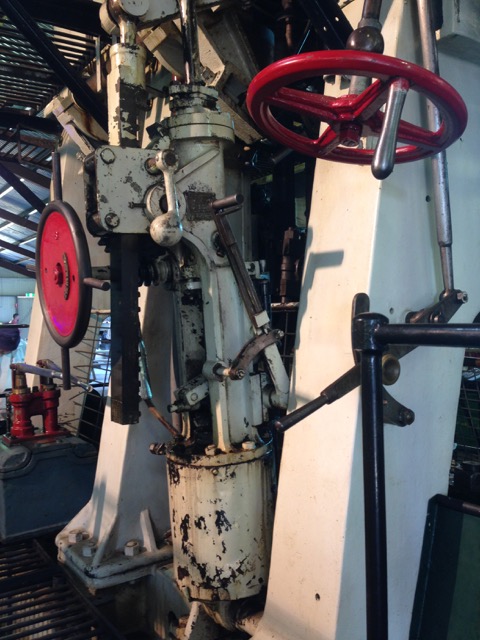
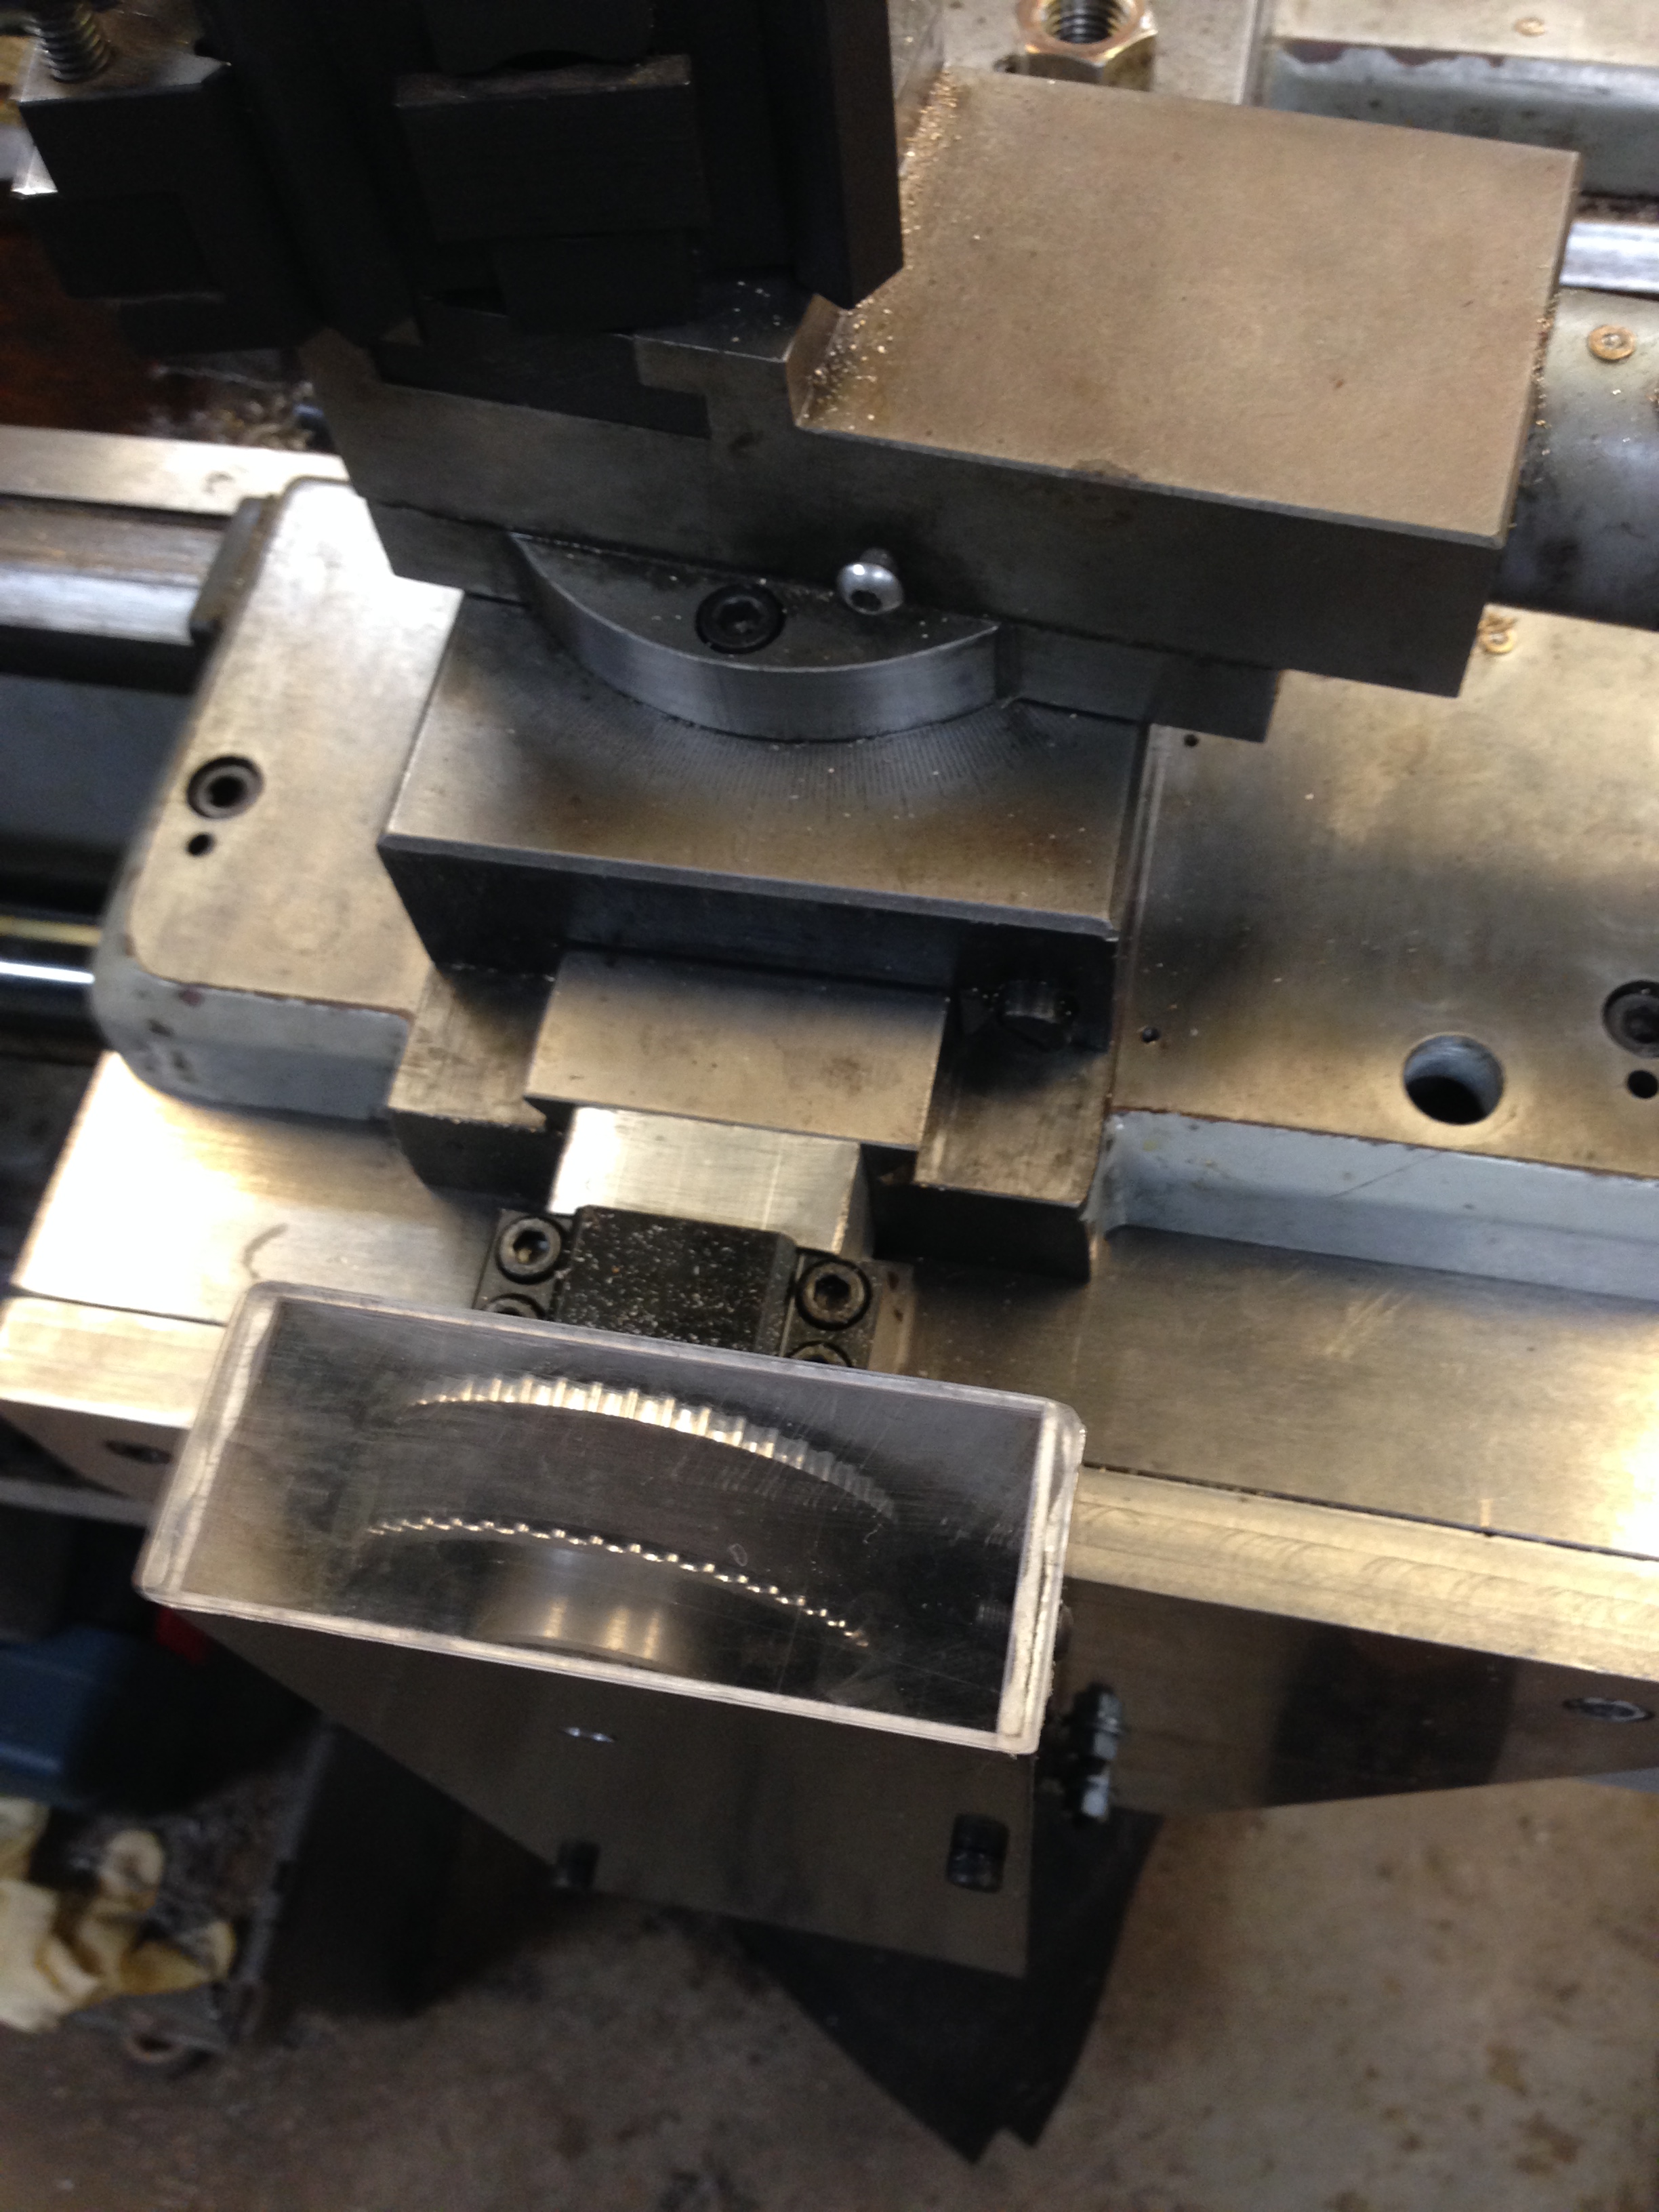
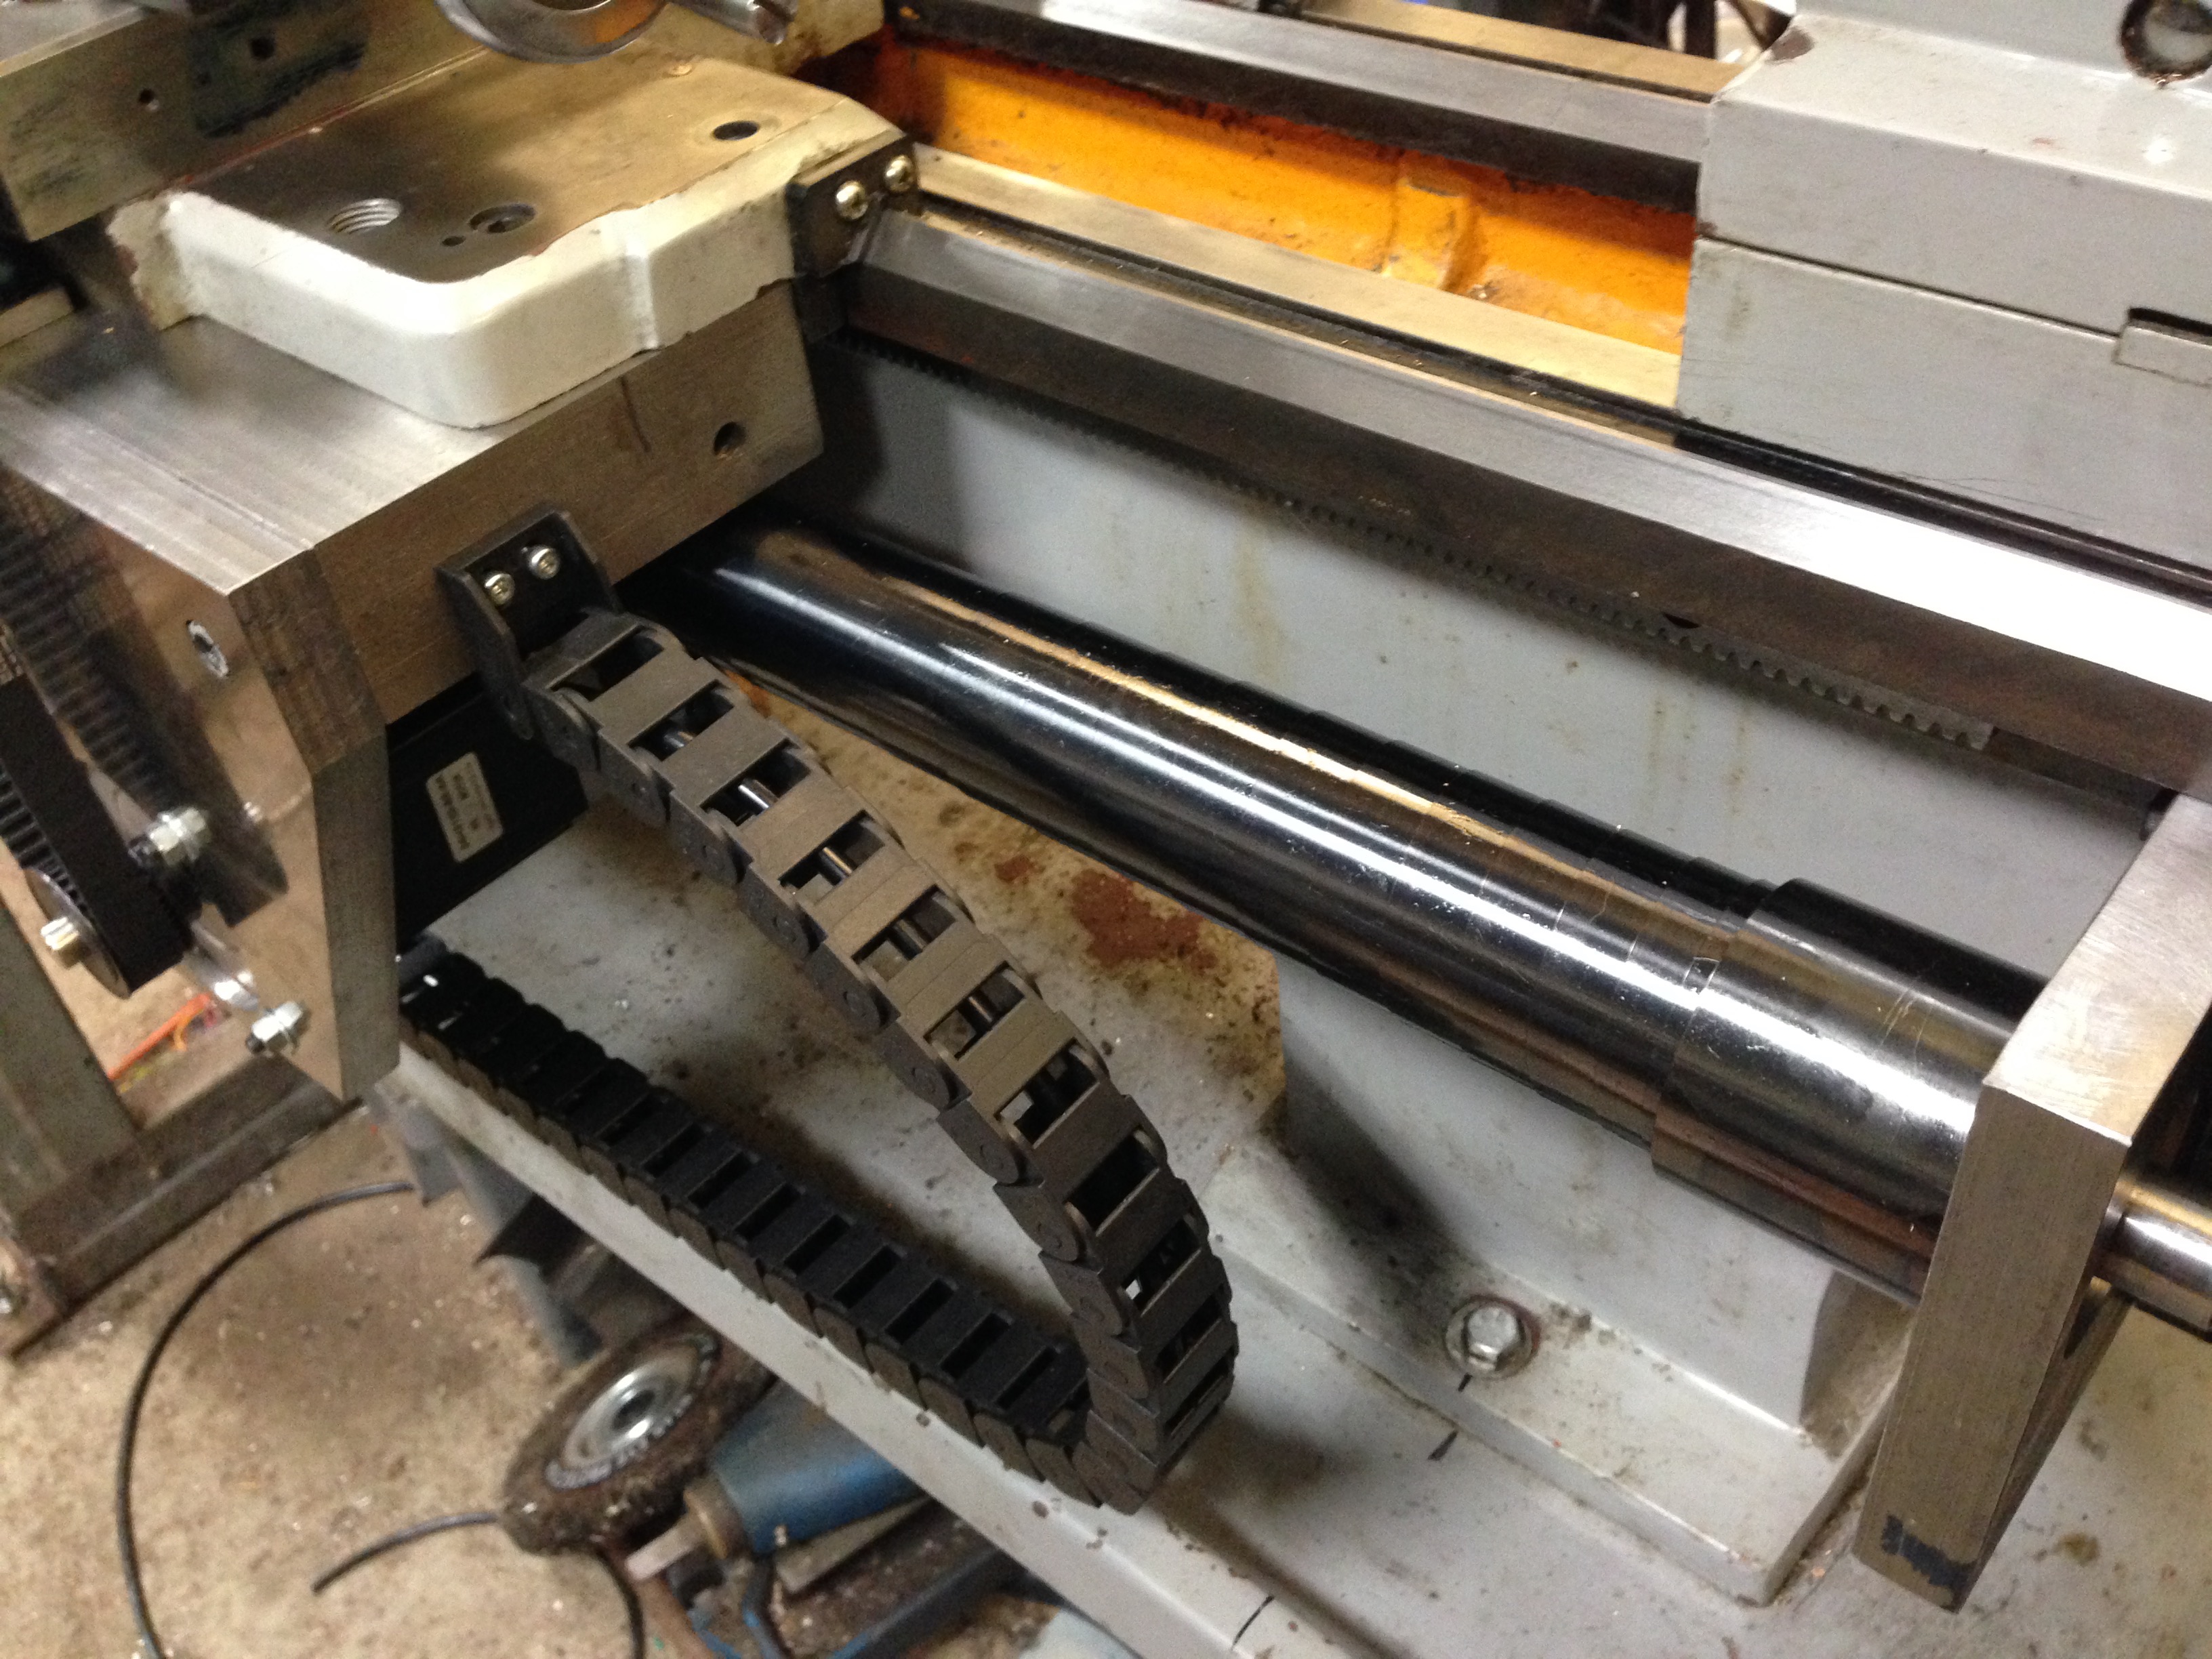
When I did venture back into the workshop, I discovered that my CNC mill was malfunctioning.  The Y axis has been a bit unpredictable for quite a while.  I found a broken wire and fixed it, but the problem returned.  After a previous electronic failure in the Z axis, my CNC expert advisor, Stuart,  suggested that I should  replace the electronics in a major upgrade.  The mill is a solid industrial machine, mechanically in sound condition, and is worth spending some time and money on.

It is a 1997 model, and the memory in the CNC motherboard is a whopping 7k!  I was able to get a fair bit done with the 7k, and the situation was improved by linking an external PC, and using V-Carve Pro.  But there was a limitation in that the mill is a 2.5 axis machine.  Not that I want to use 3 or 4 axes very often, but the lure of improving the mill is irresistible.

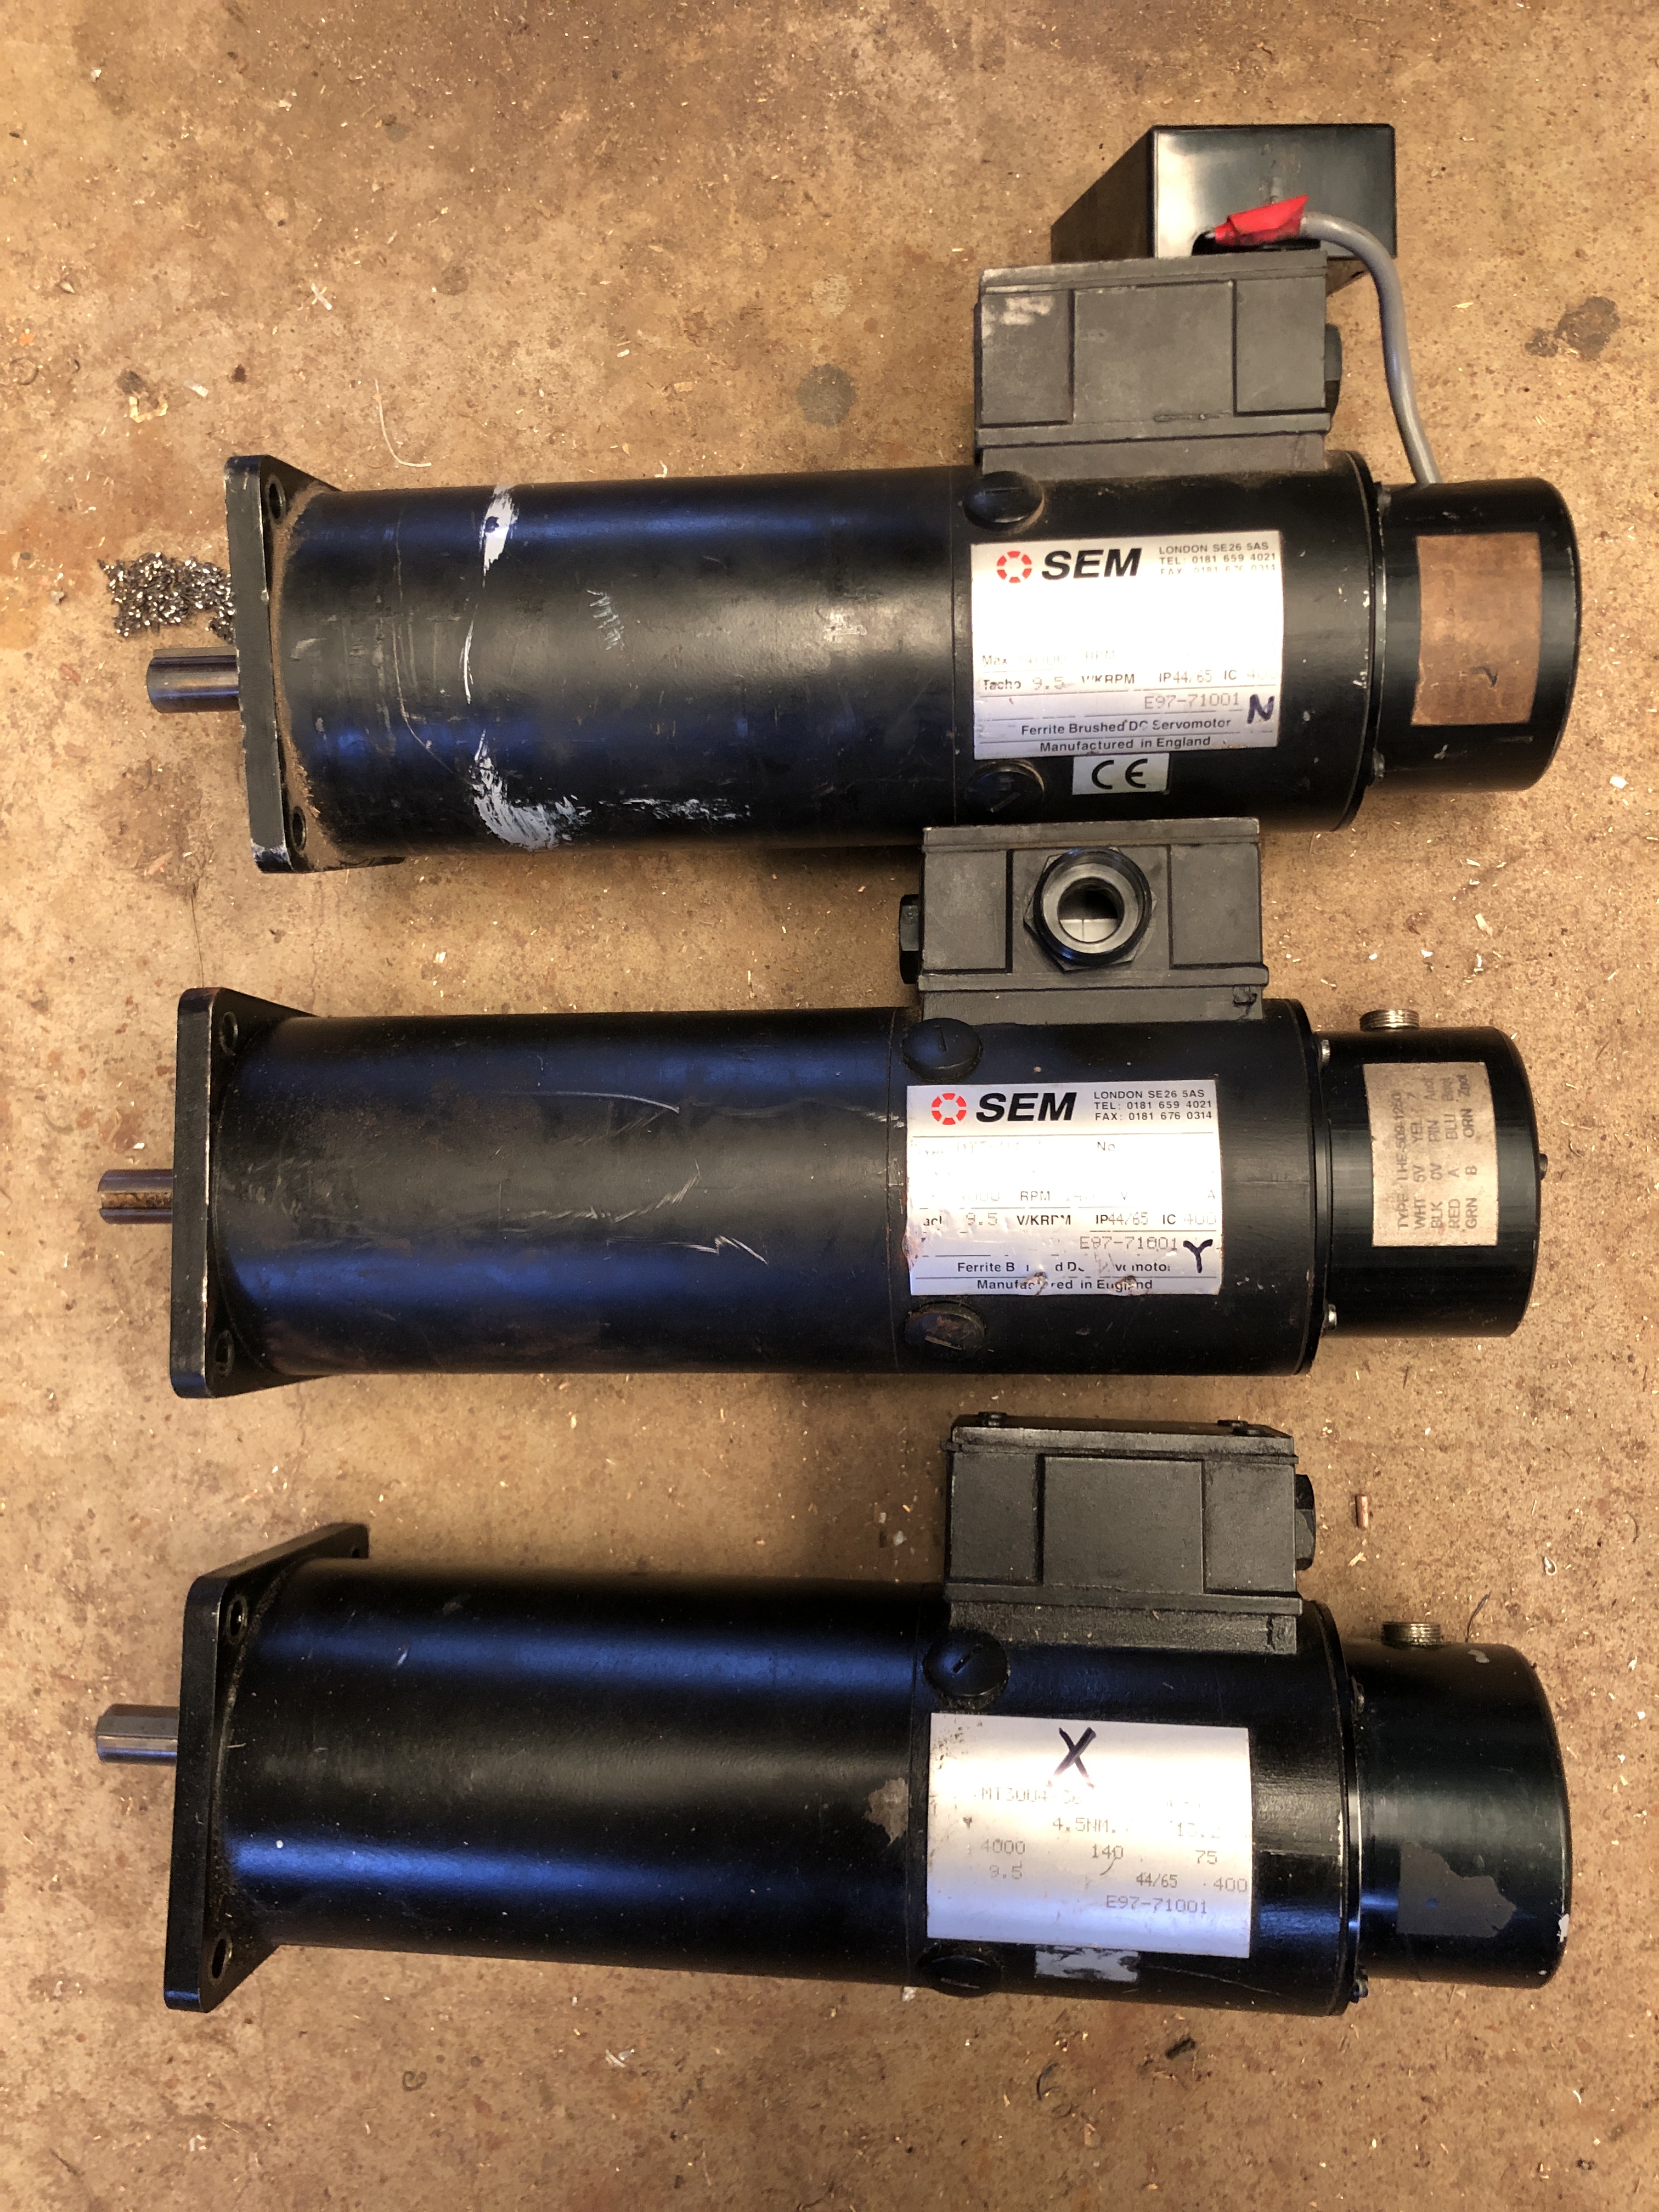
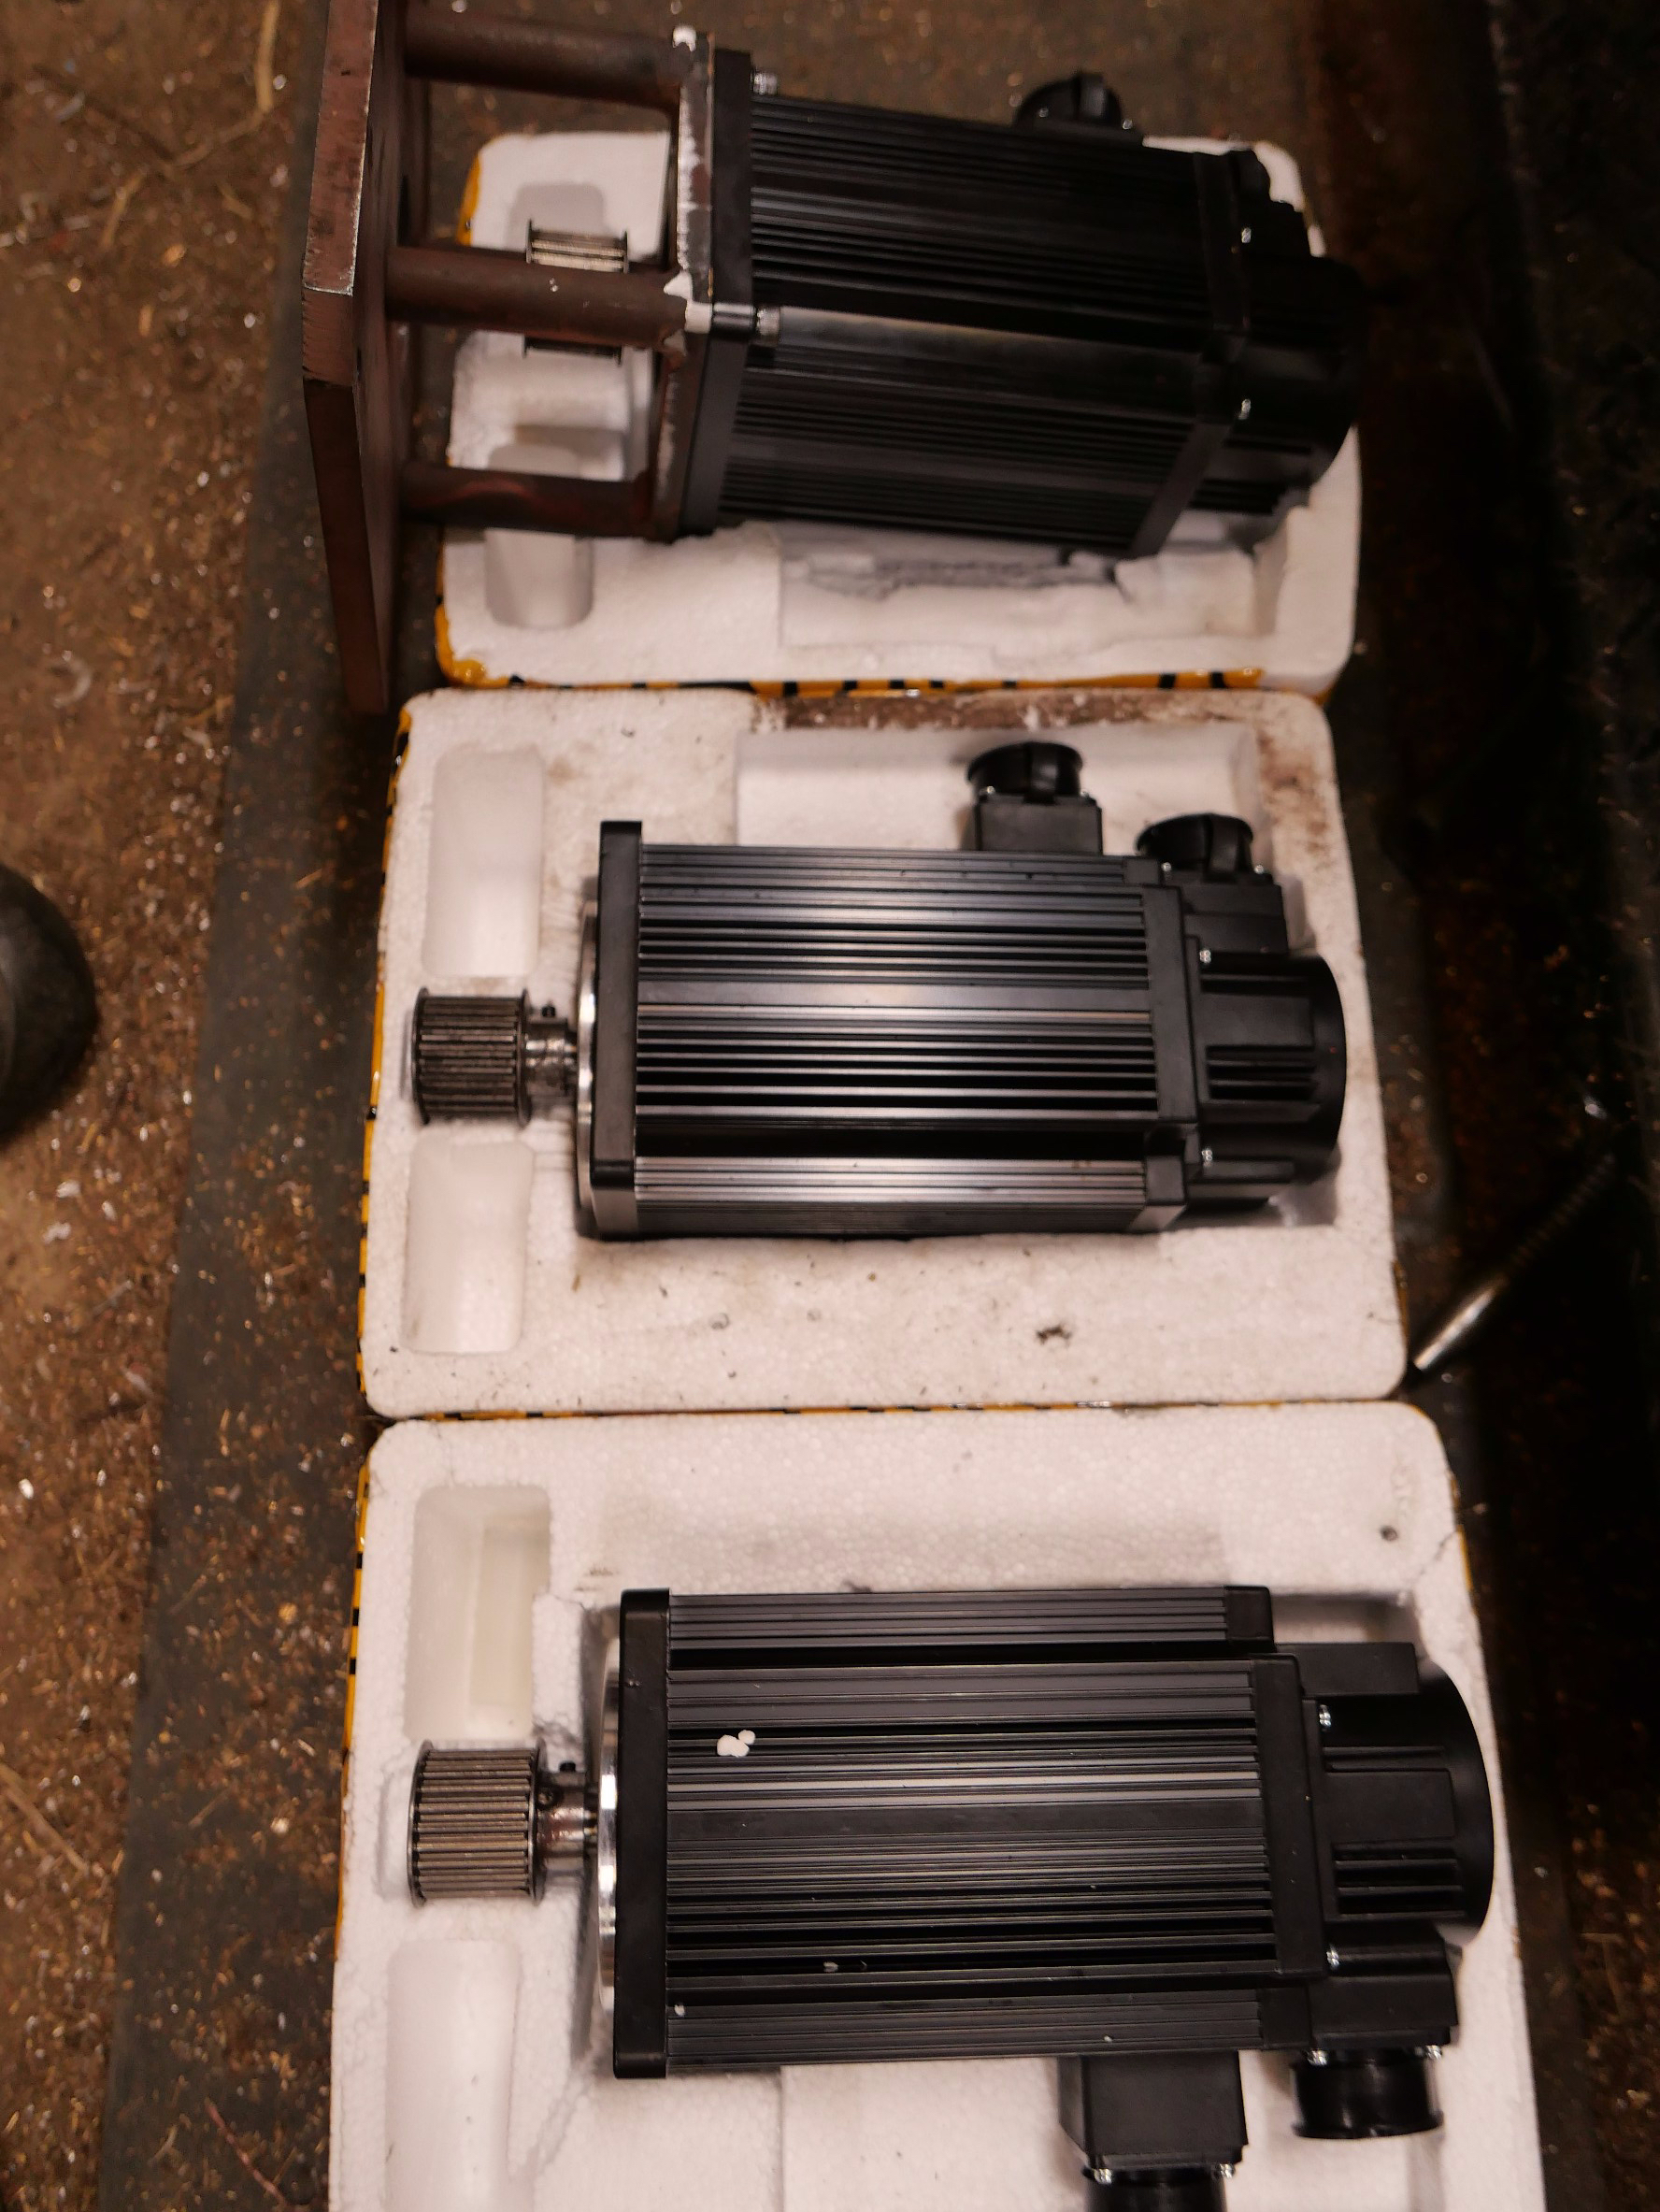
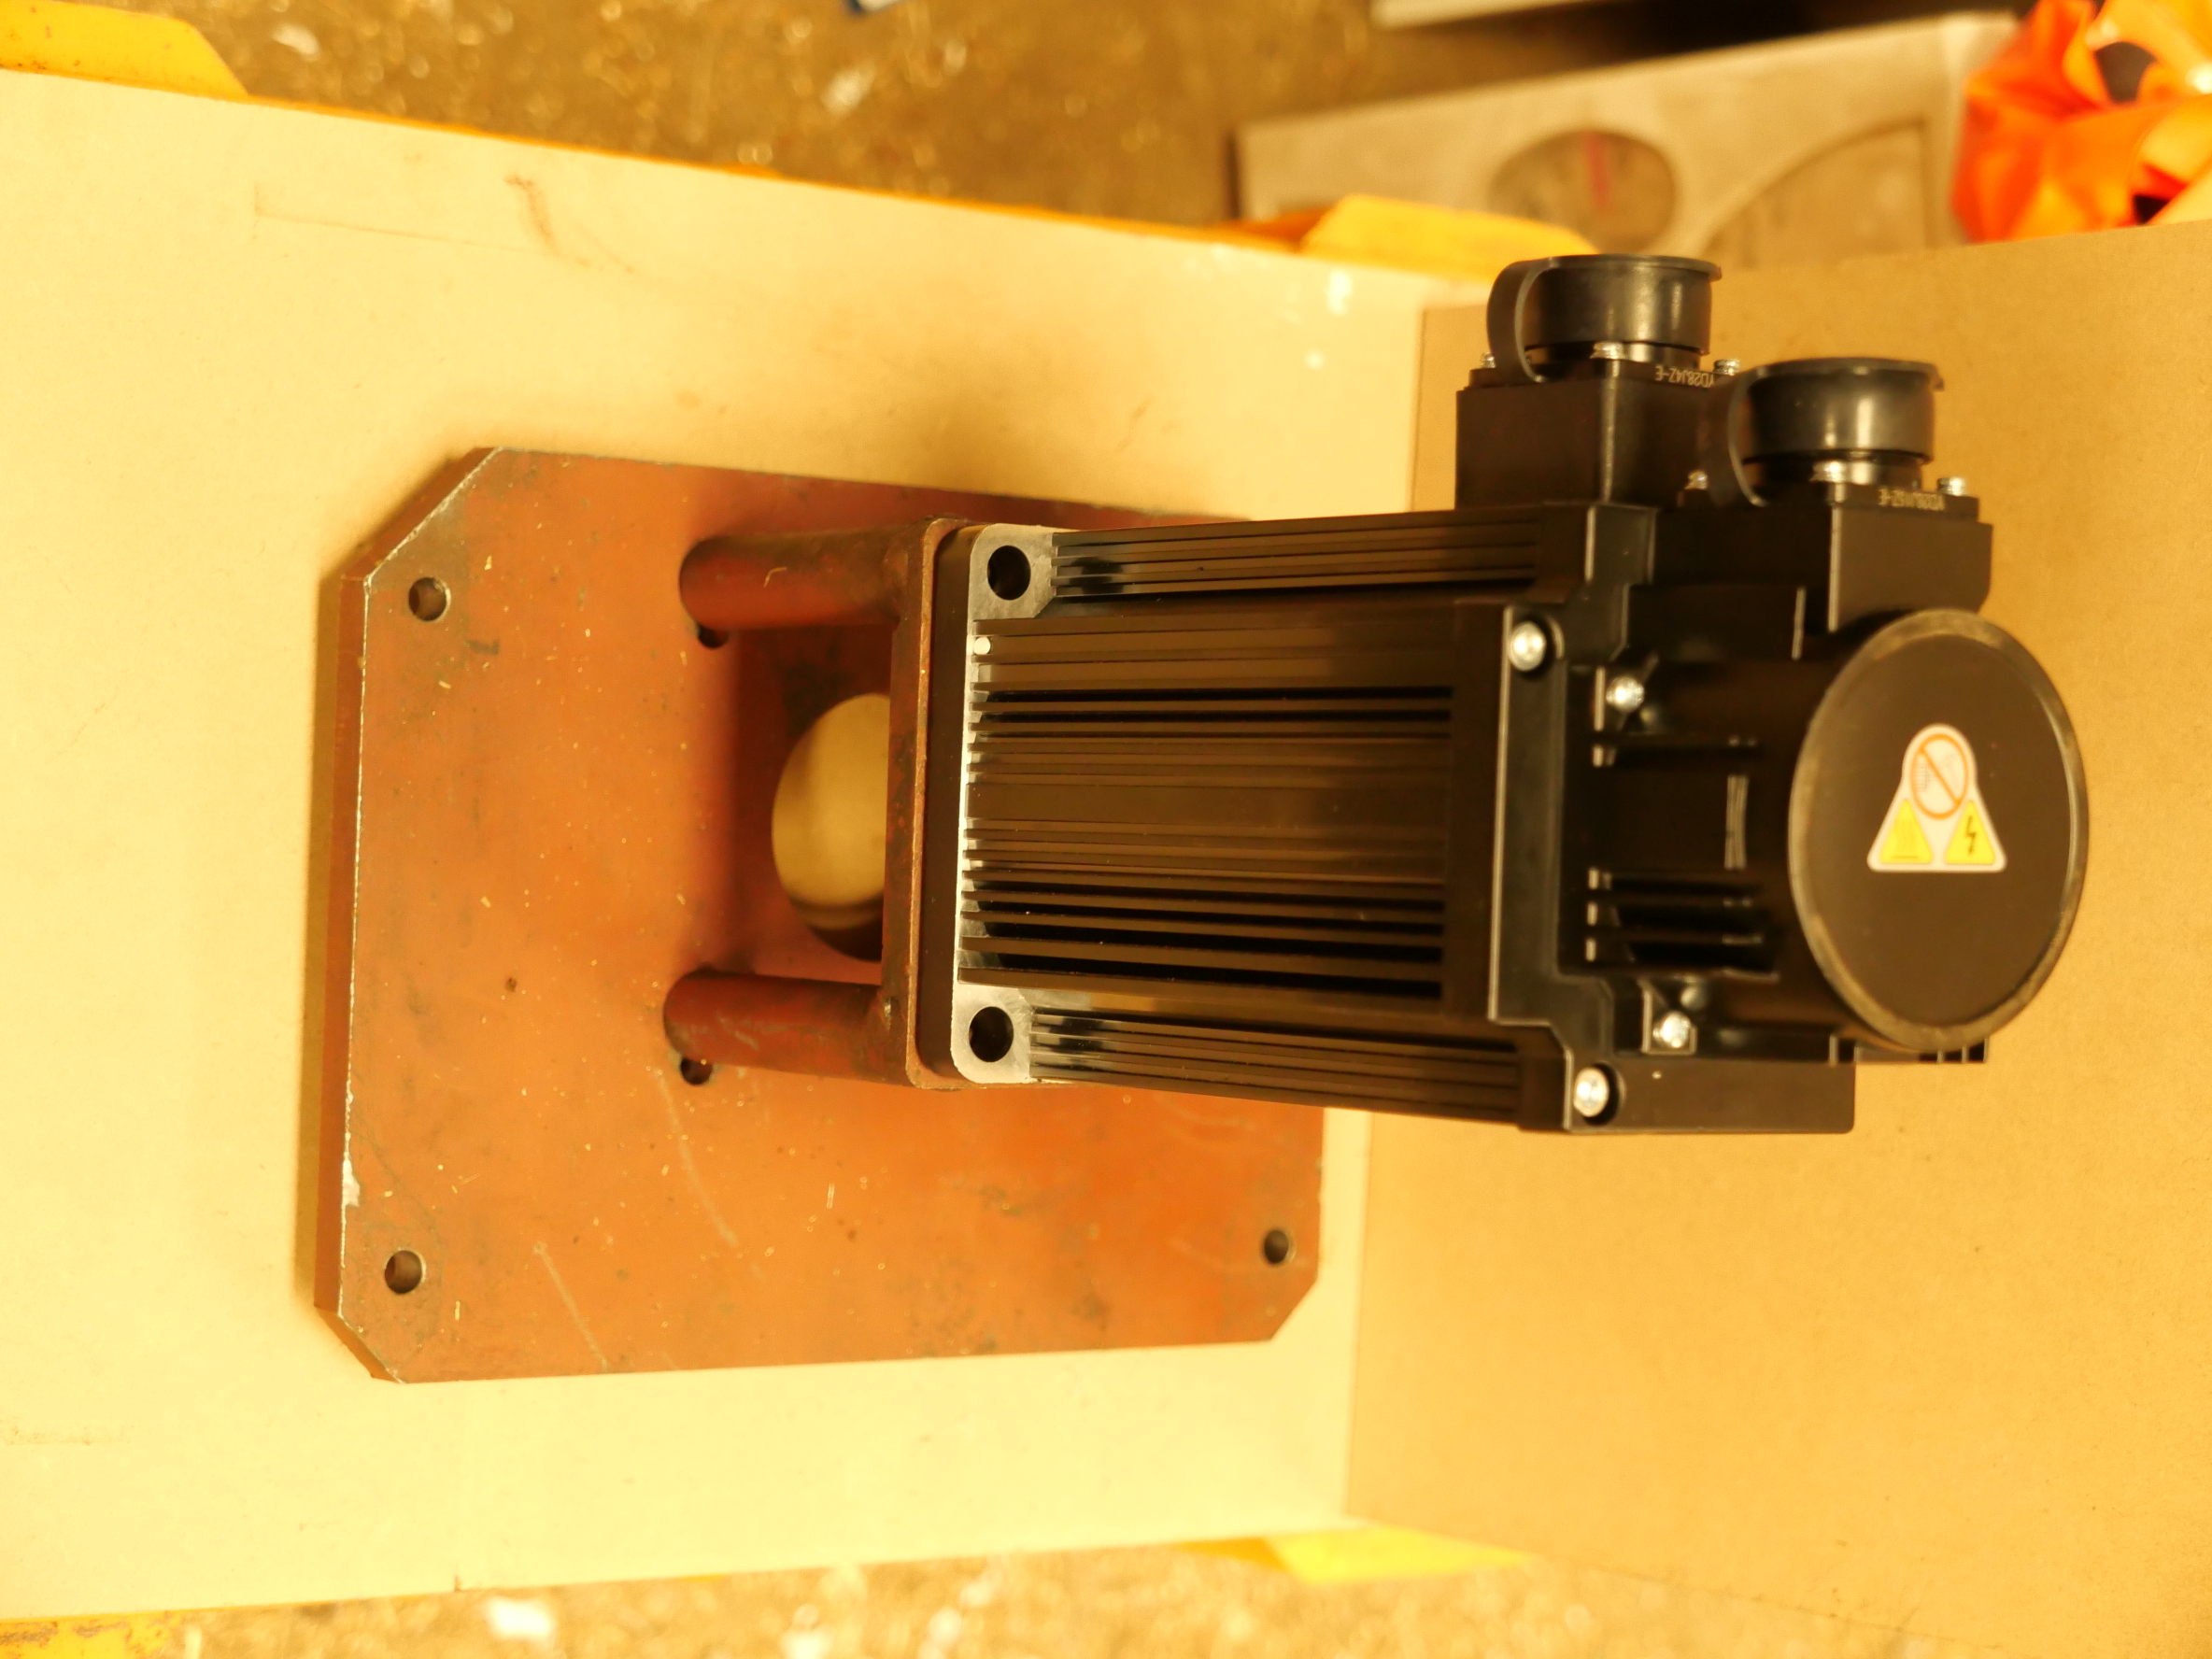
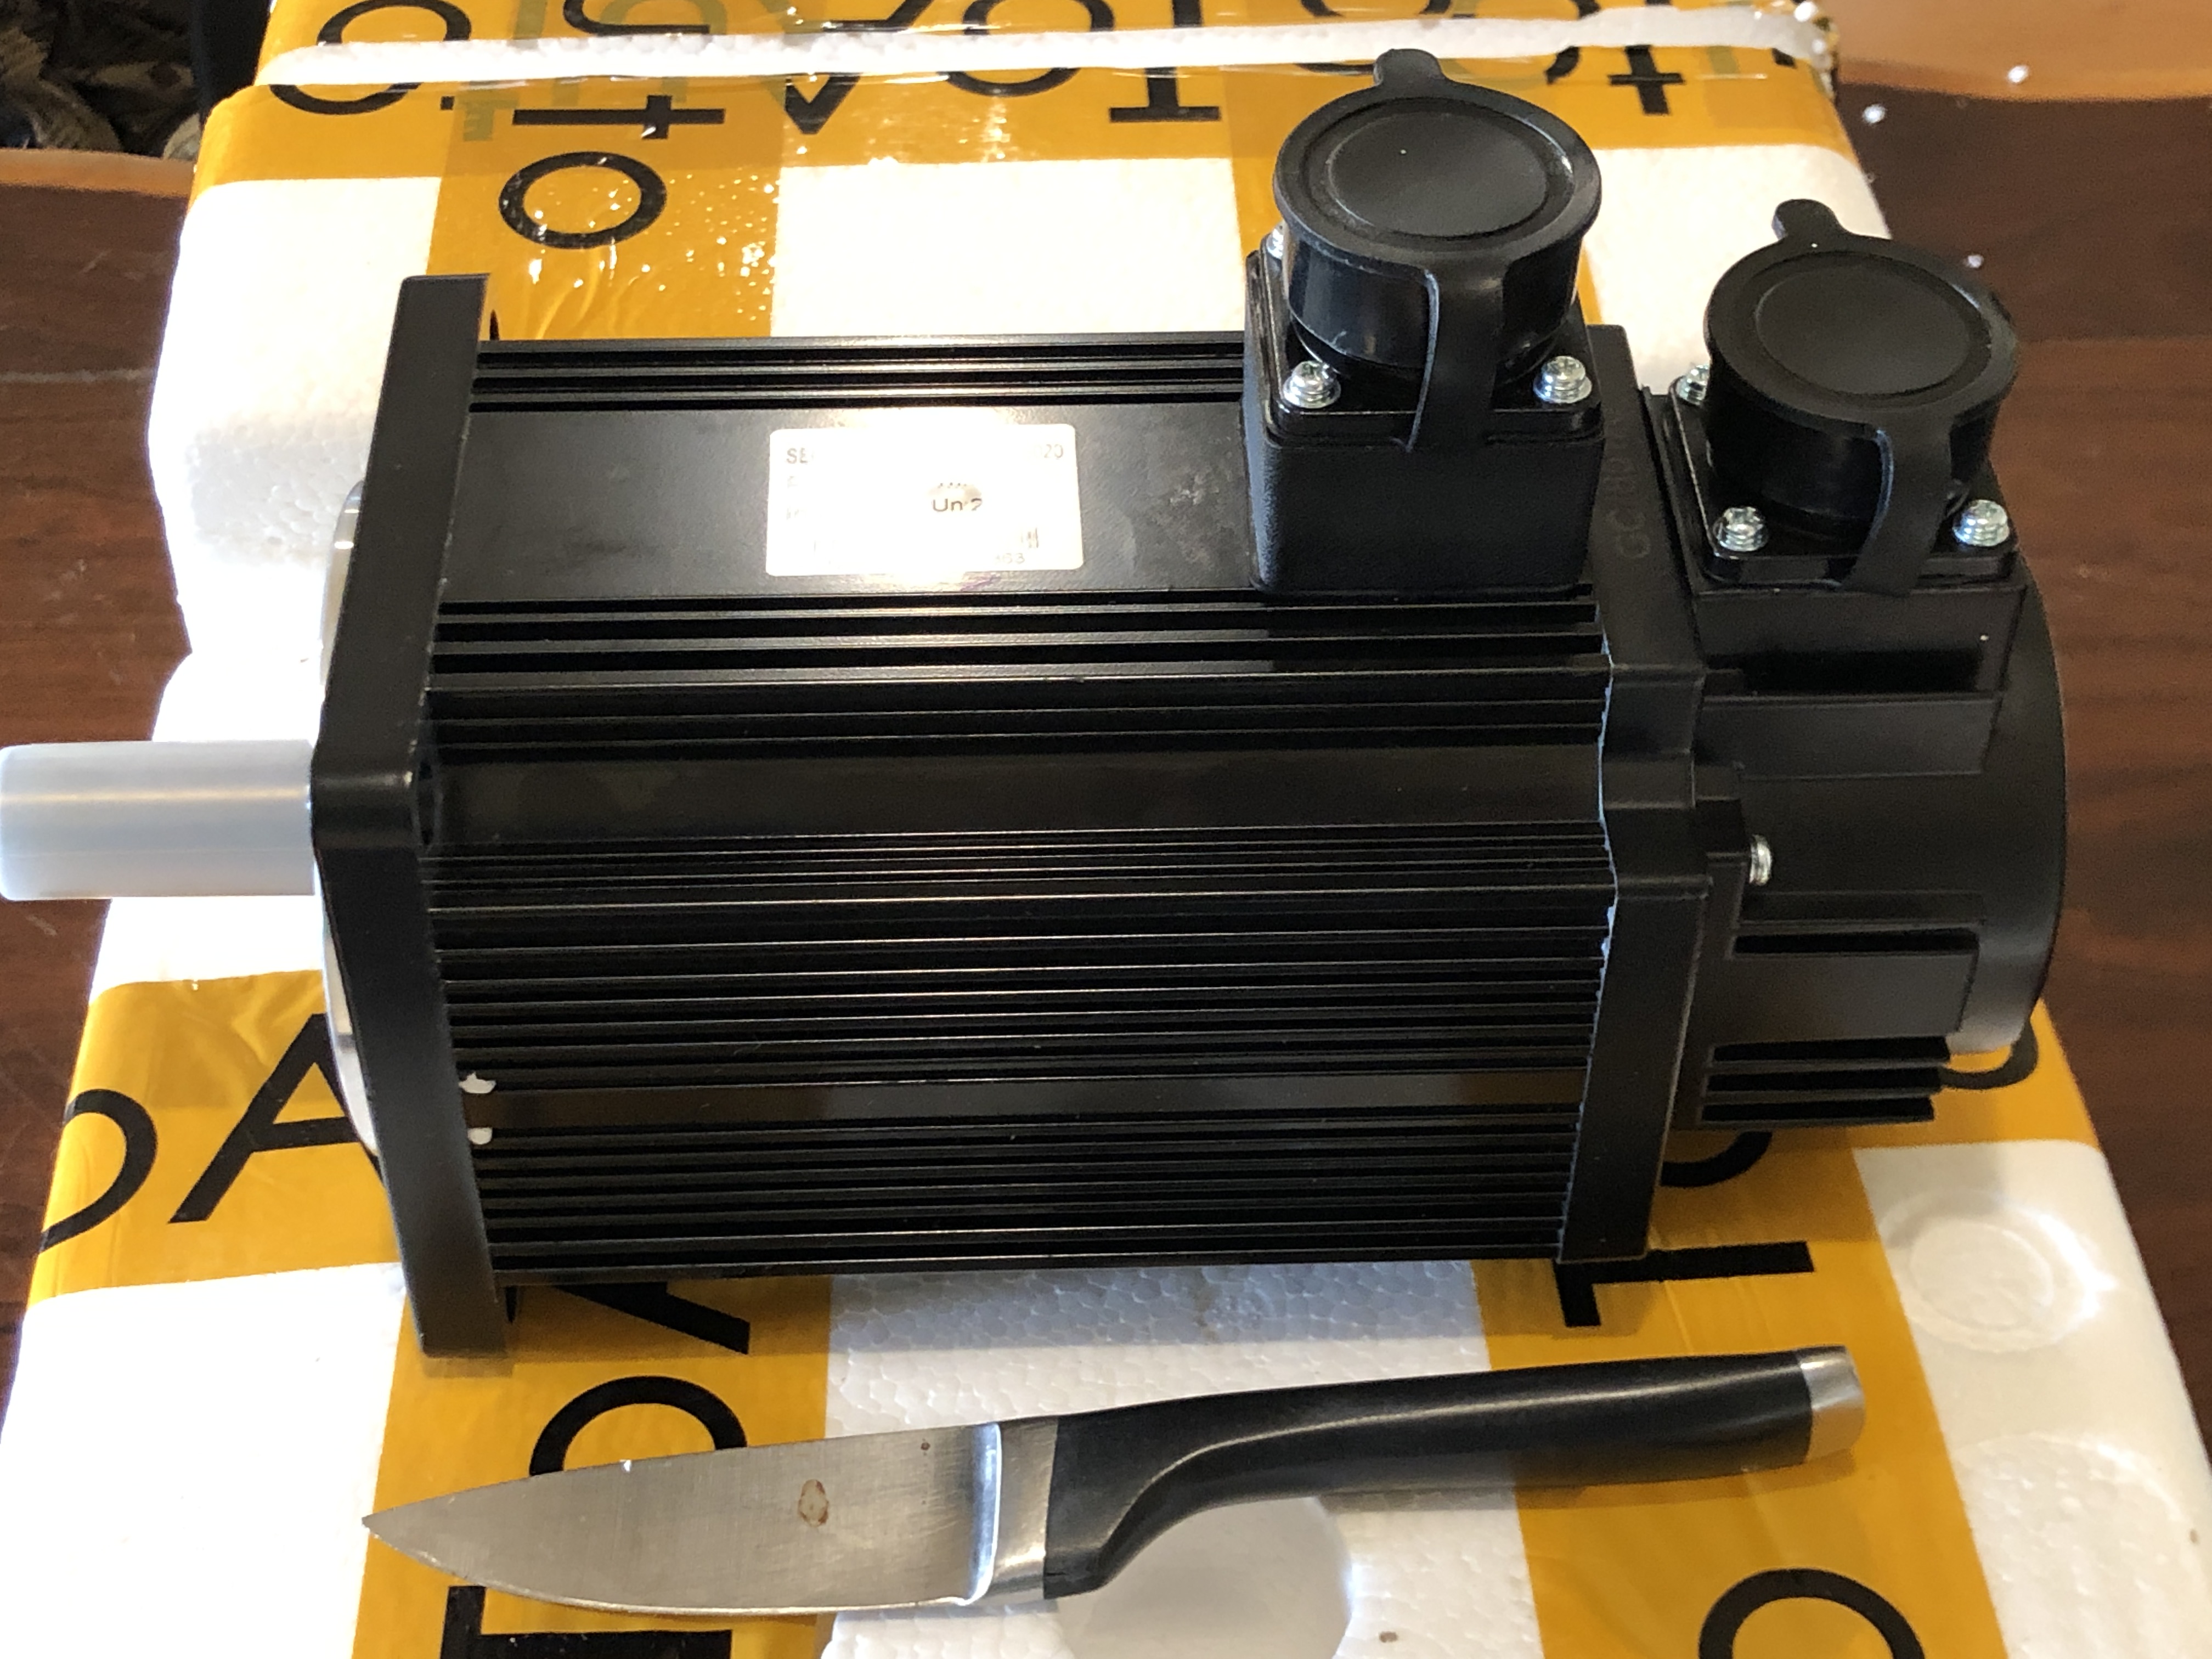
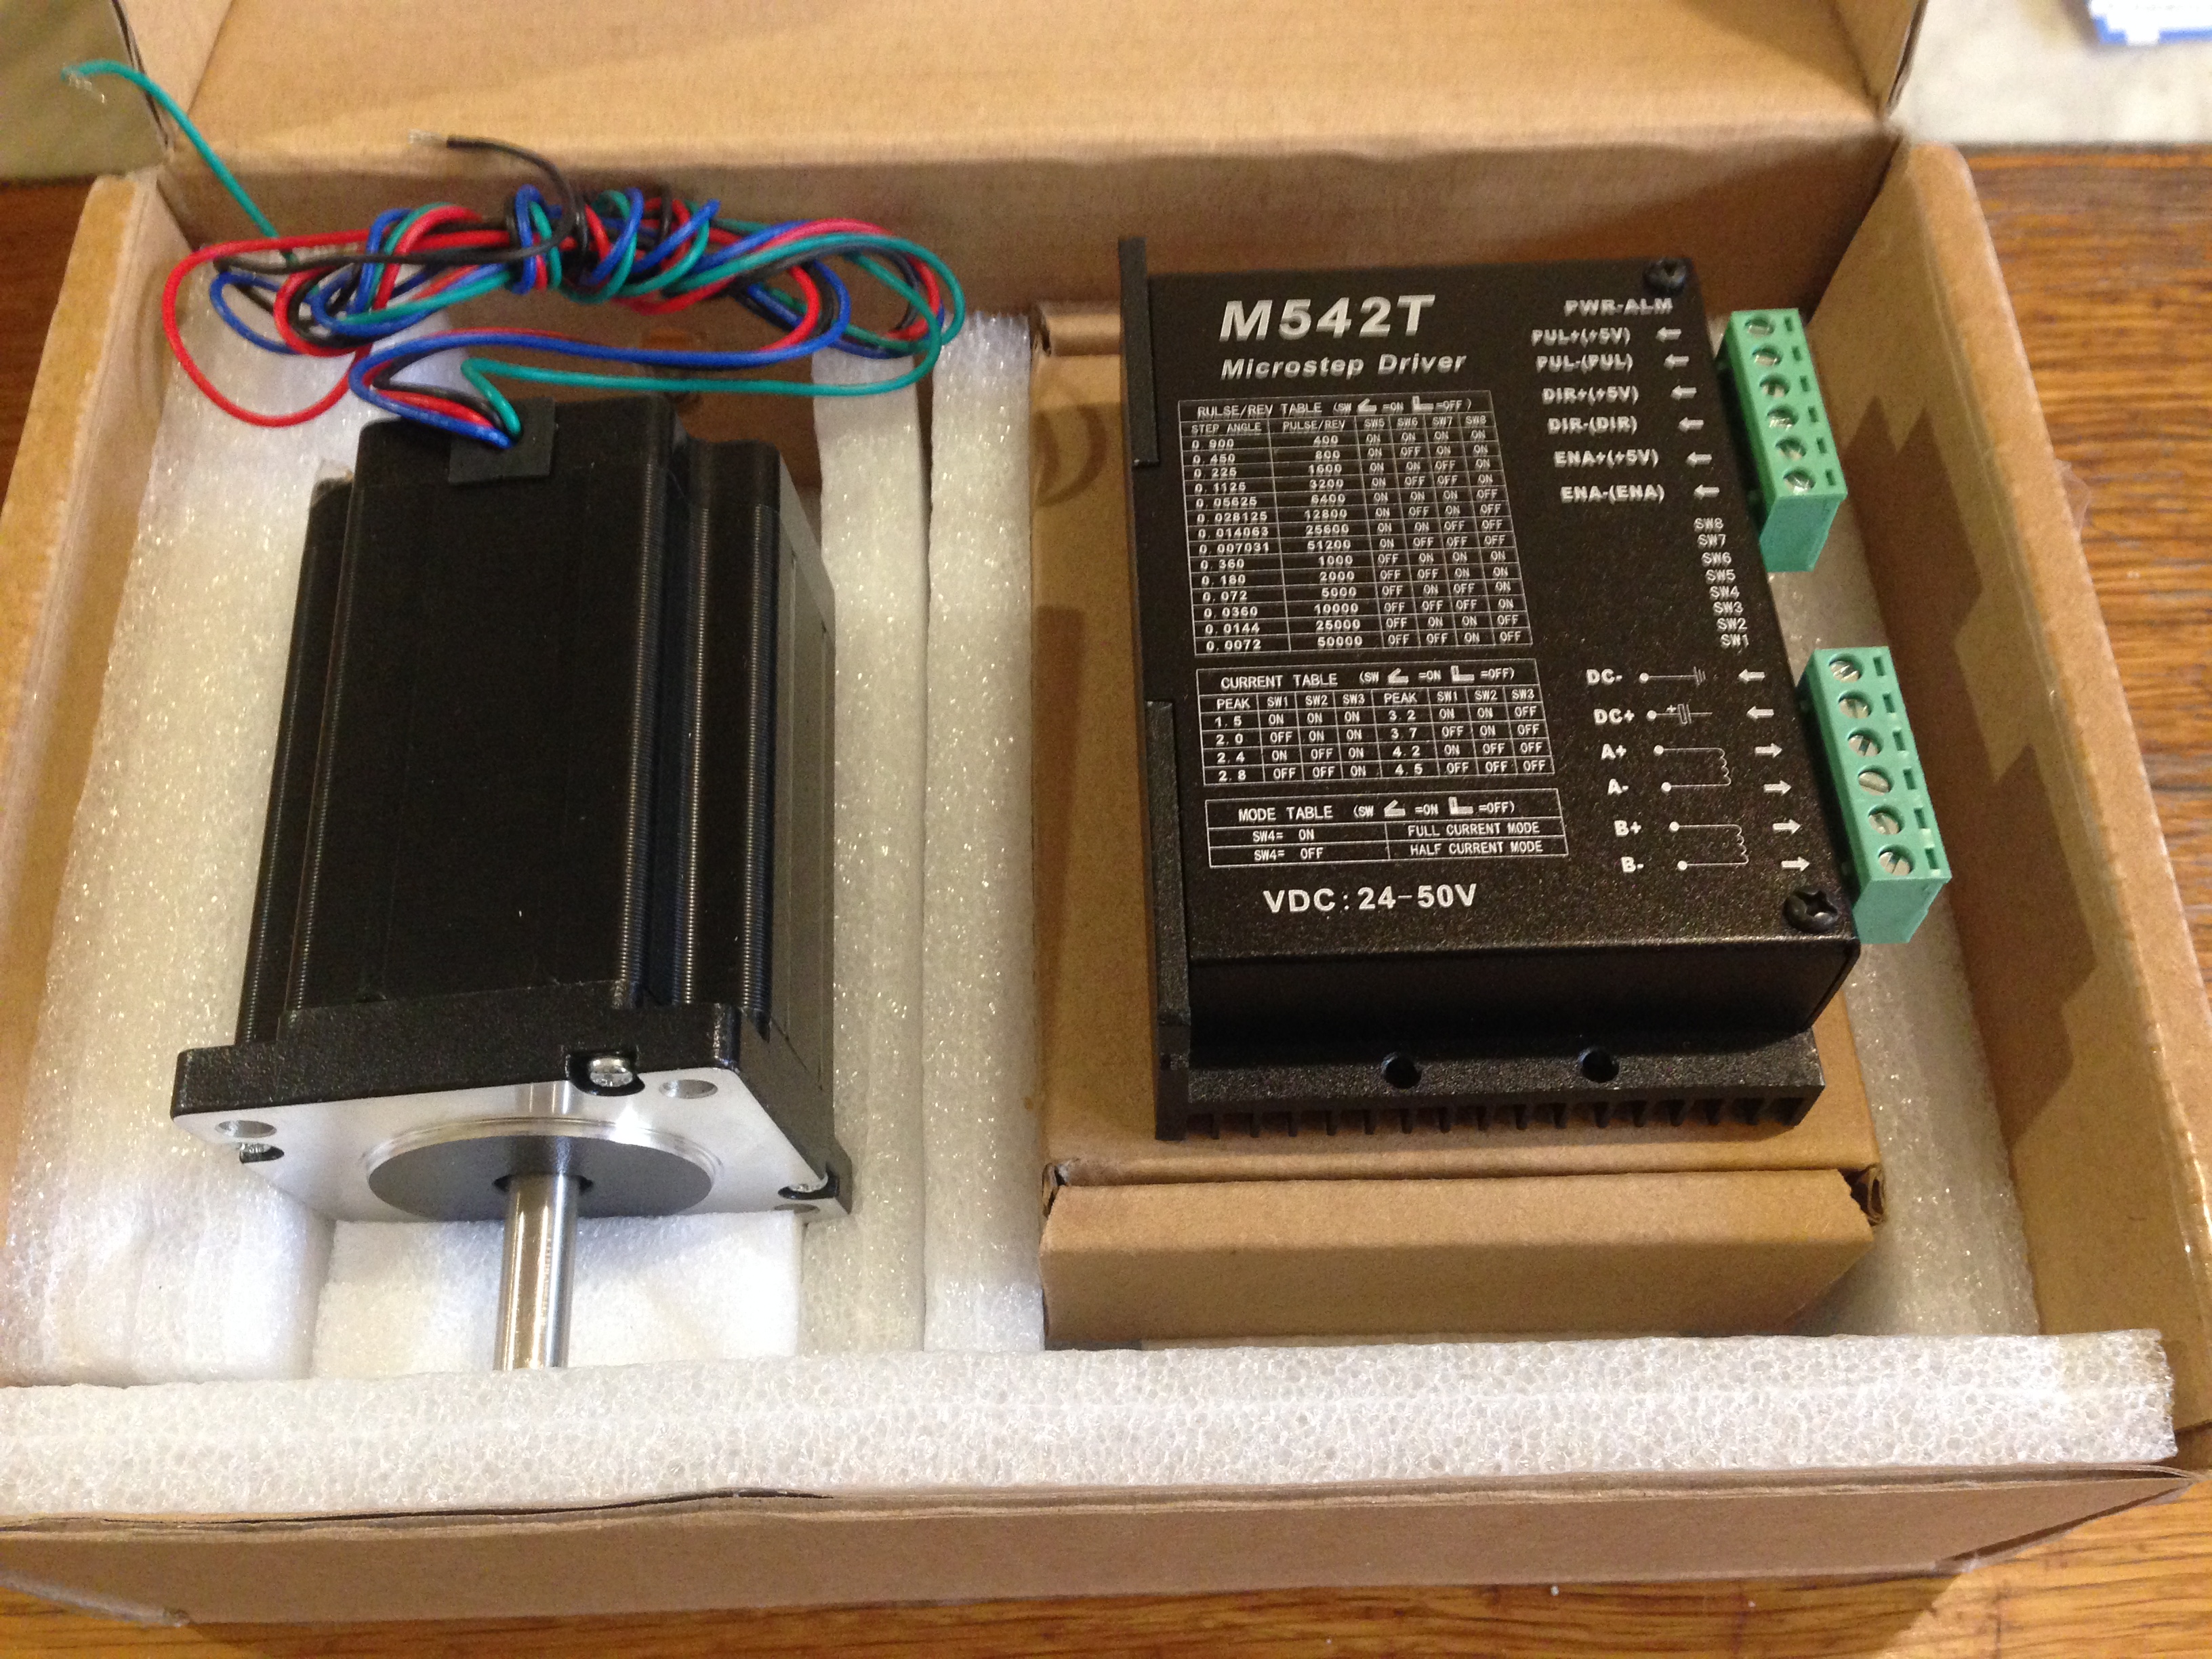
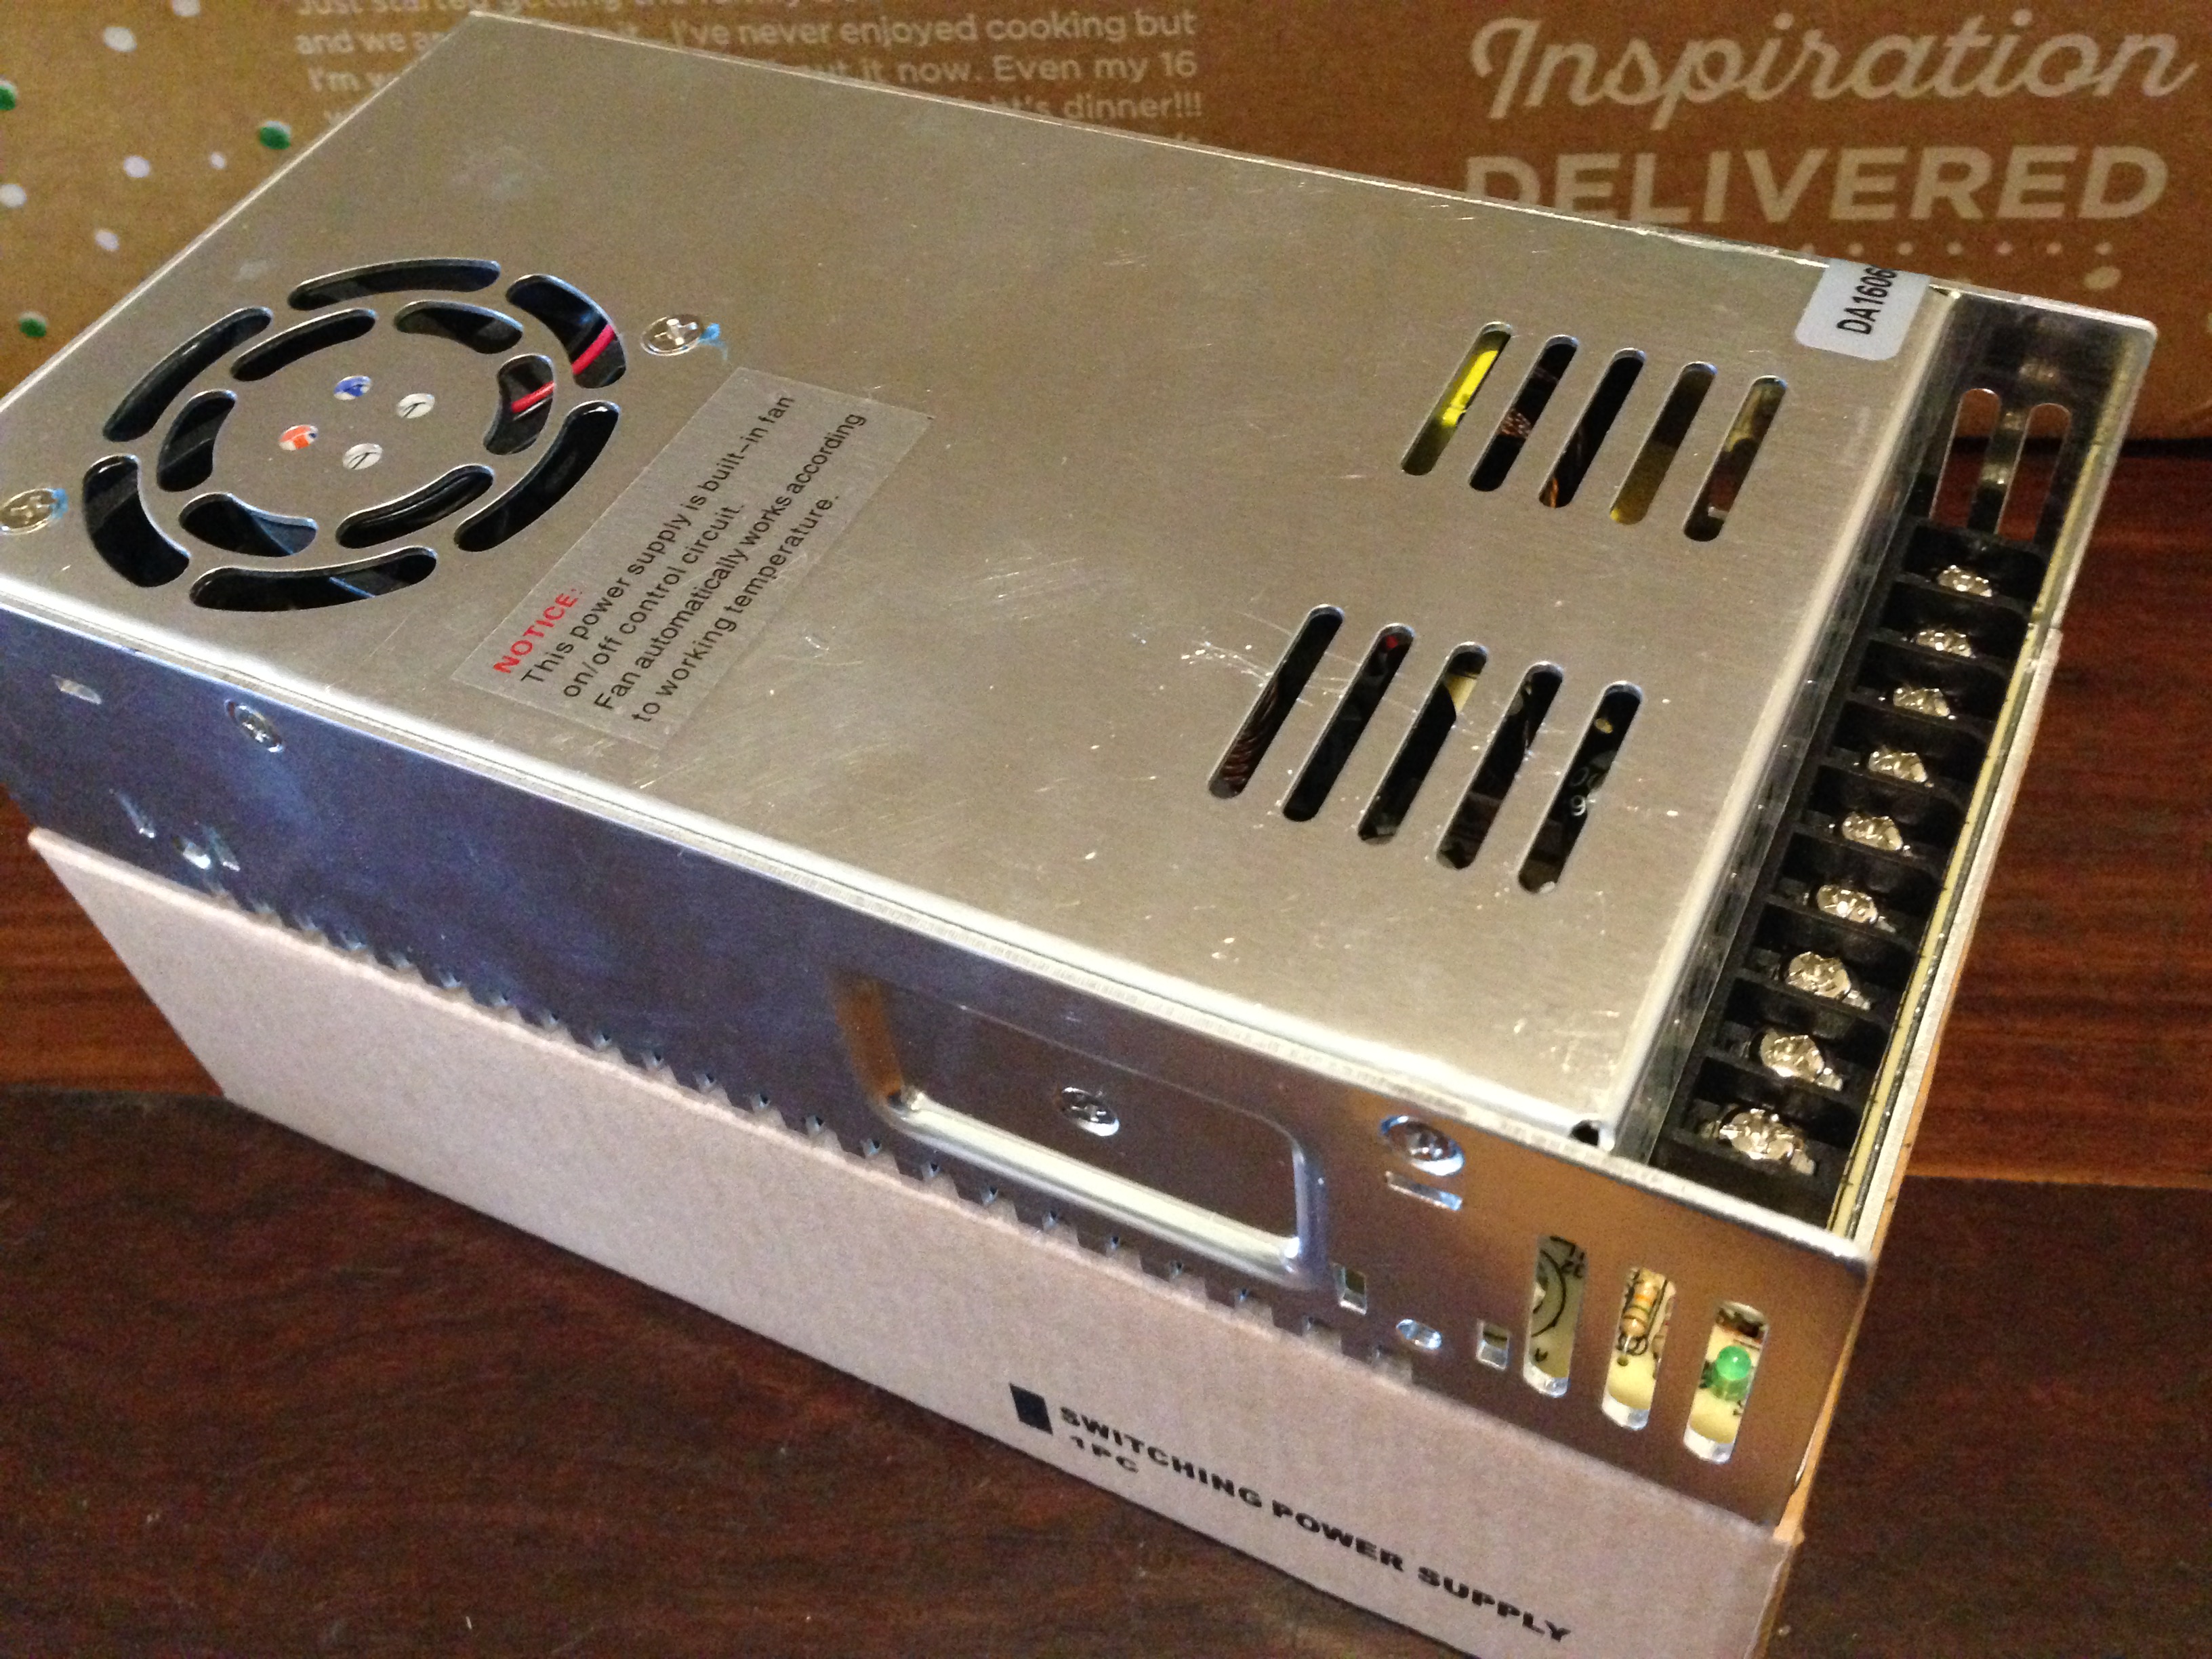
So I am in the process of ordering 3 new servo motors.  They will be AC single phase servos, rather than 3 phase motors.  I have installed one of these in my small Boxford lathe as a spindle motor, and it has proved to be reliable, compact, powerful and inexpensive (well, fairly inexpensive, comparatively speaking).  They have been ordered from China.  Cost-wise, the three axis motors will be much less expensive than one of the existing 3 phase servos.  On top of that I will need a breakout board, ESS smooth stepper to link to a computer, and various switches, wiring, power supplies etc.

I will document the steps of the rebuild.

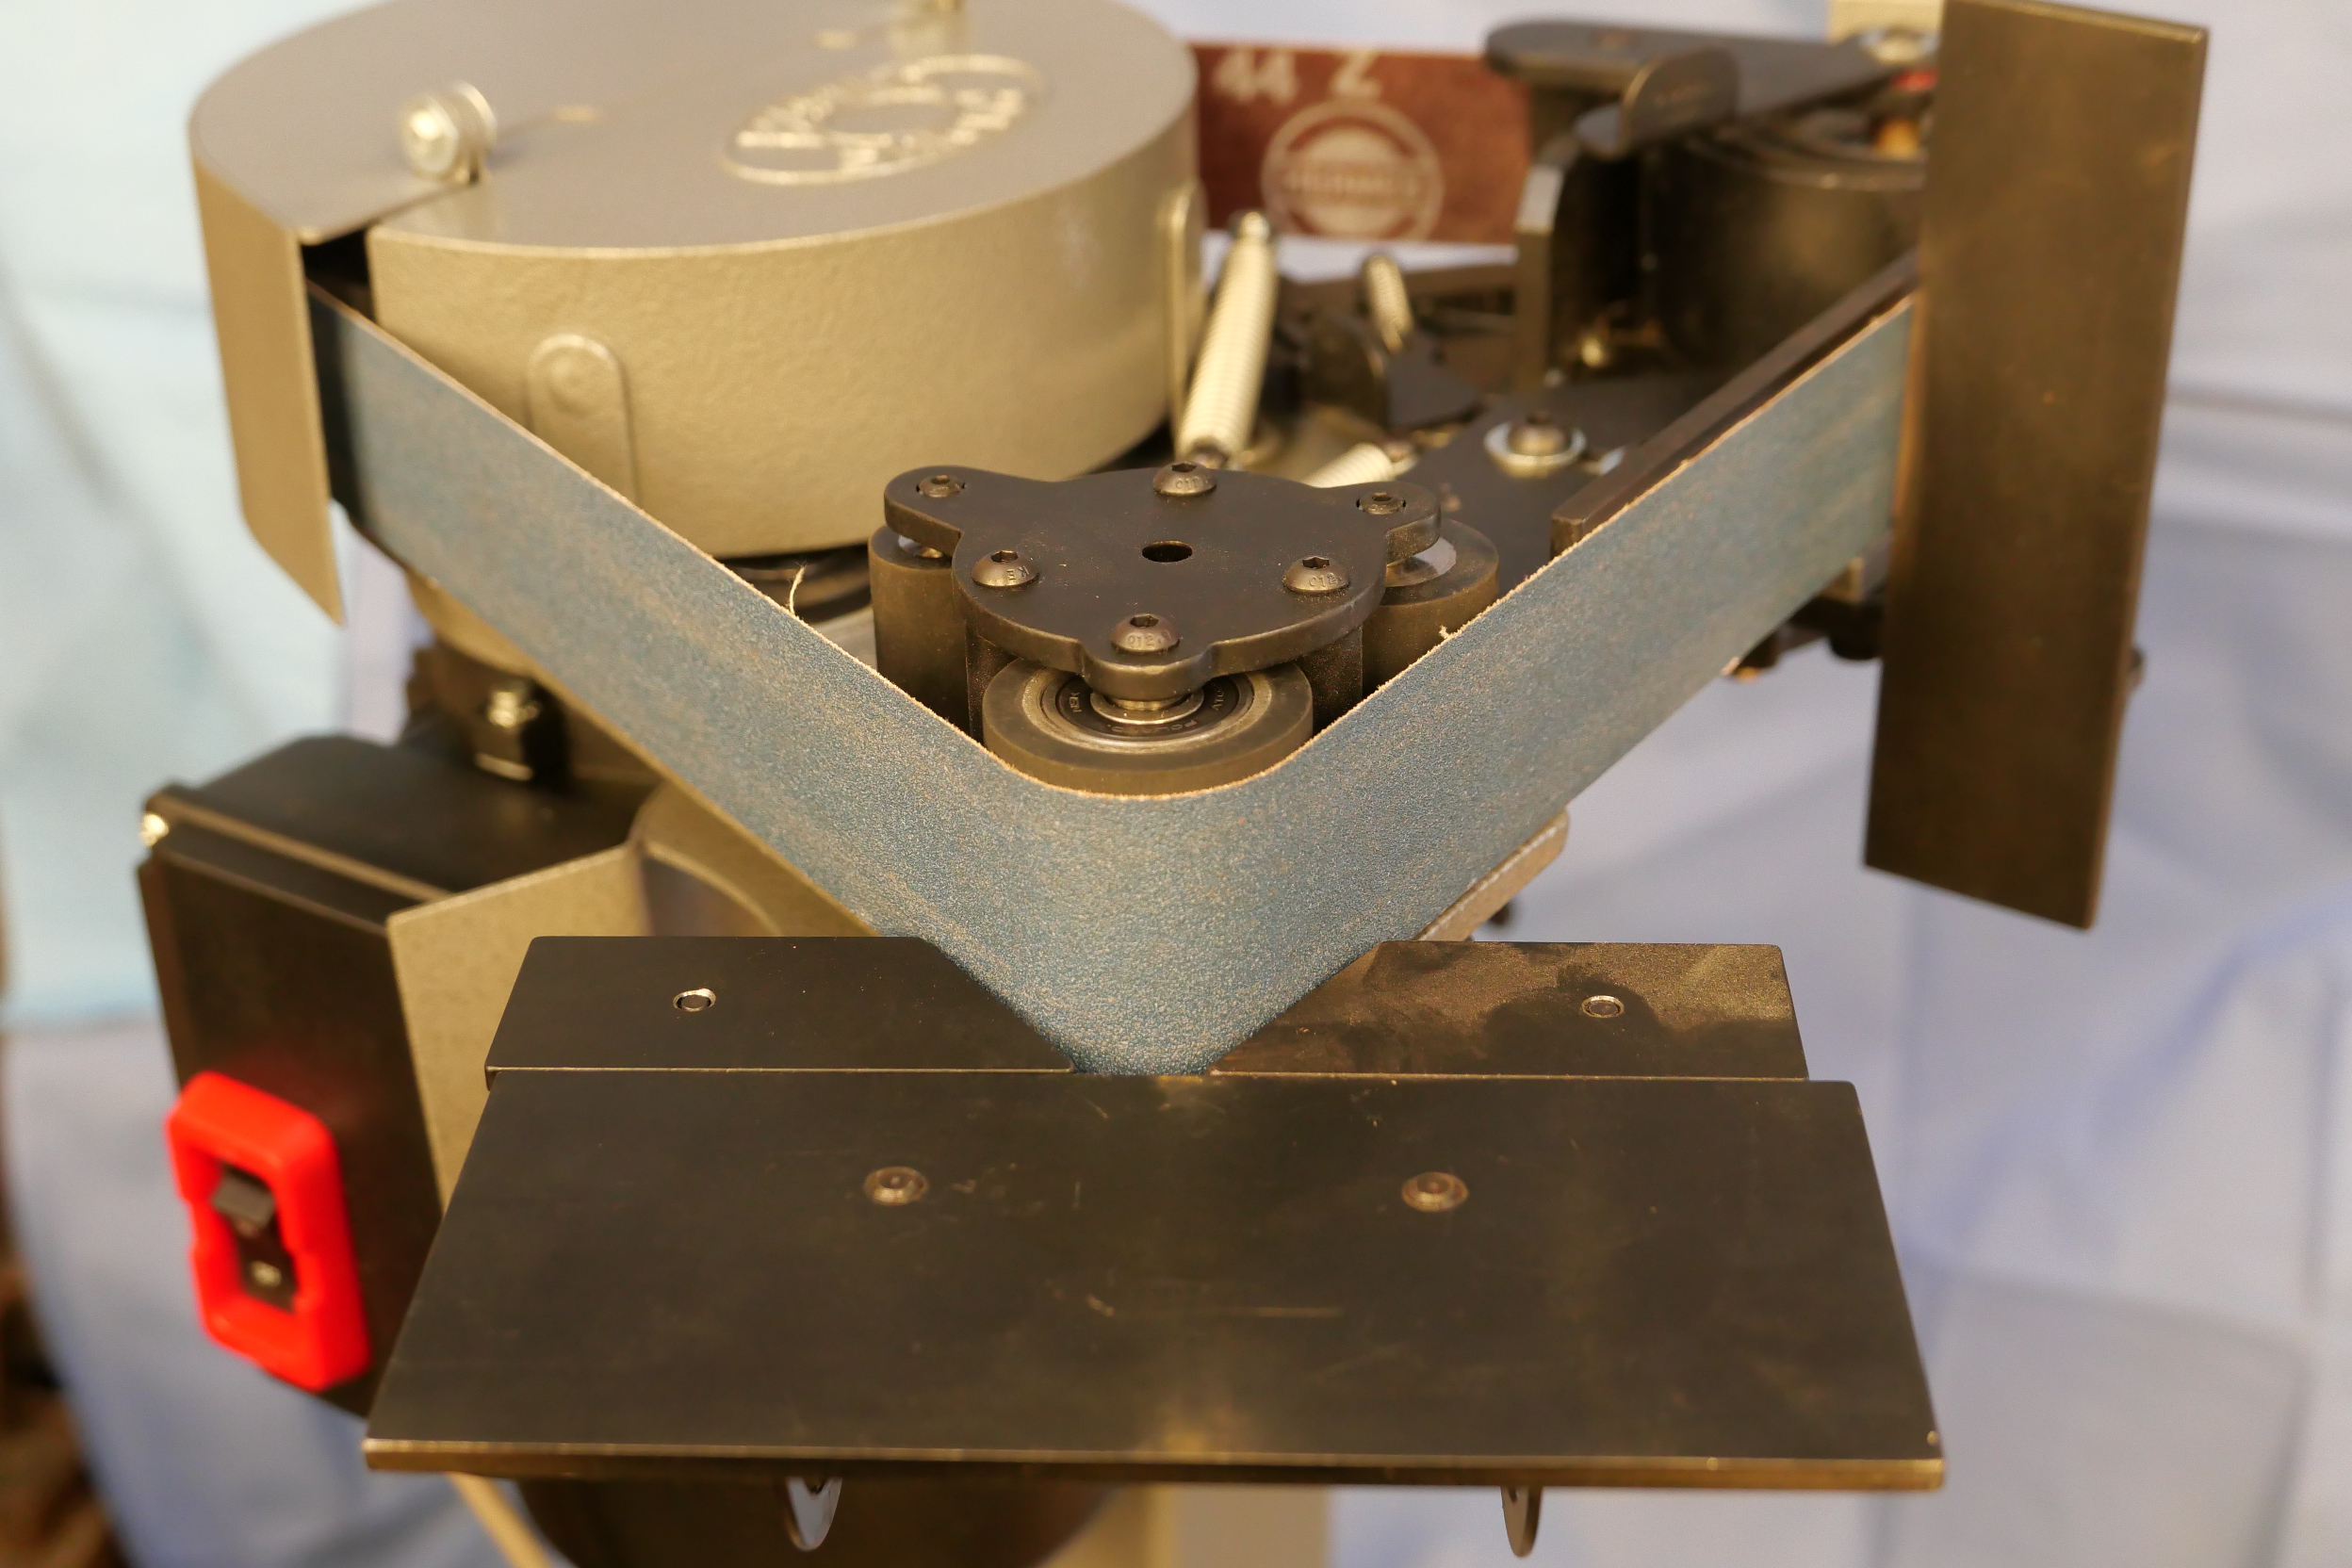
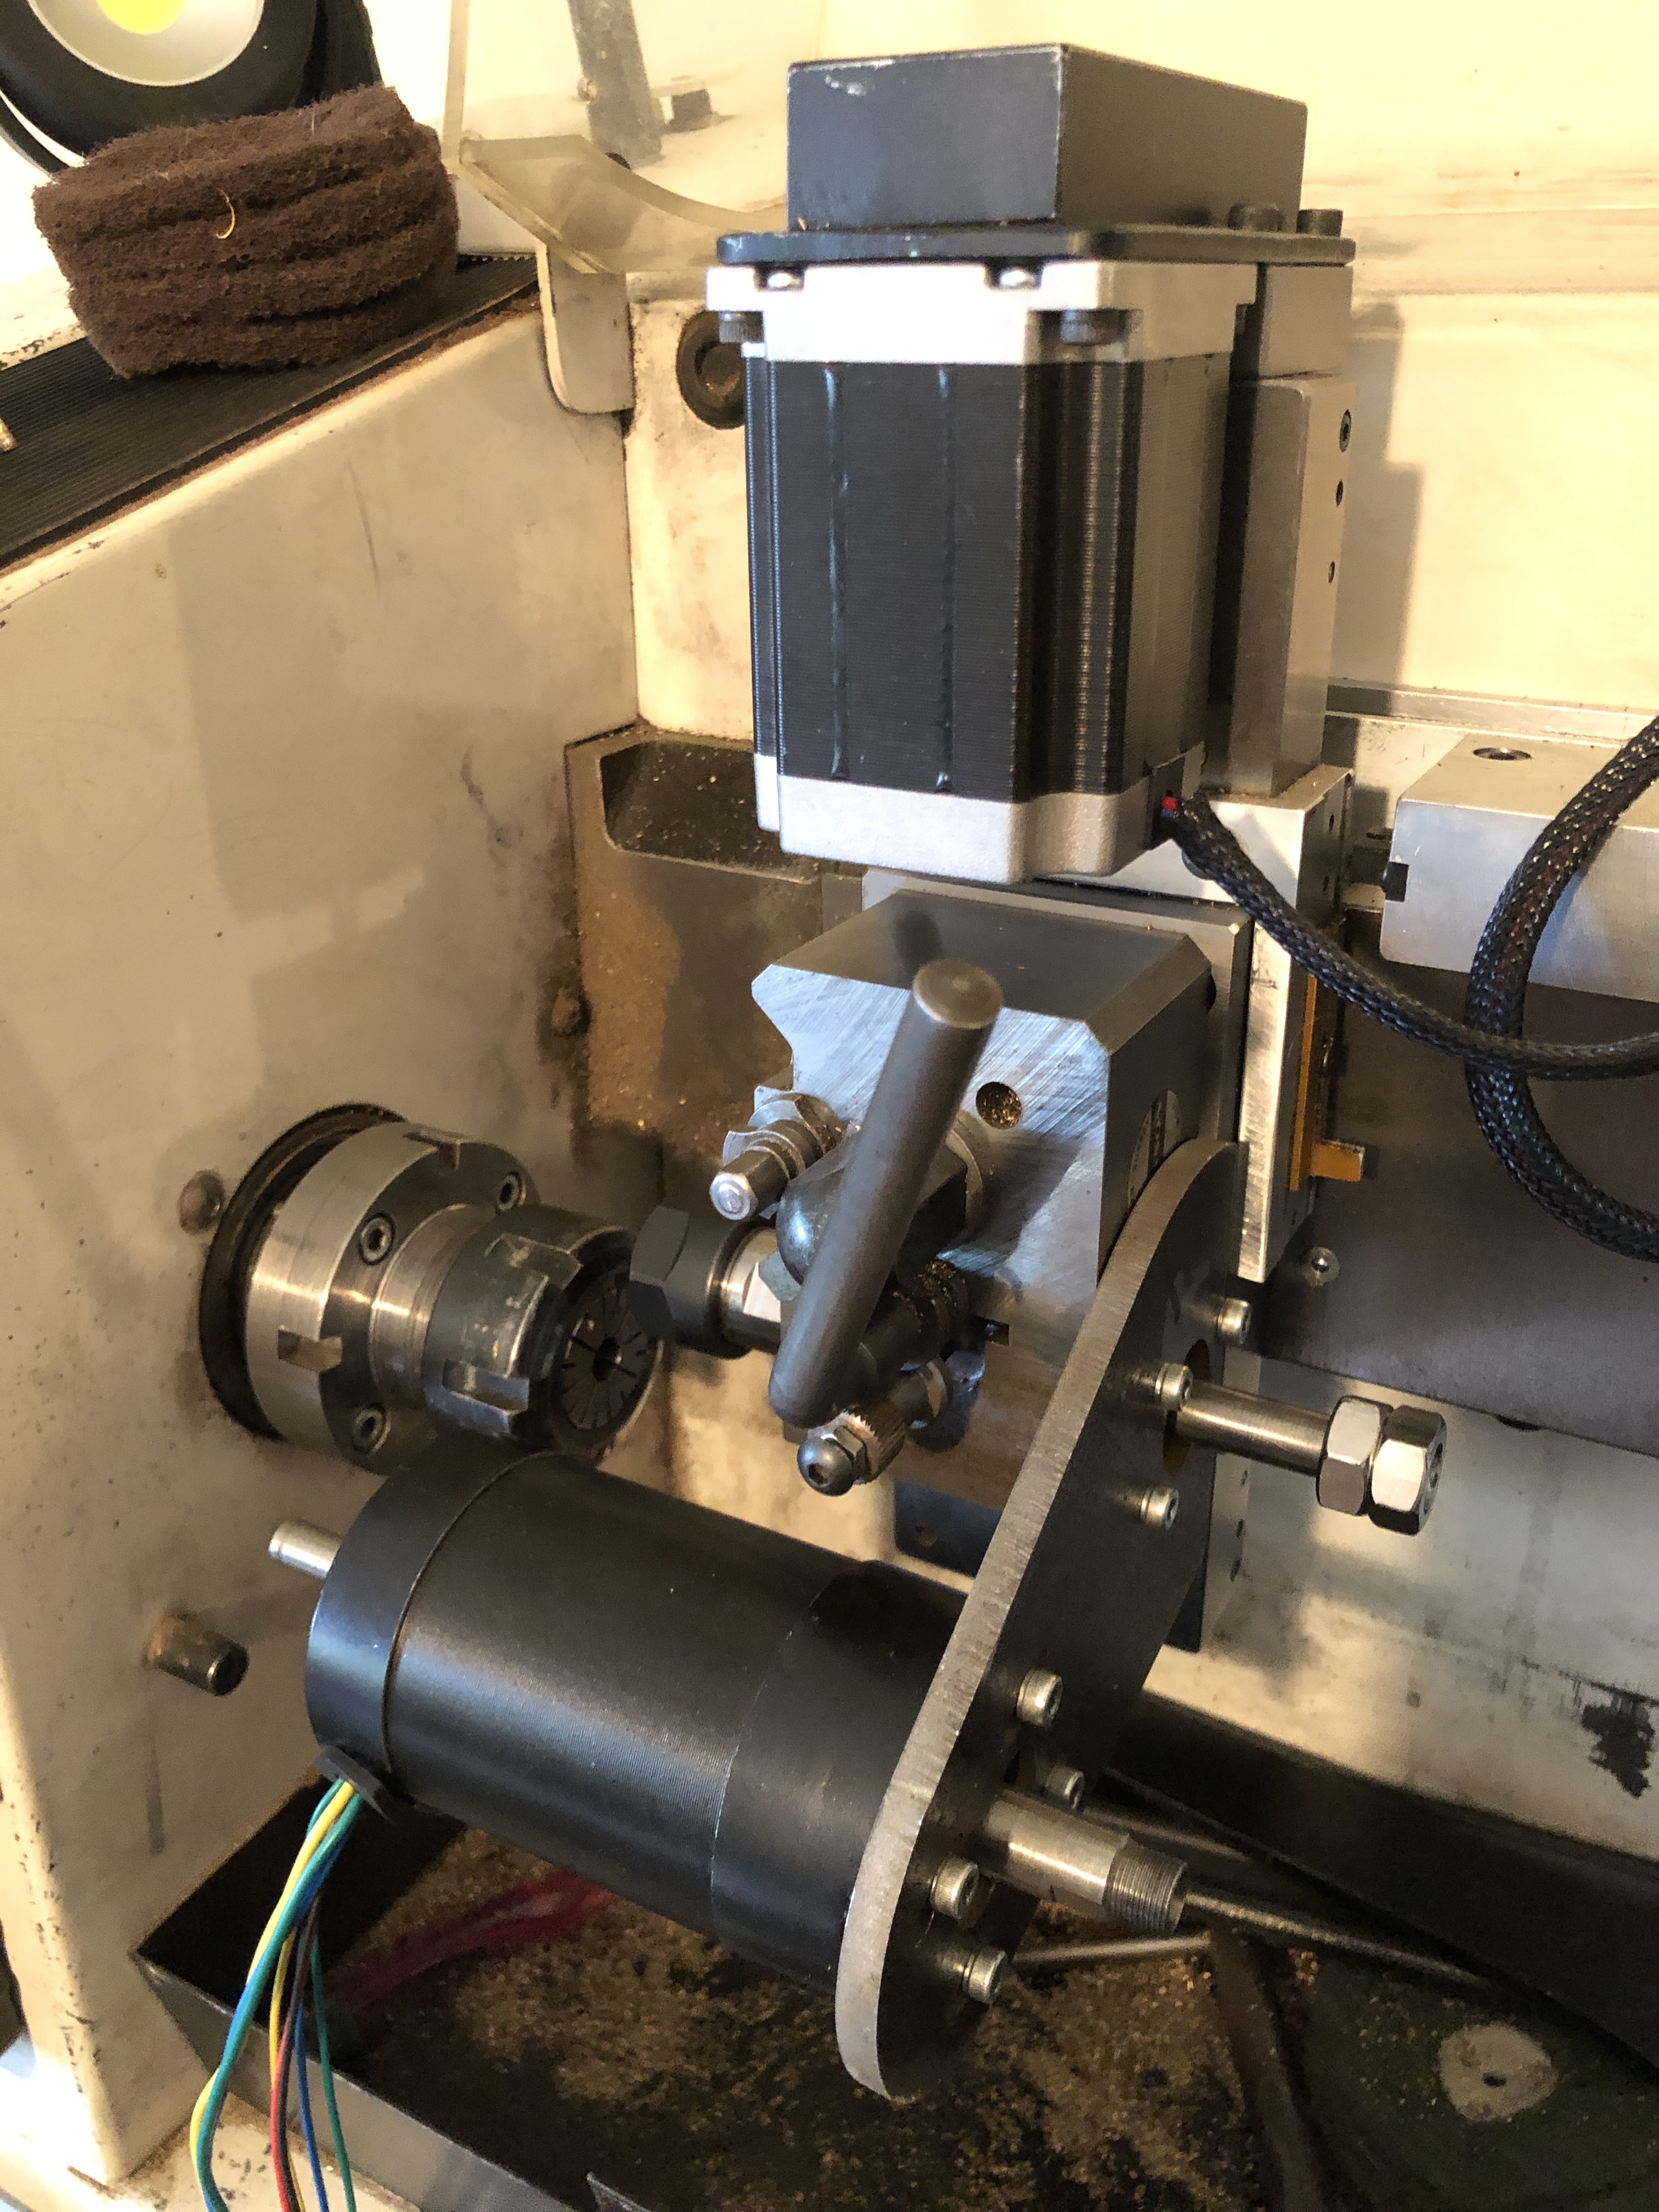
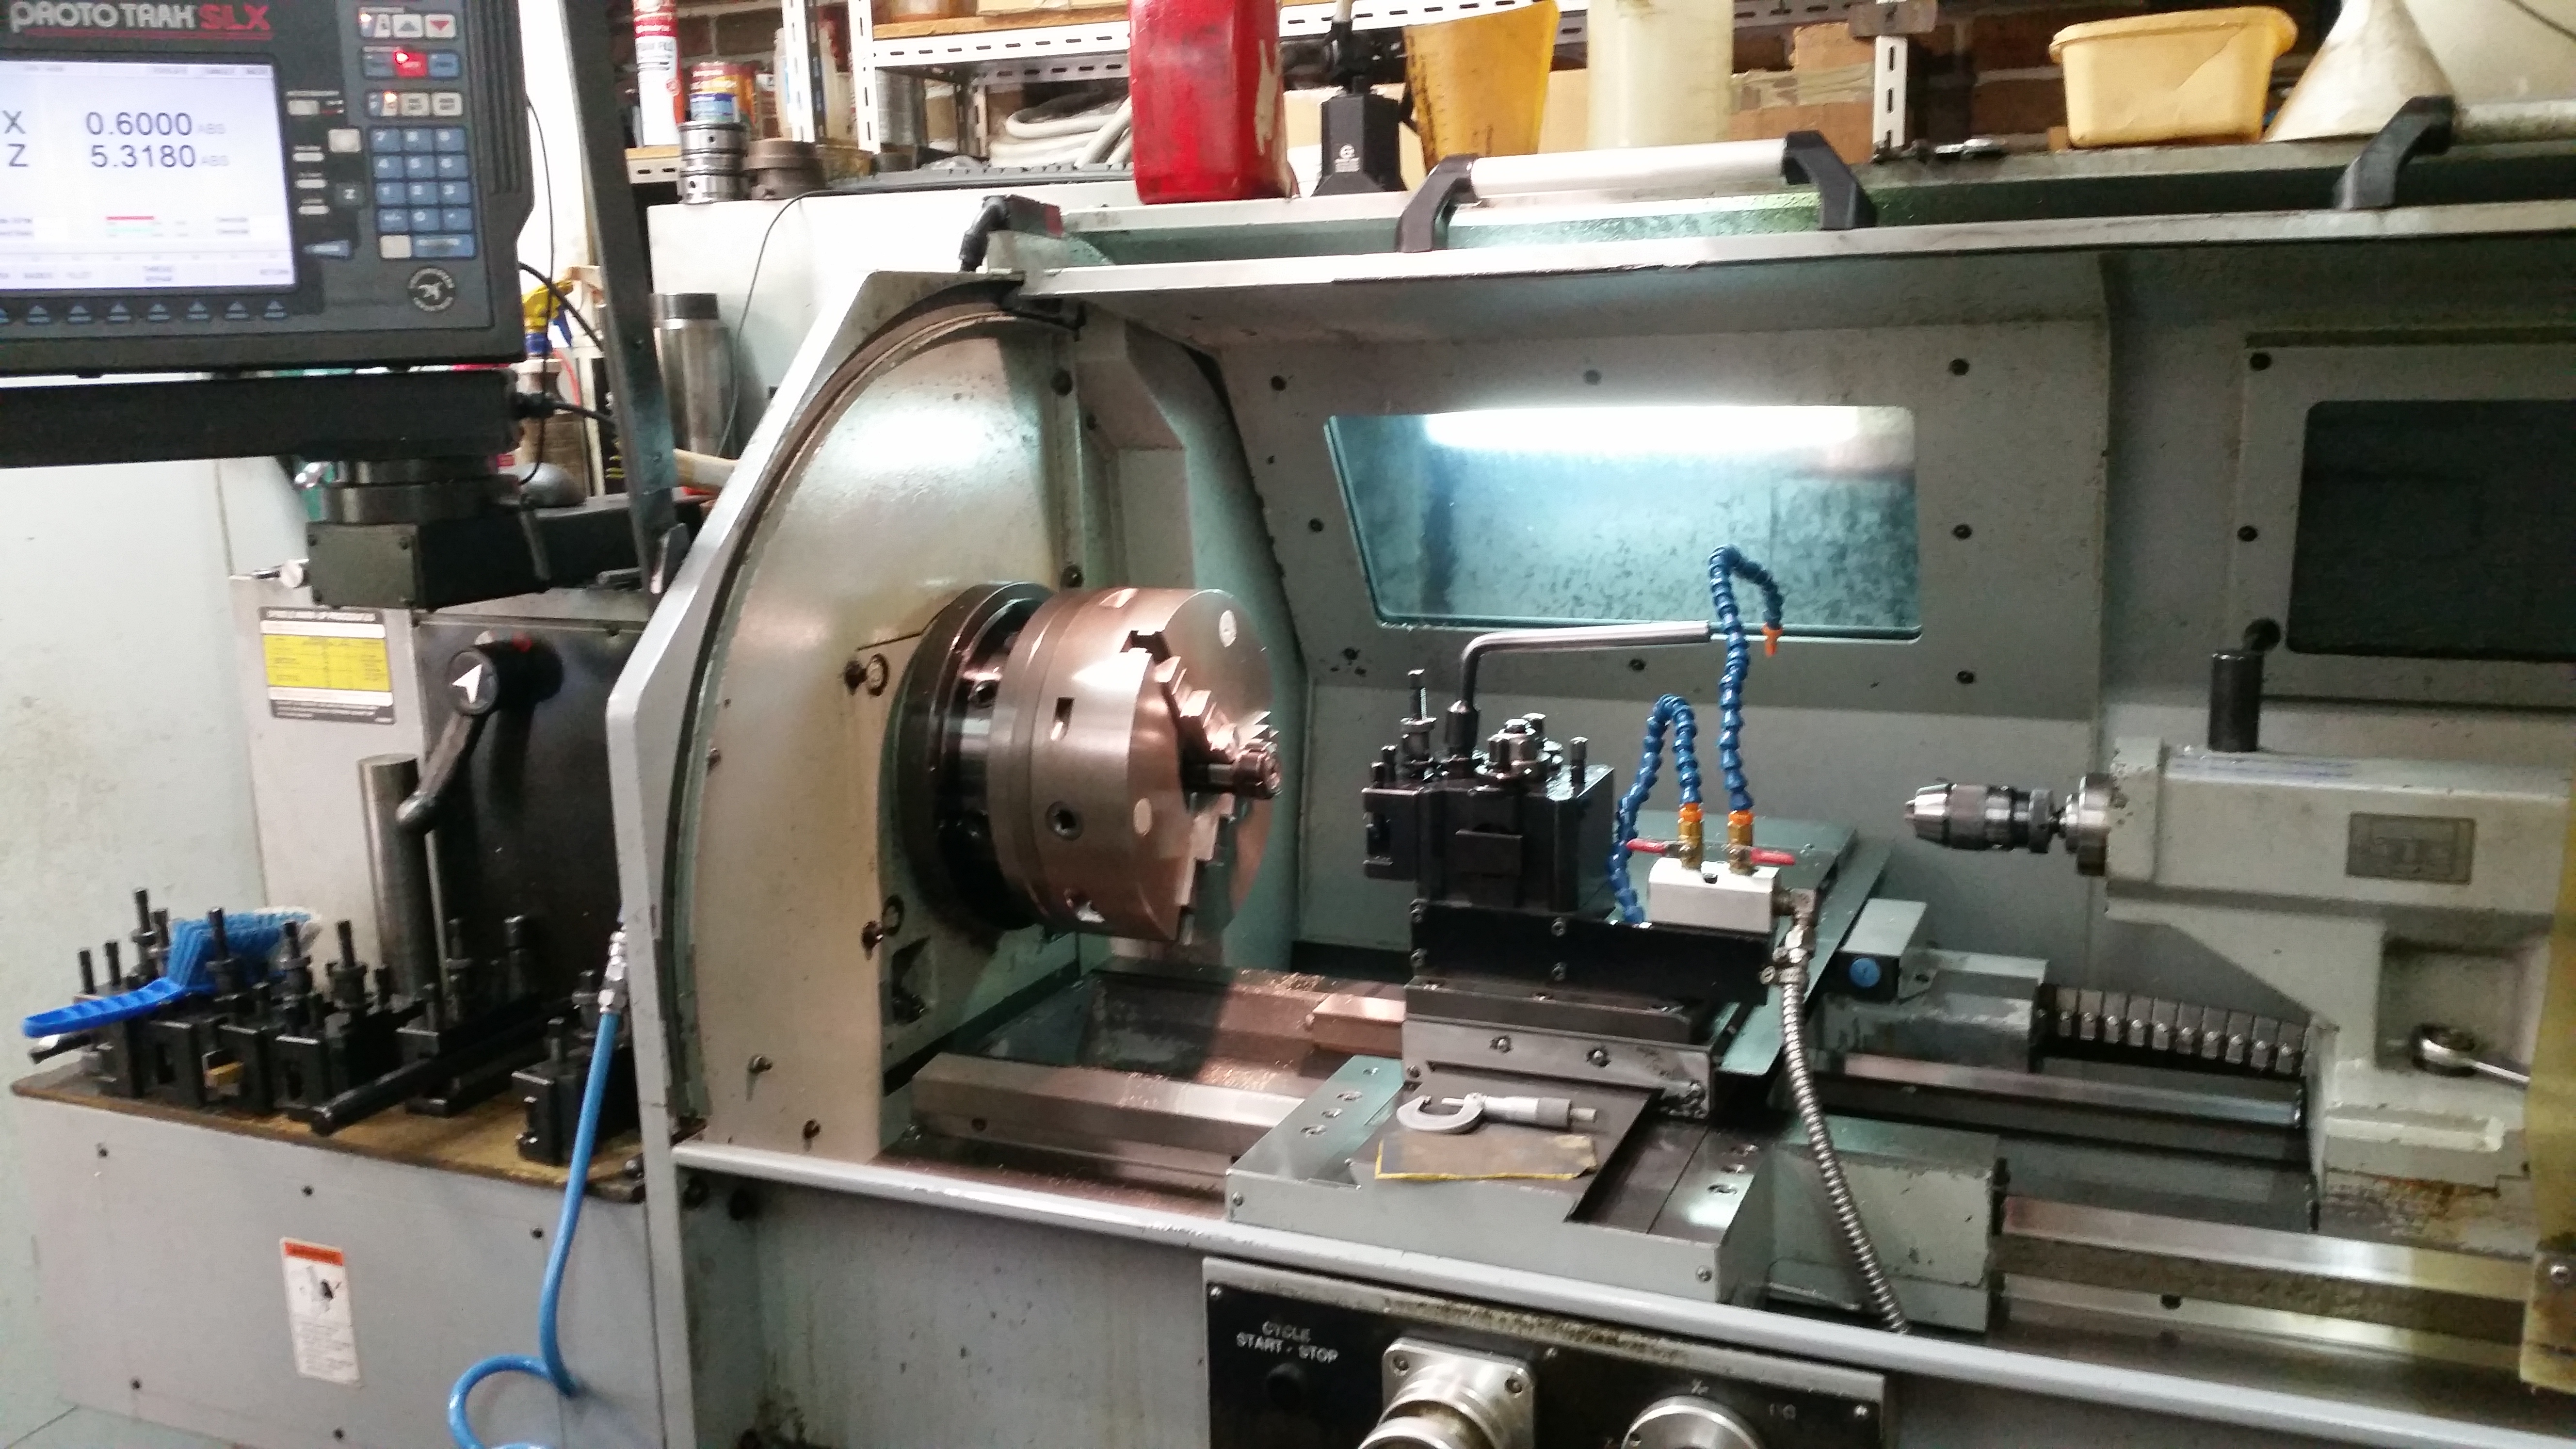
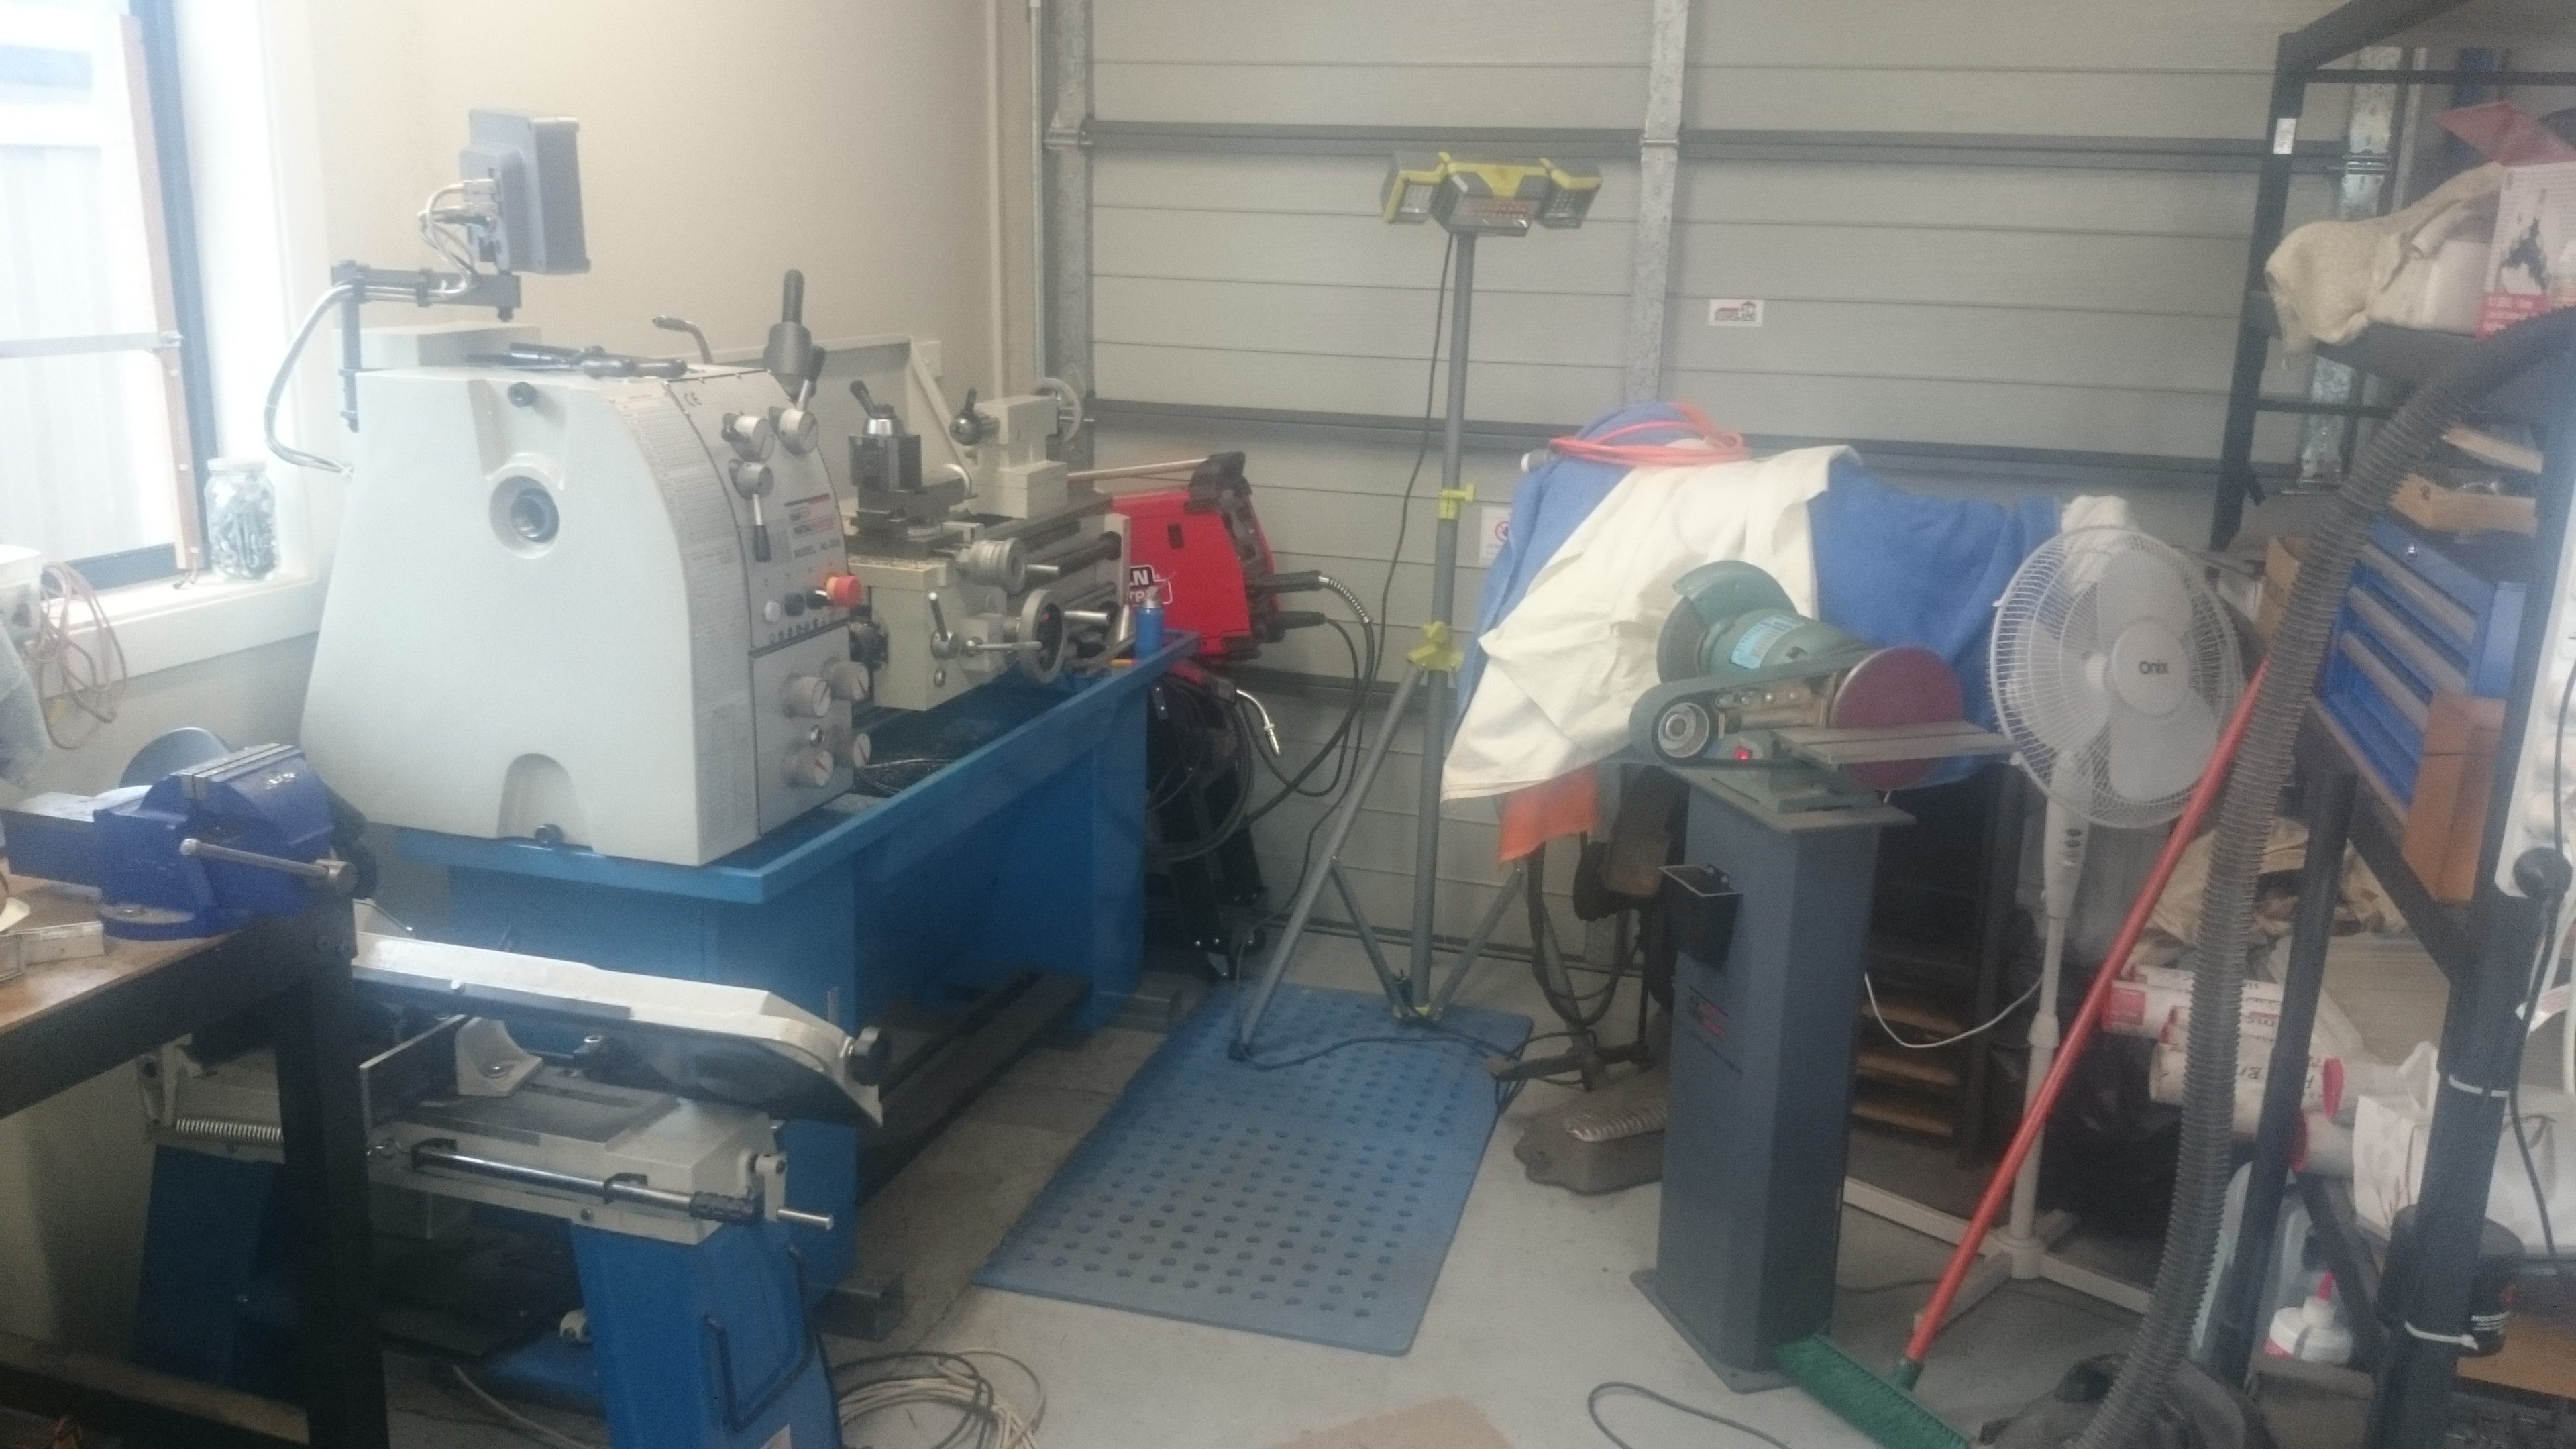
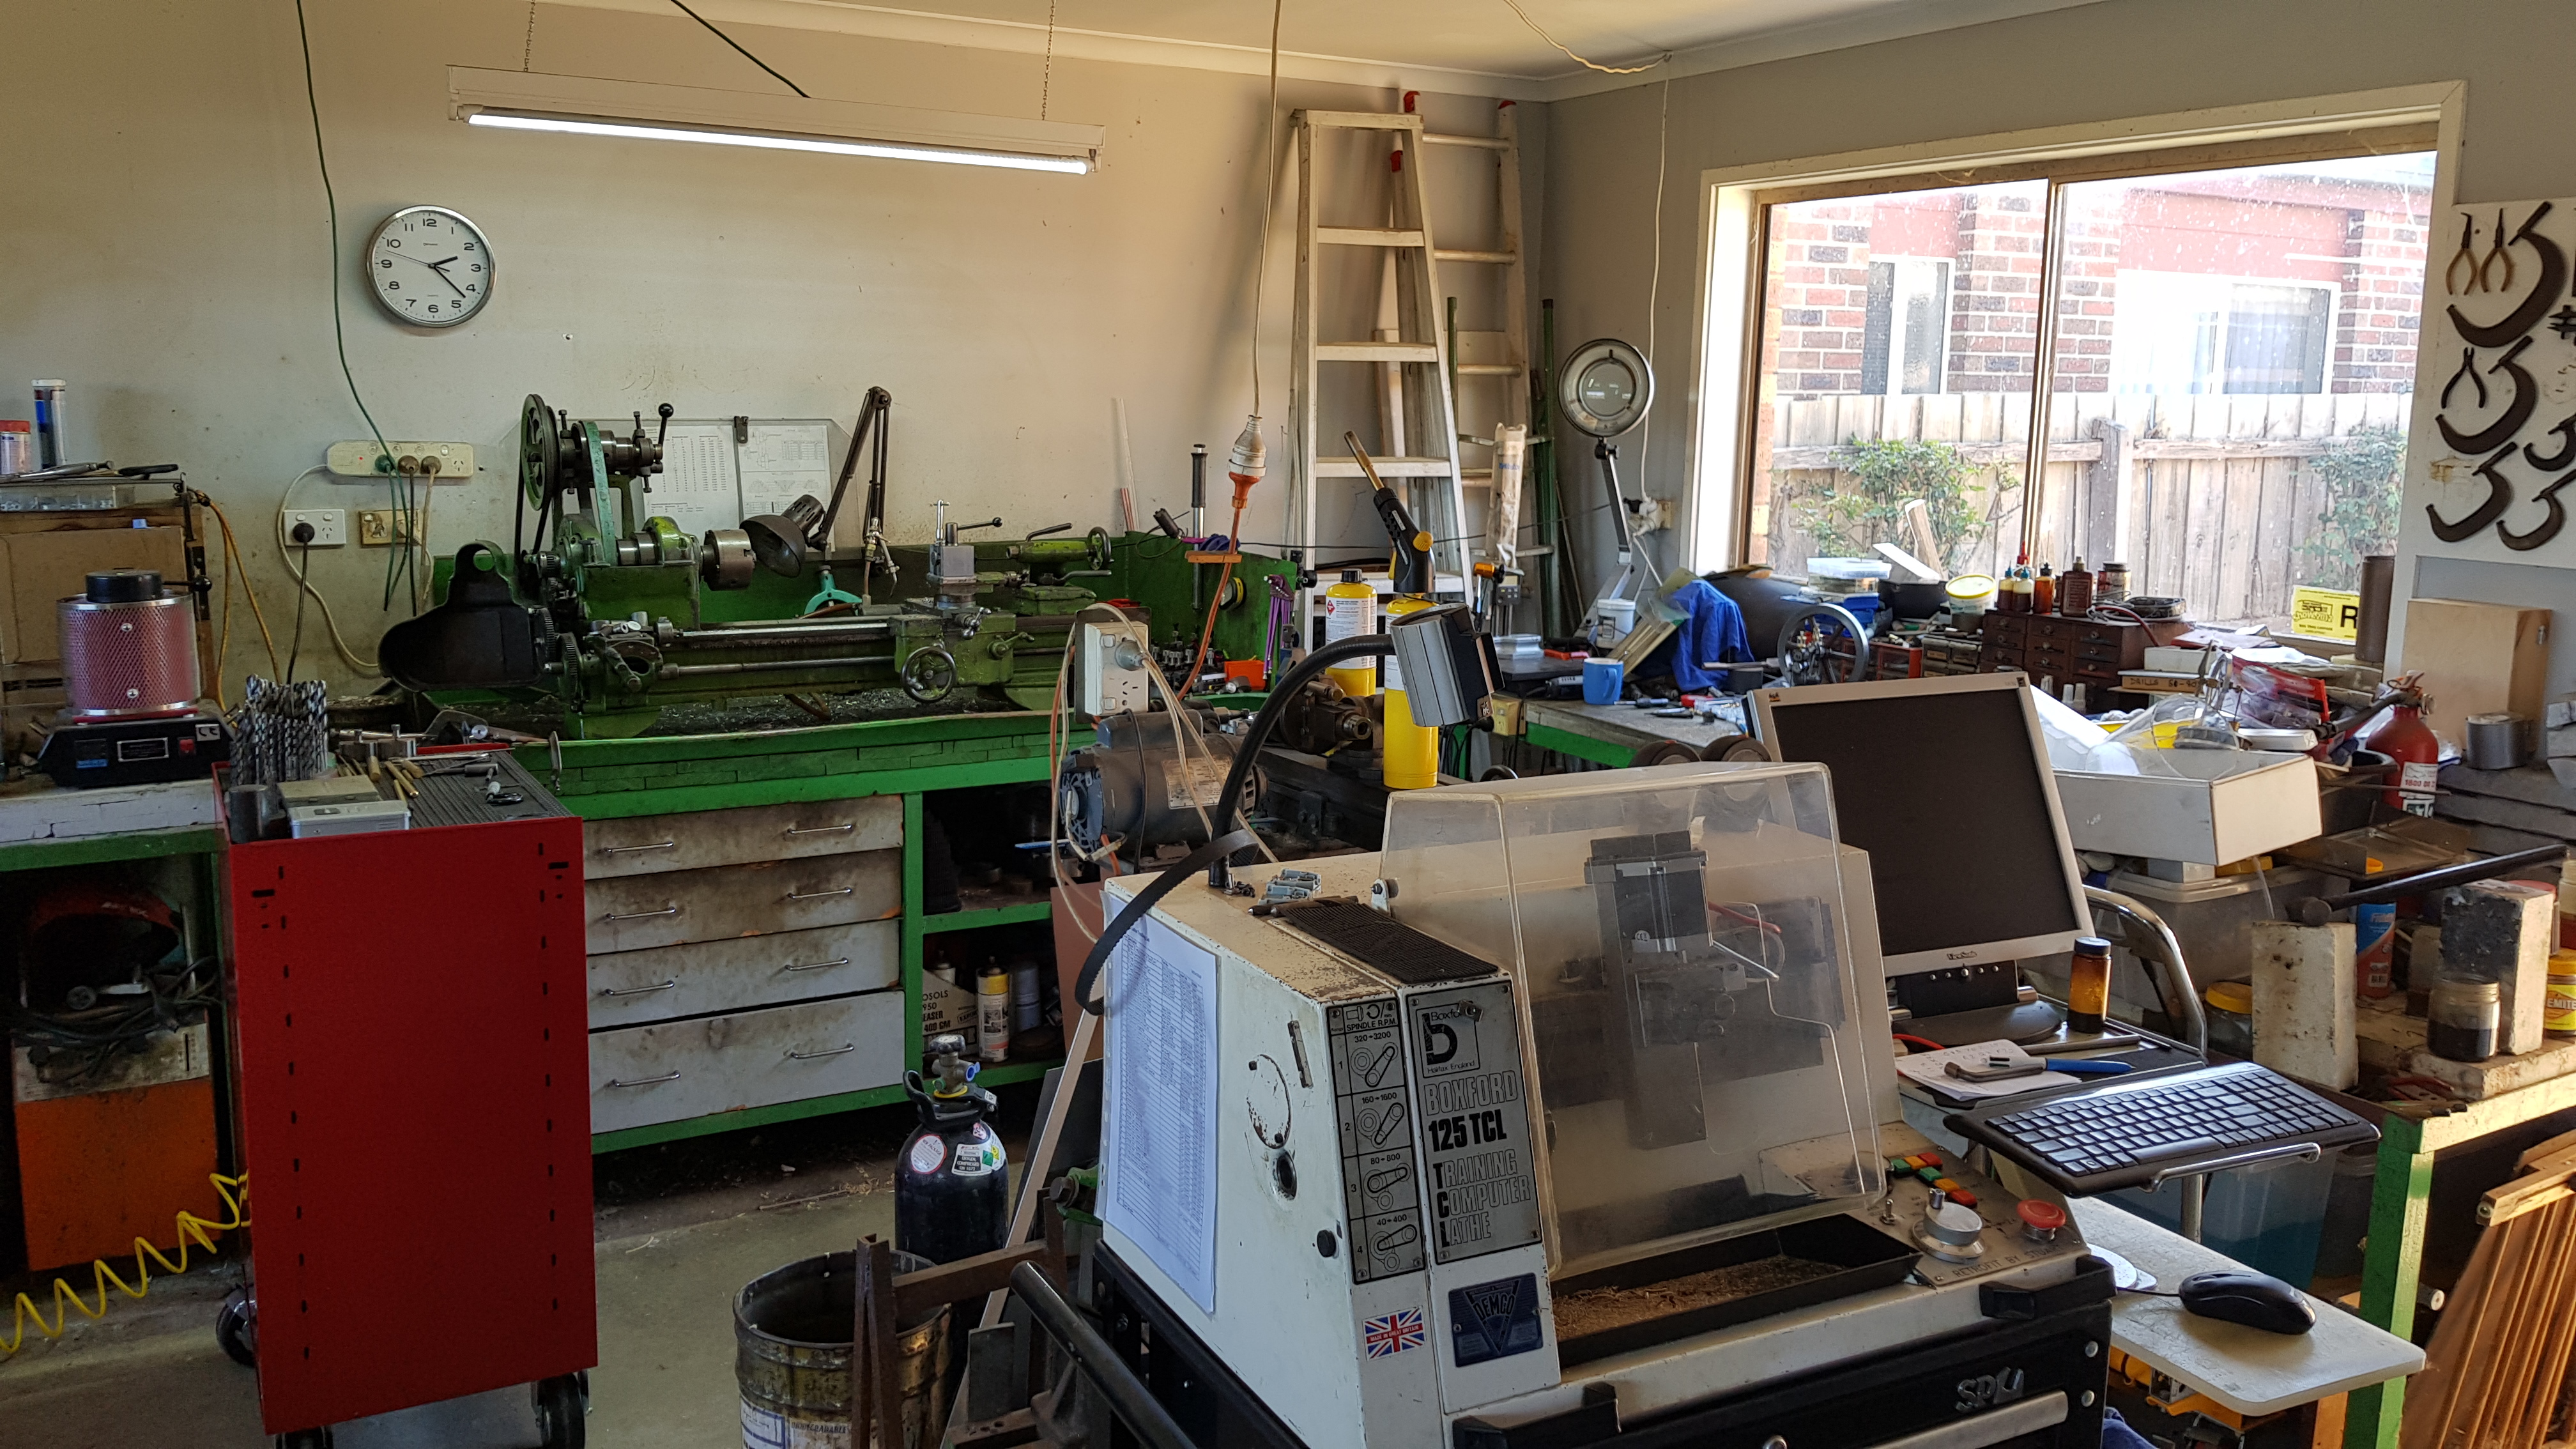
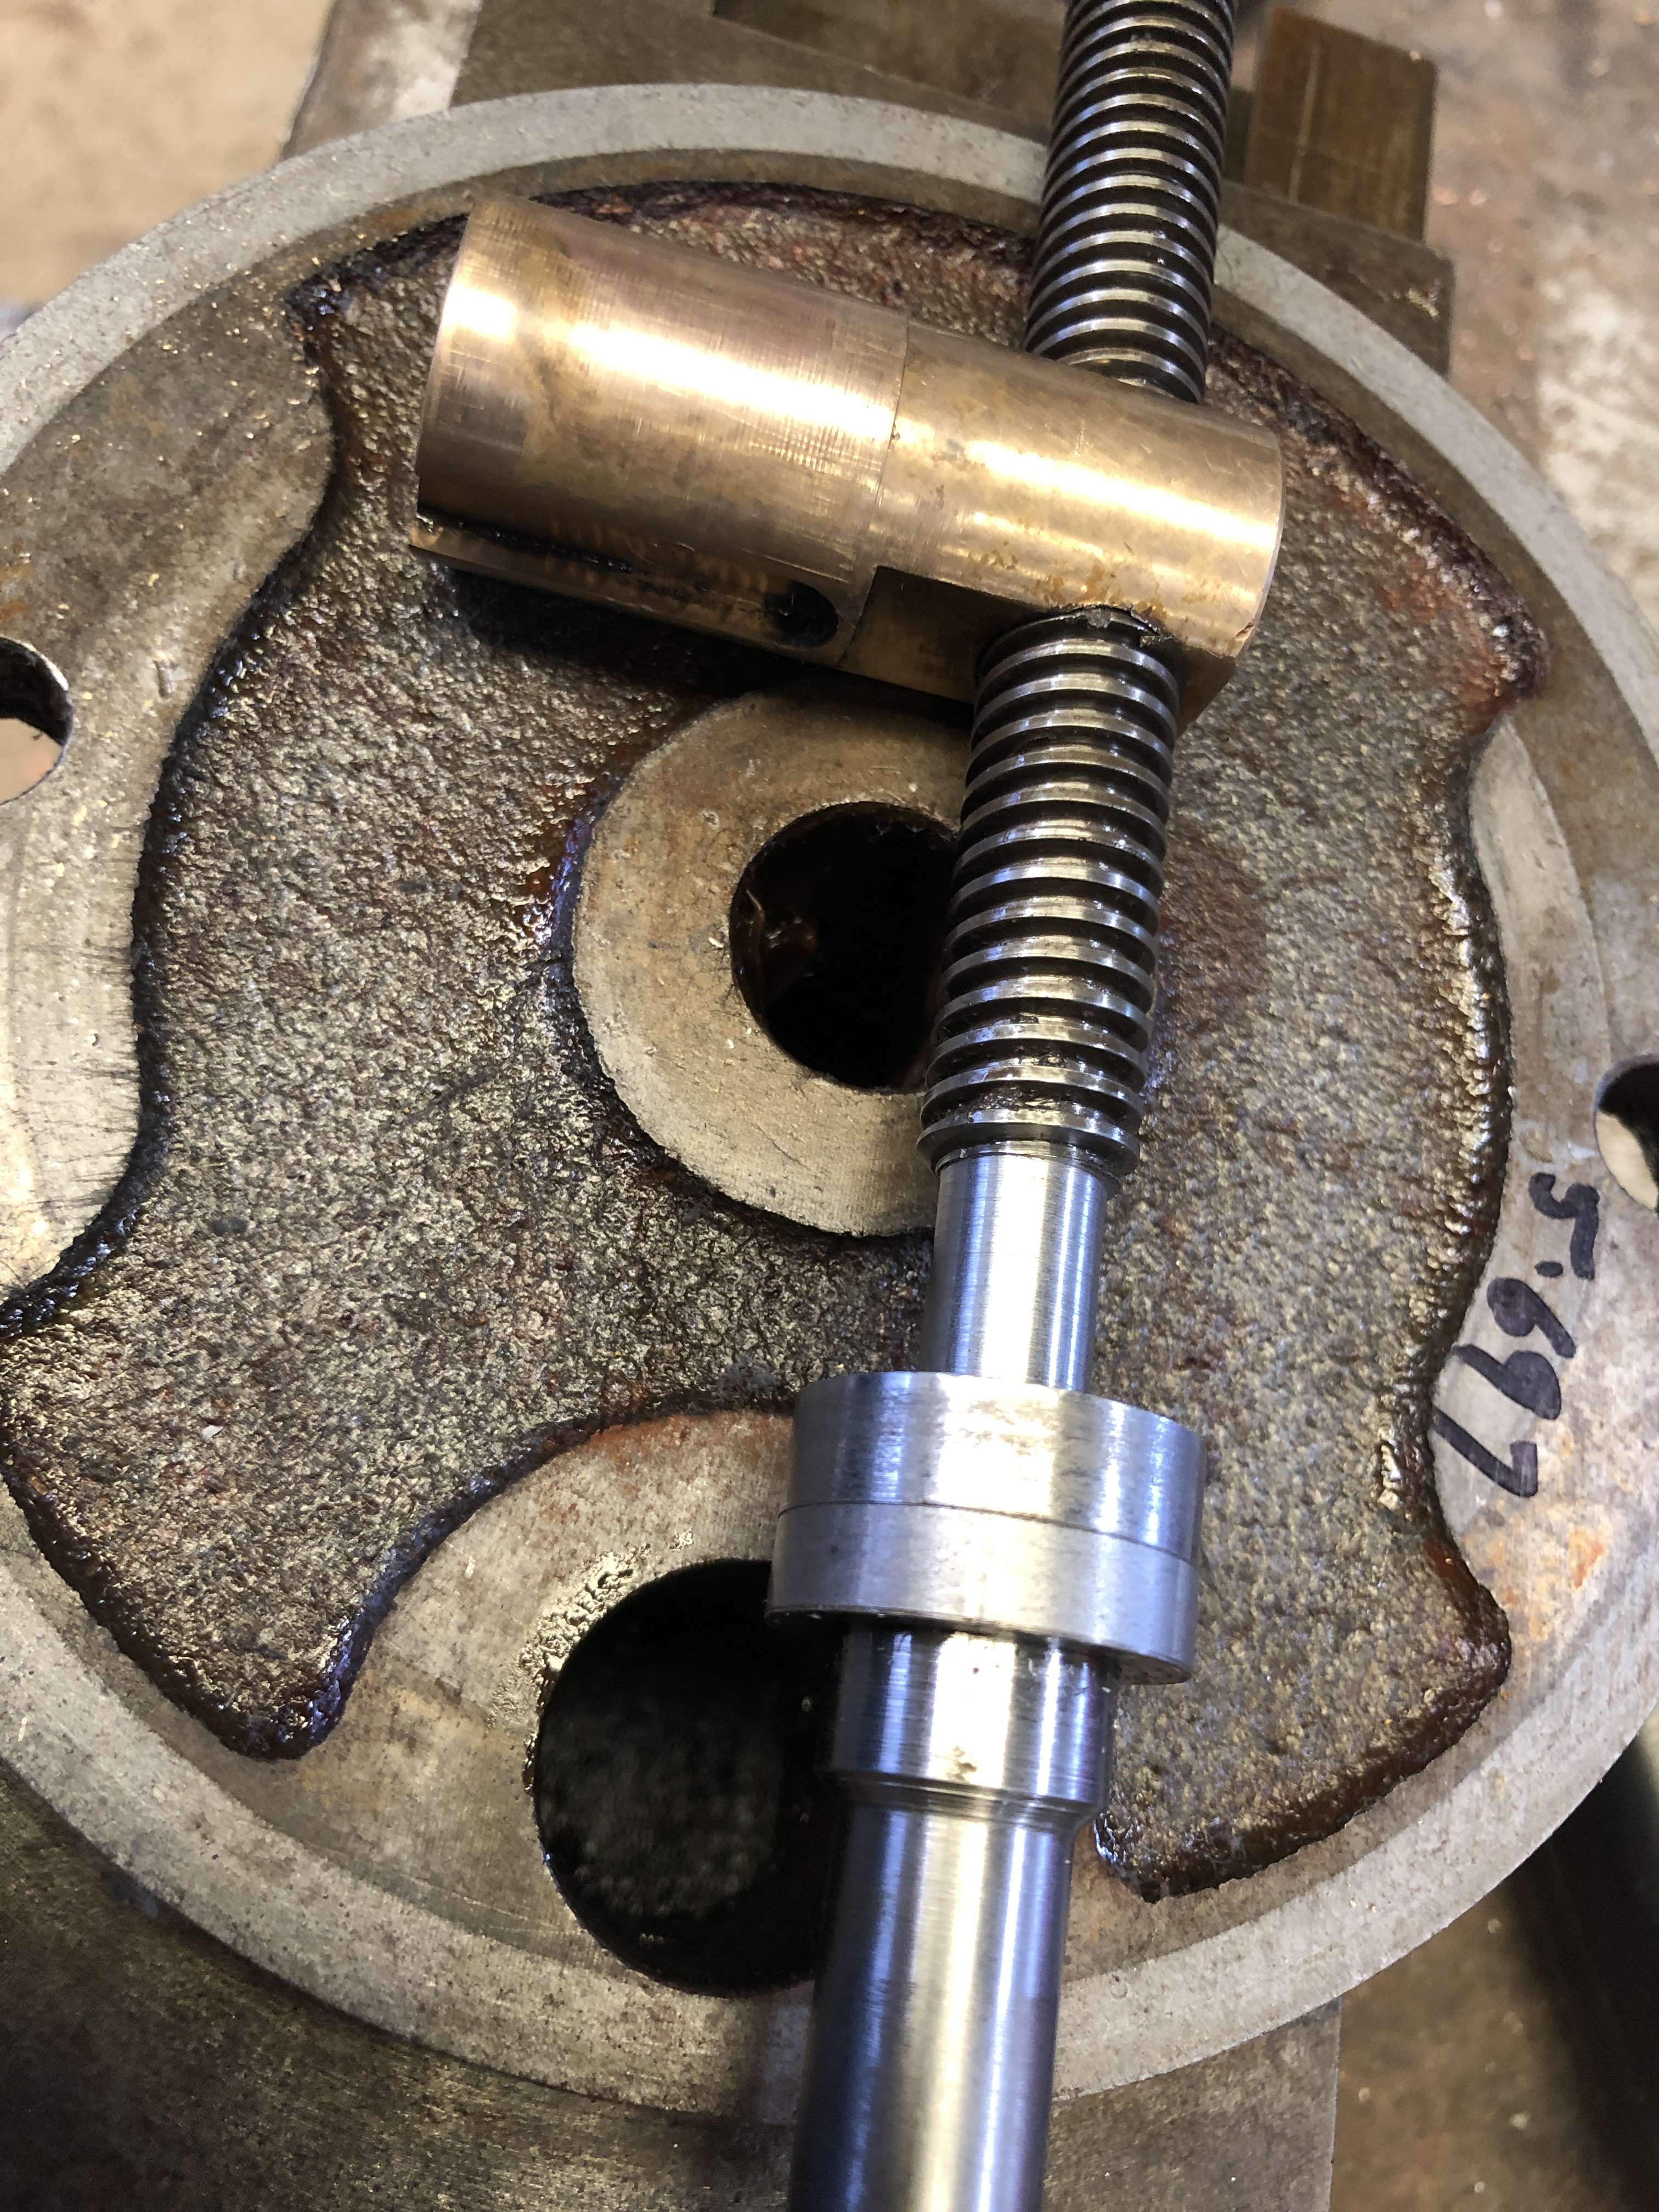
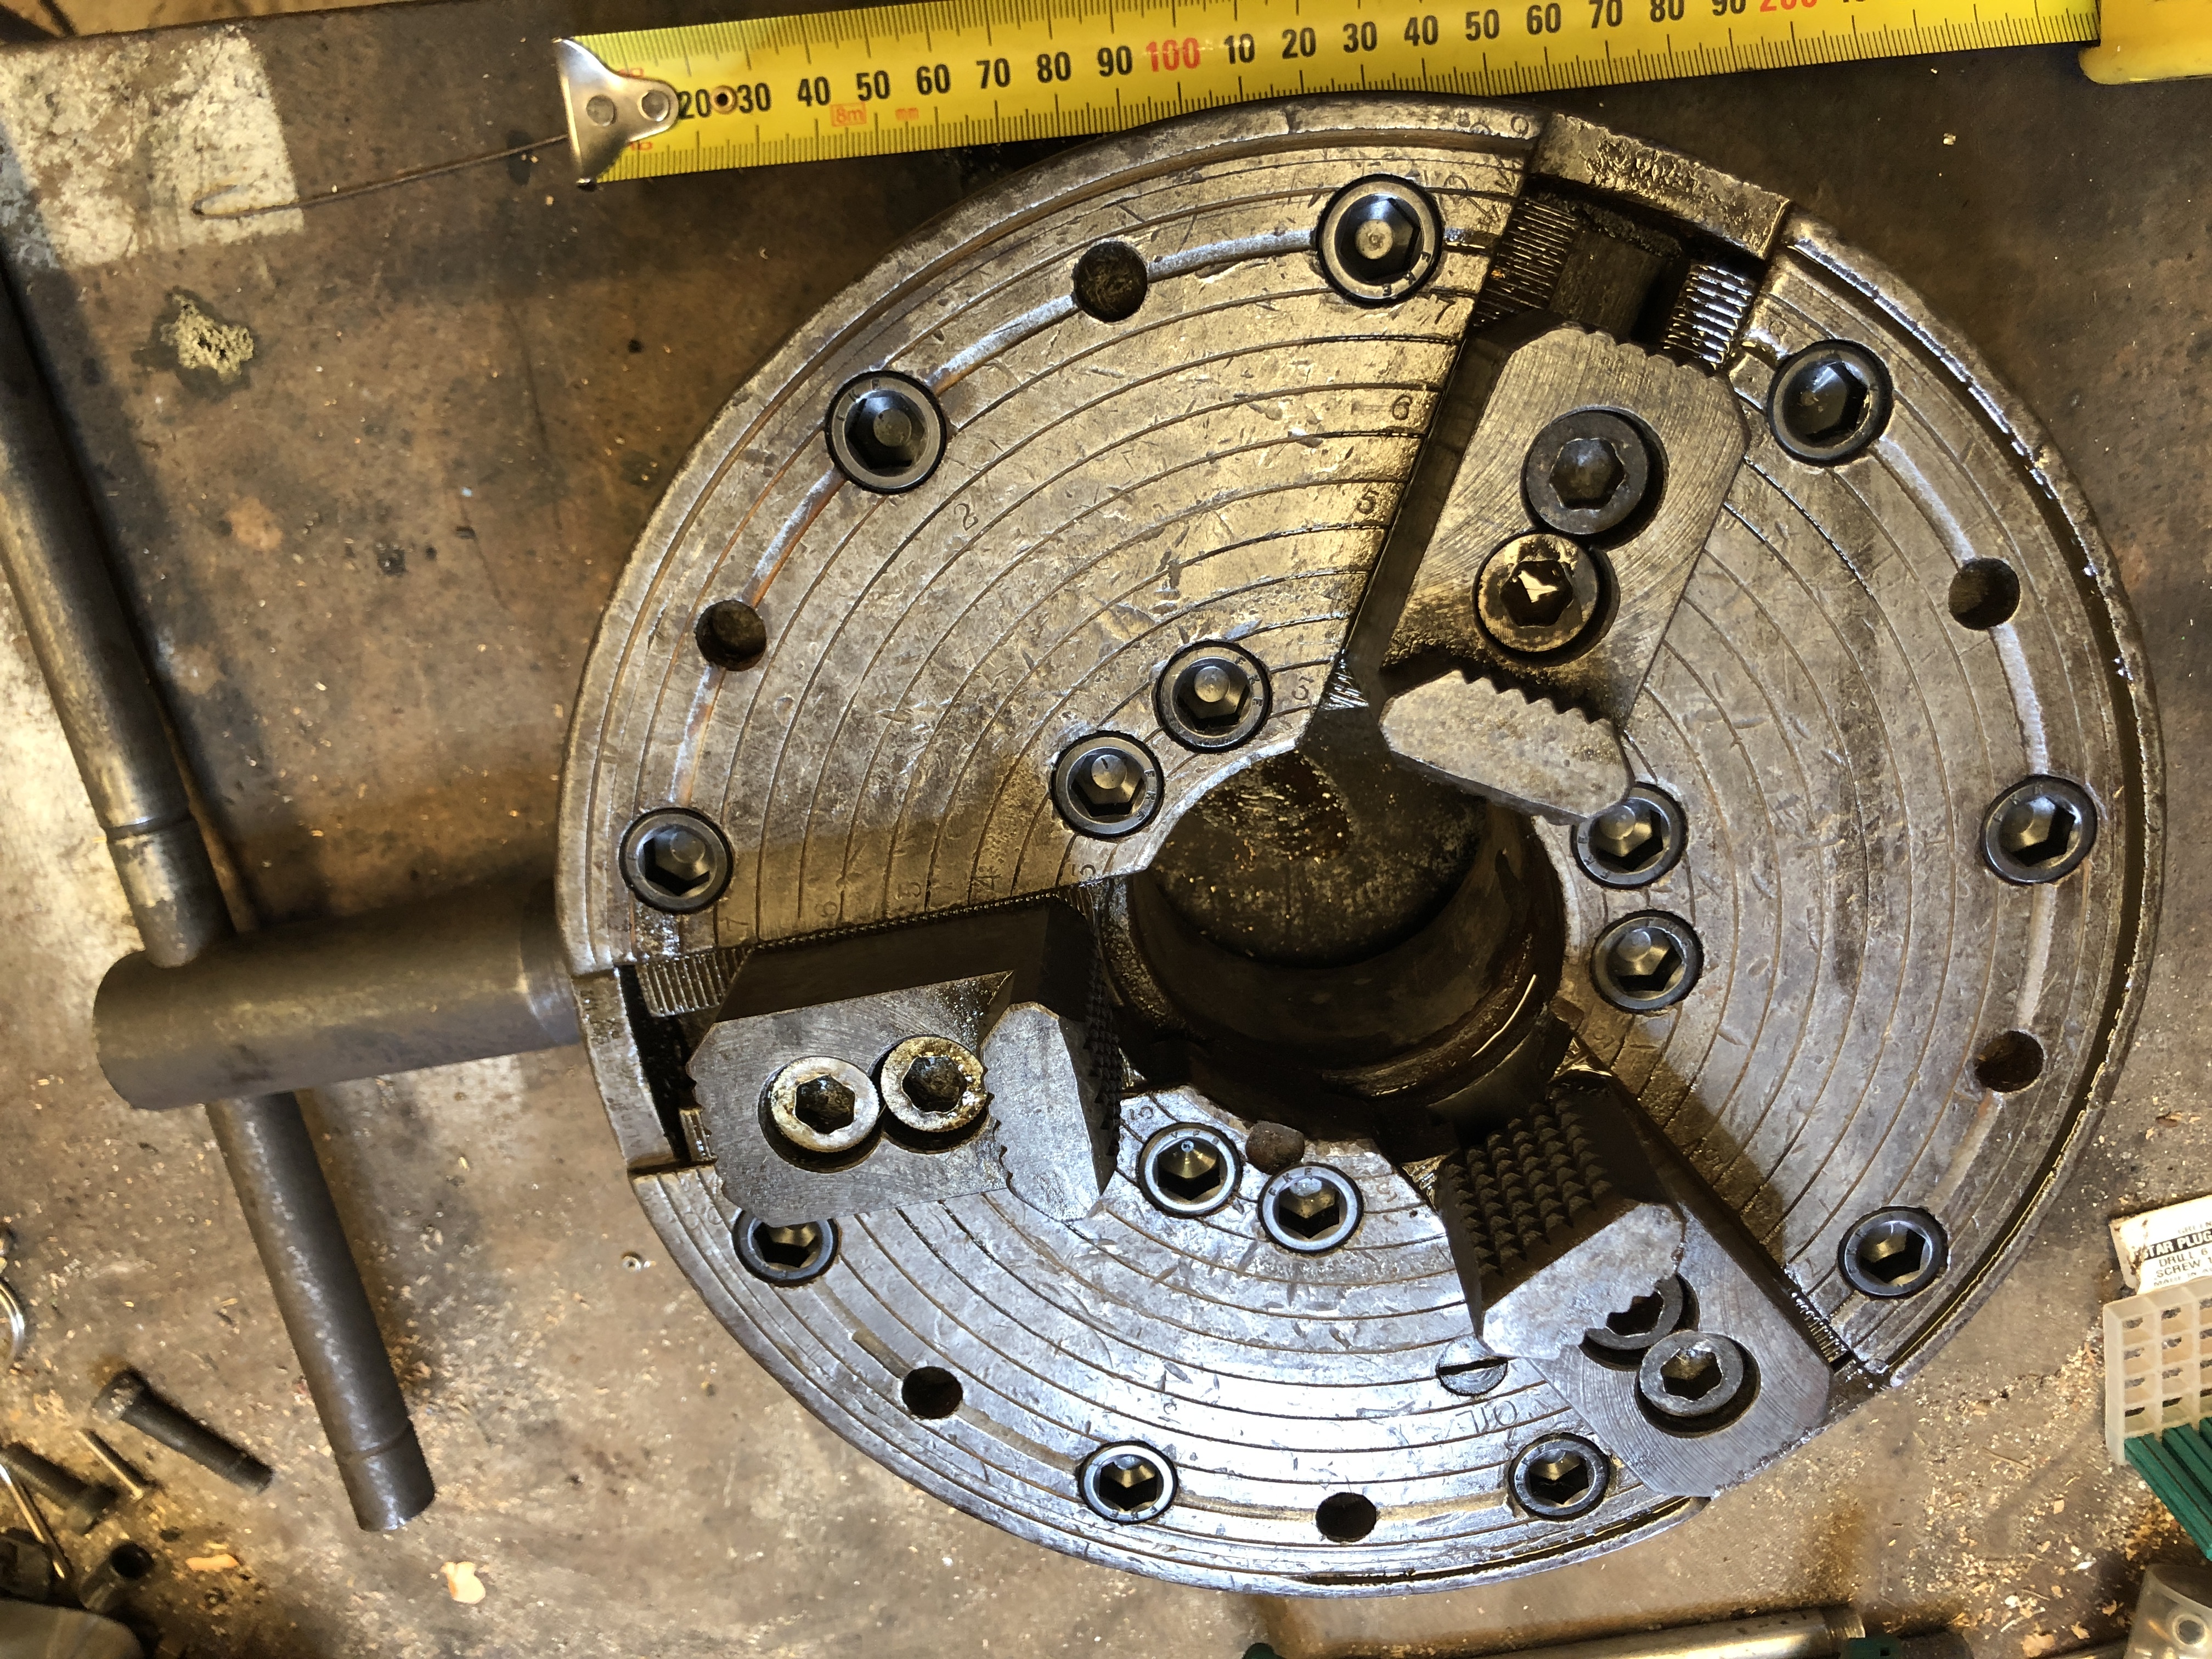
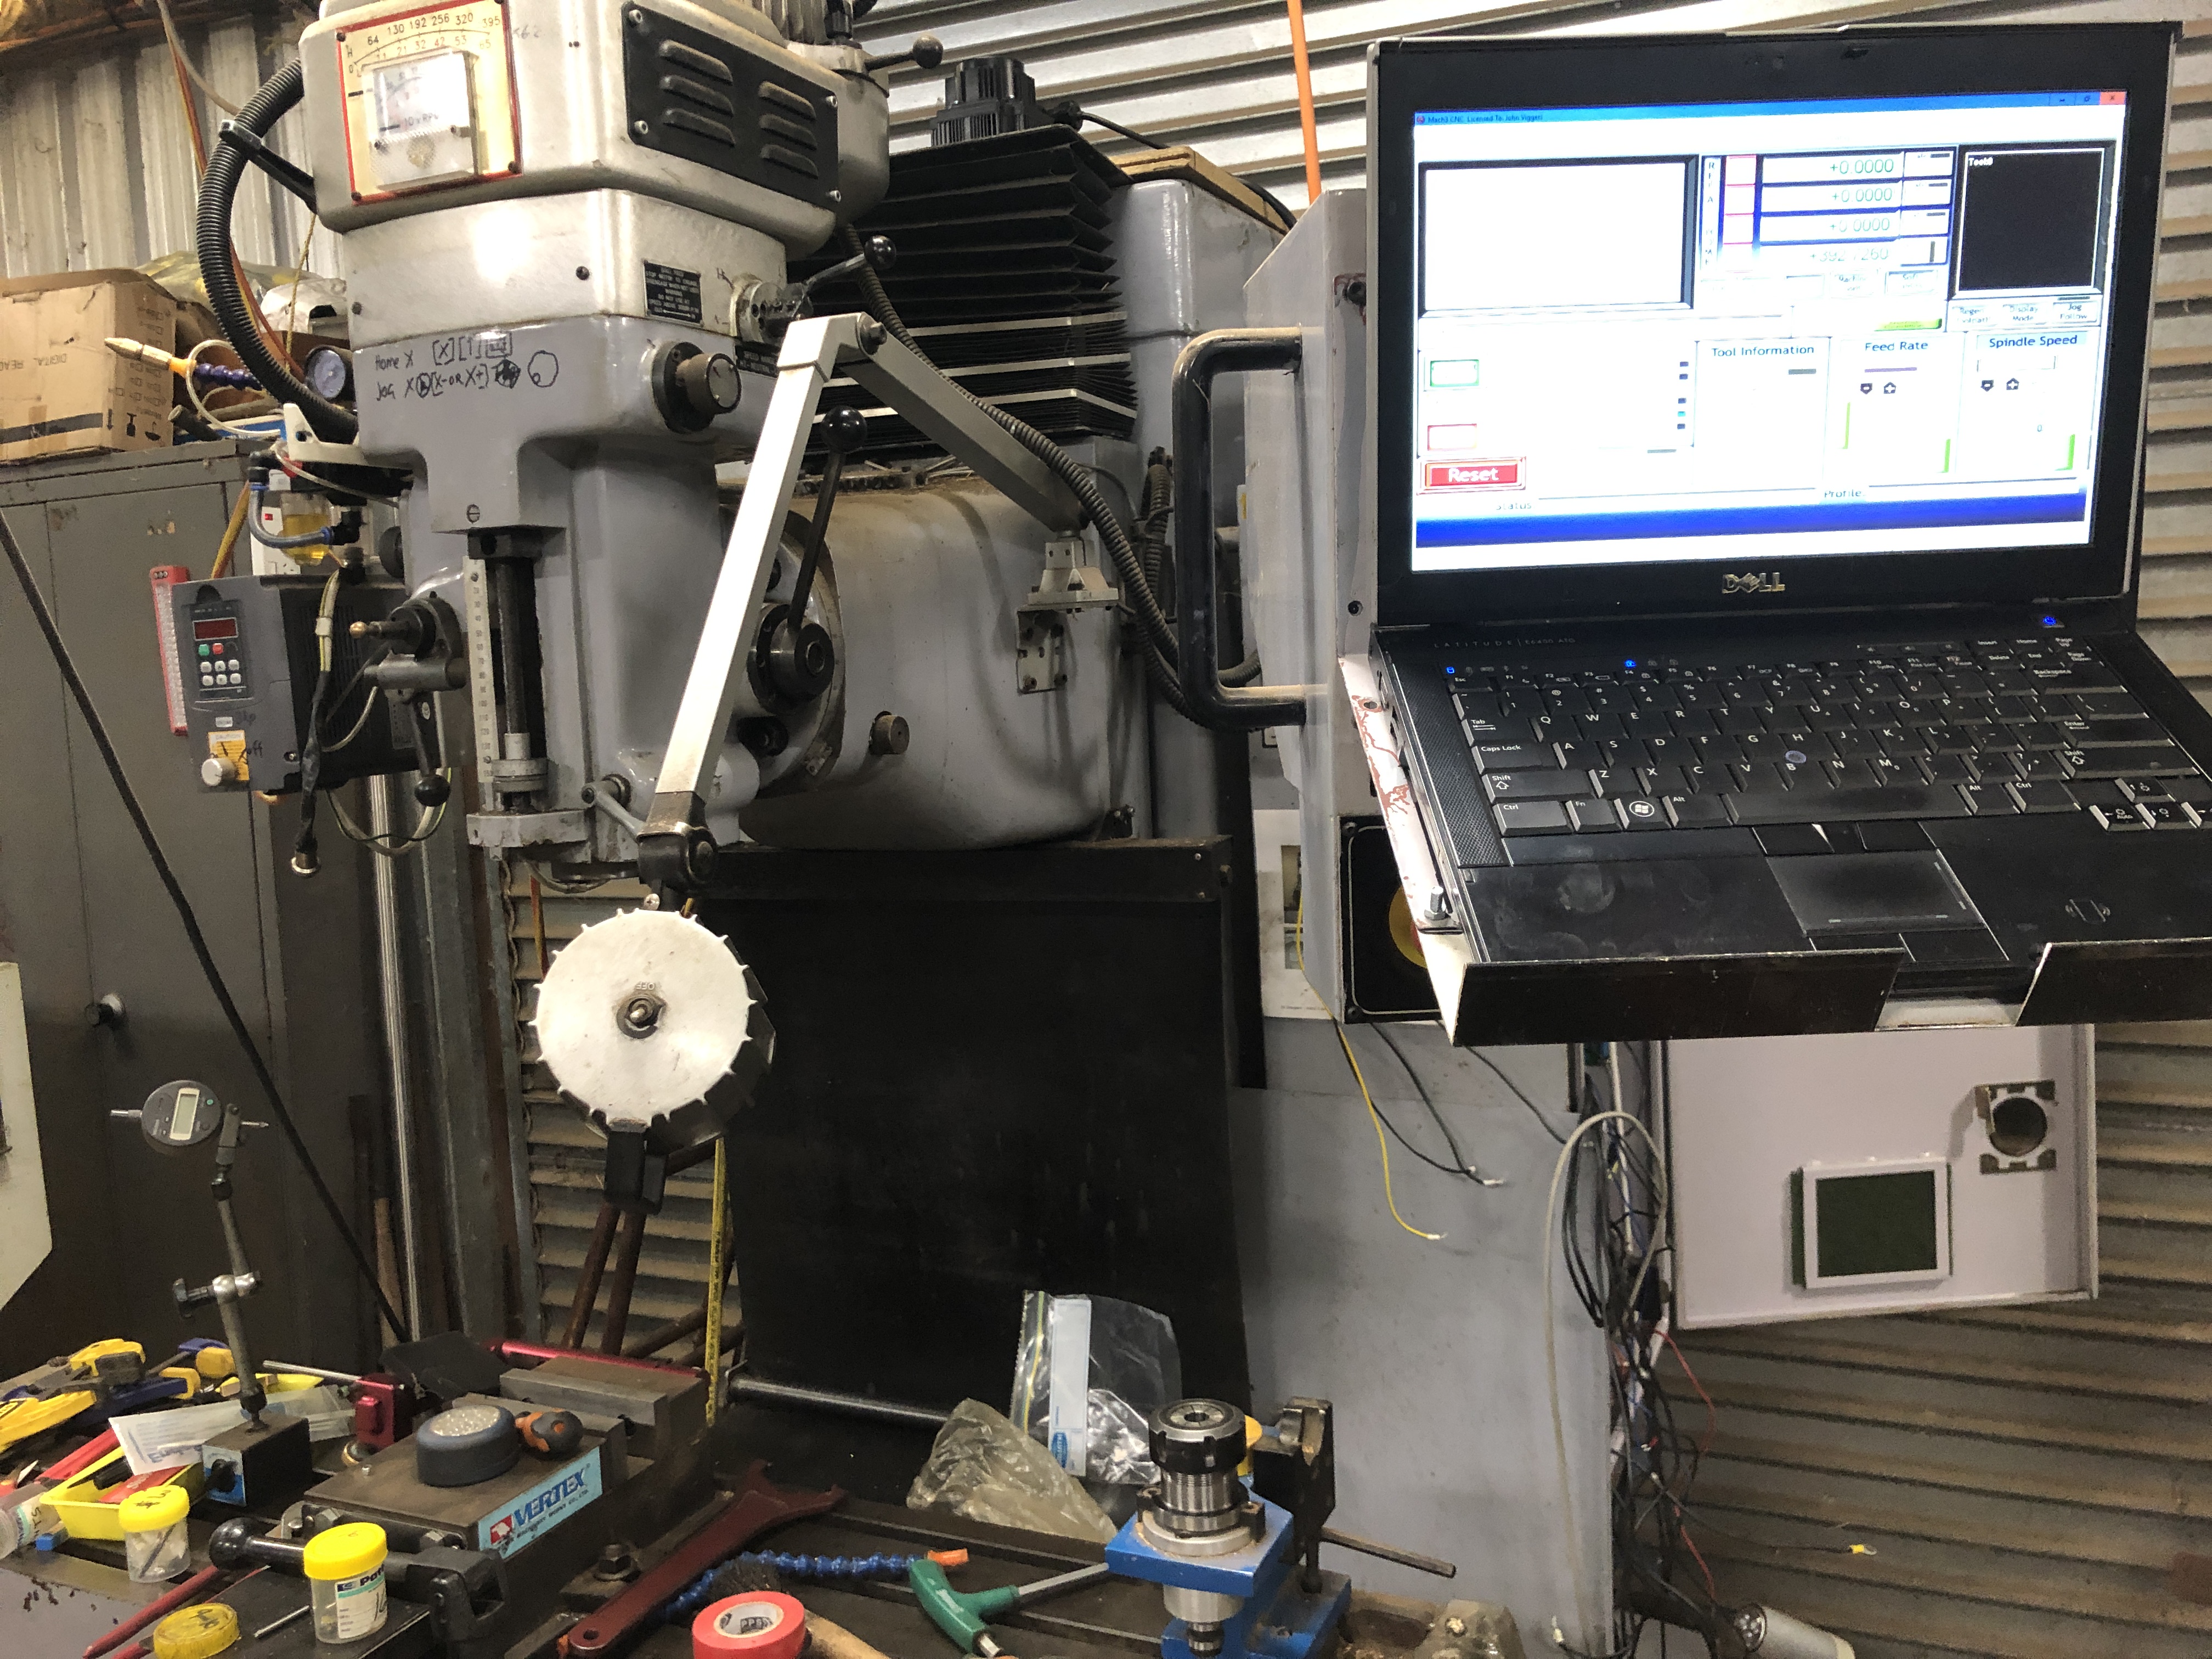
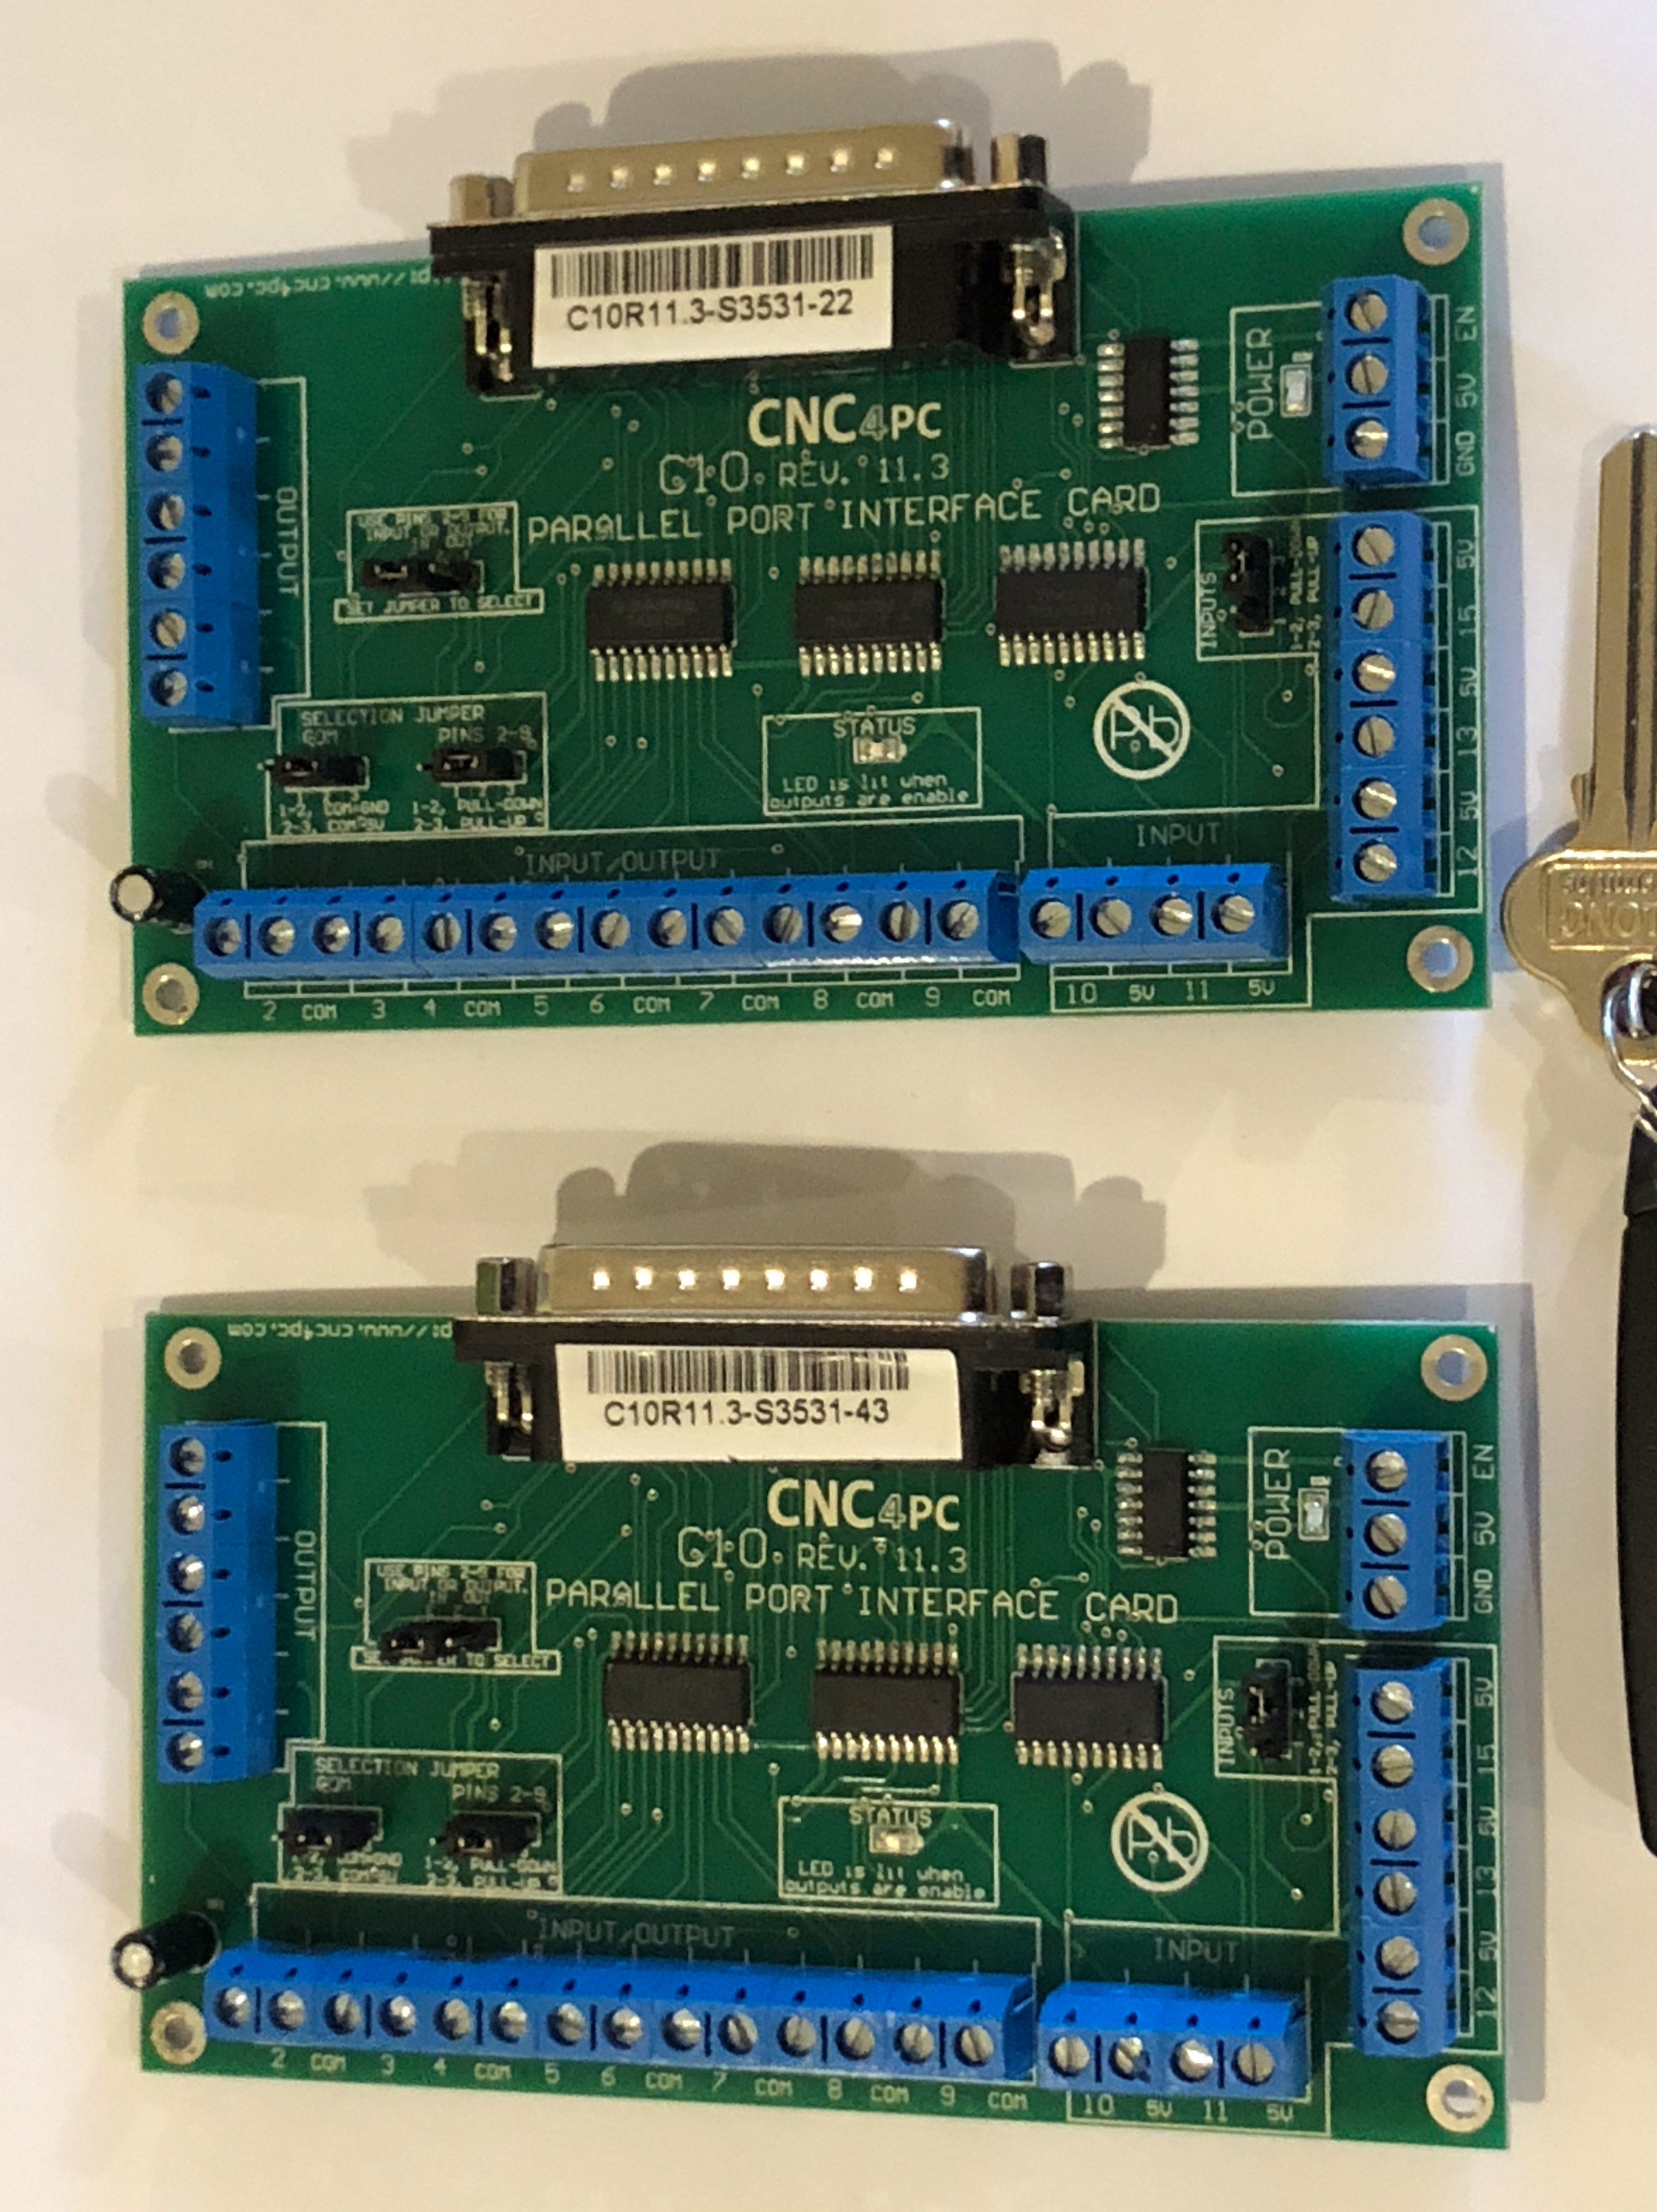
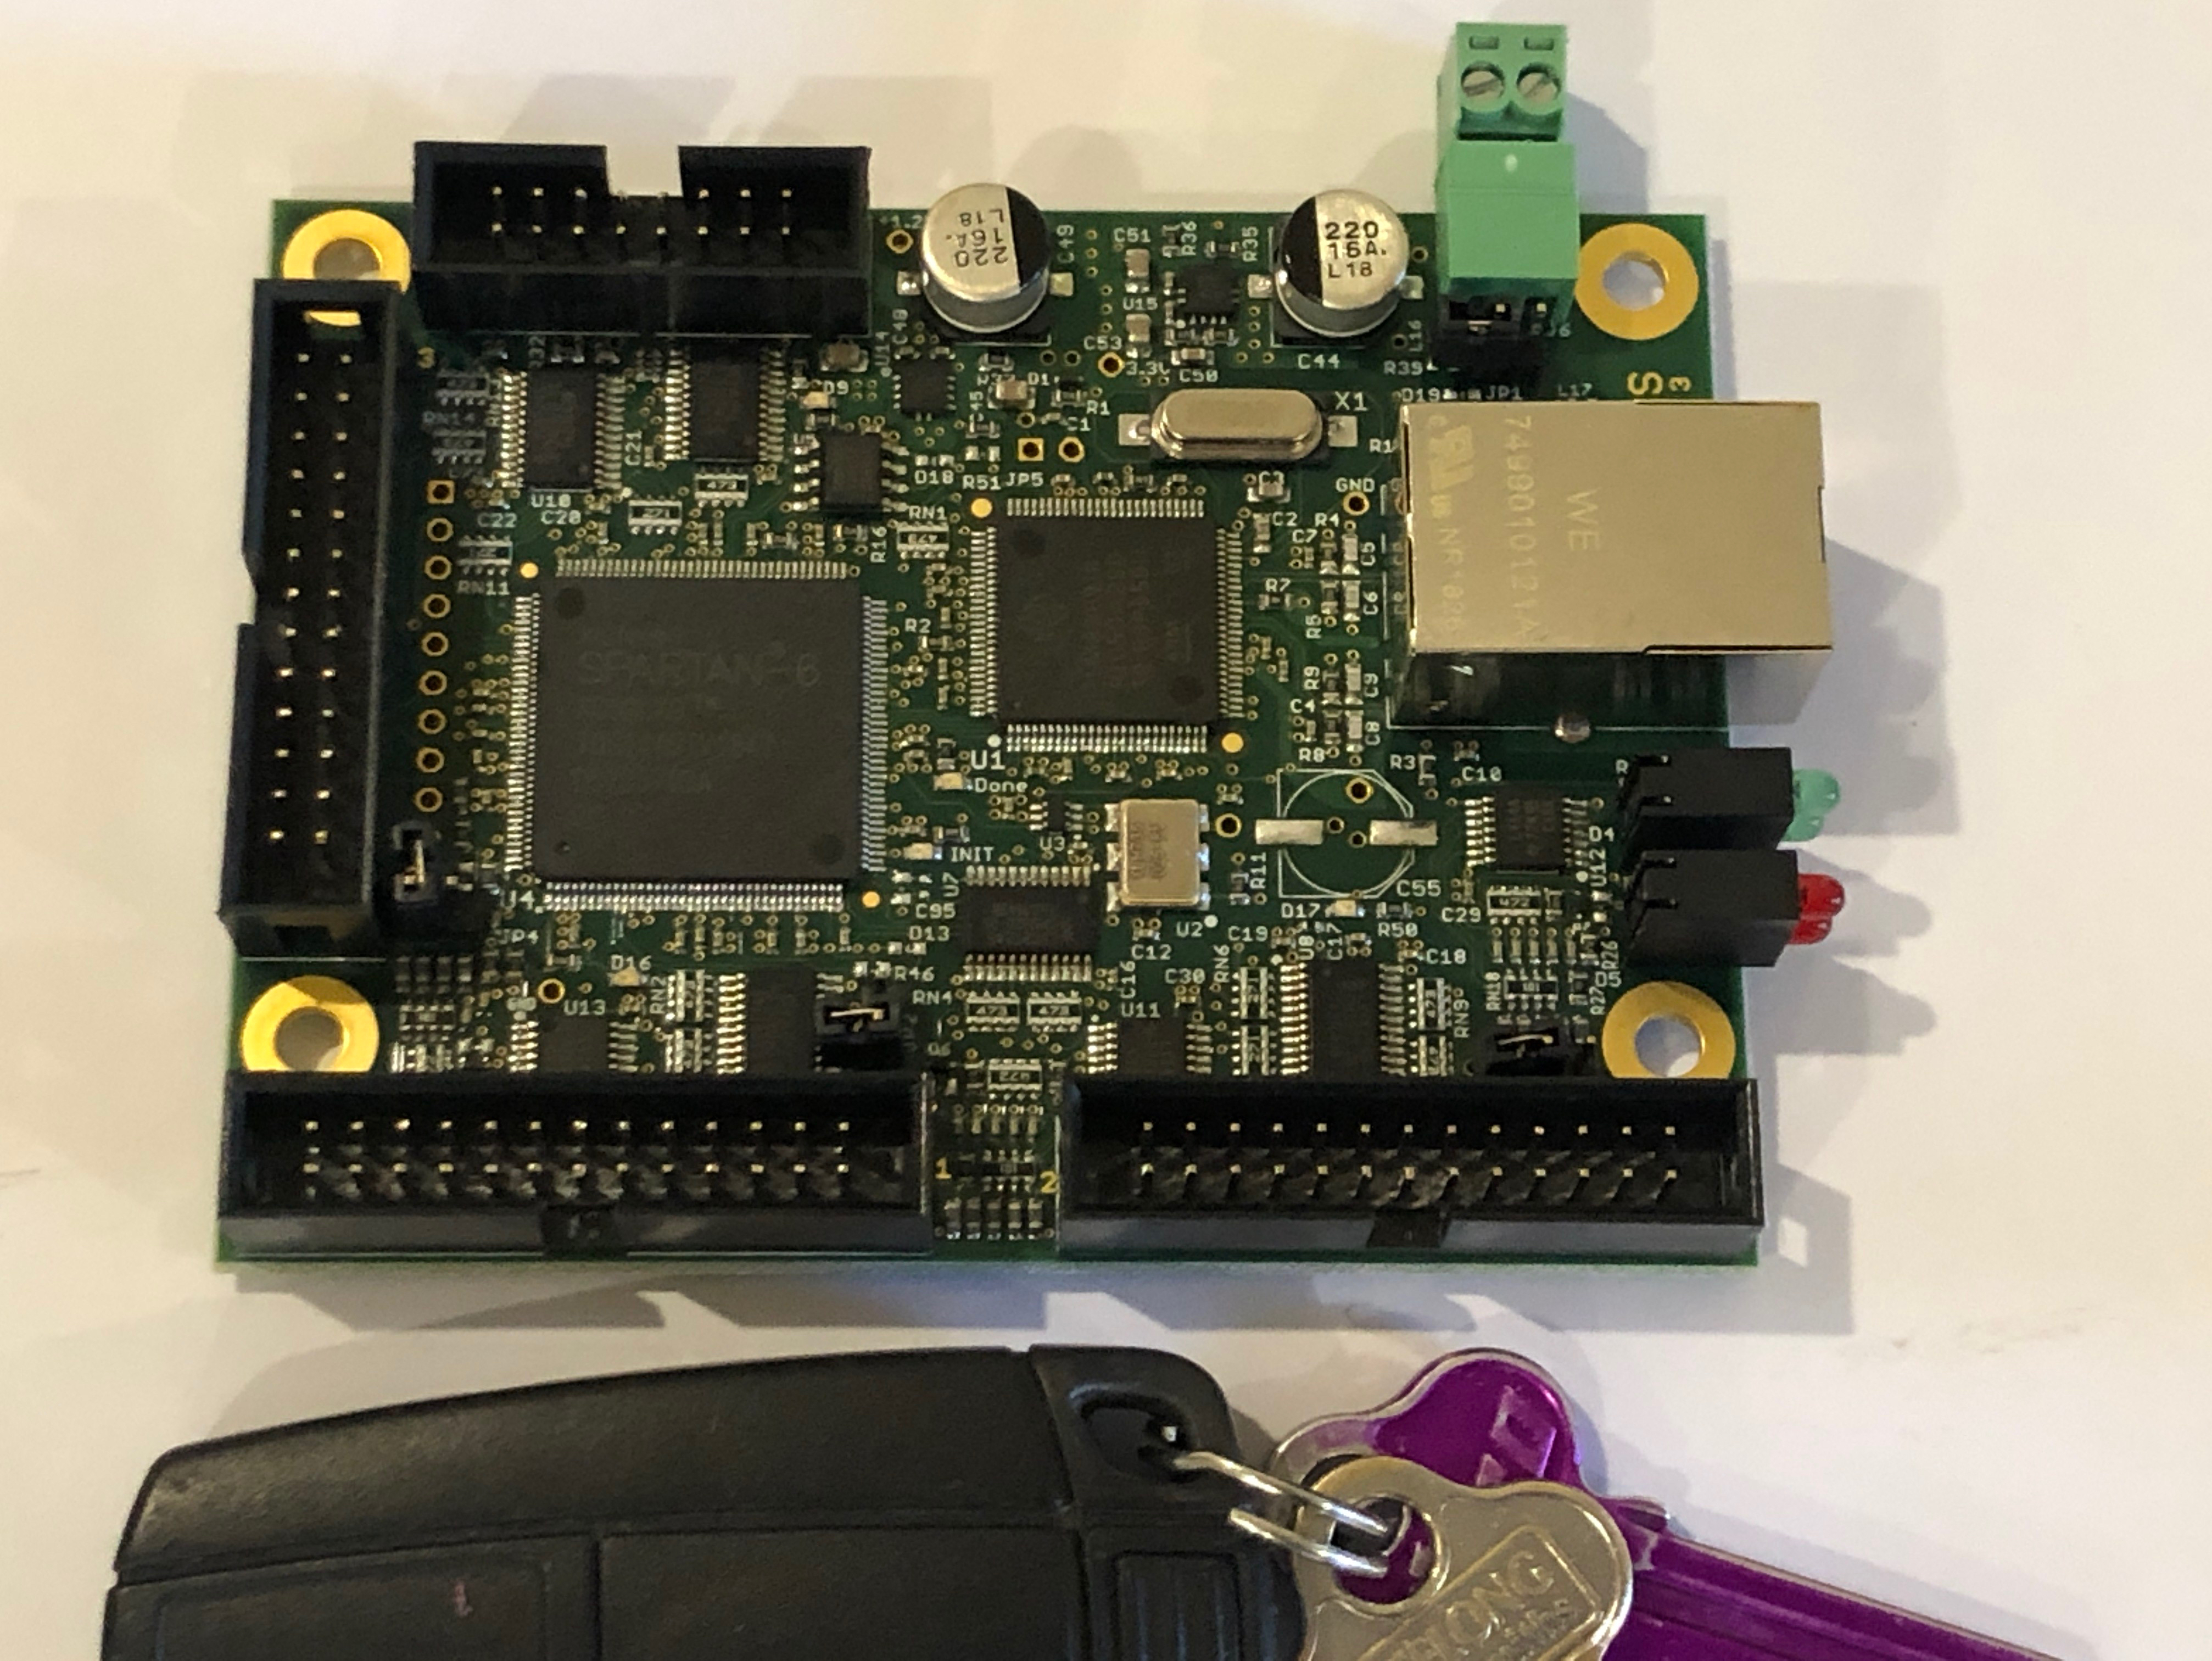
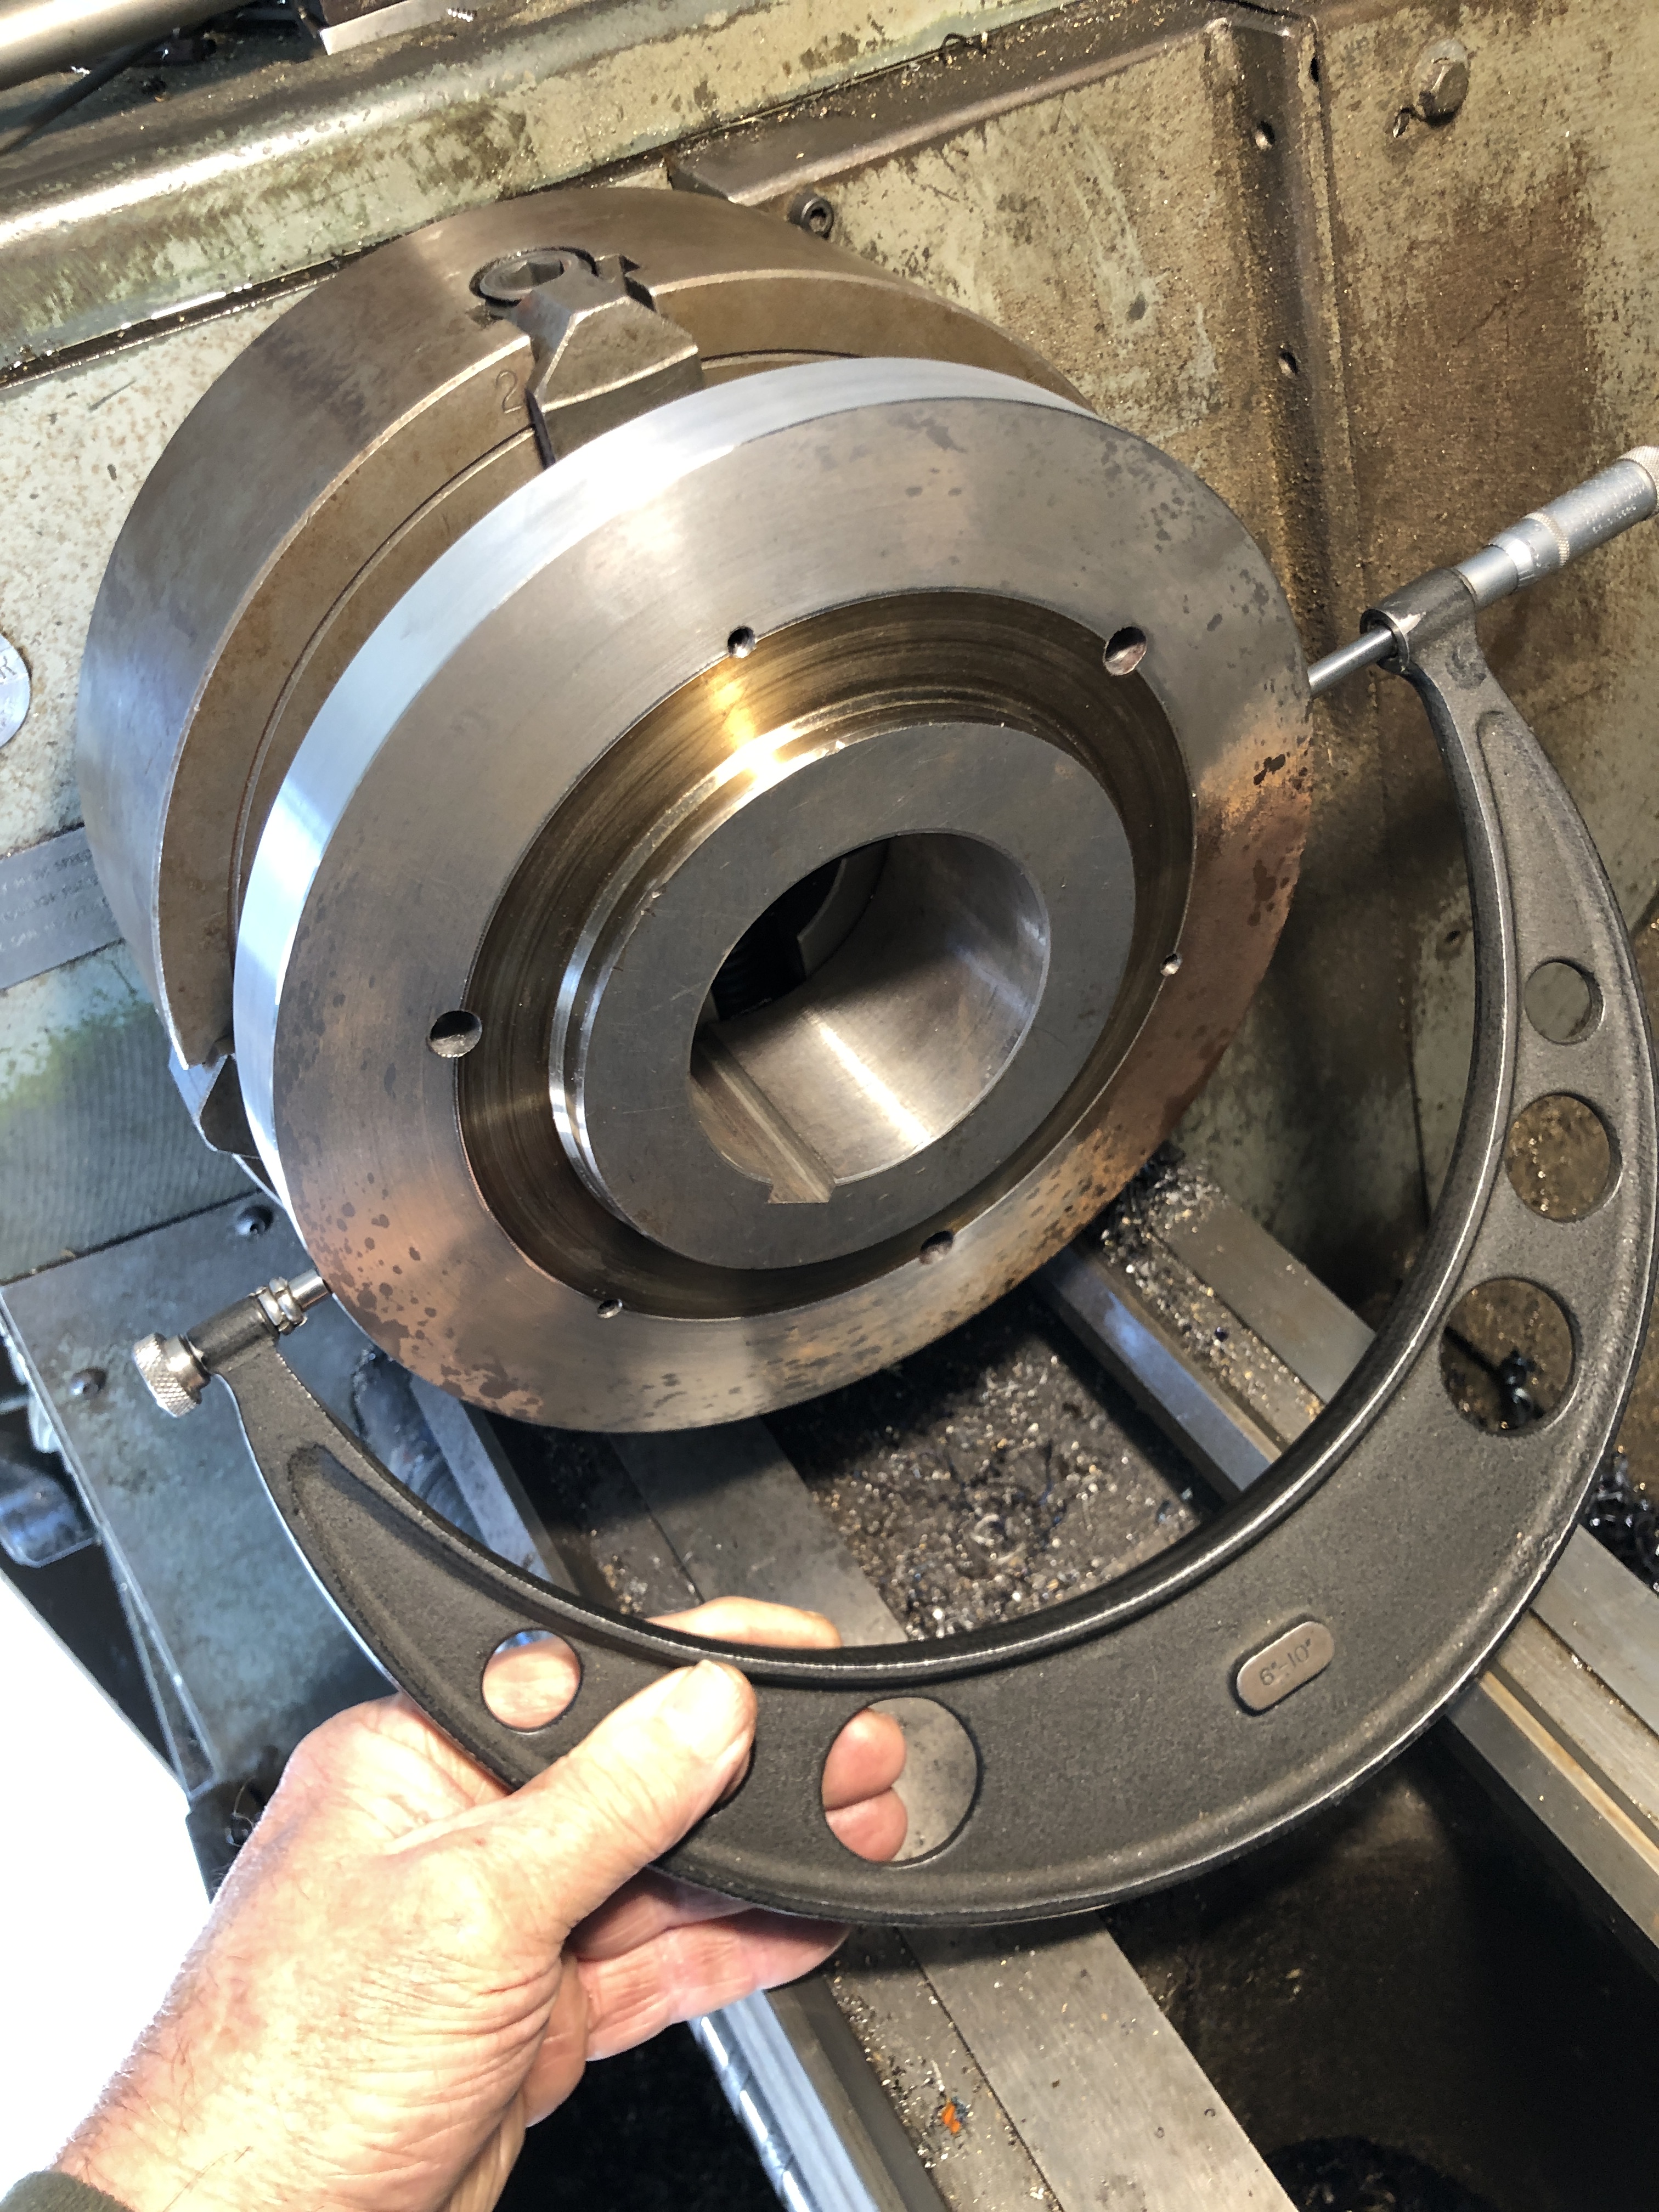
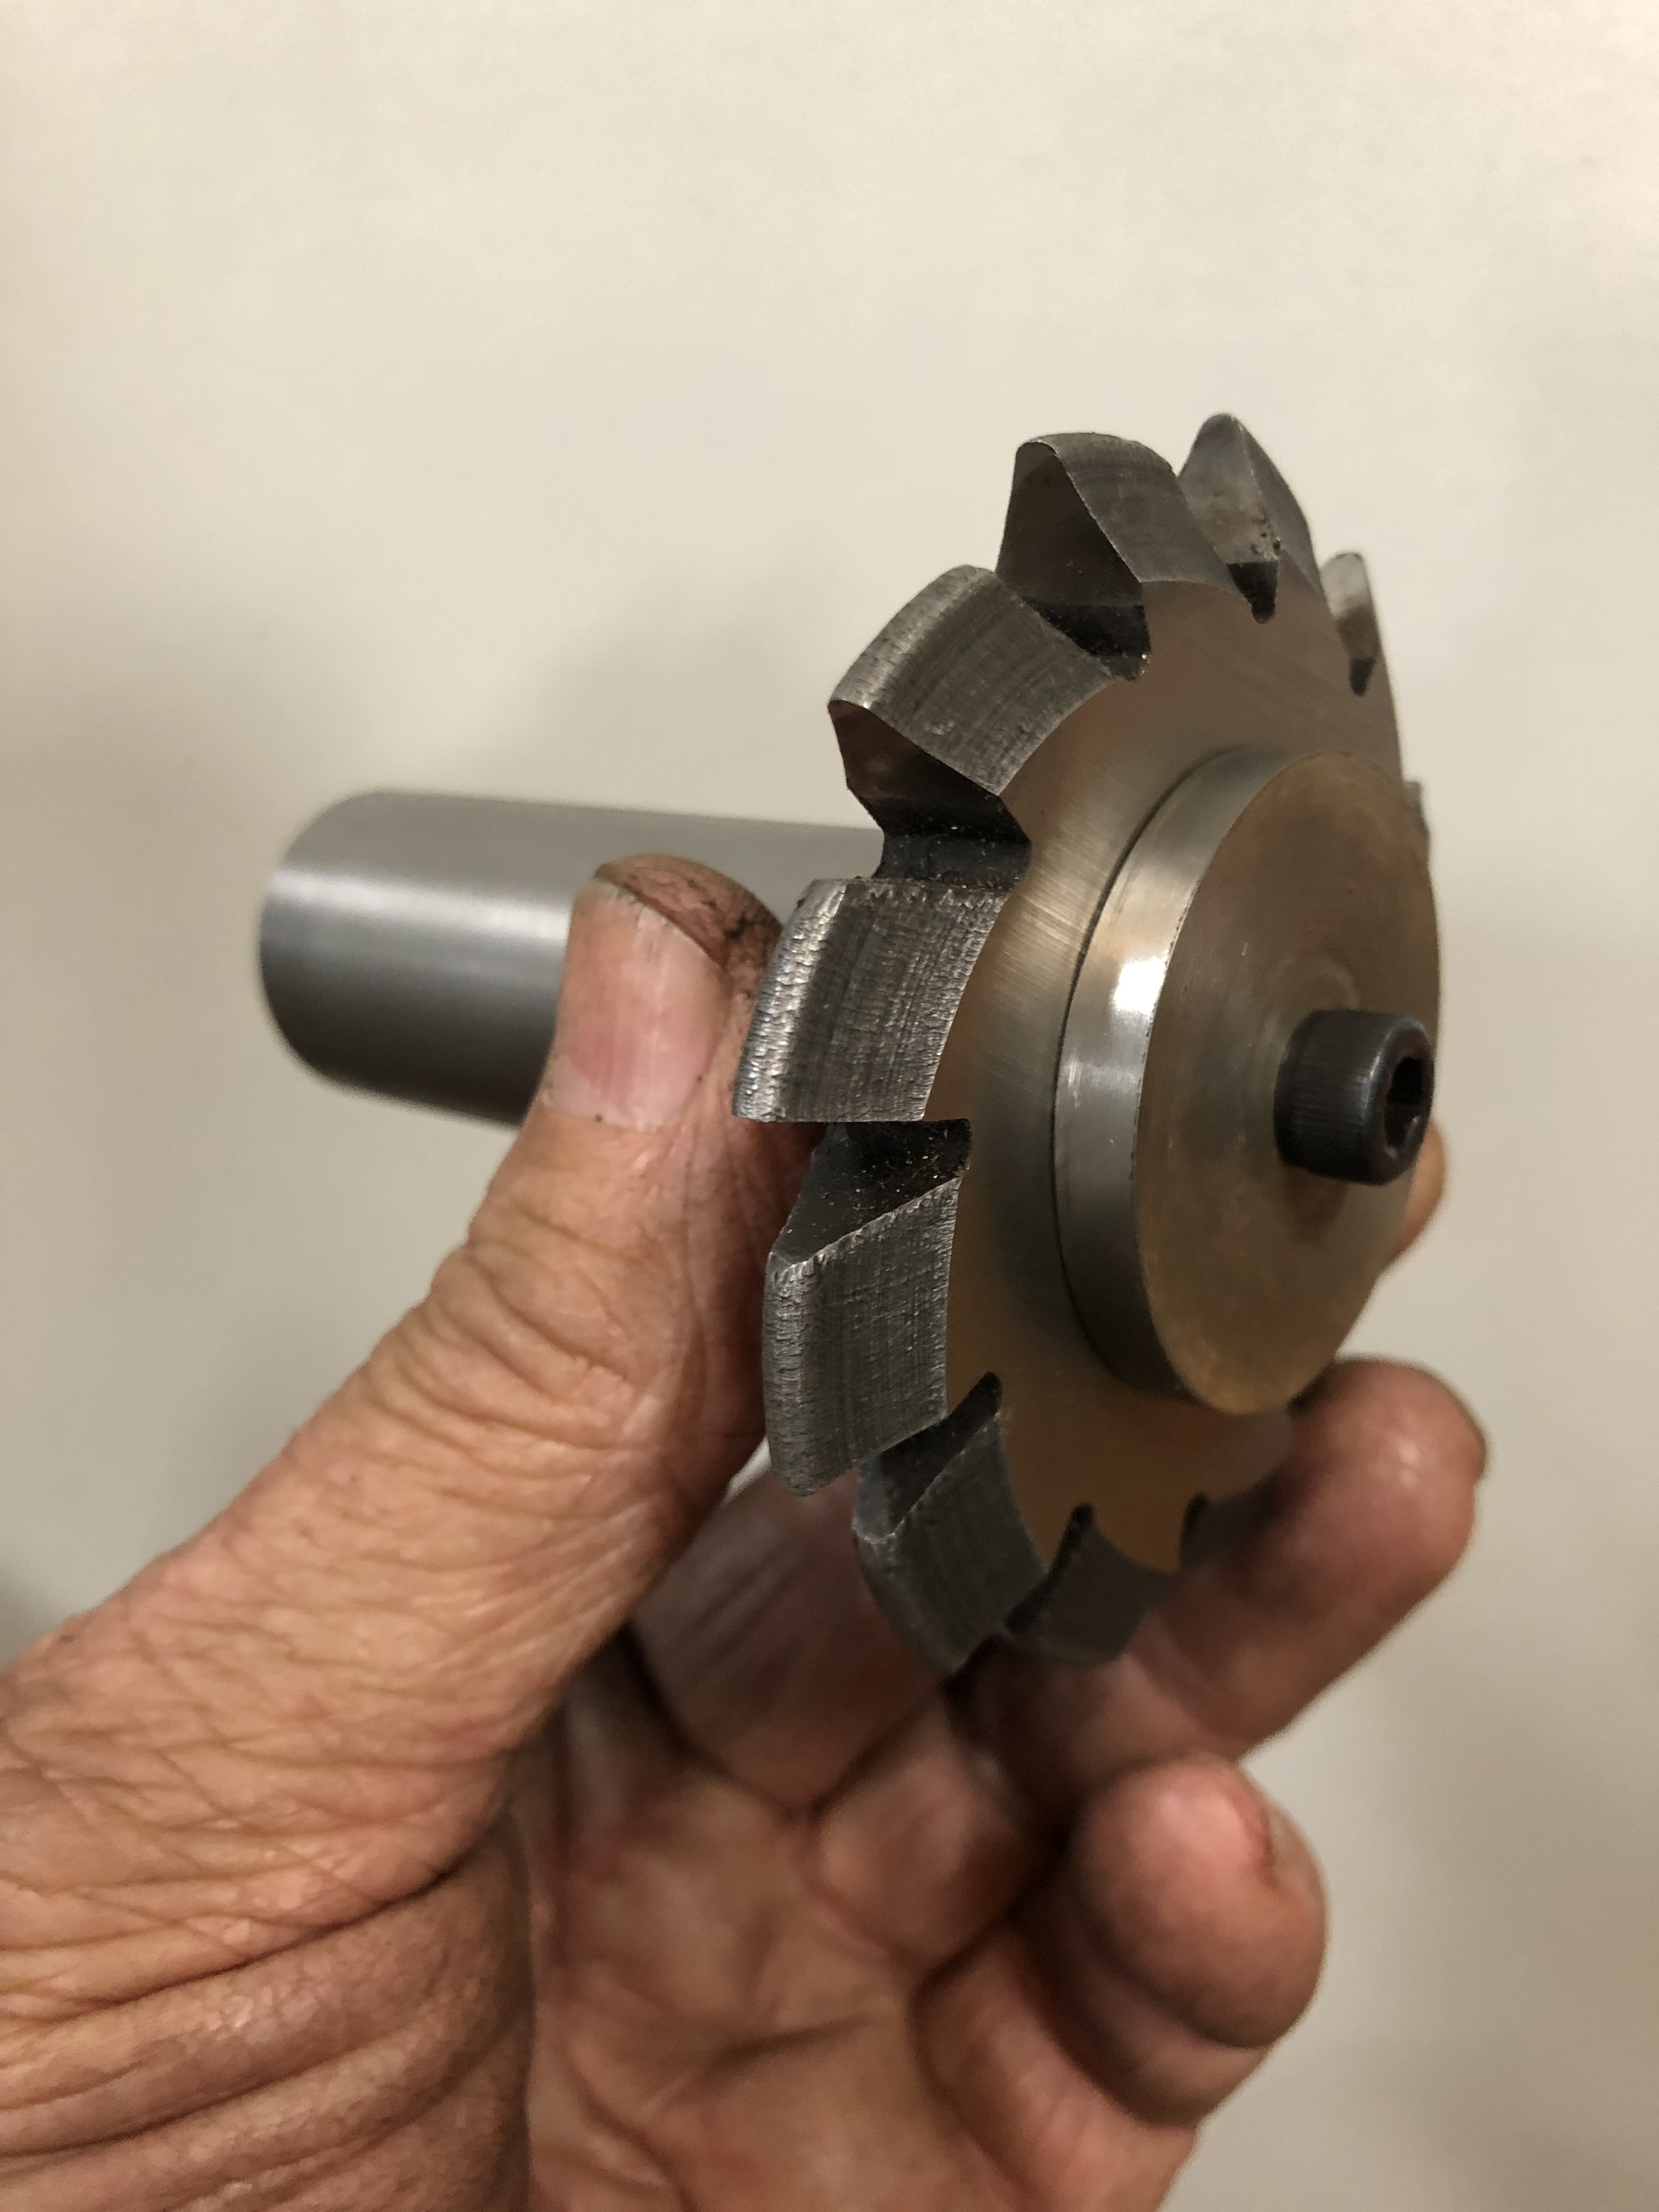
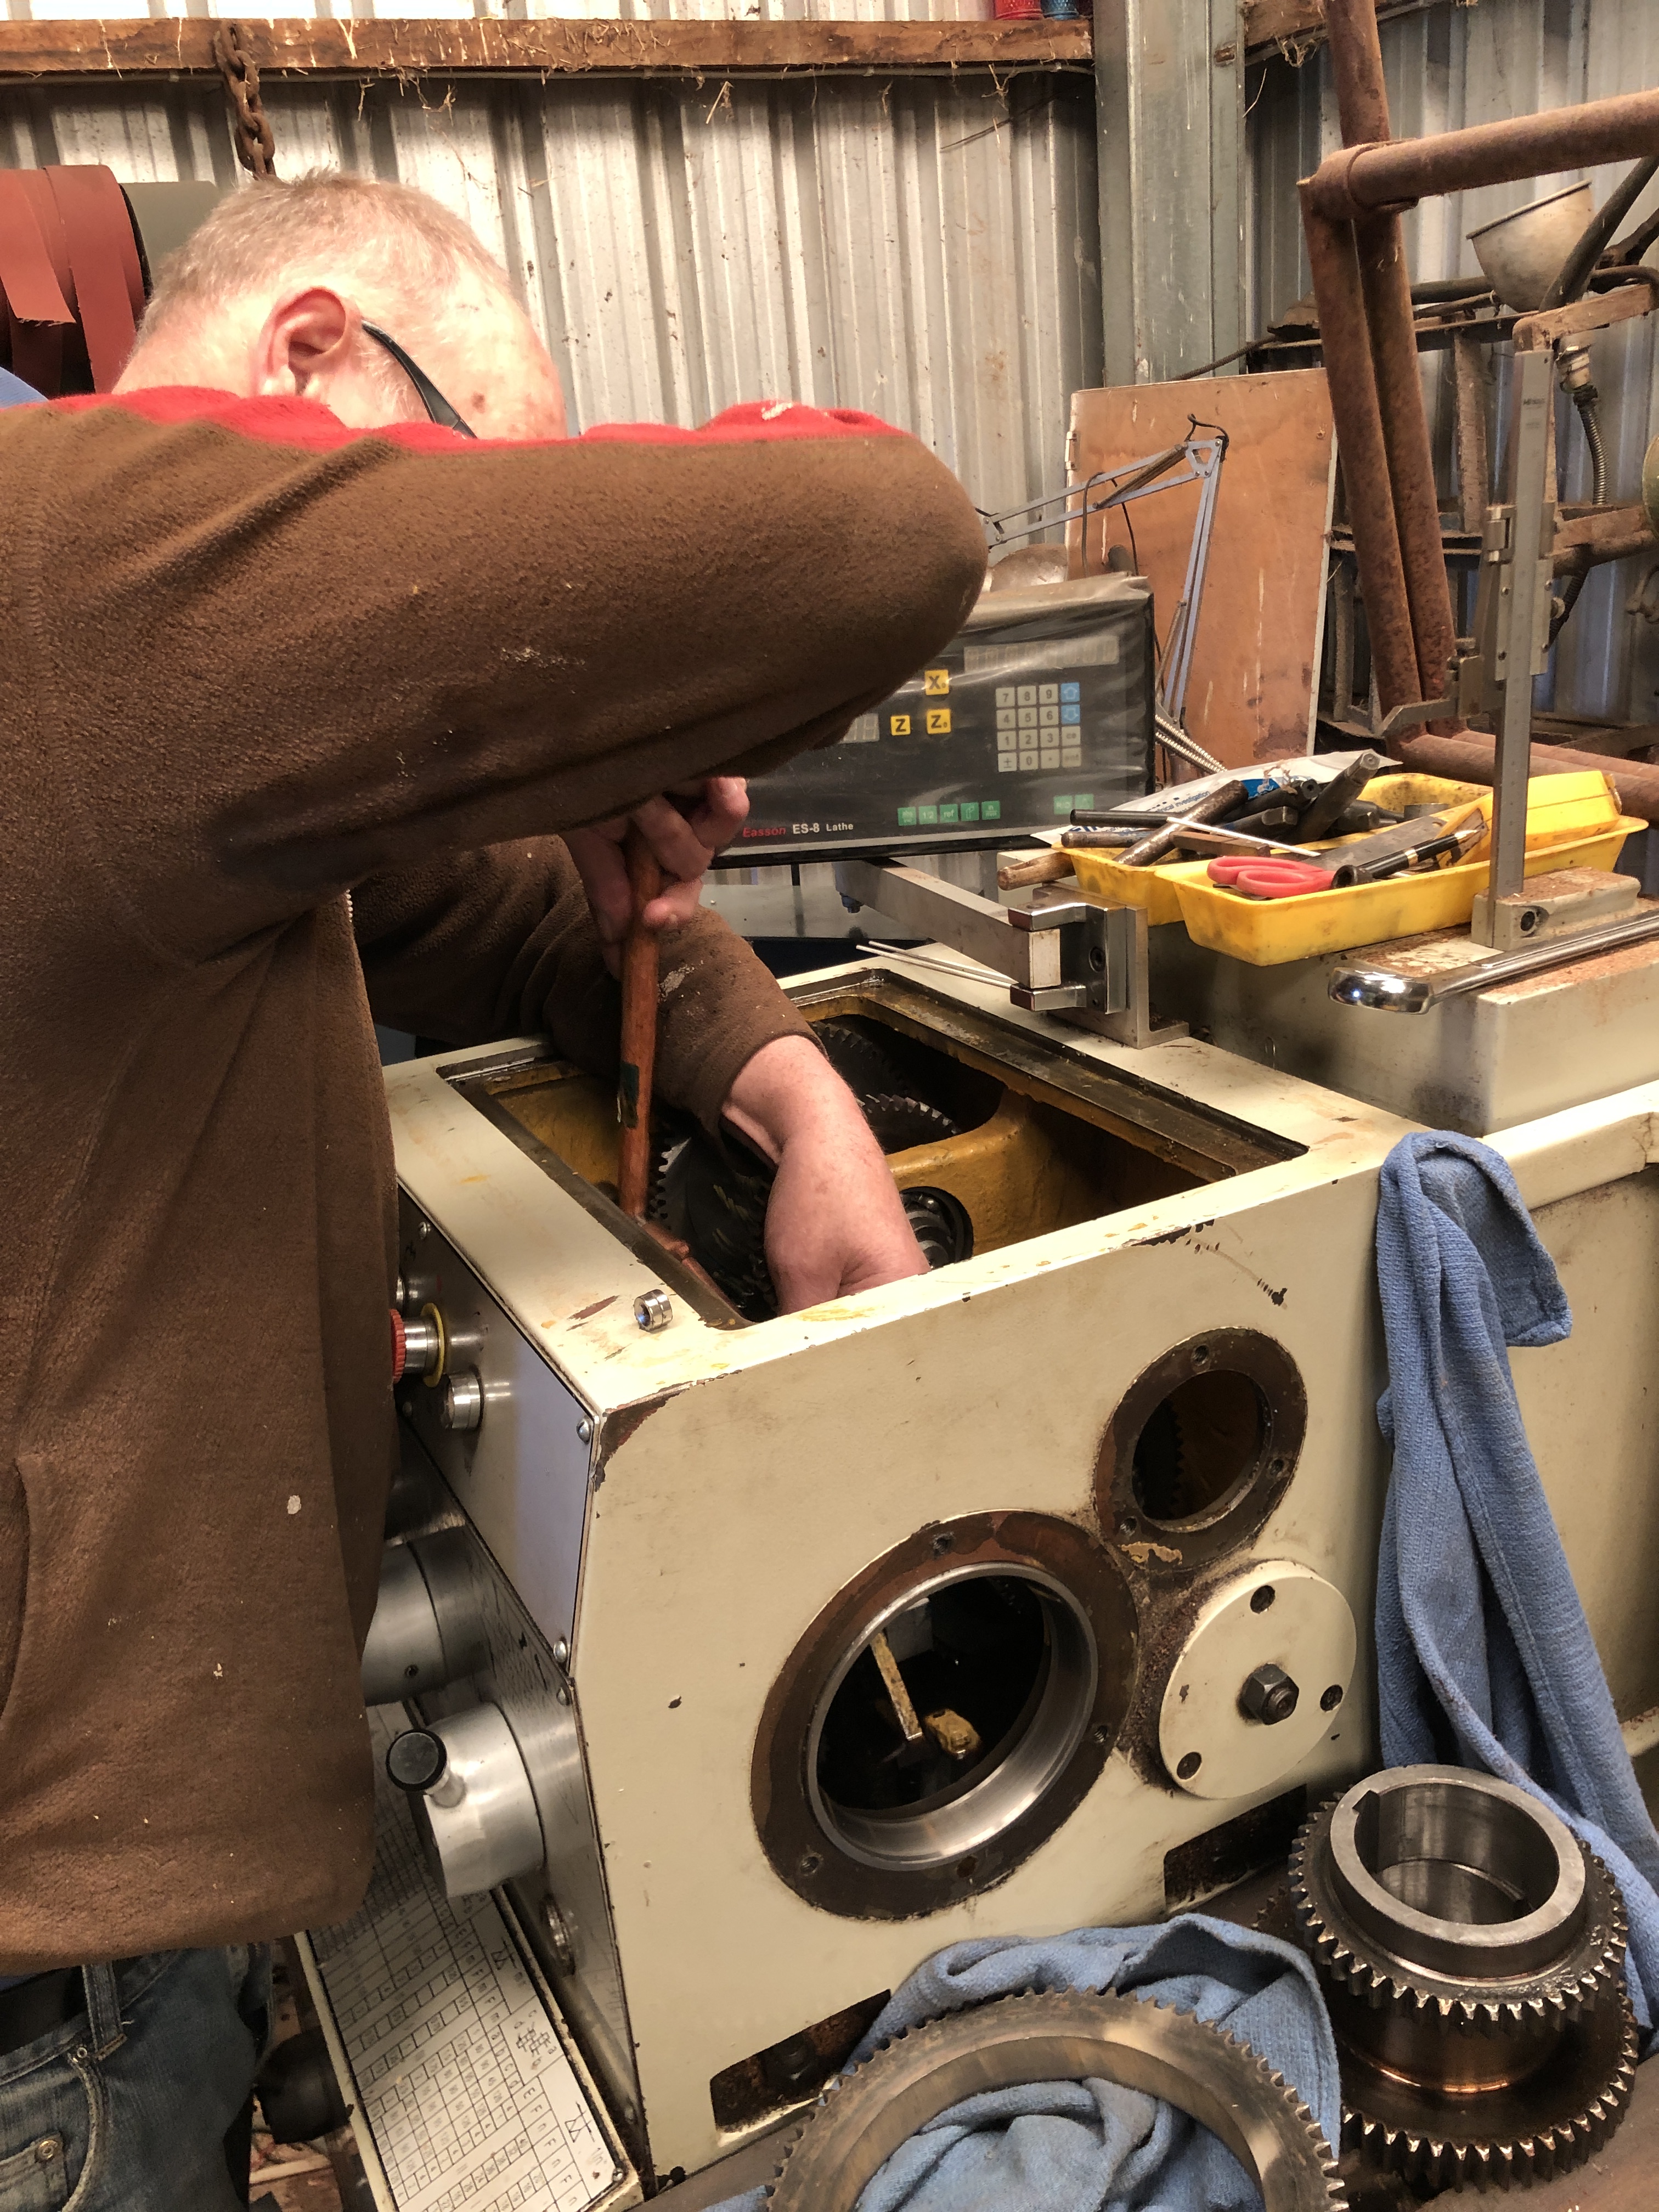
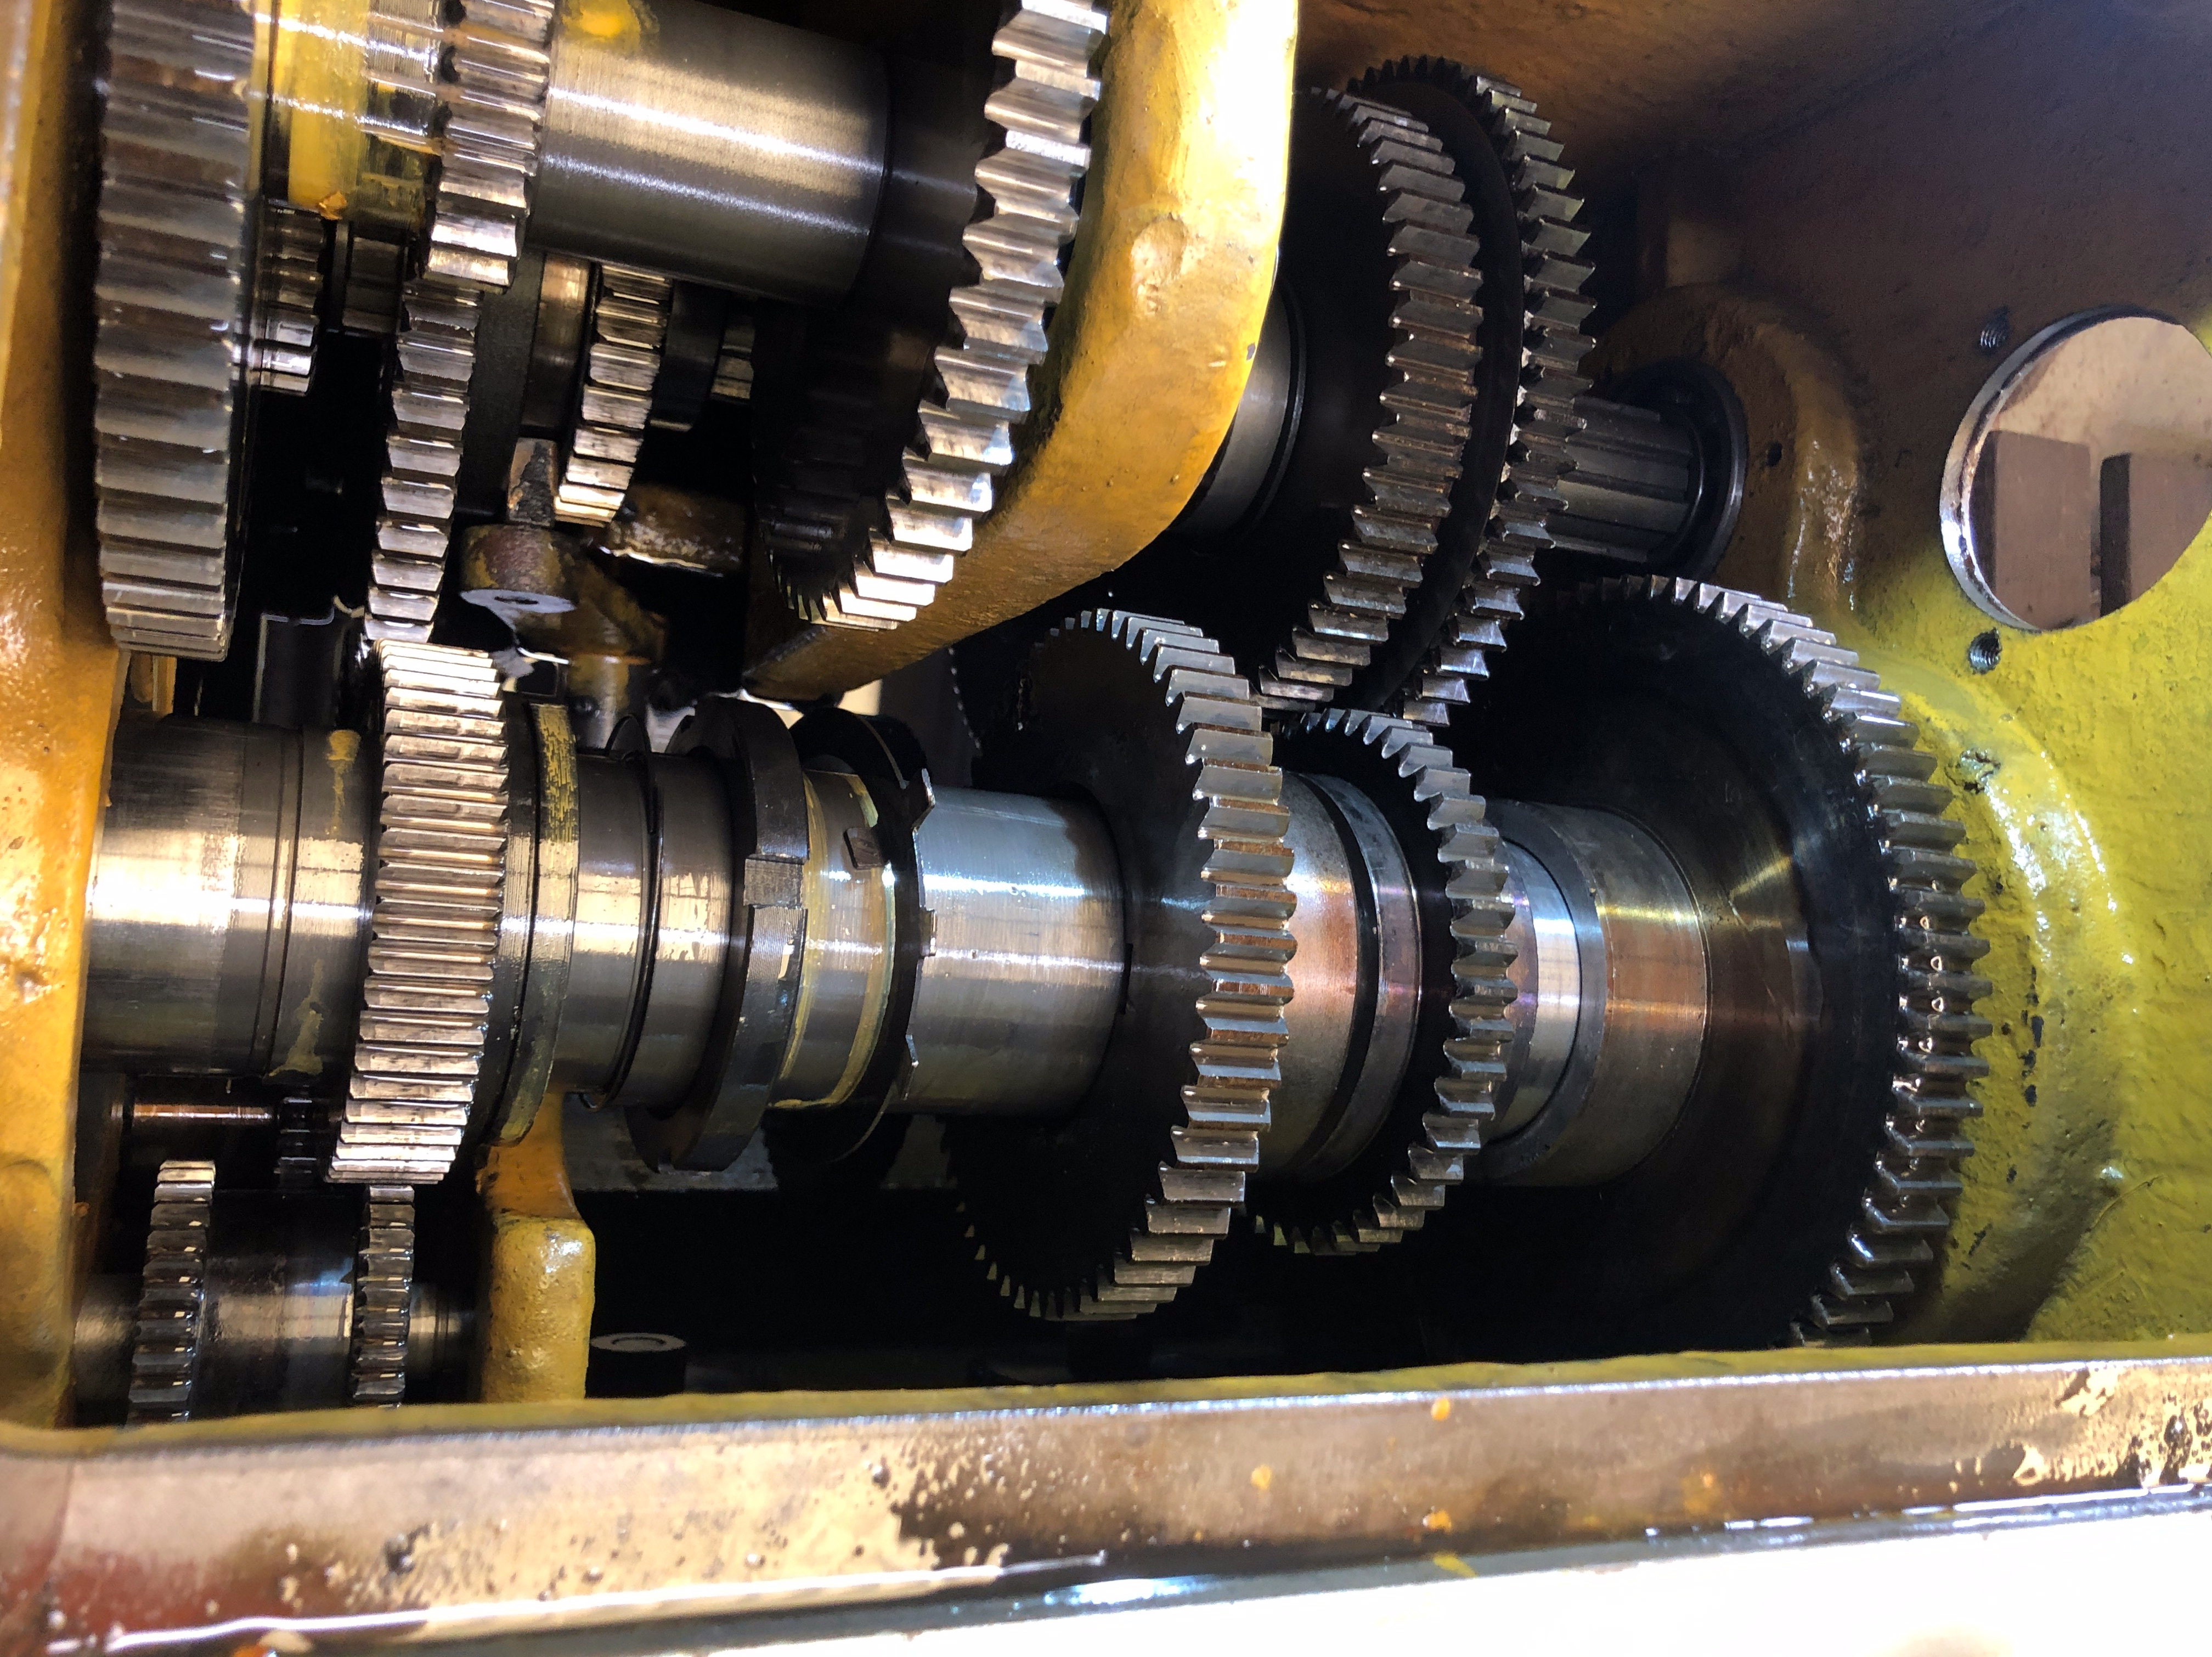
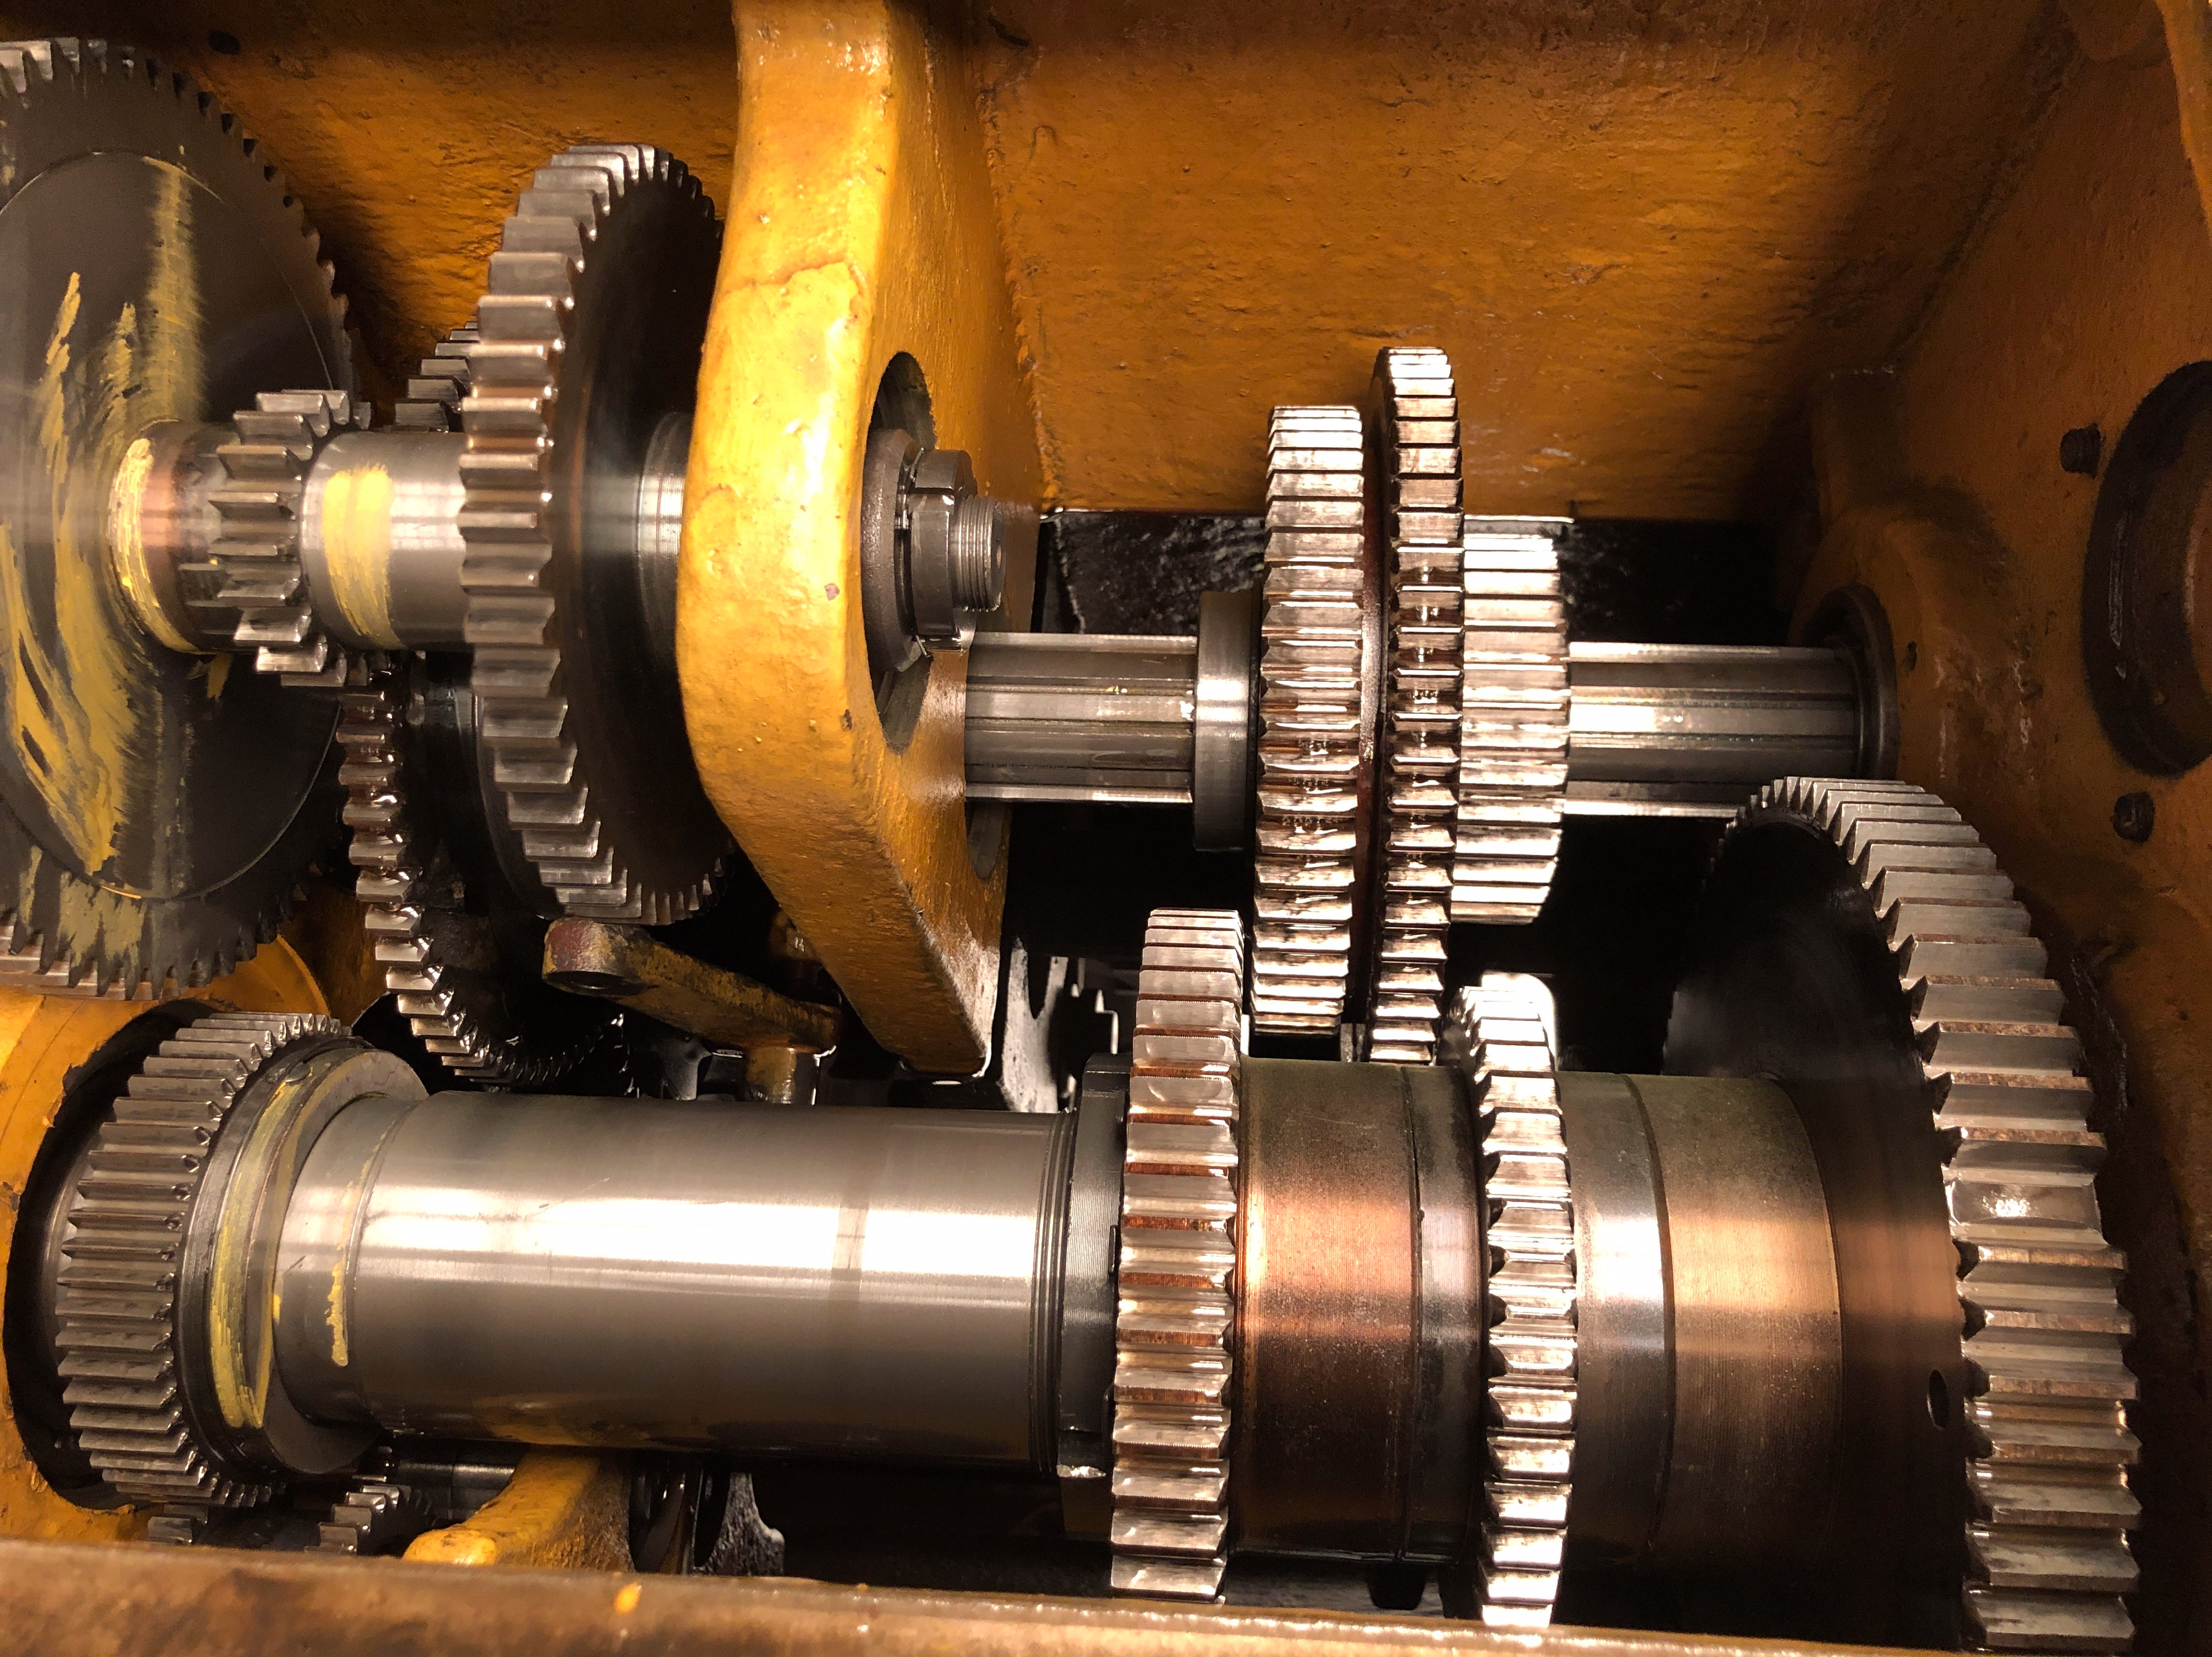
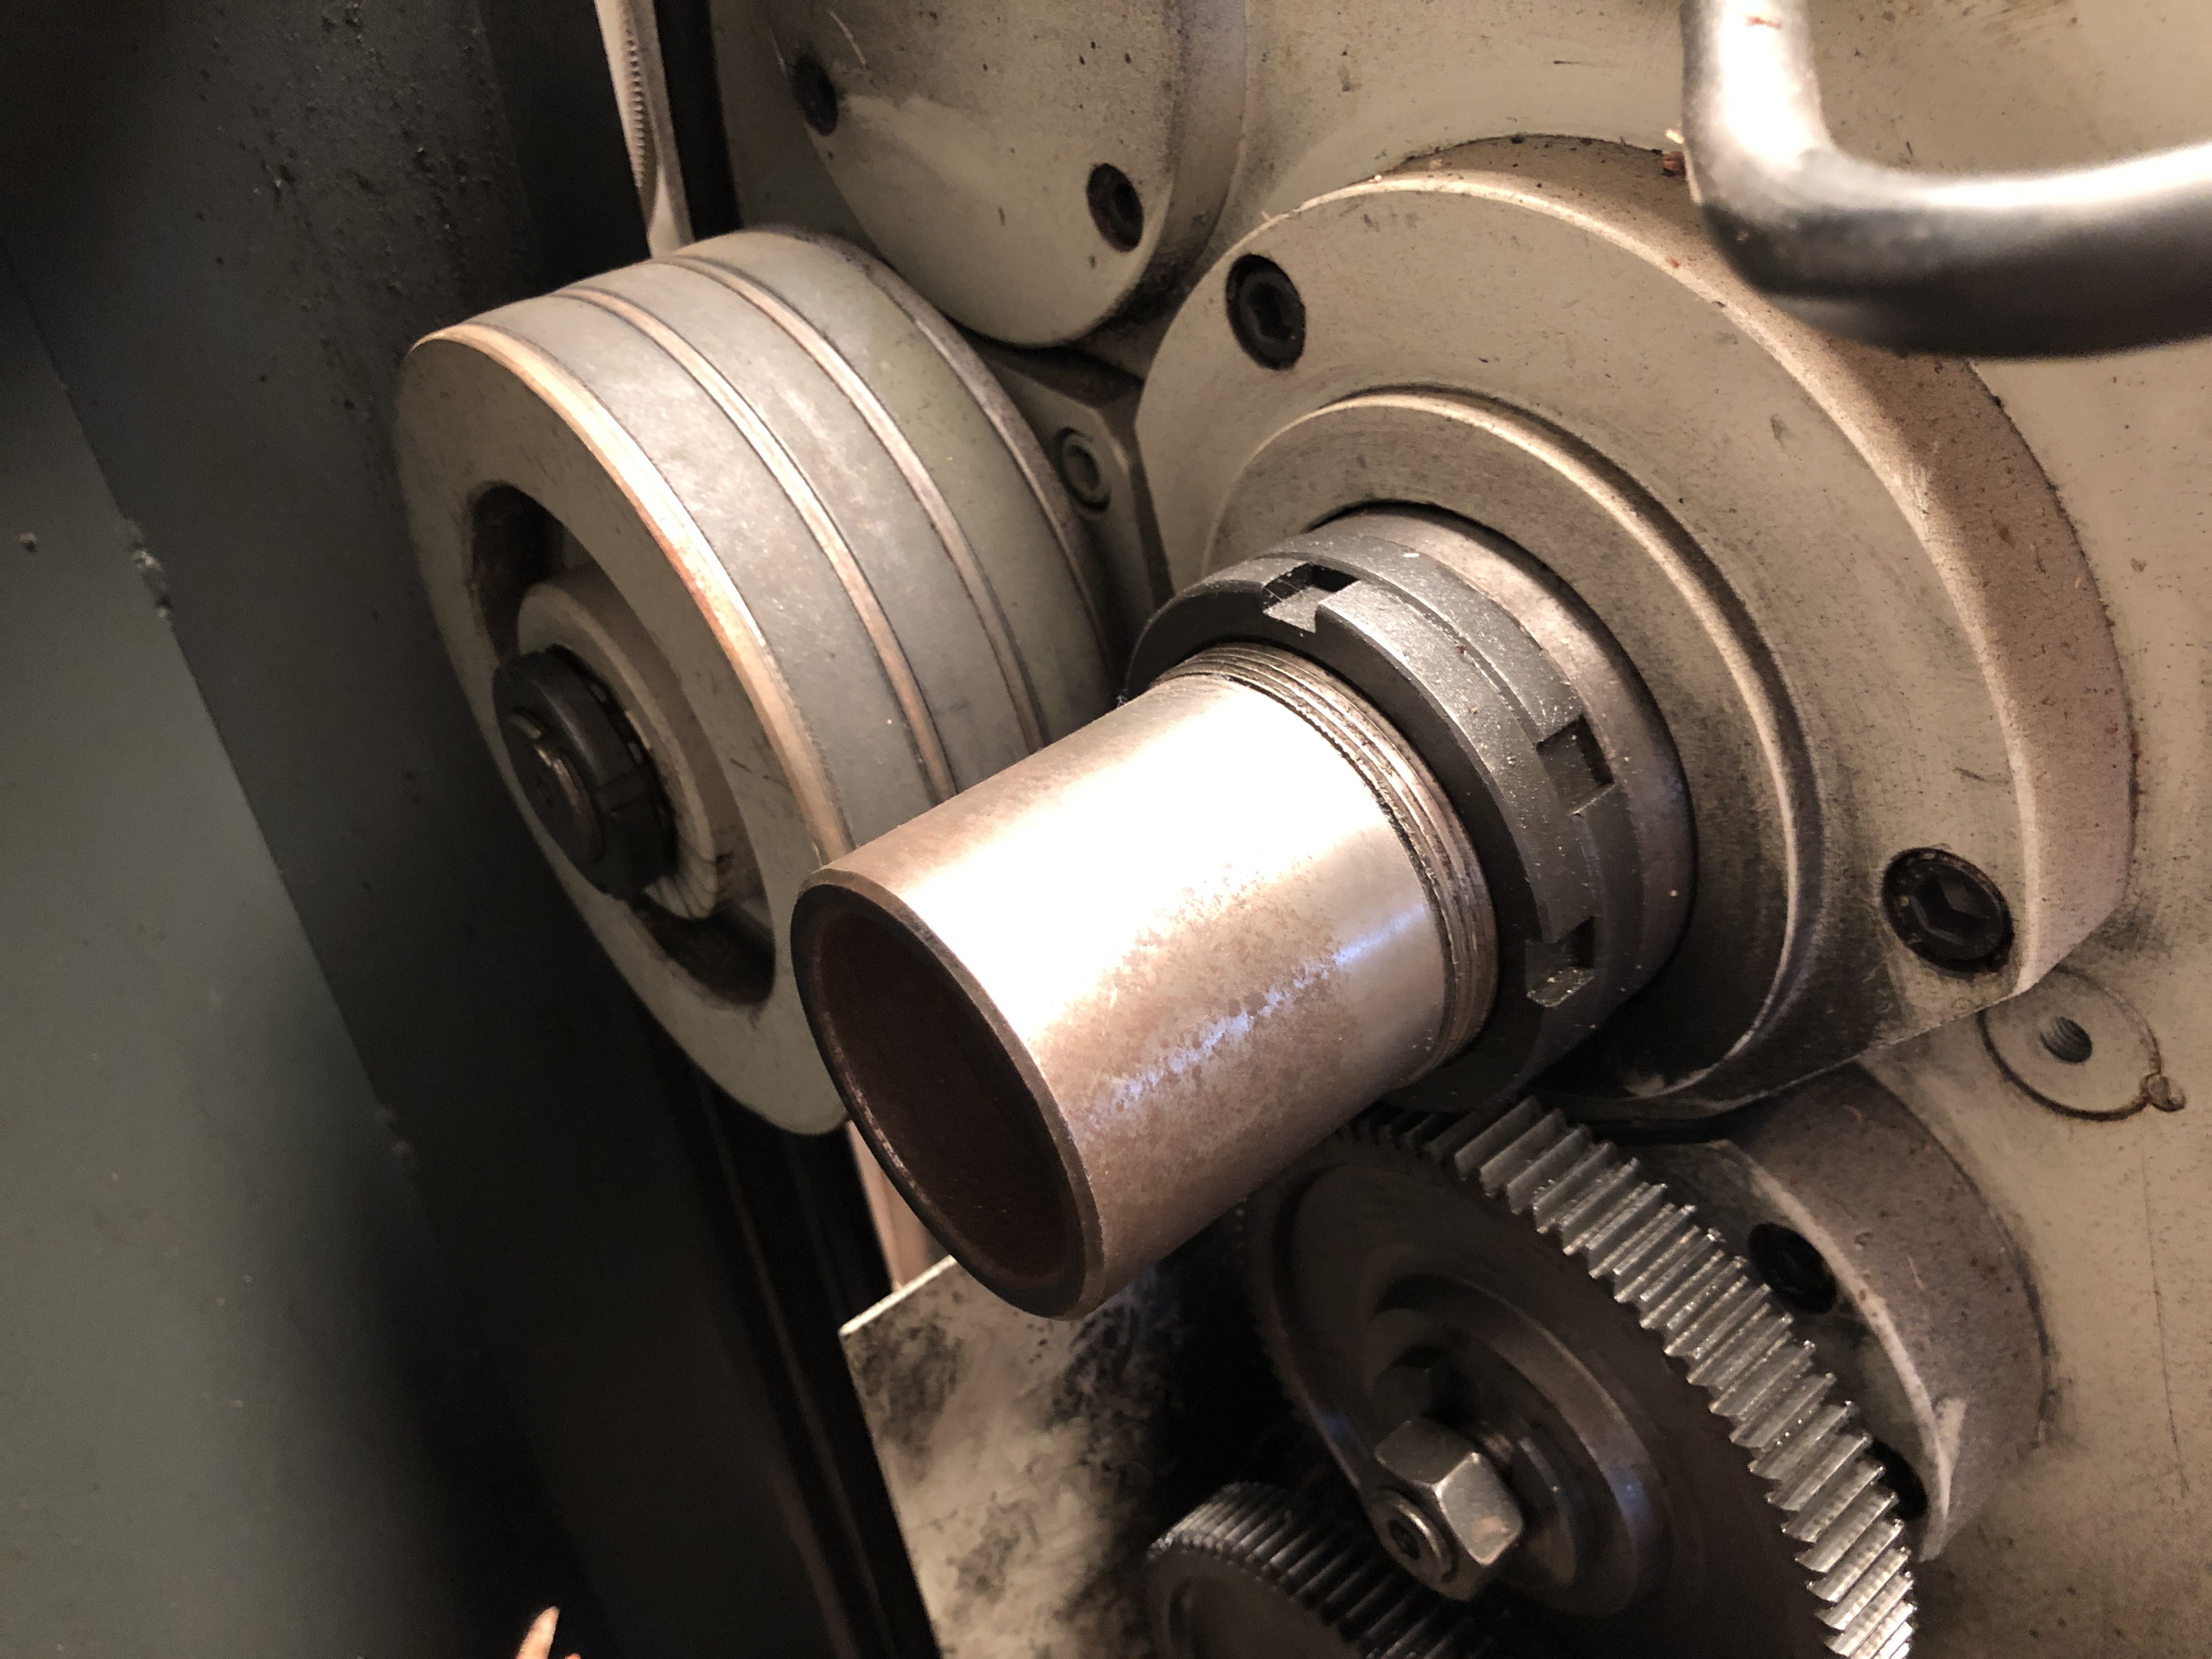
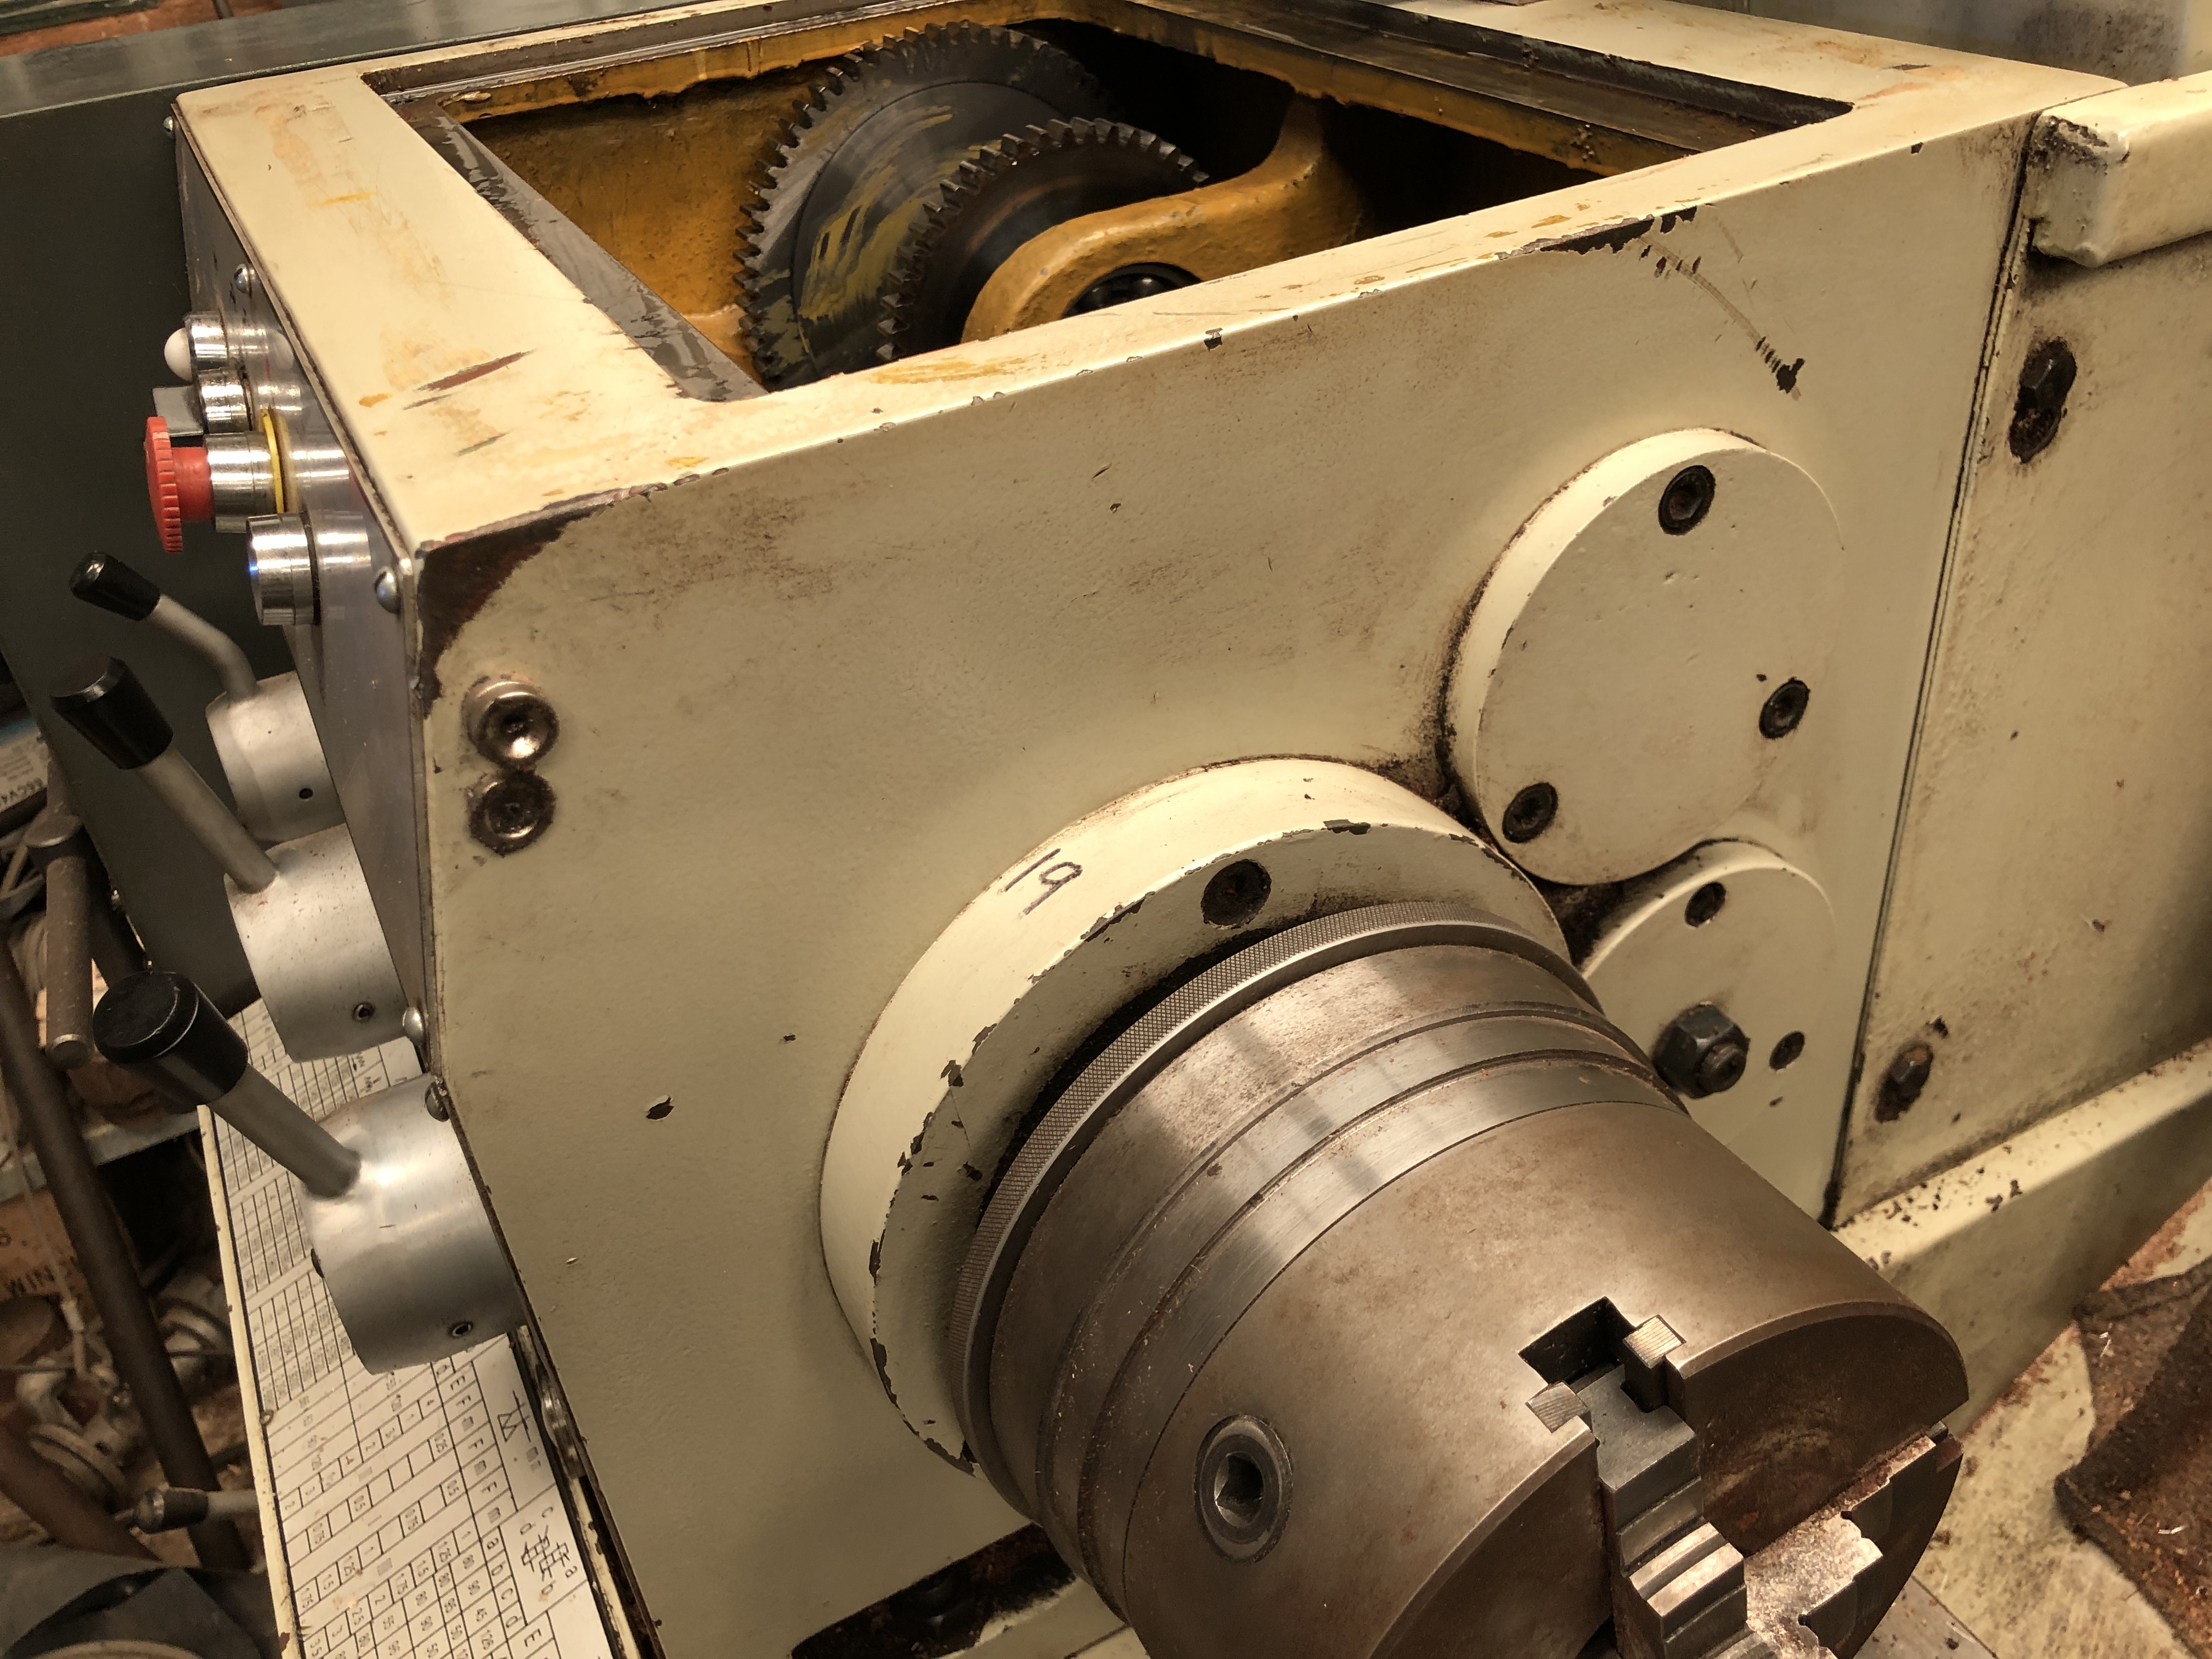
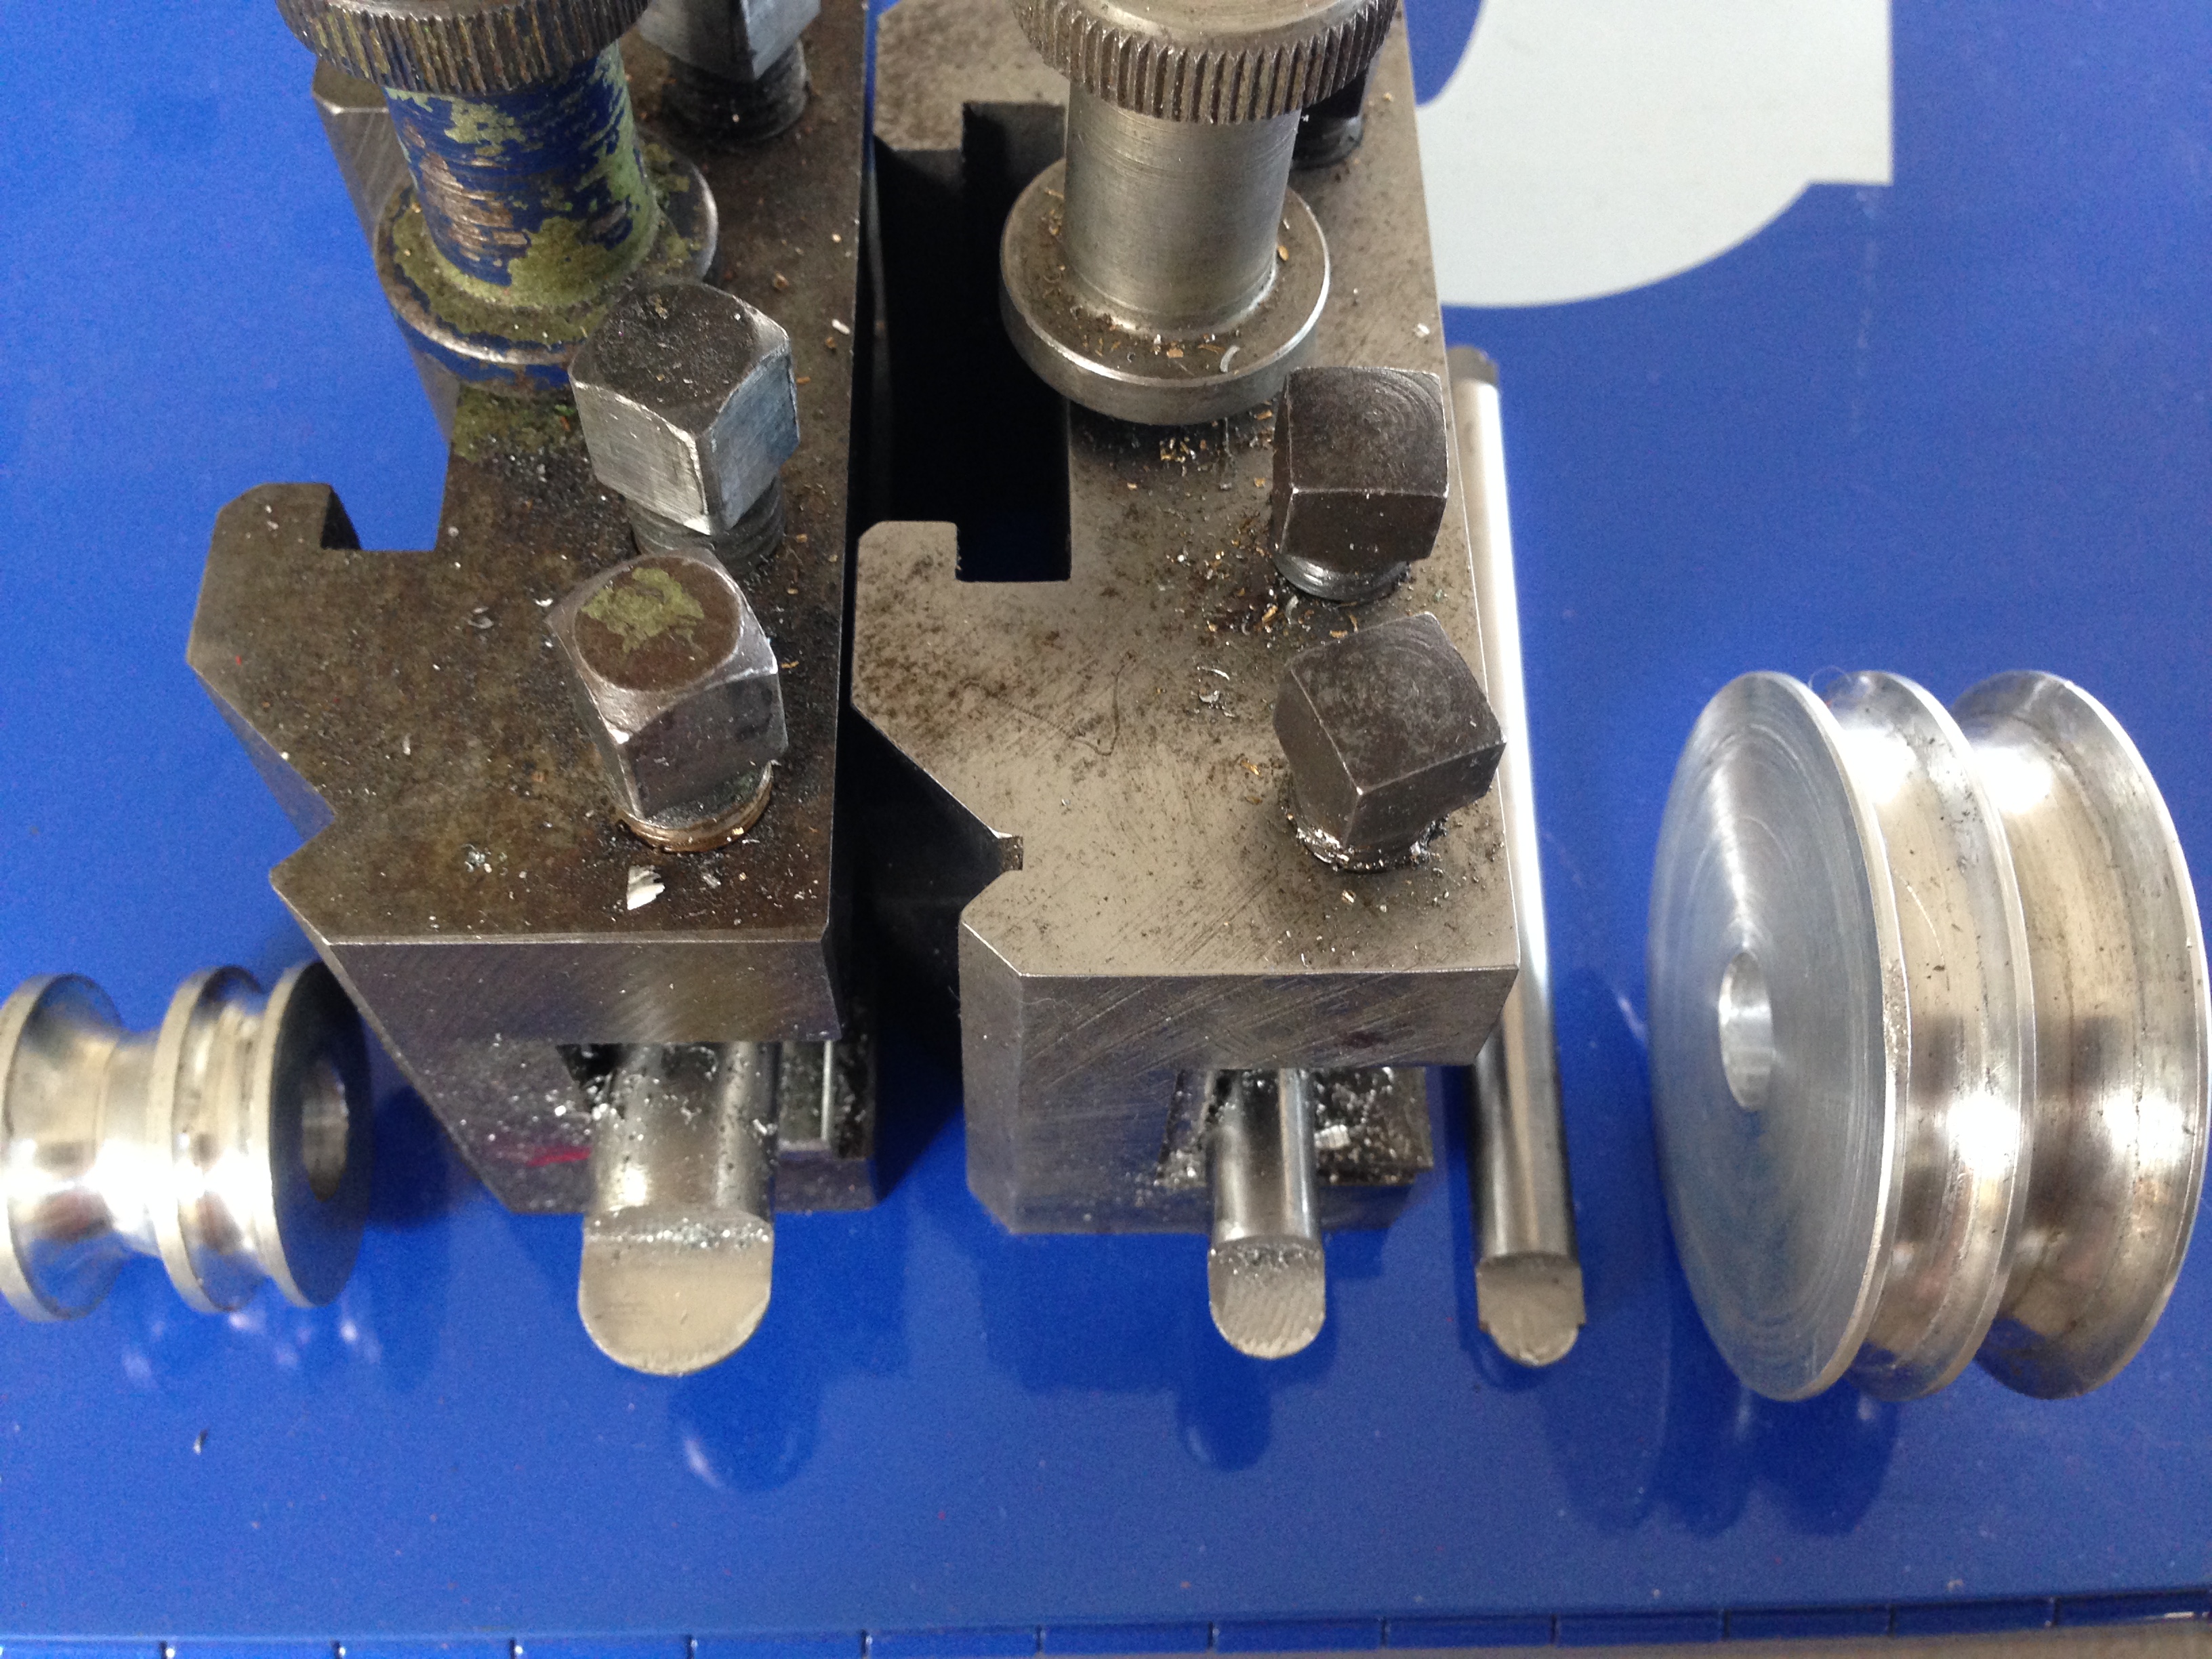
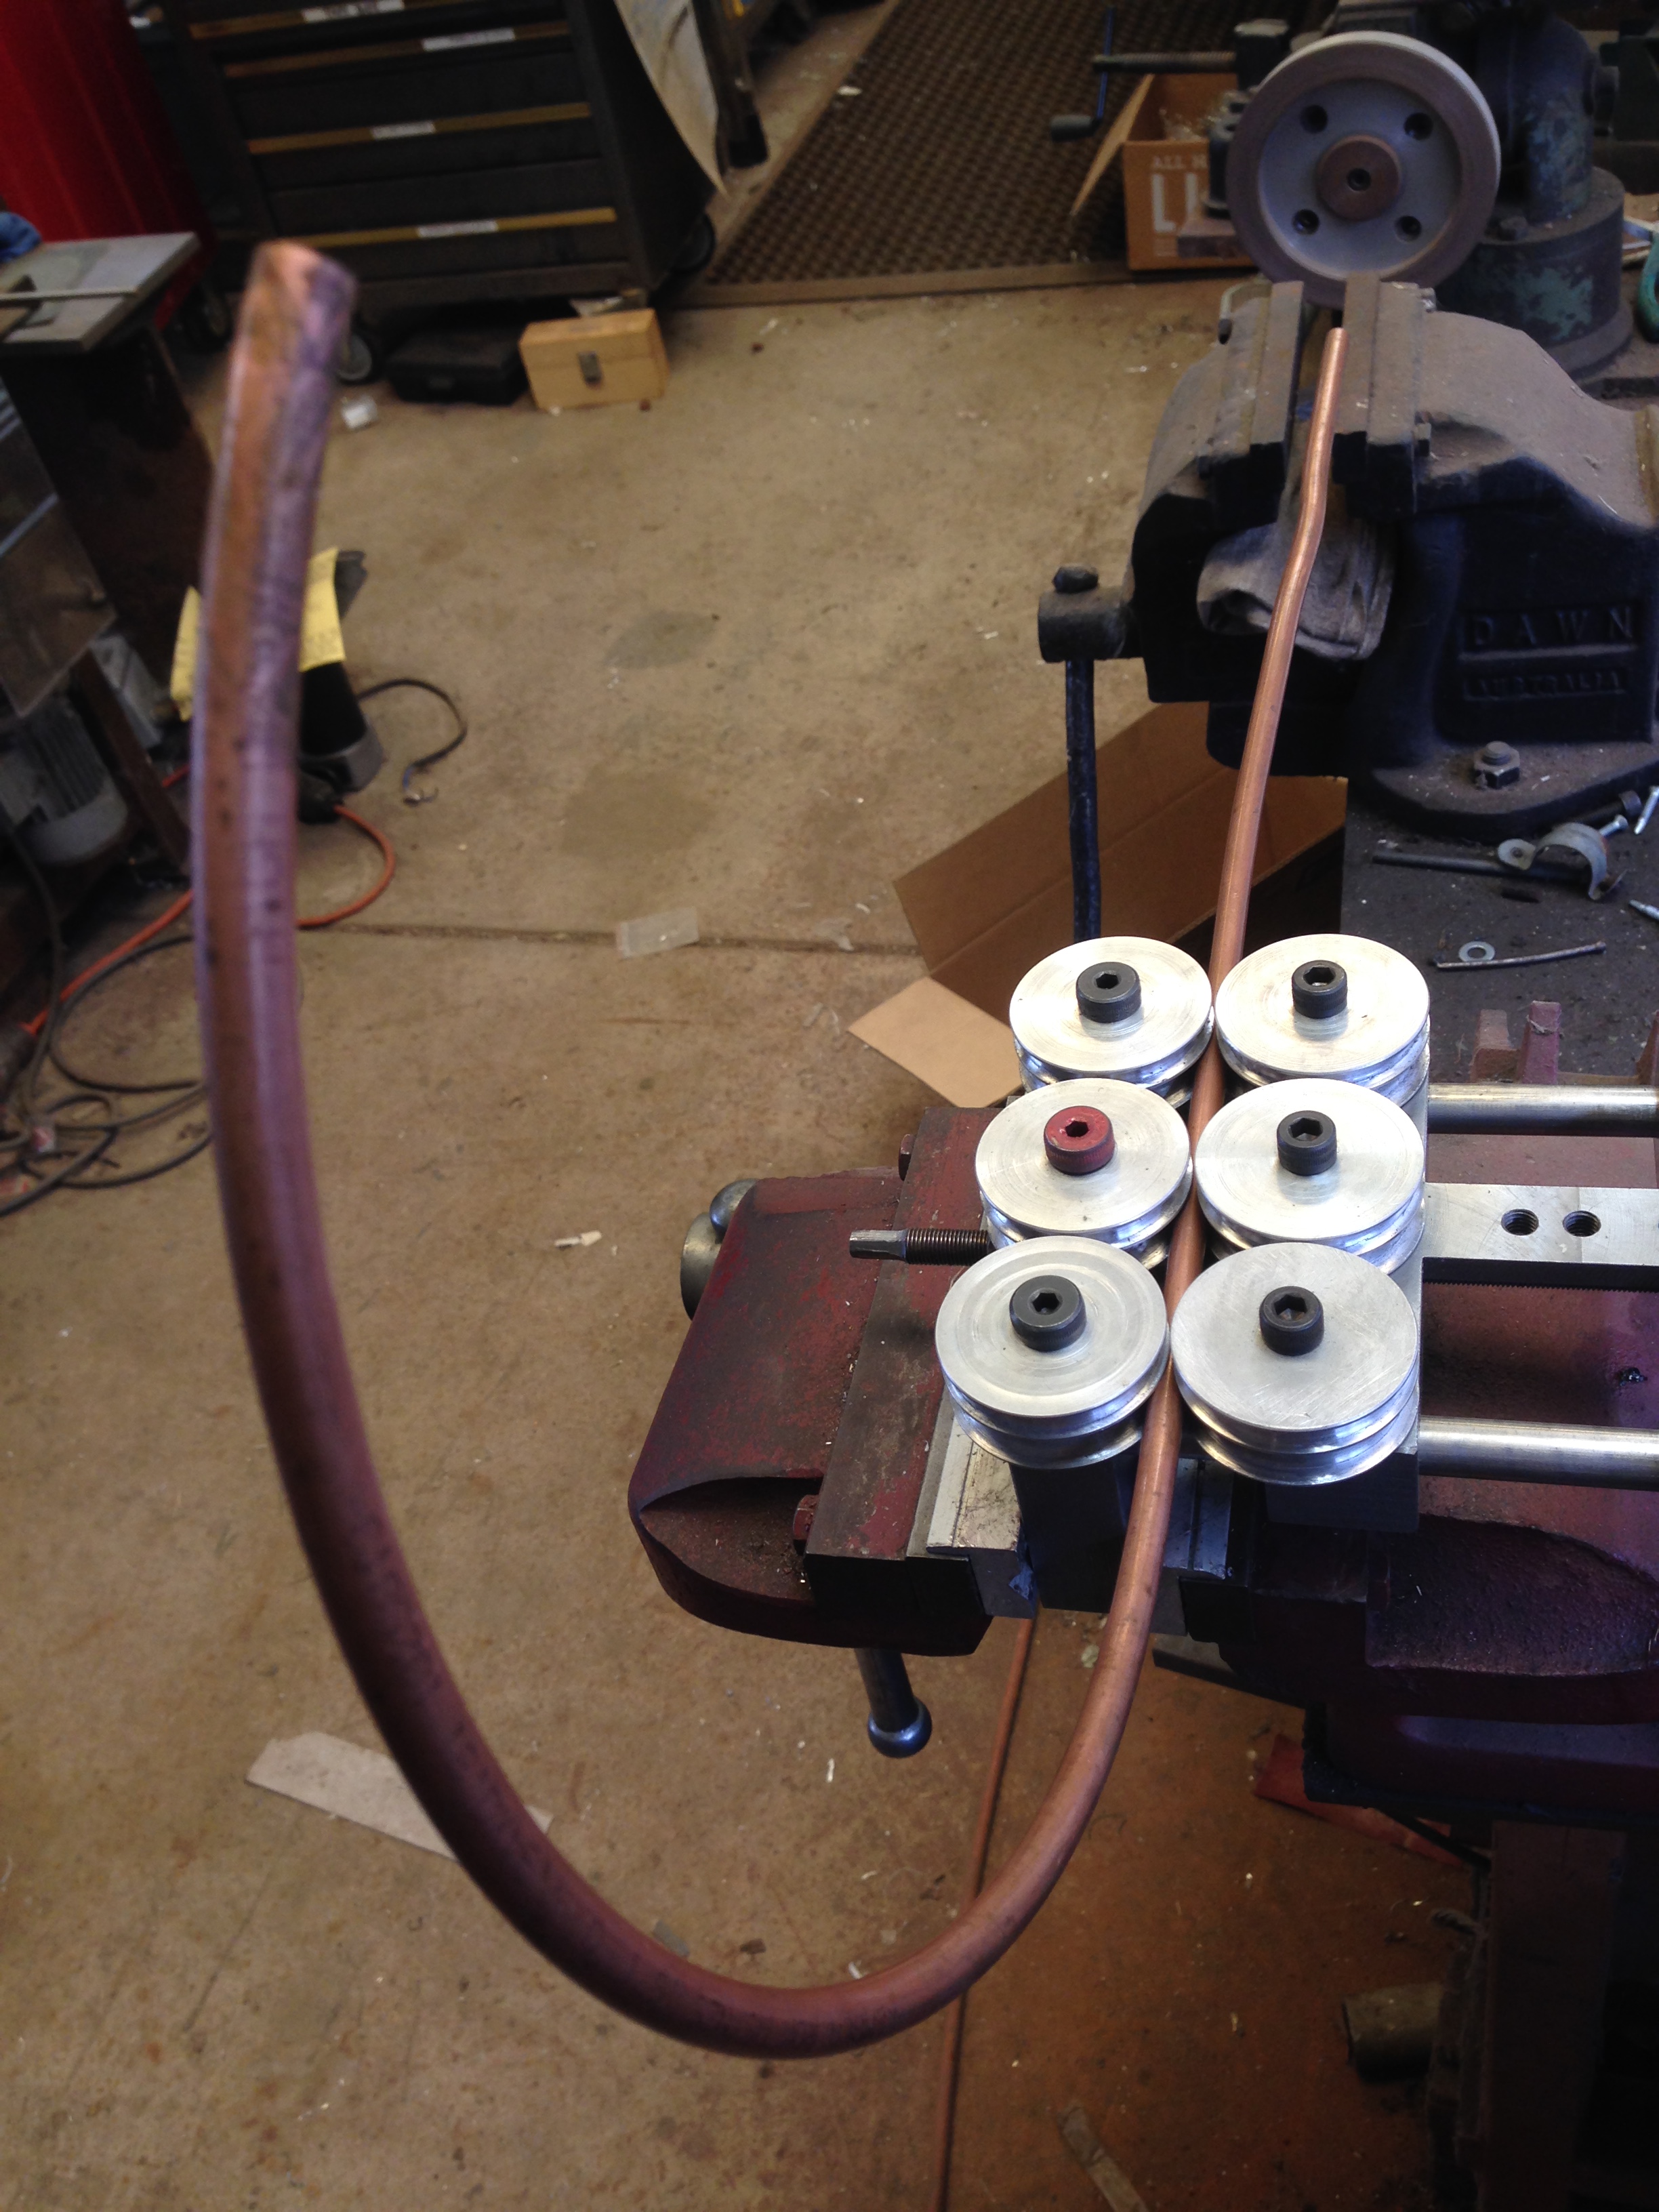
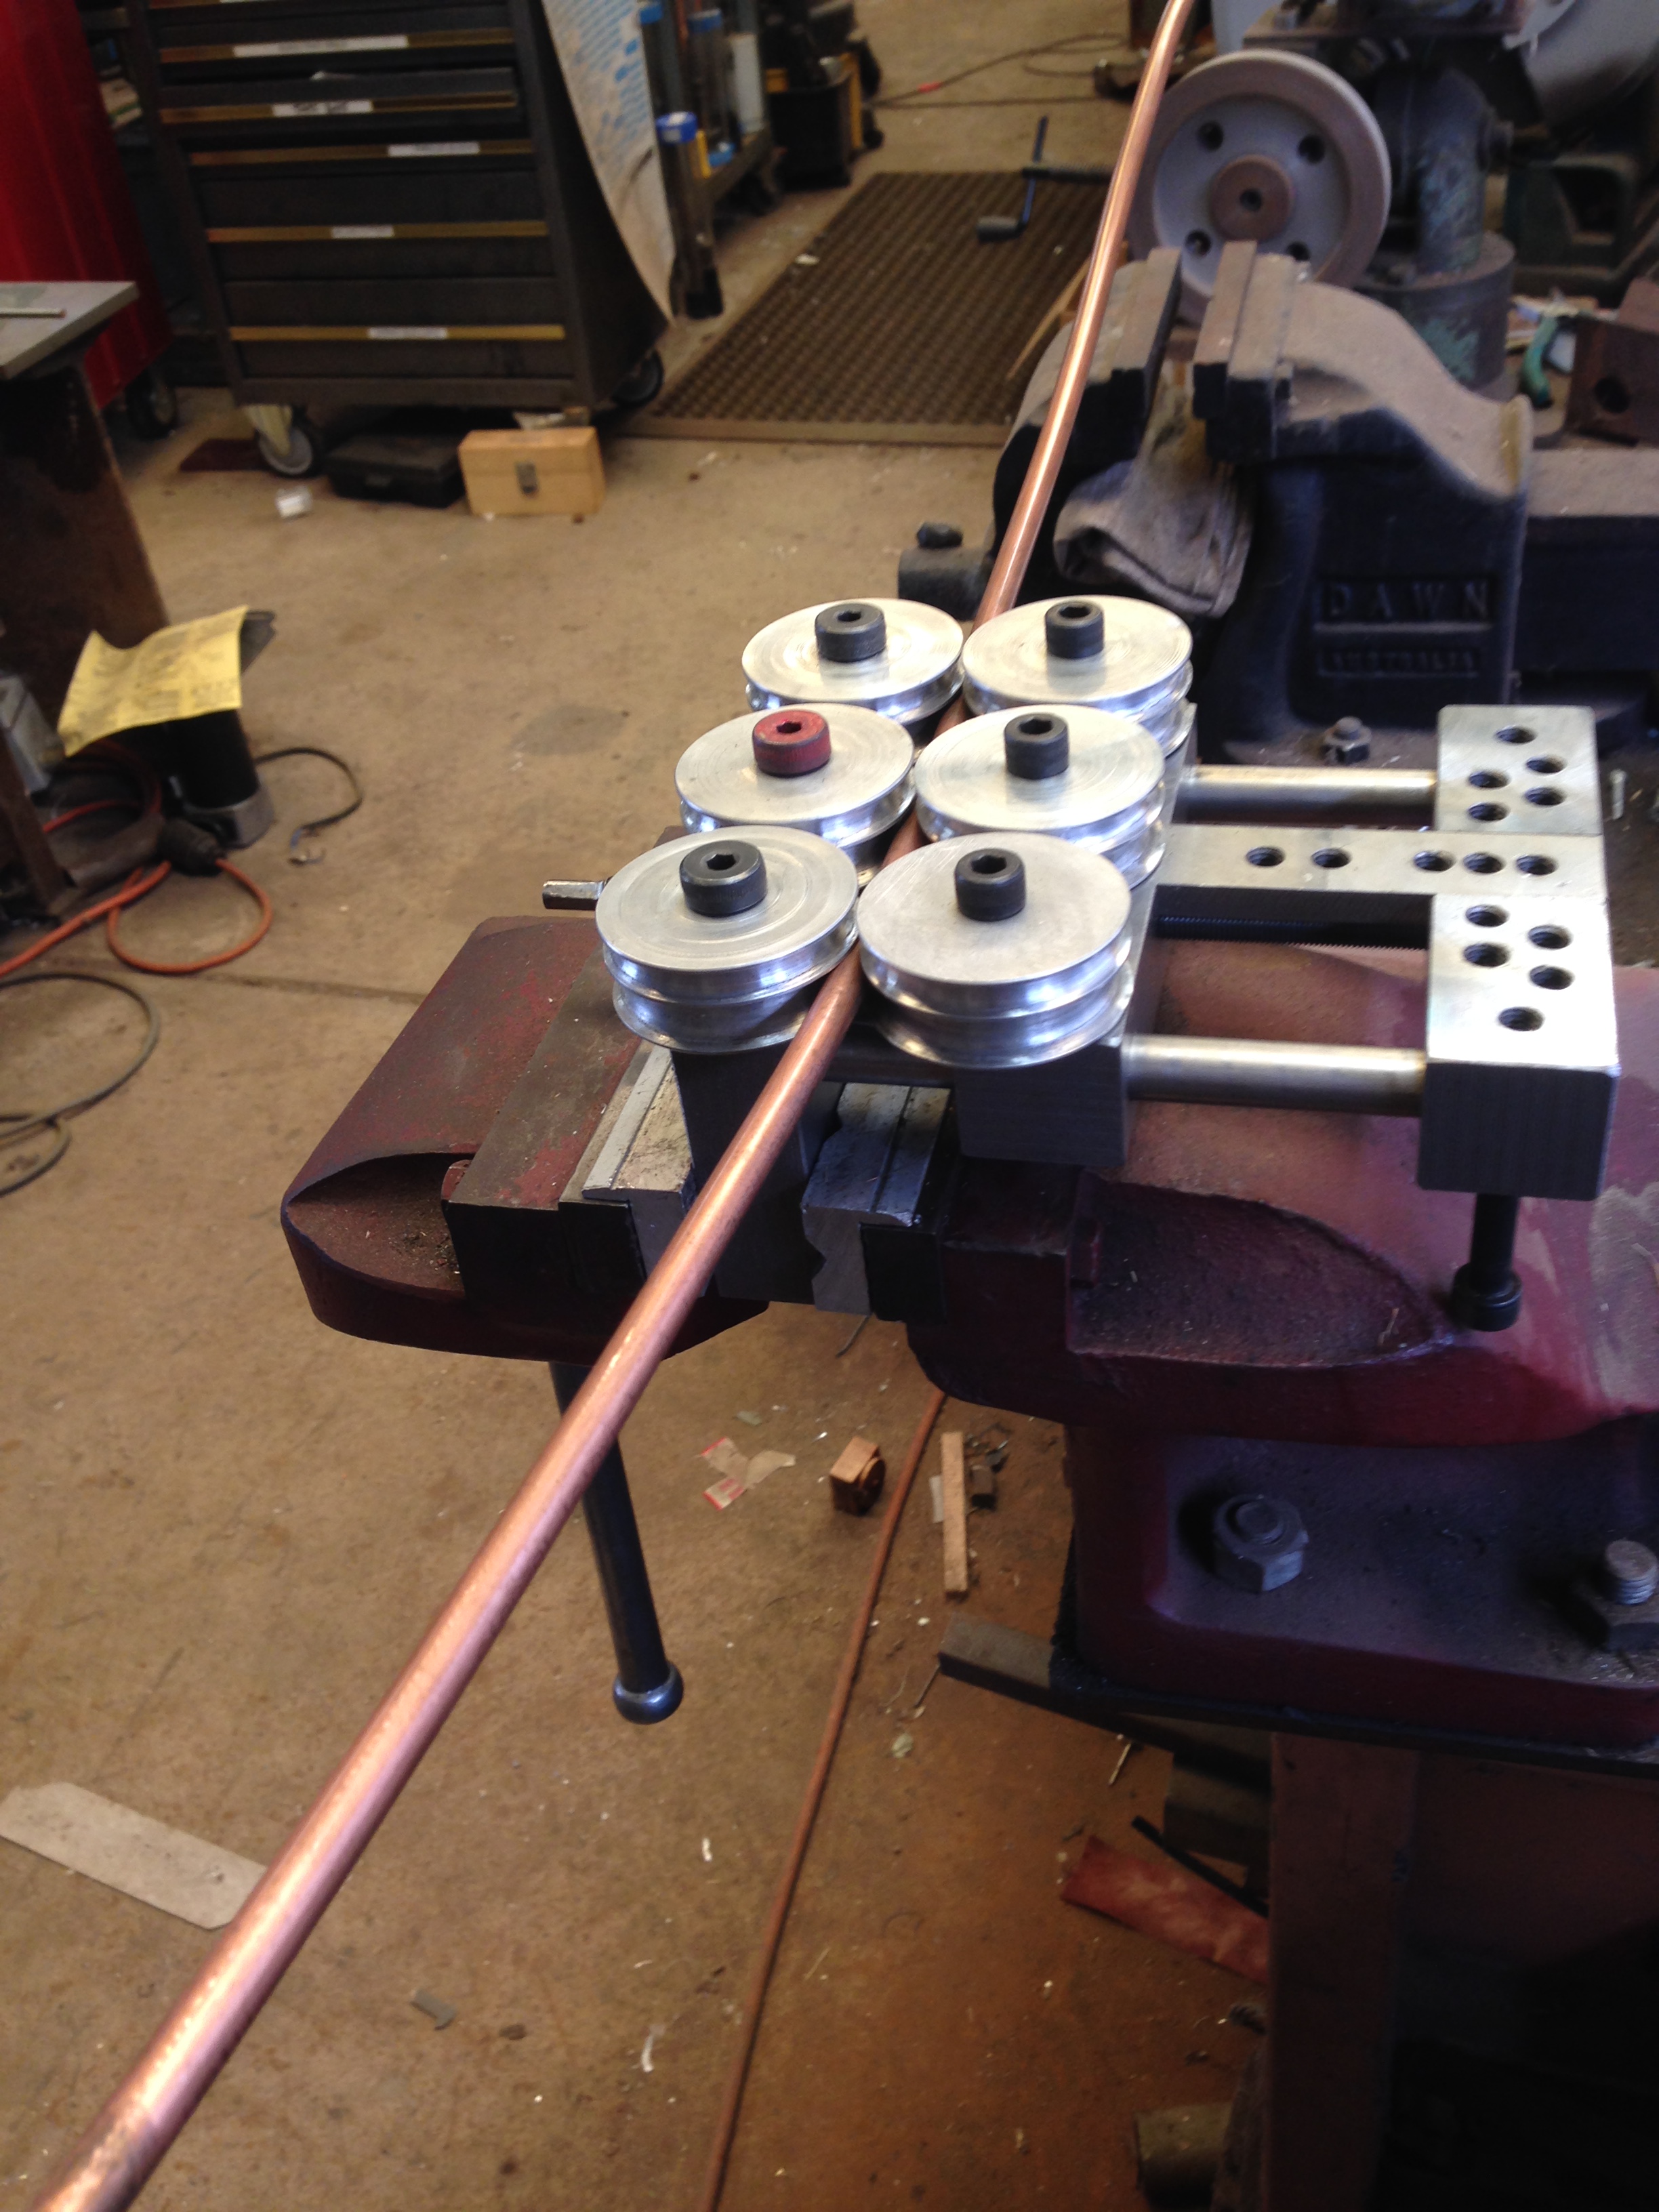
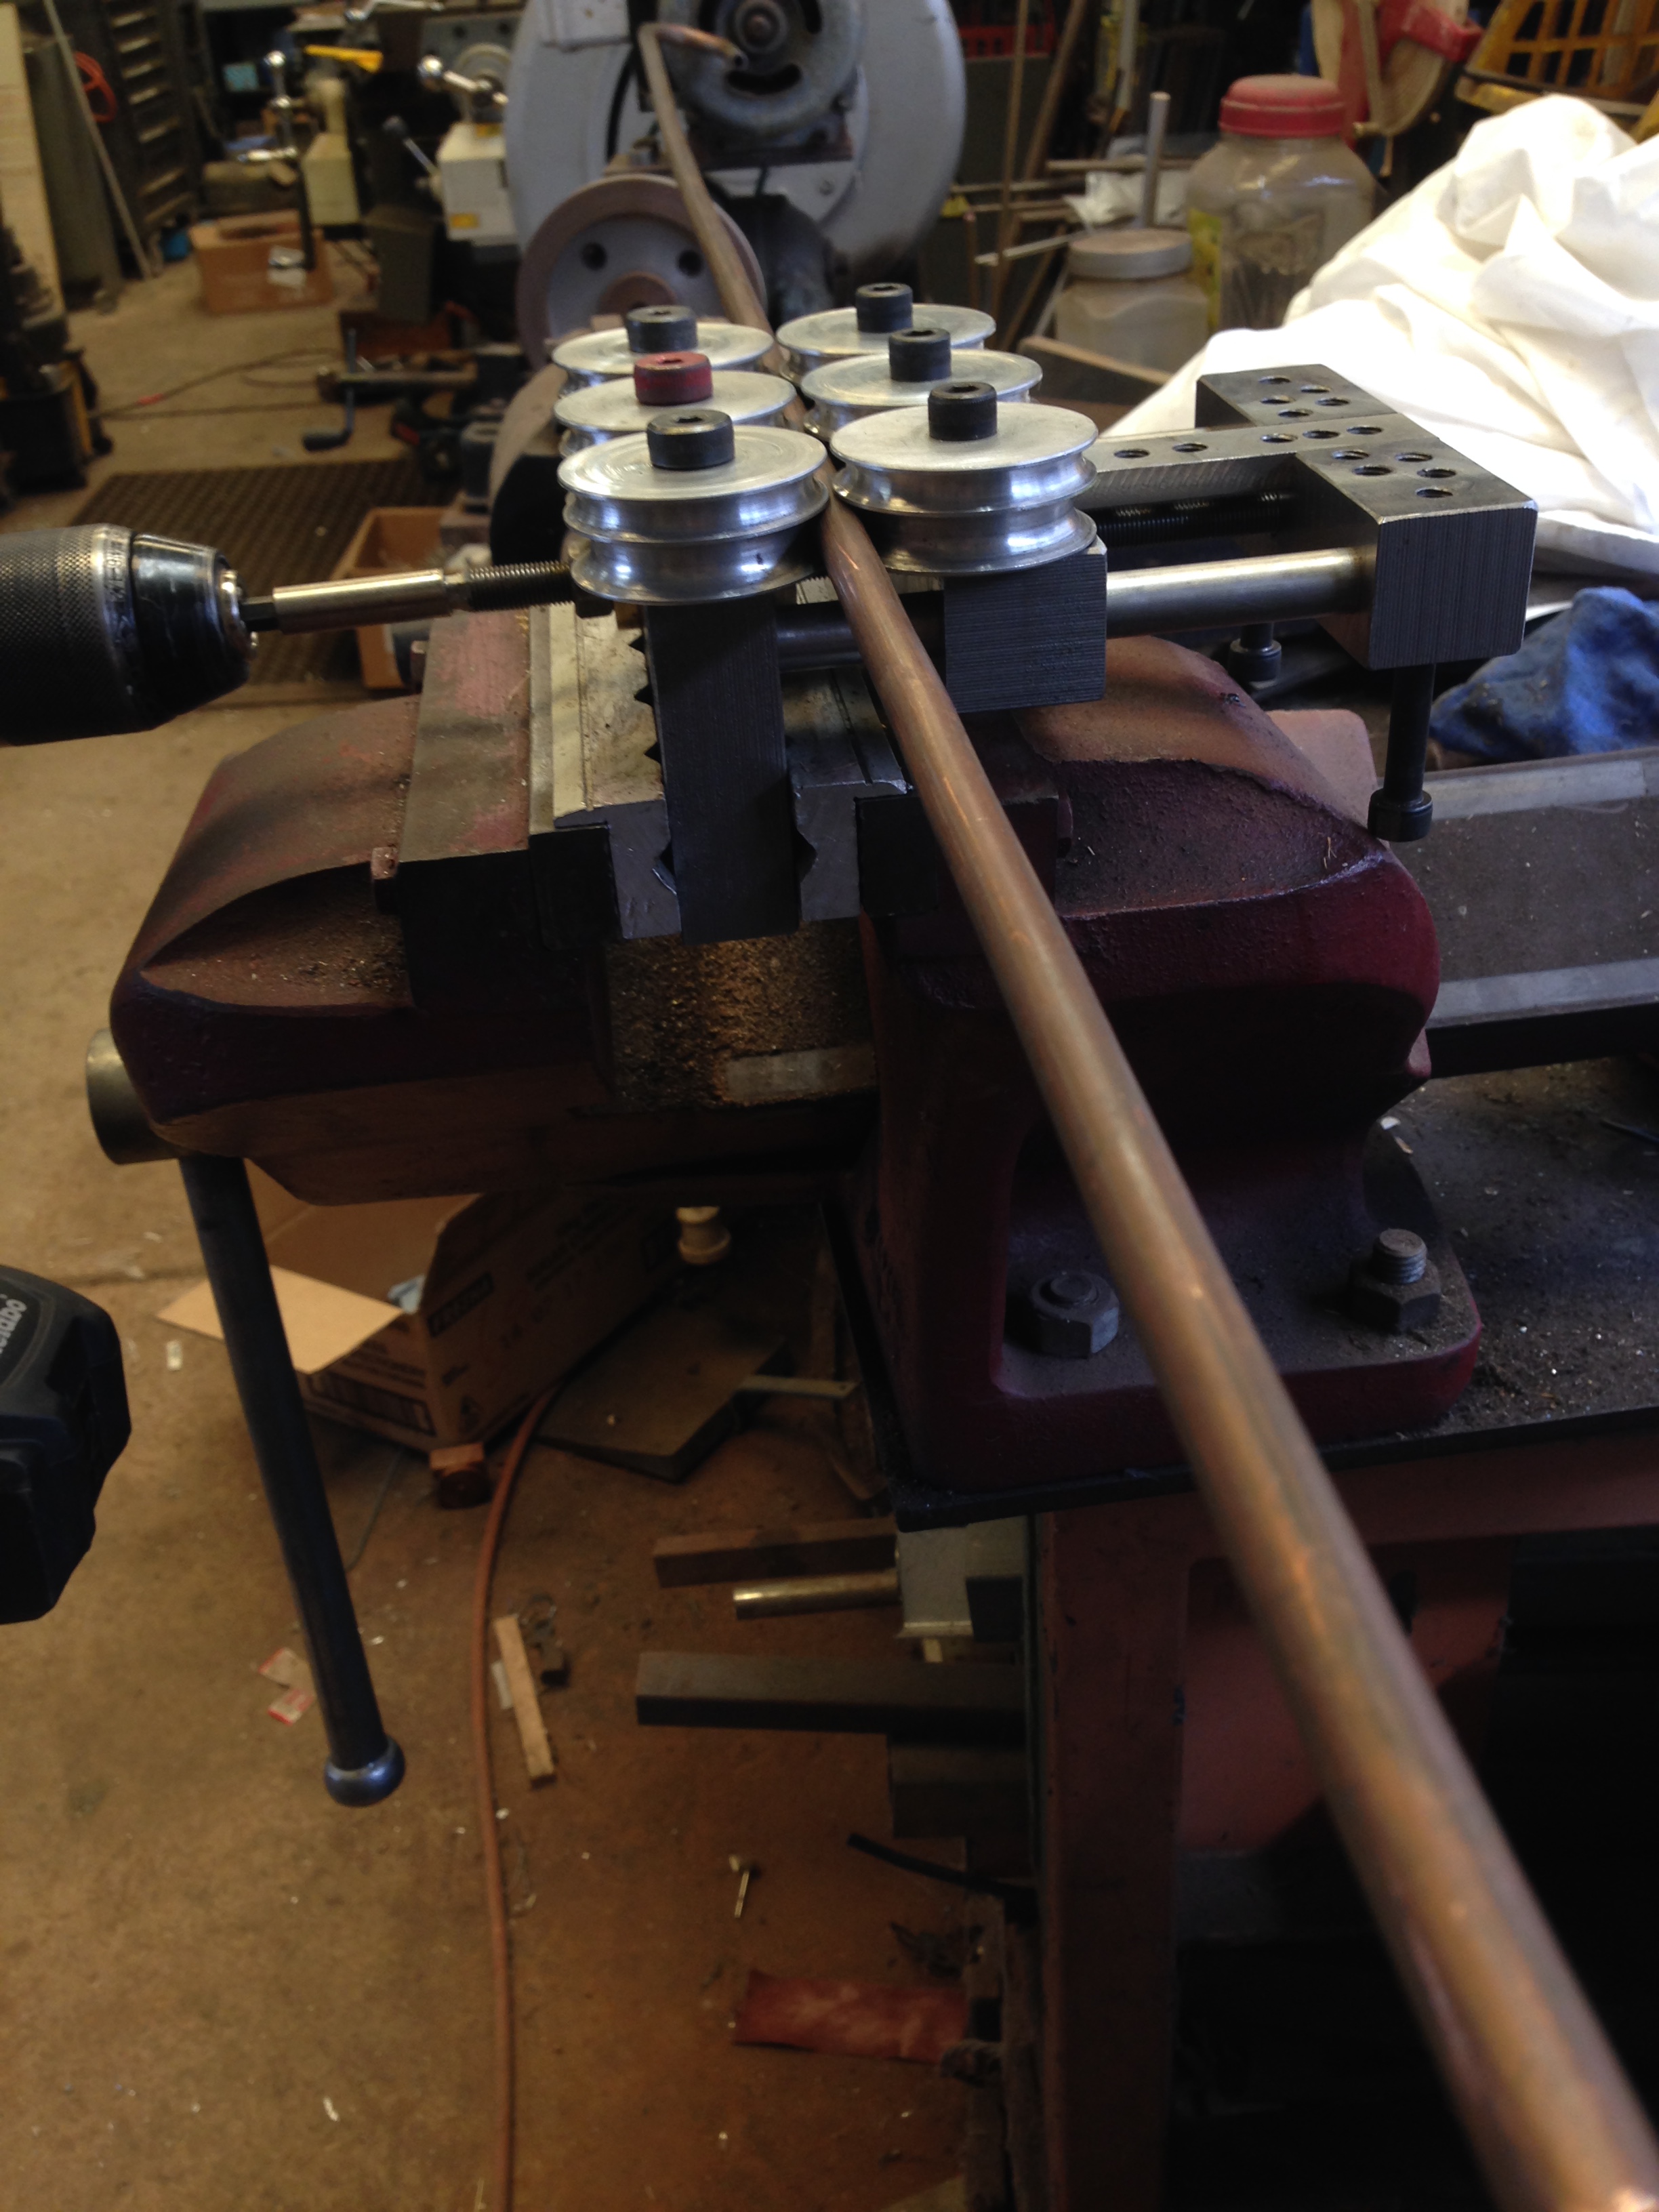
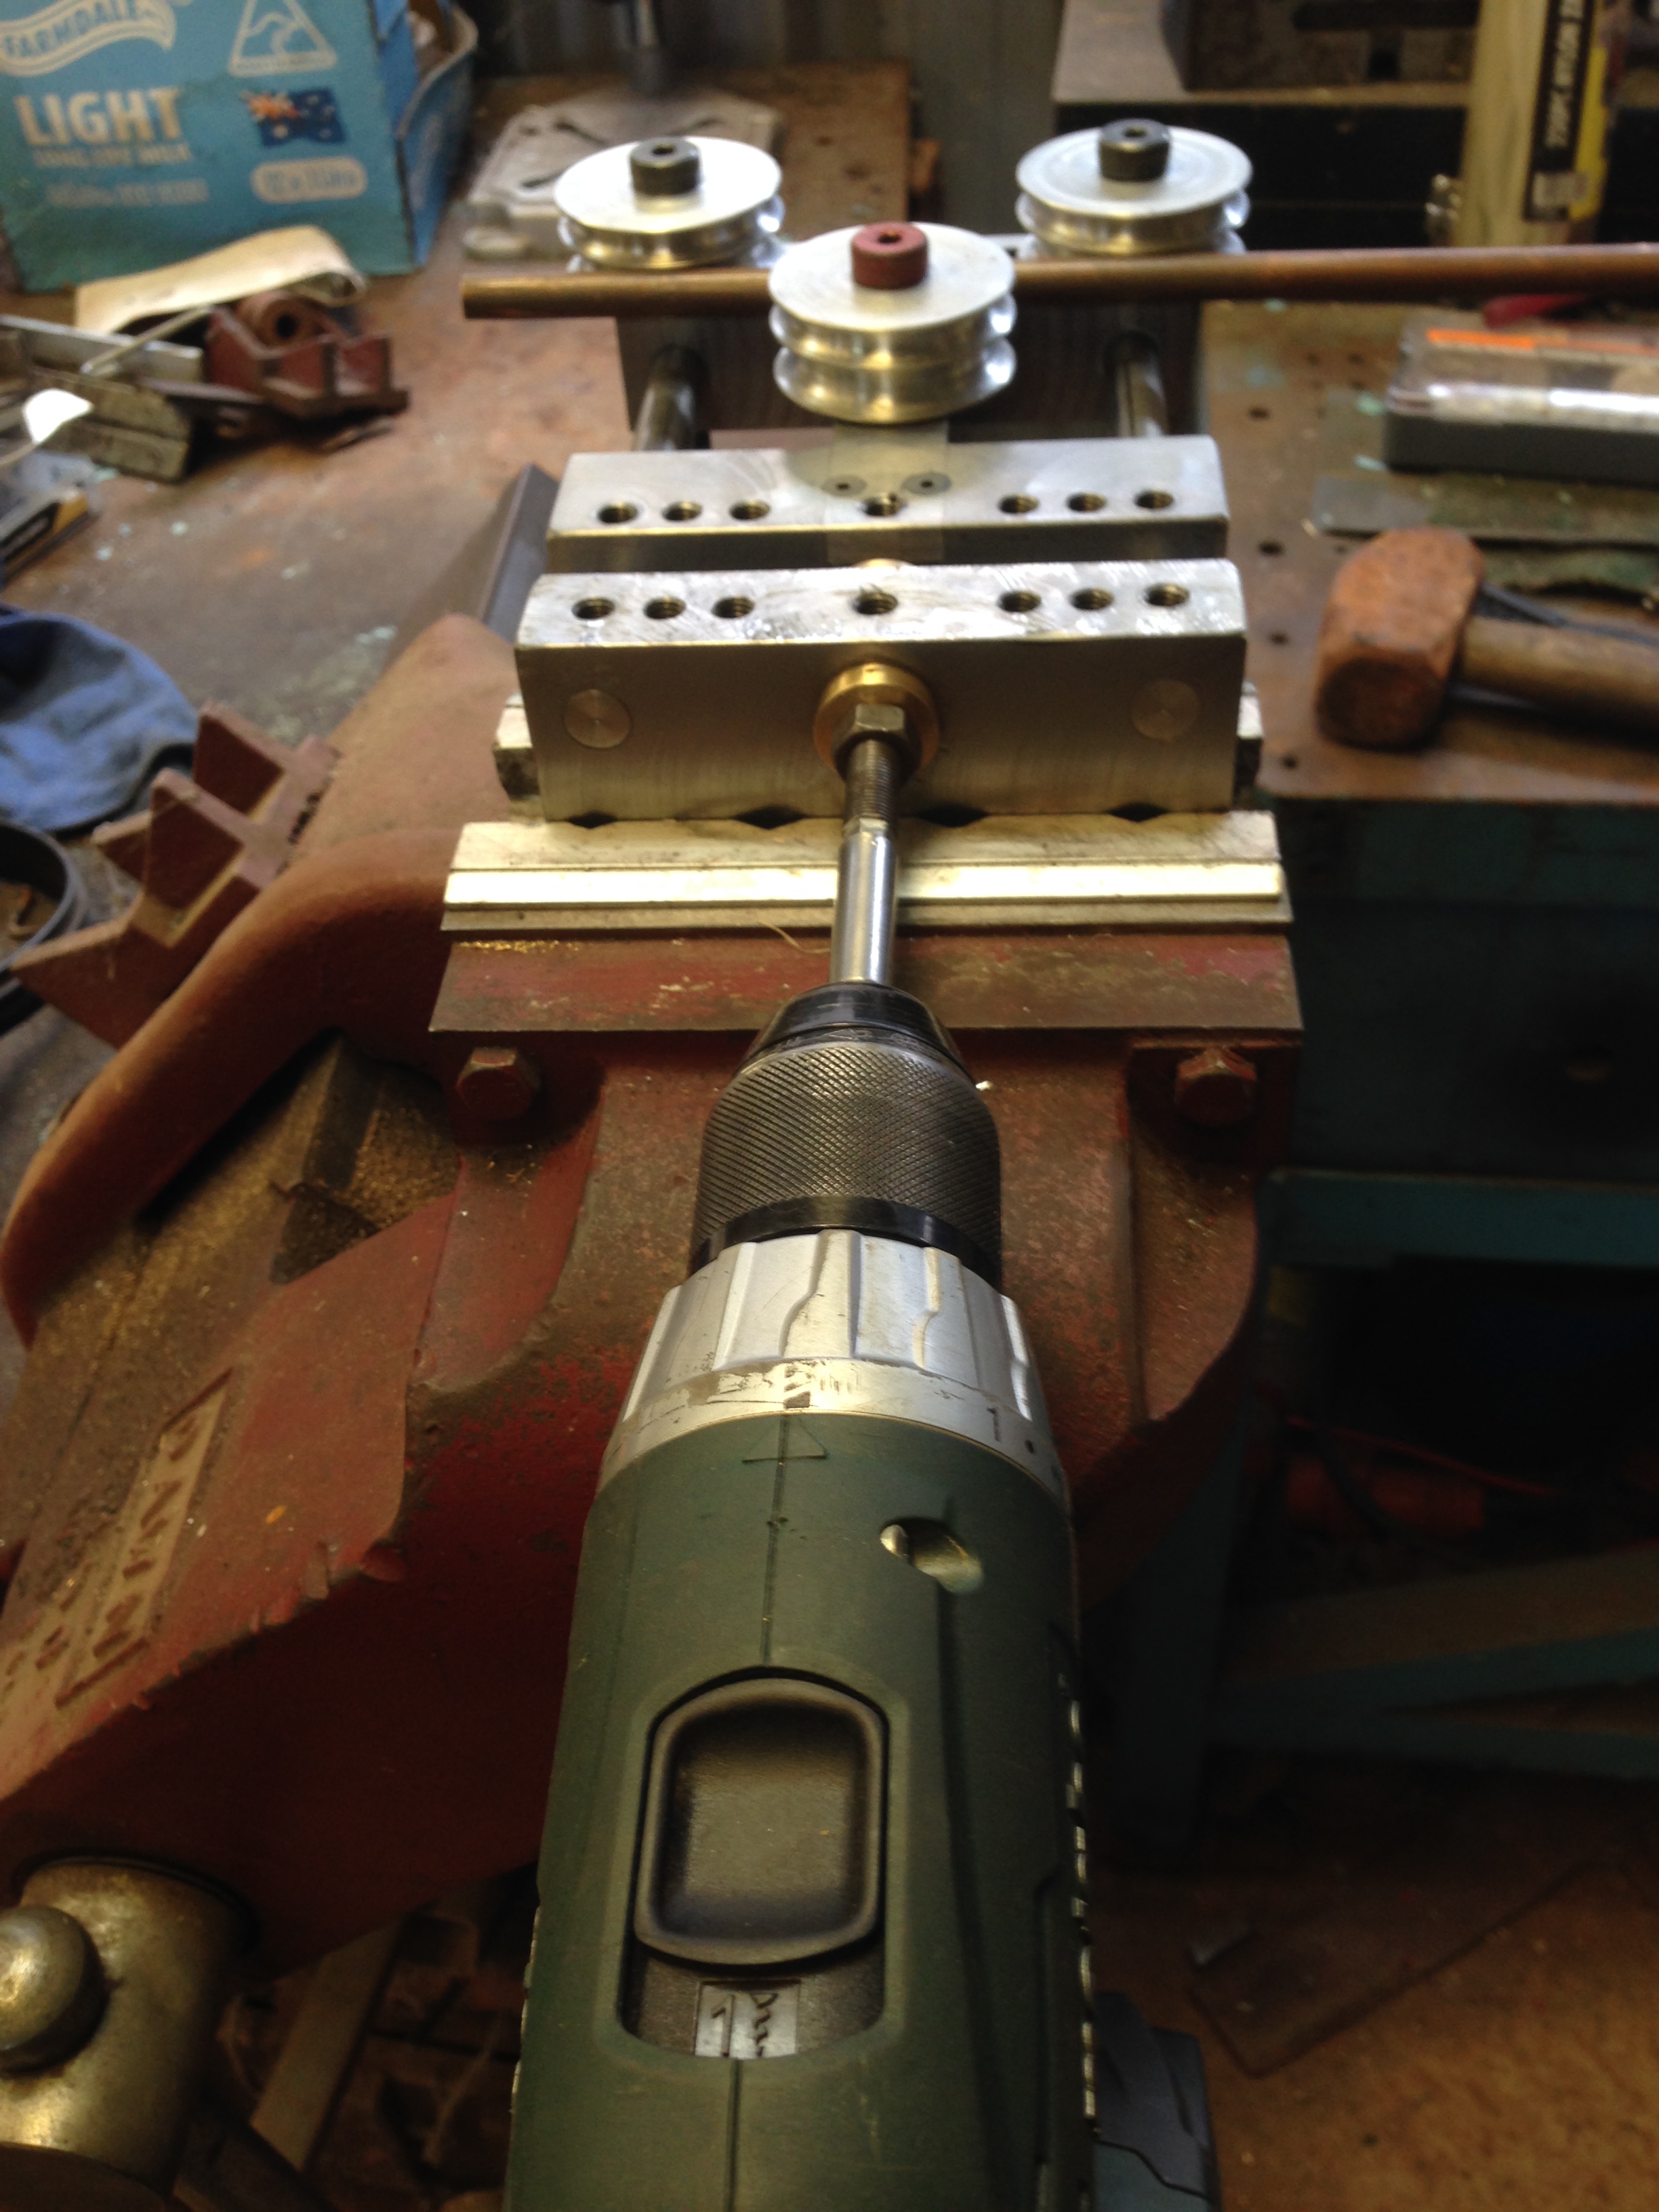
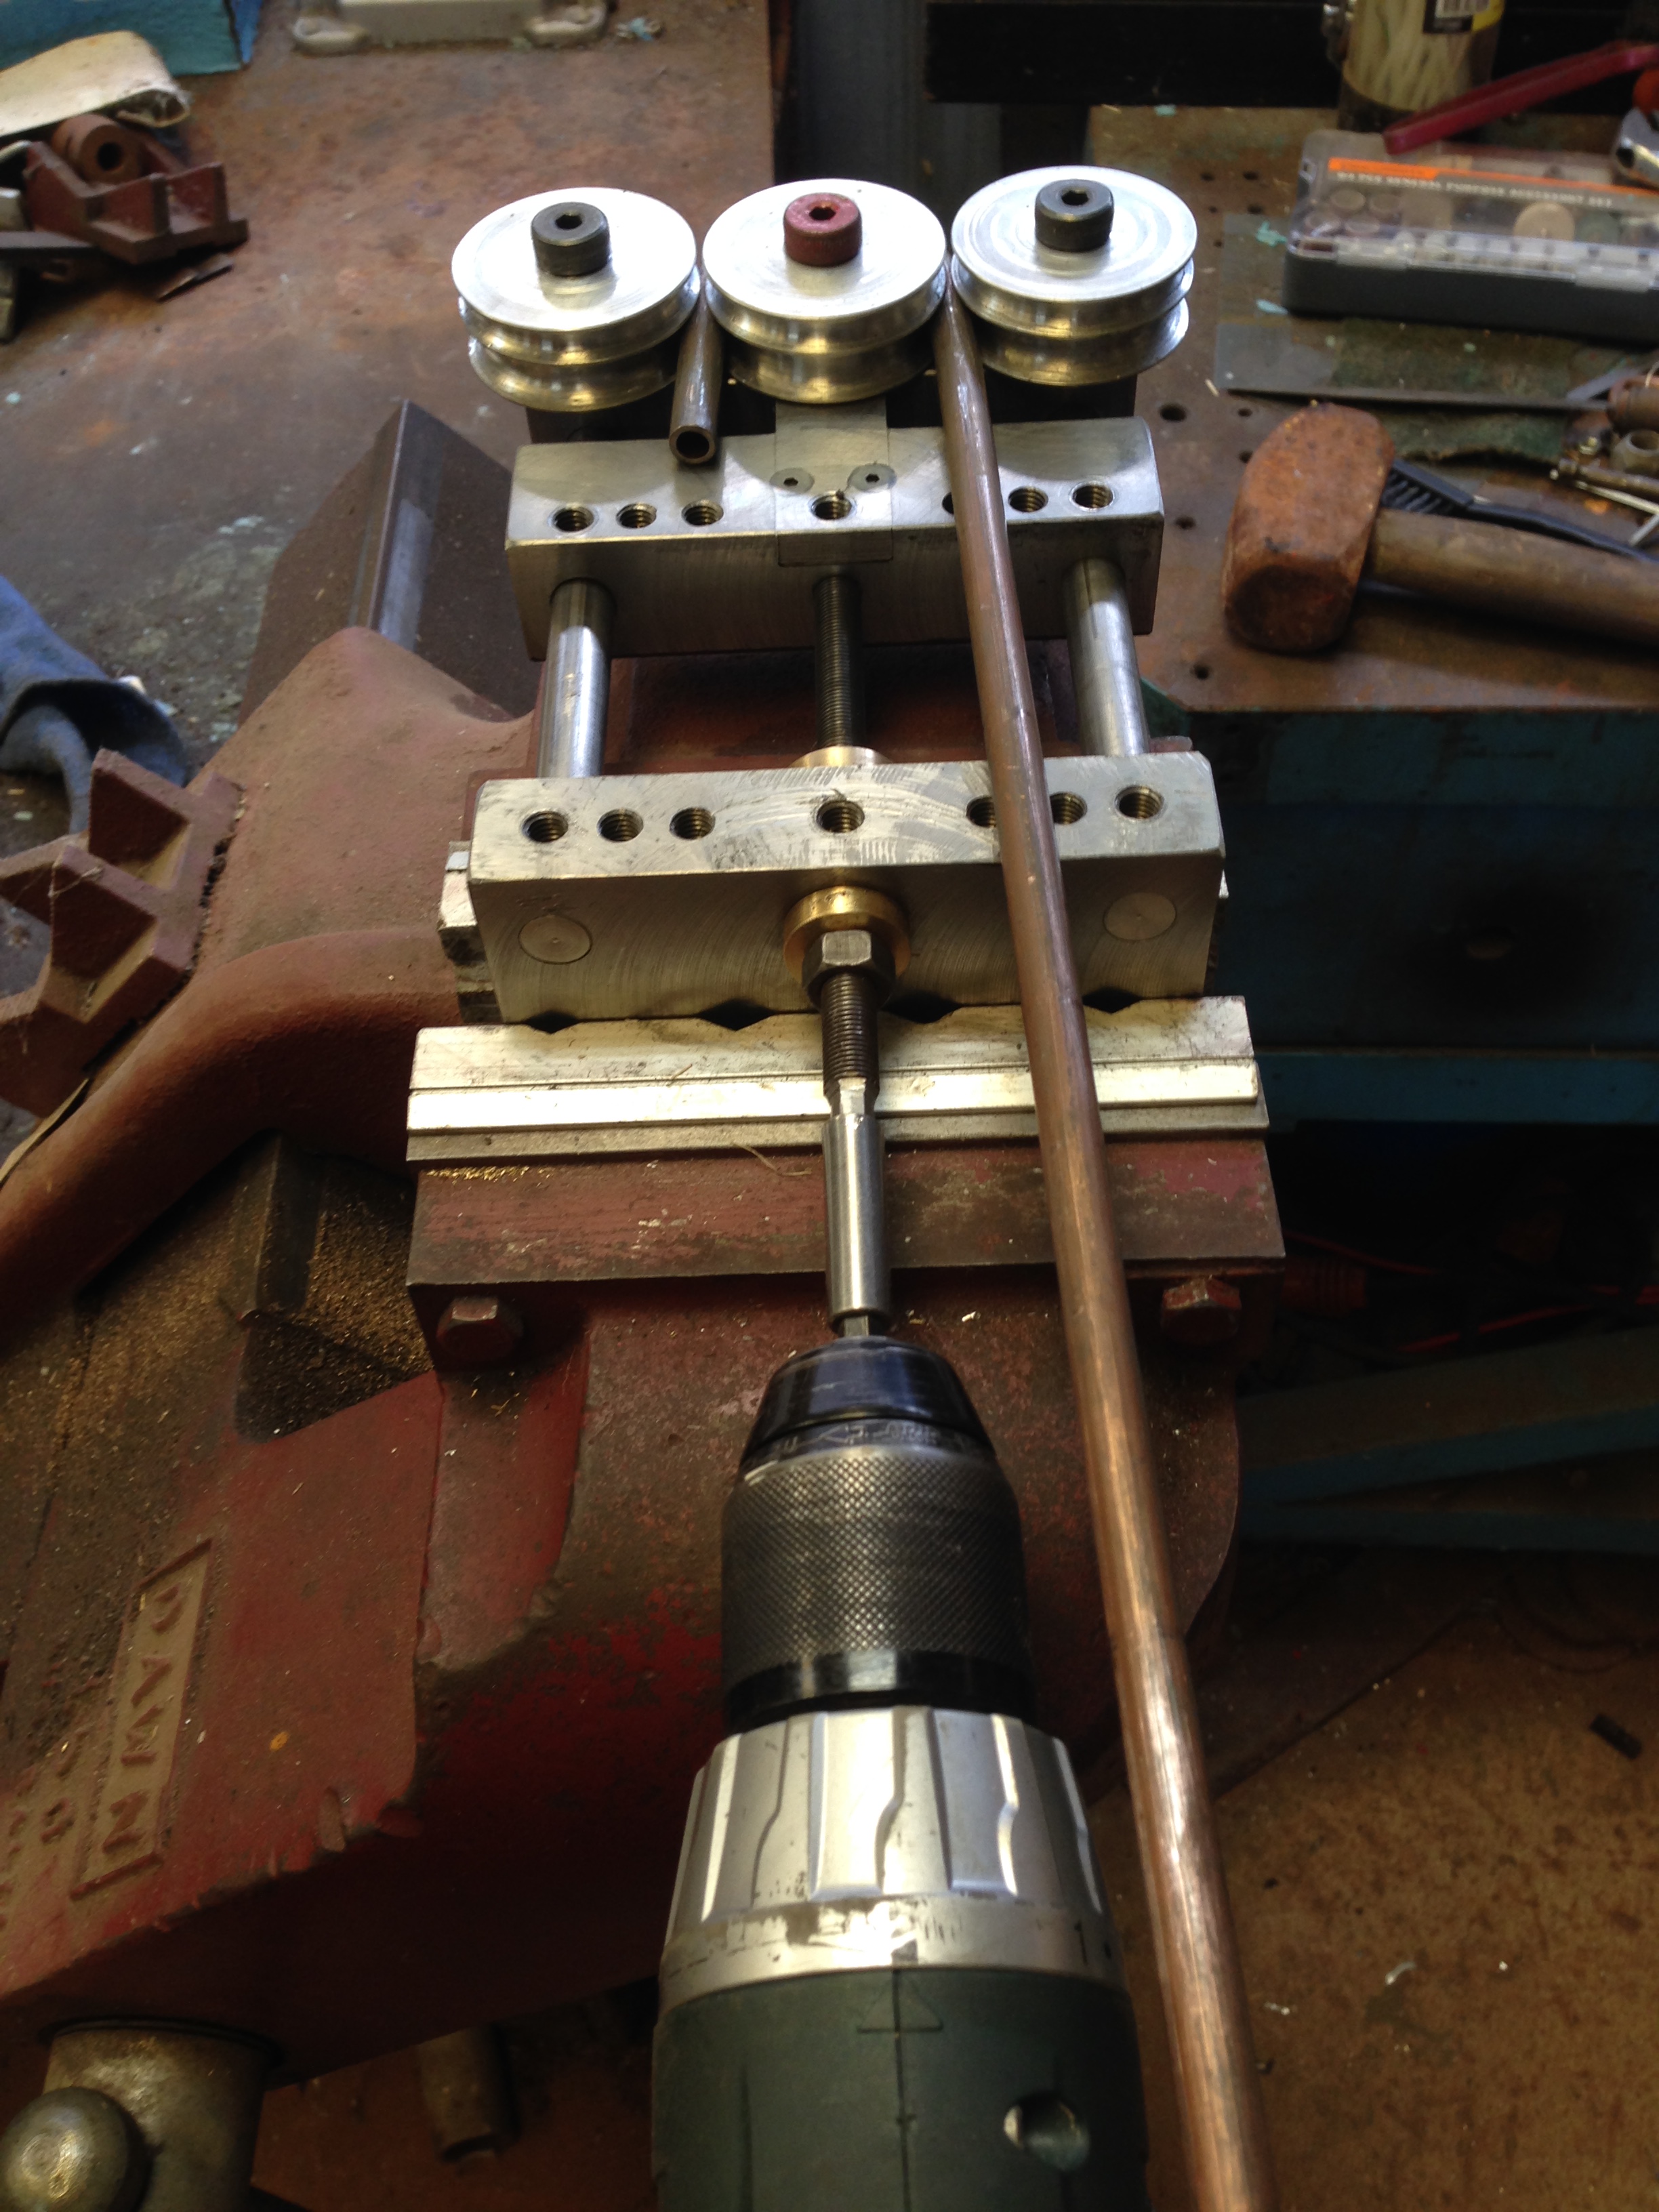
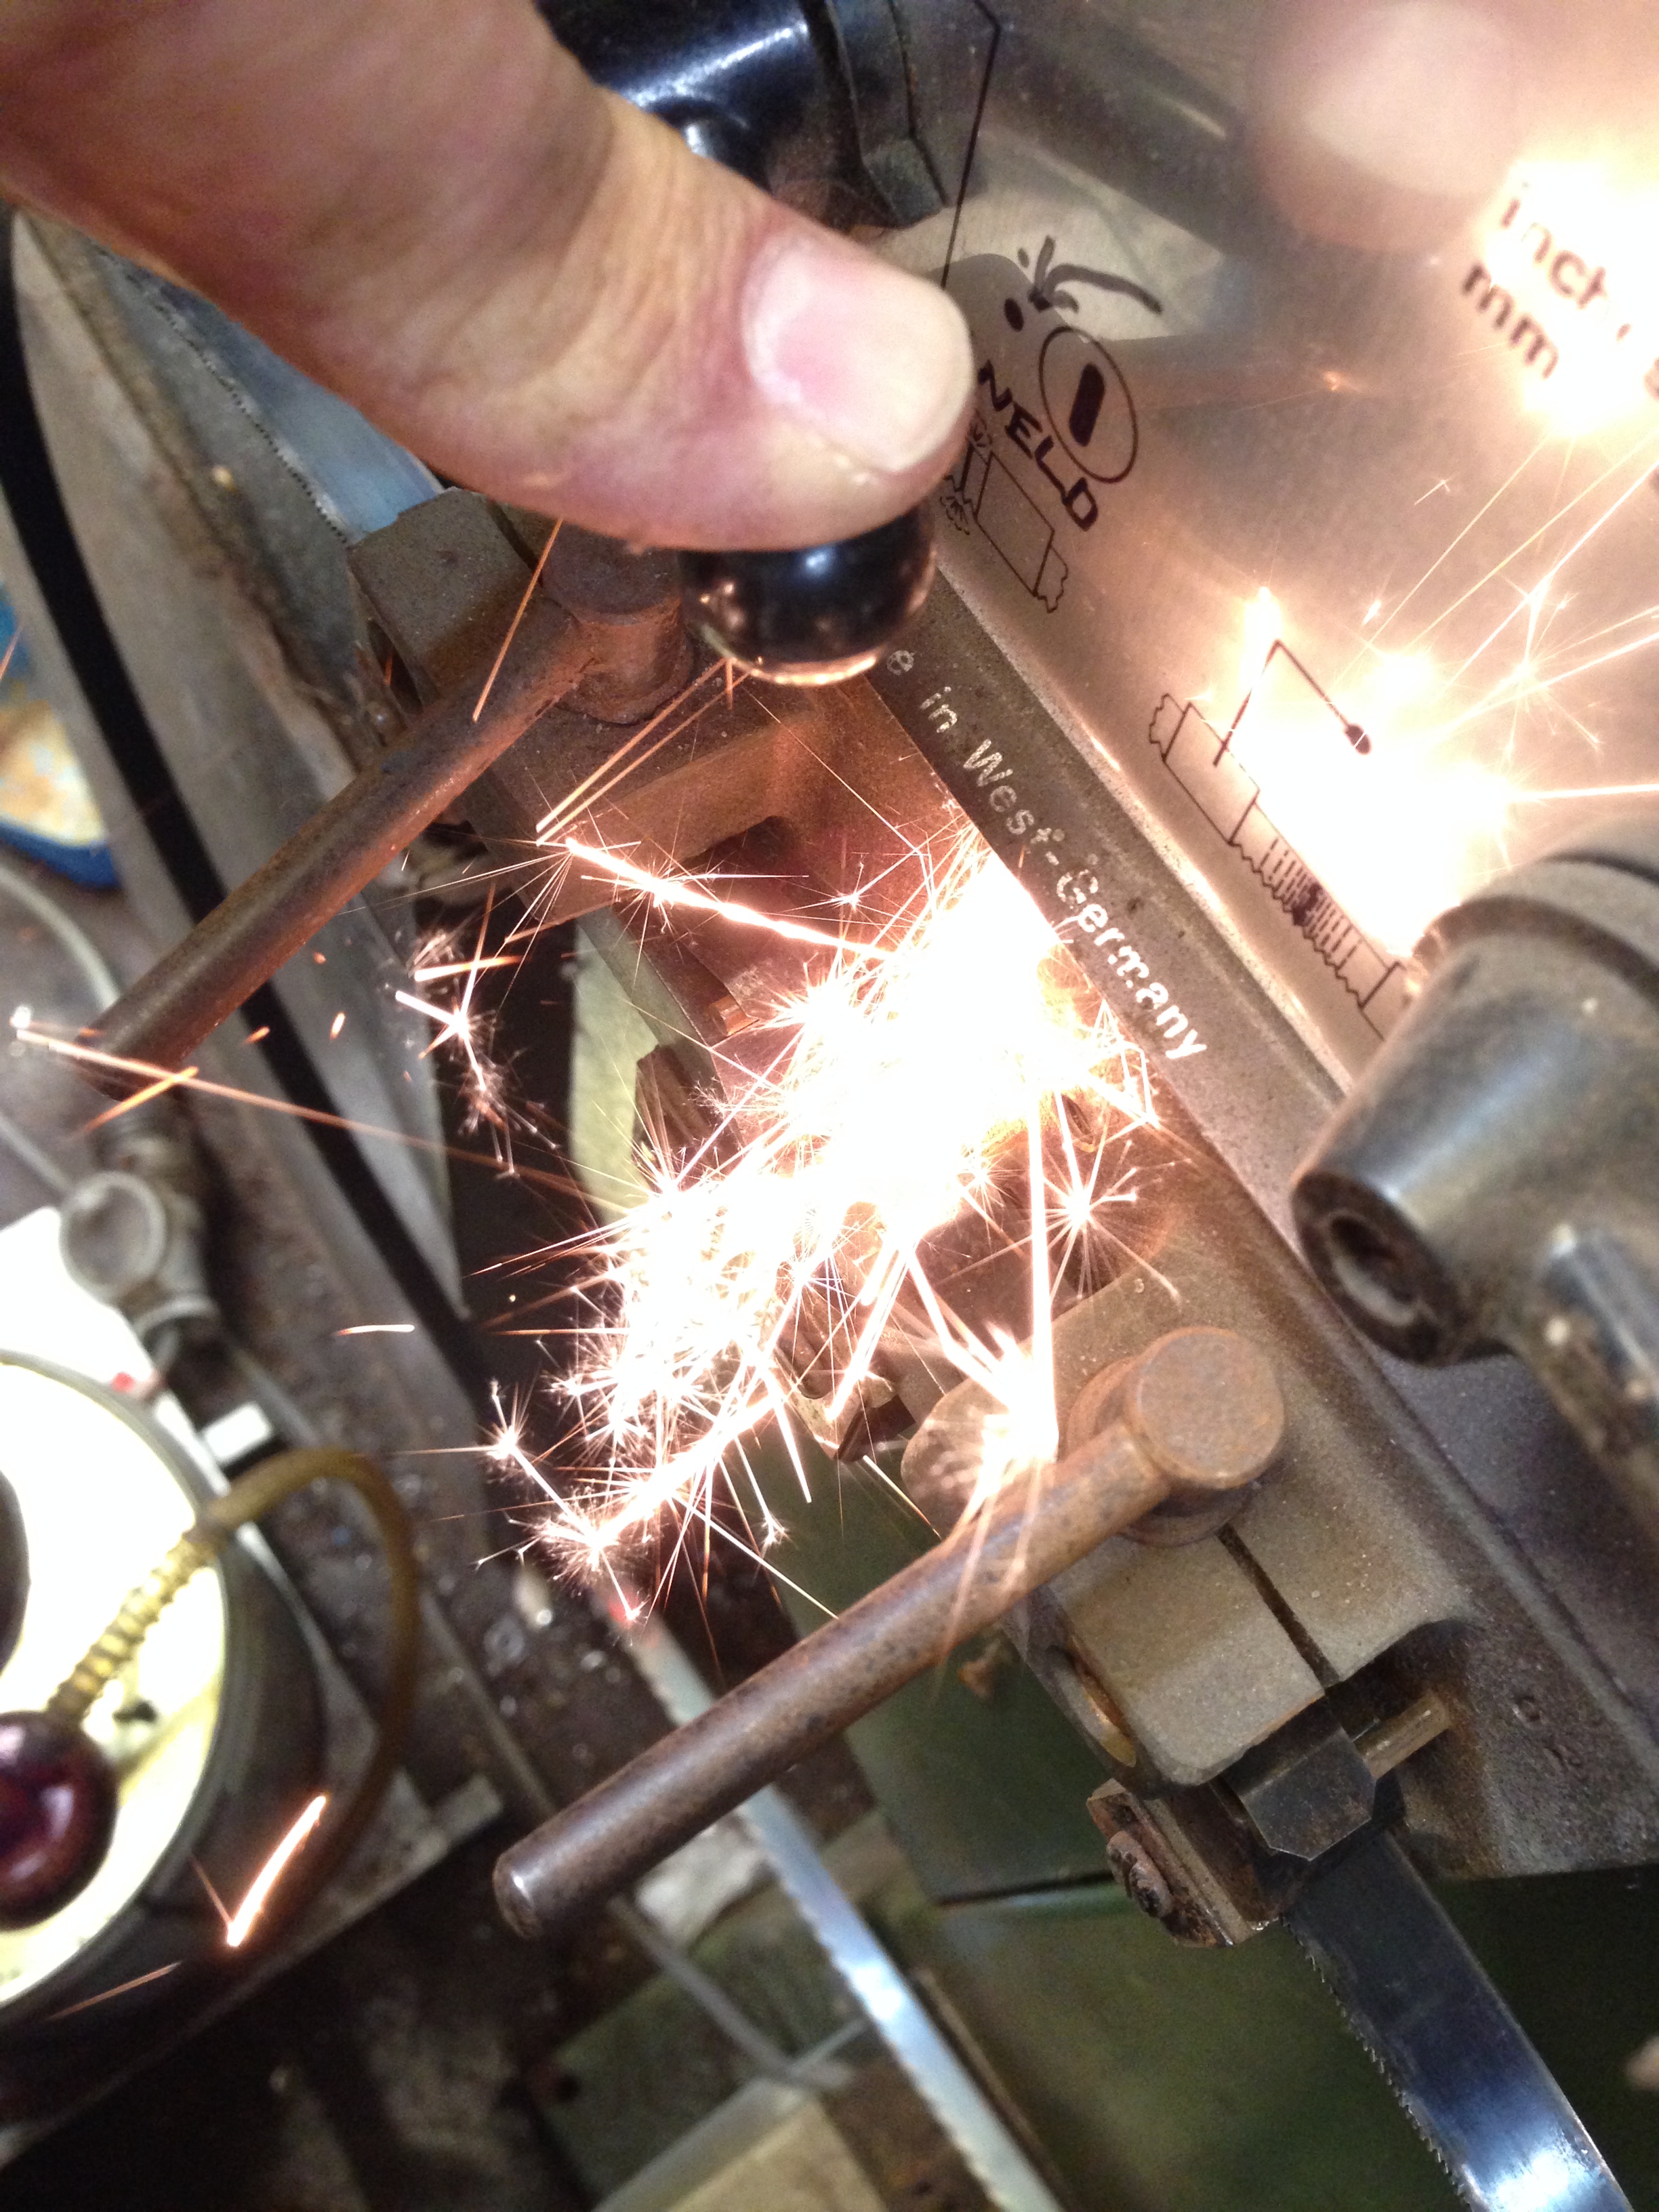
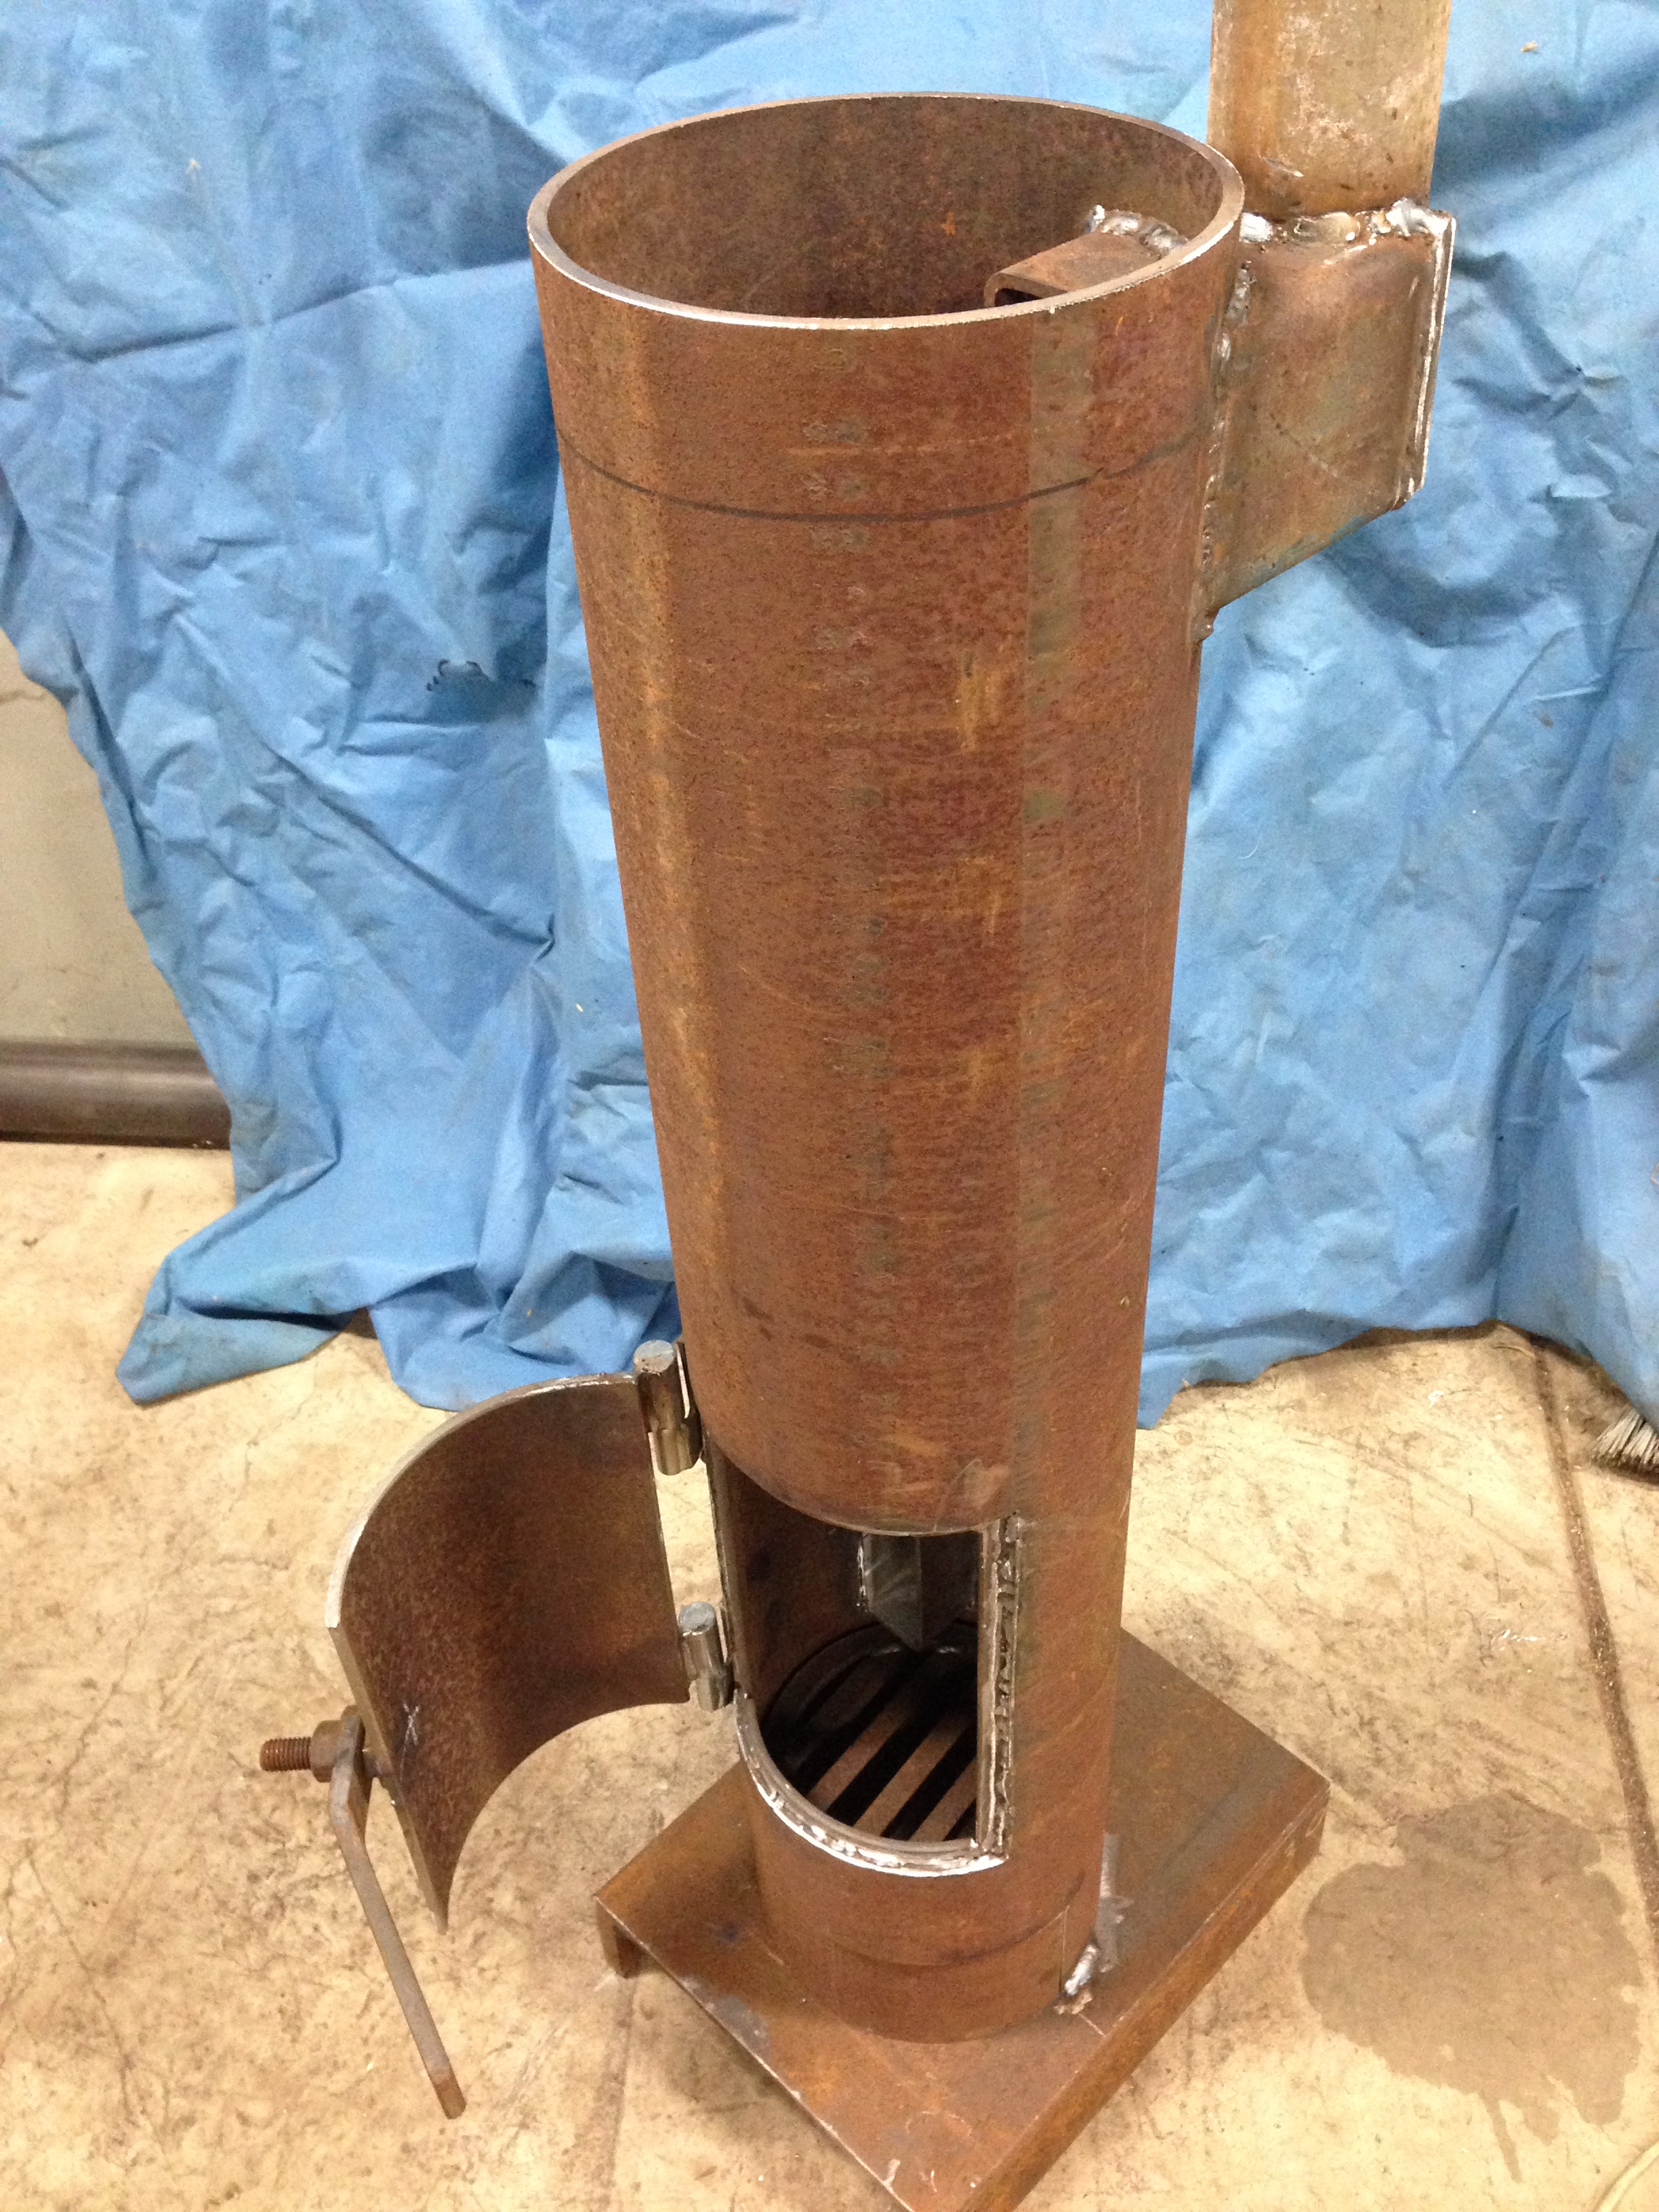
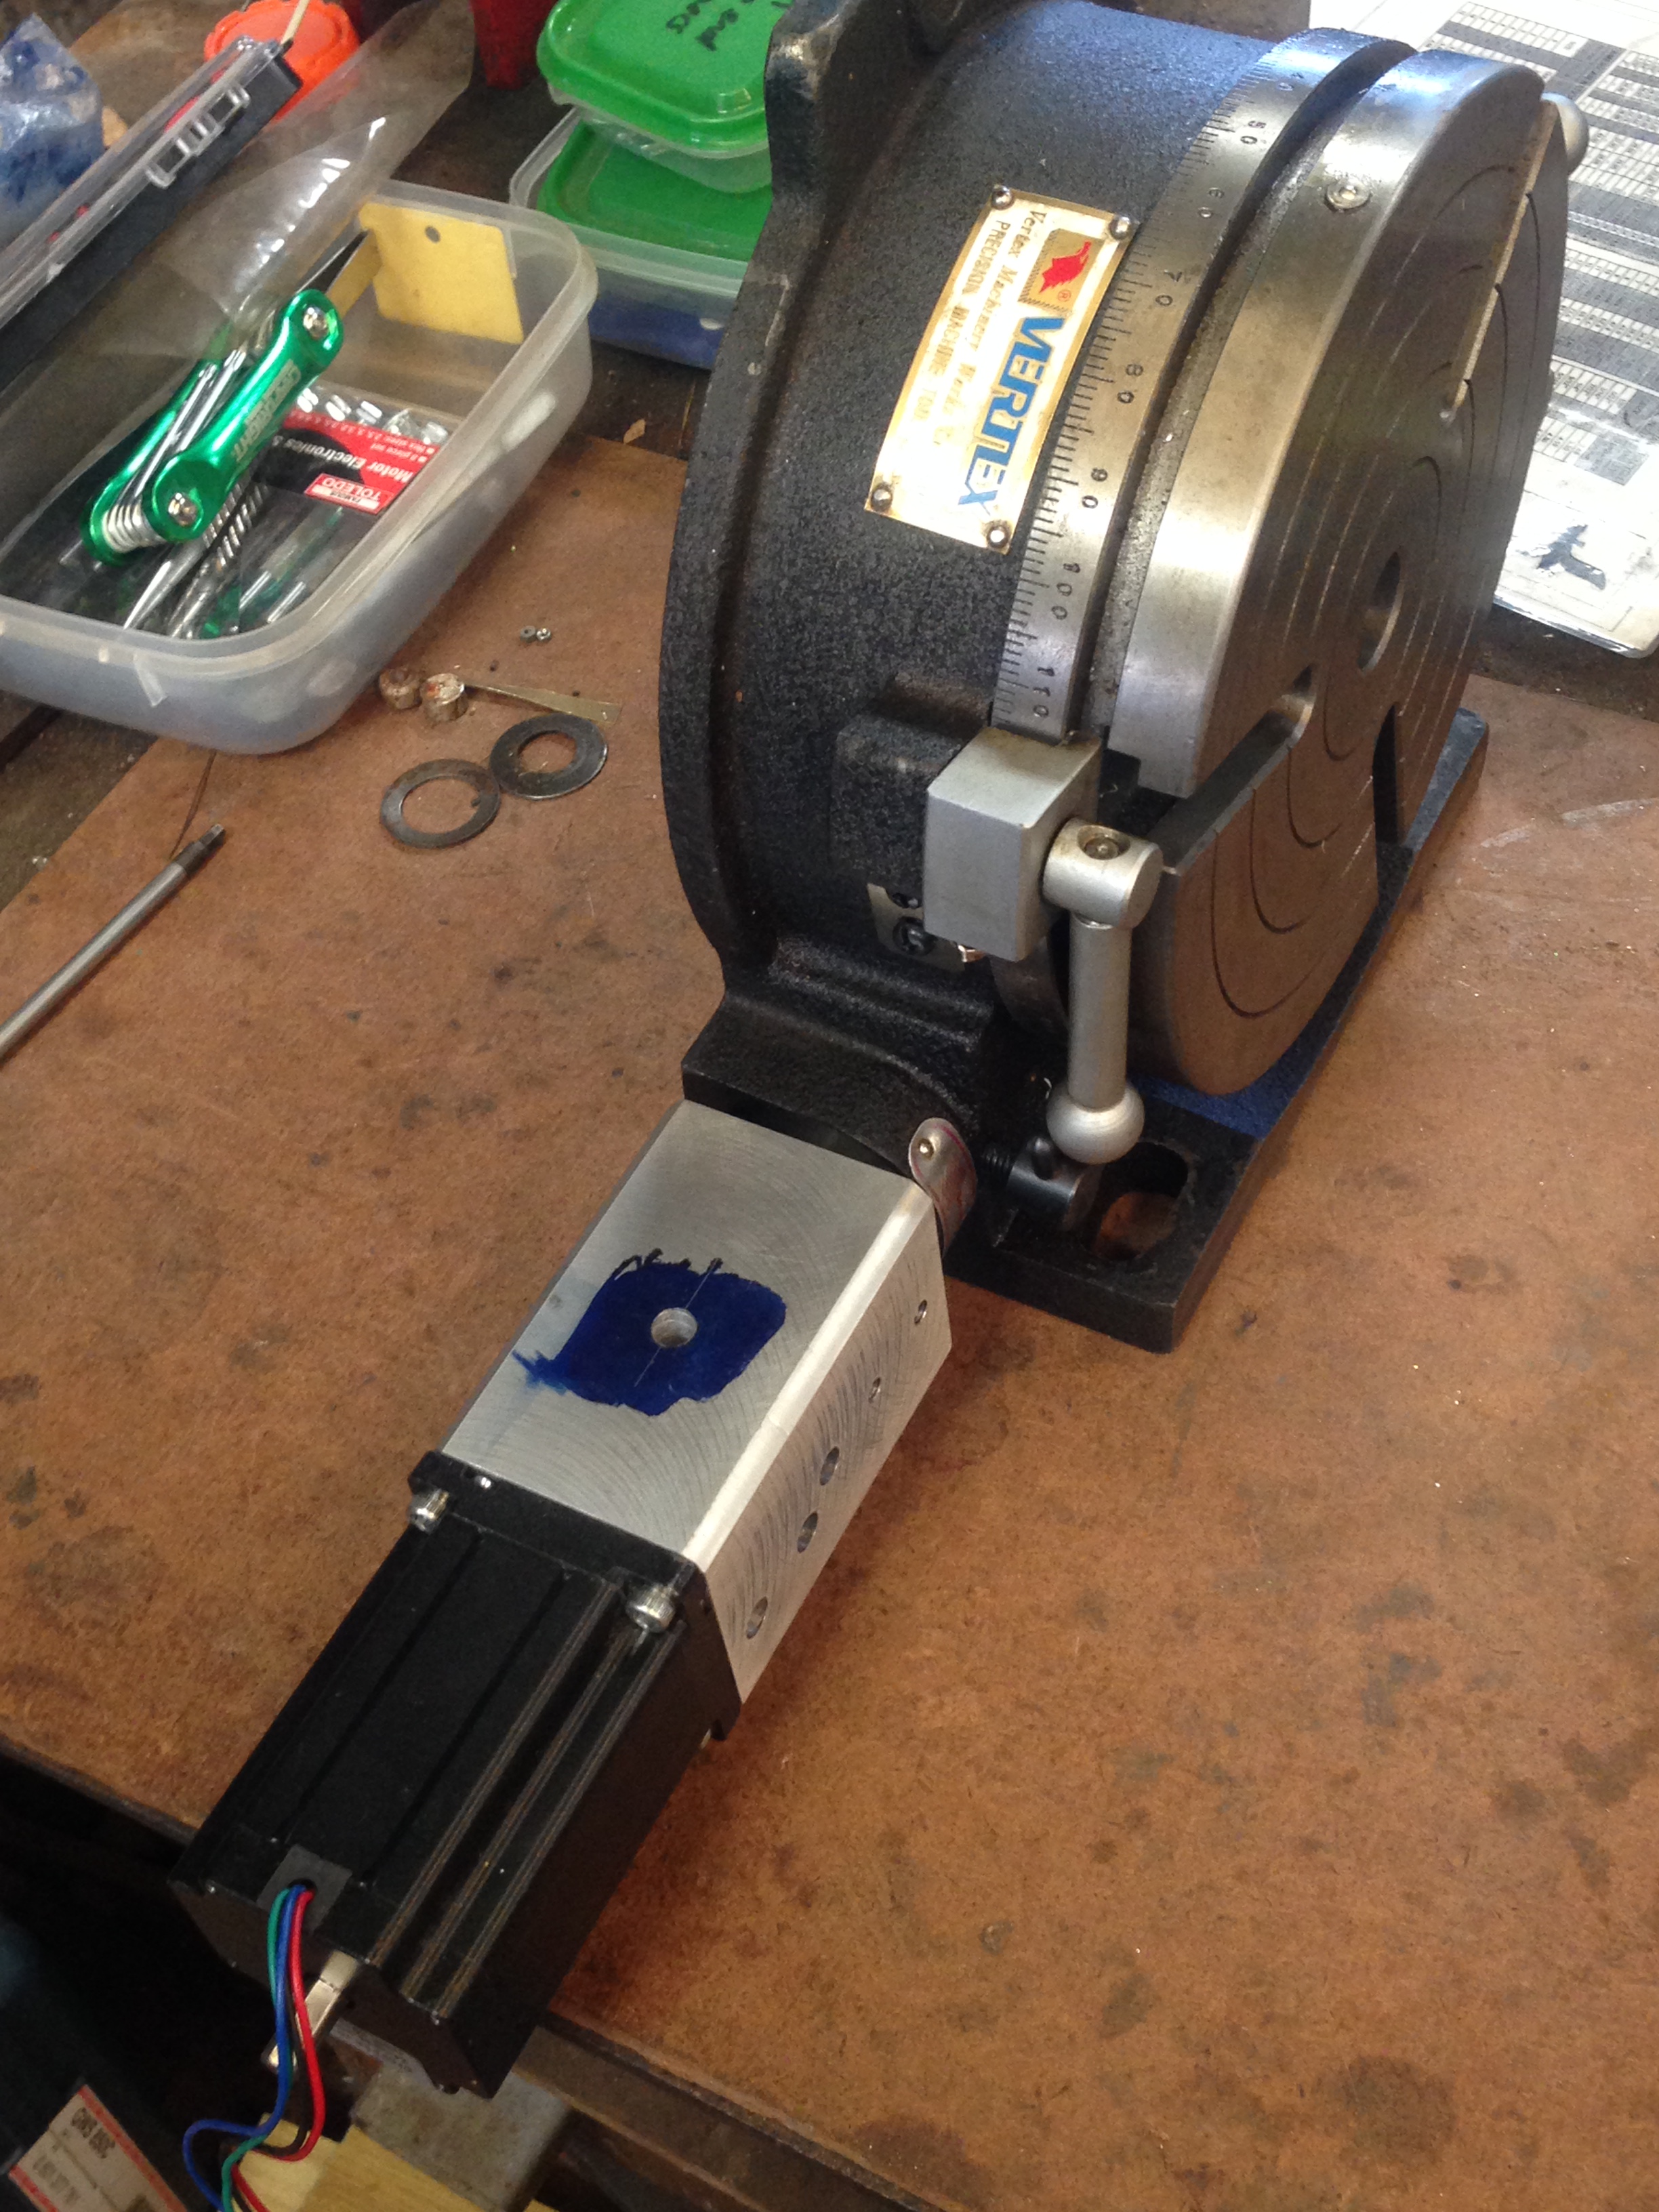
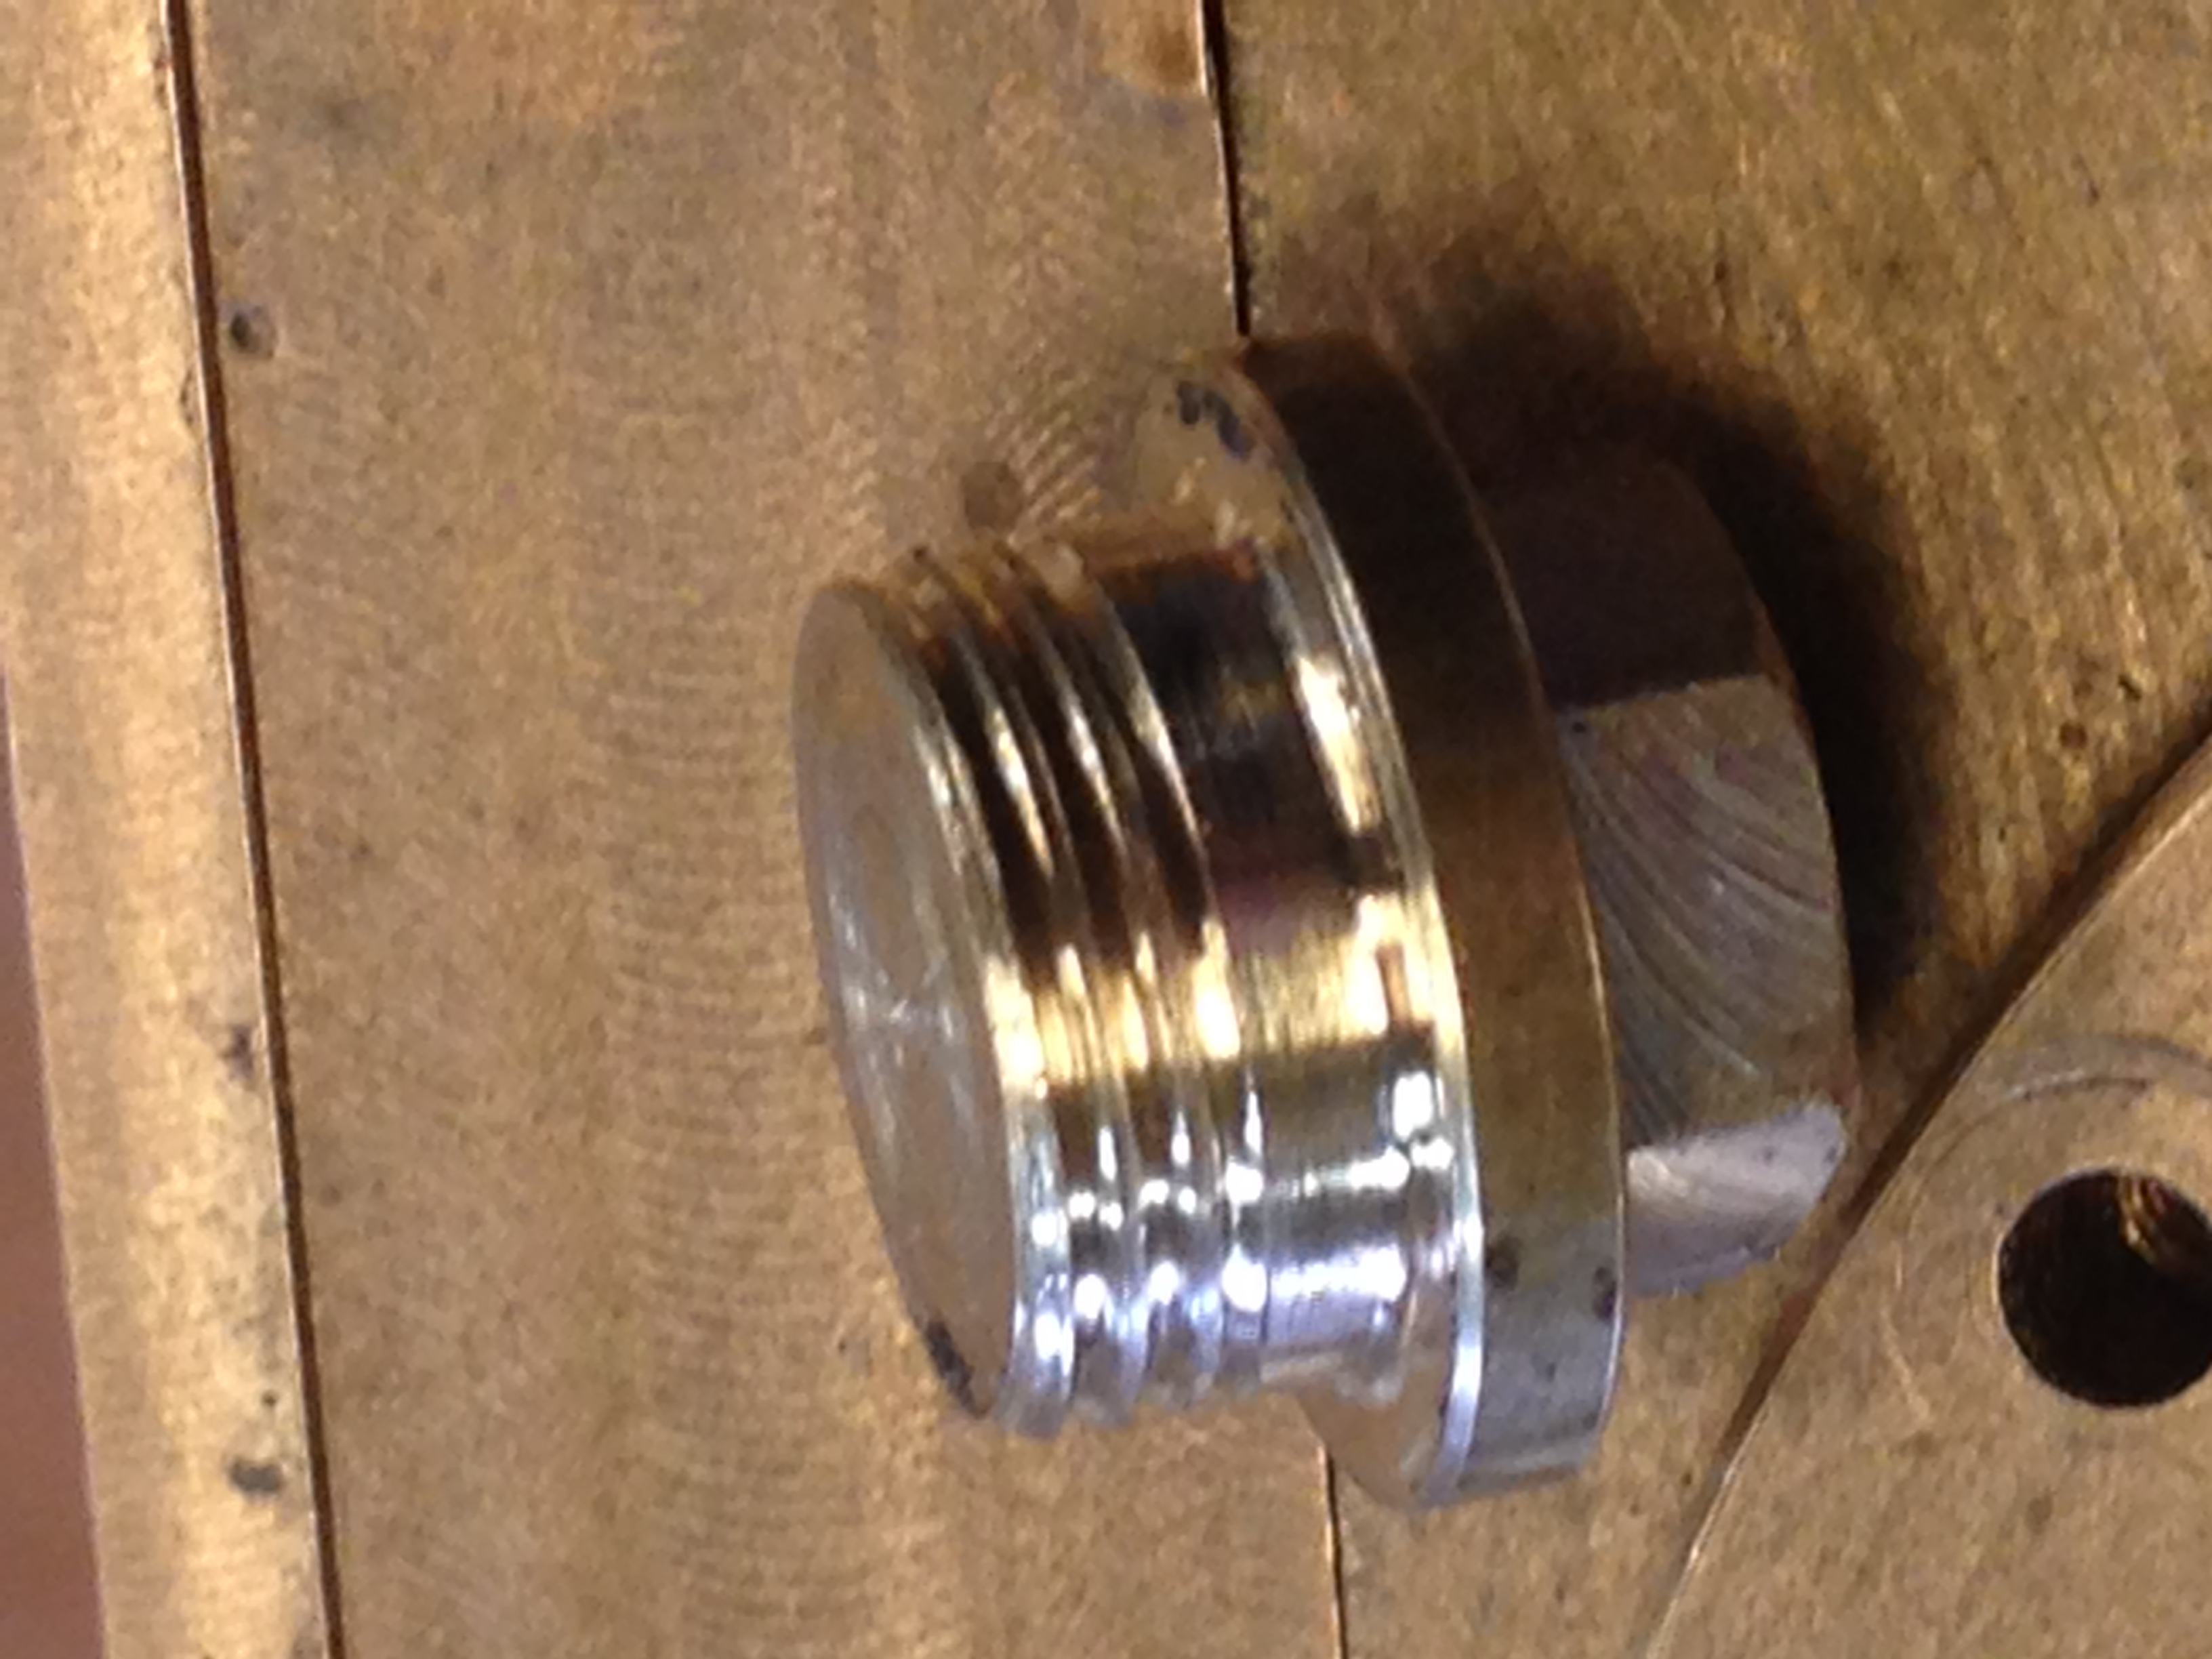
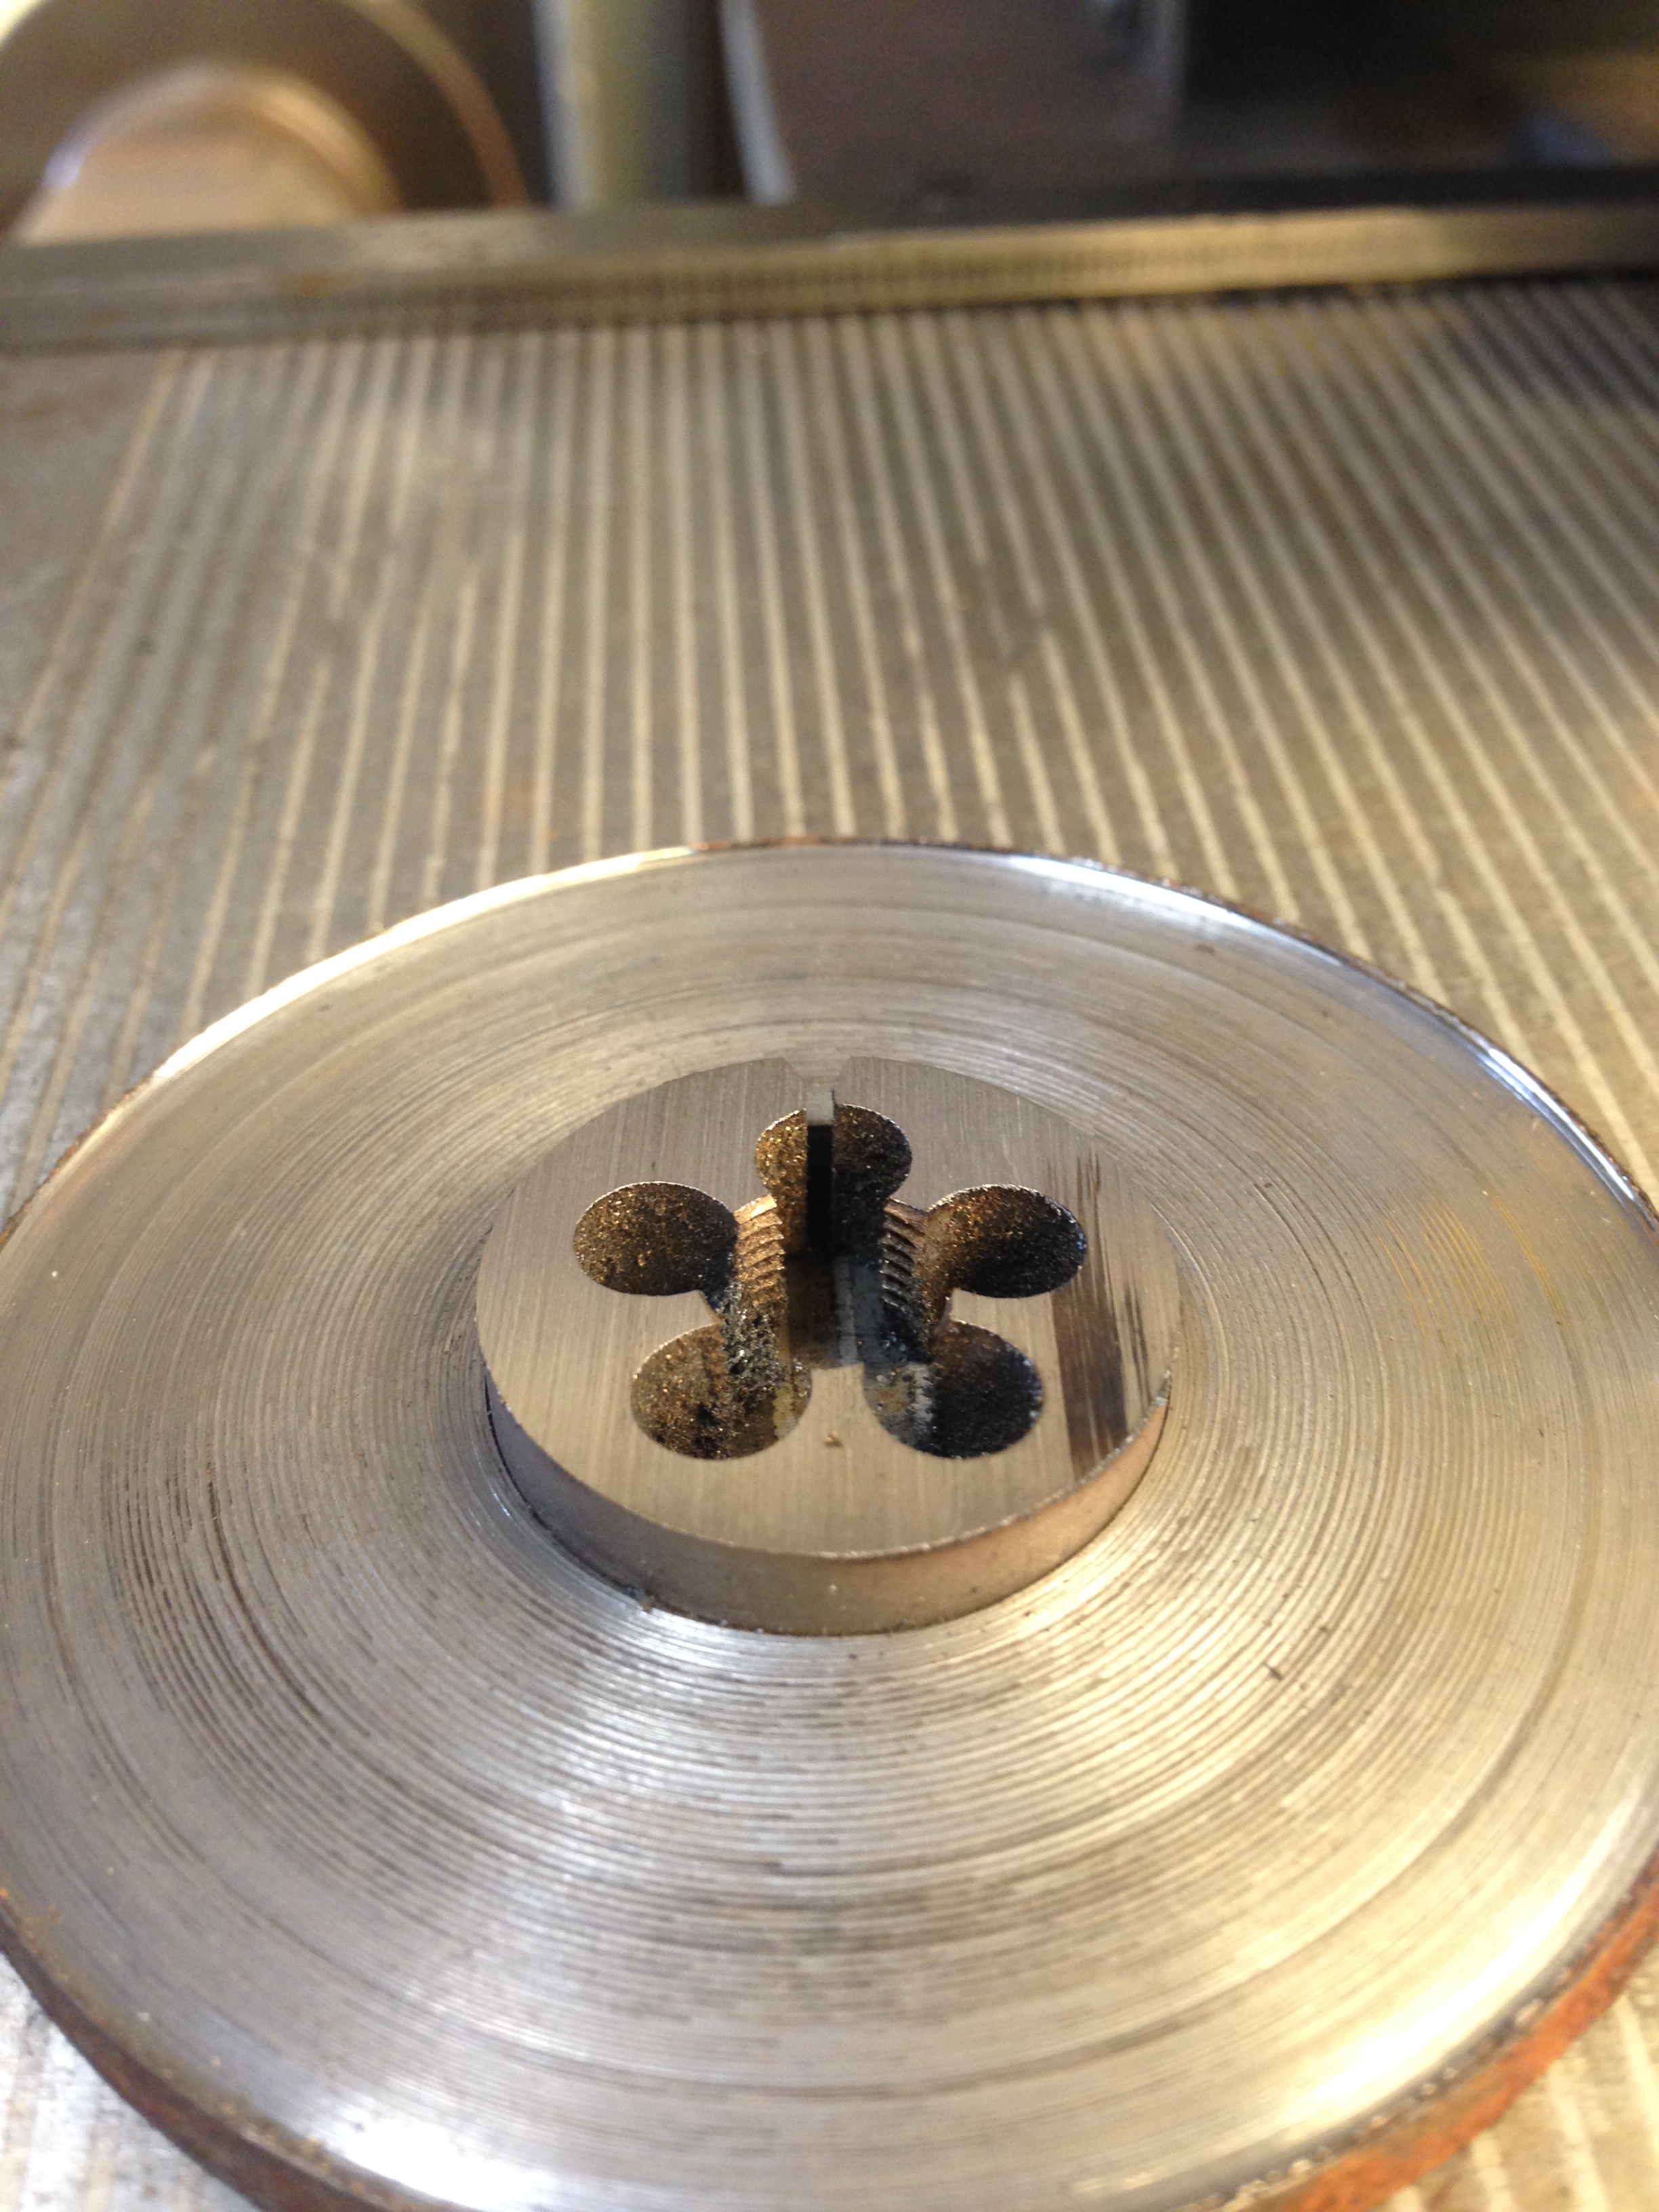
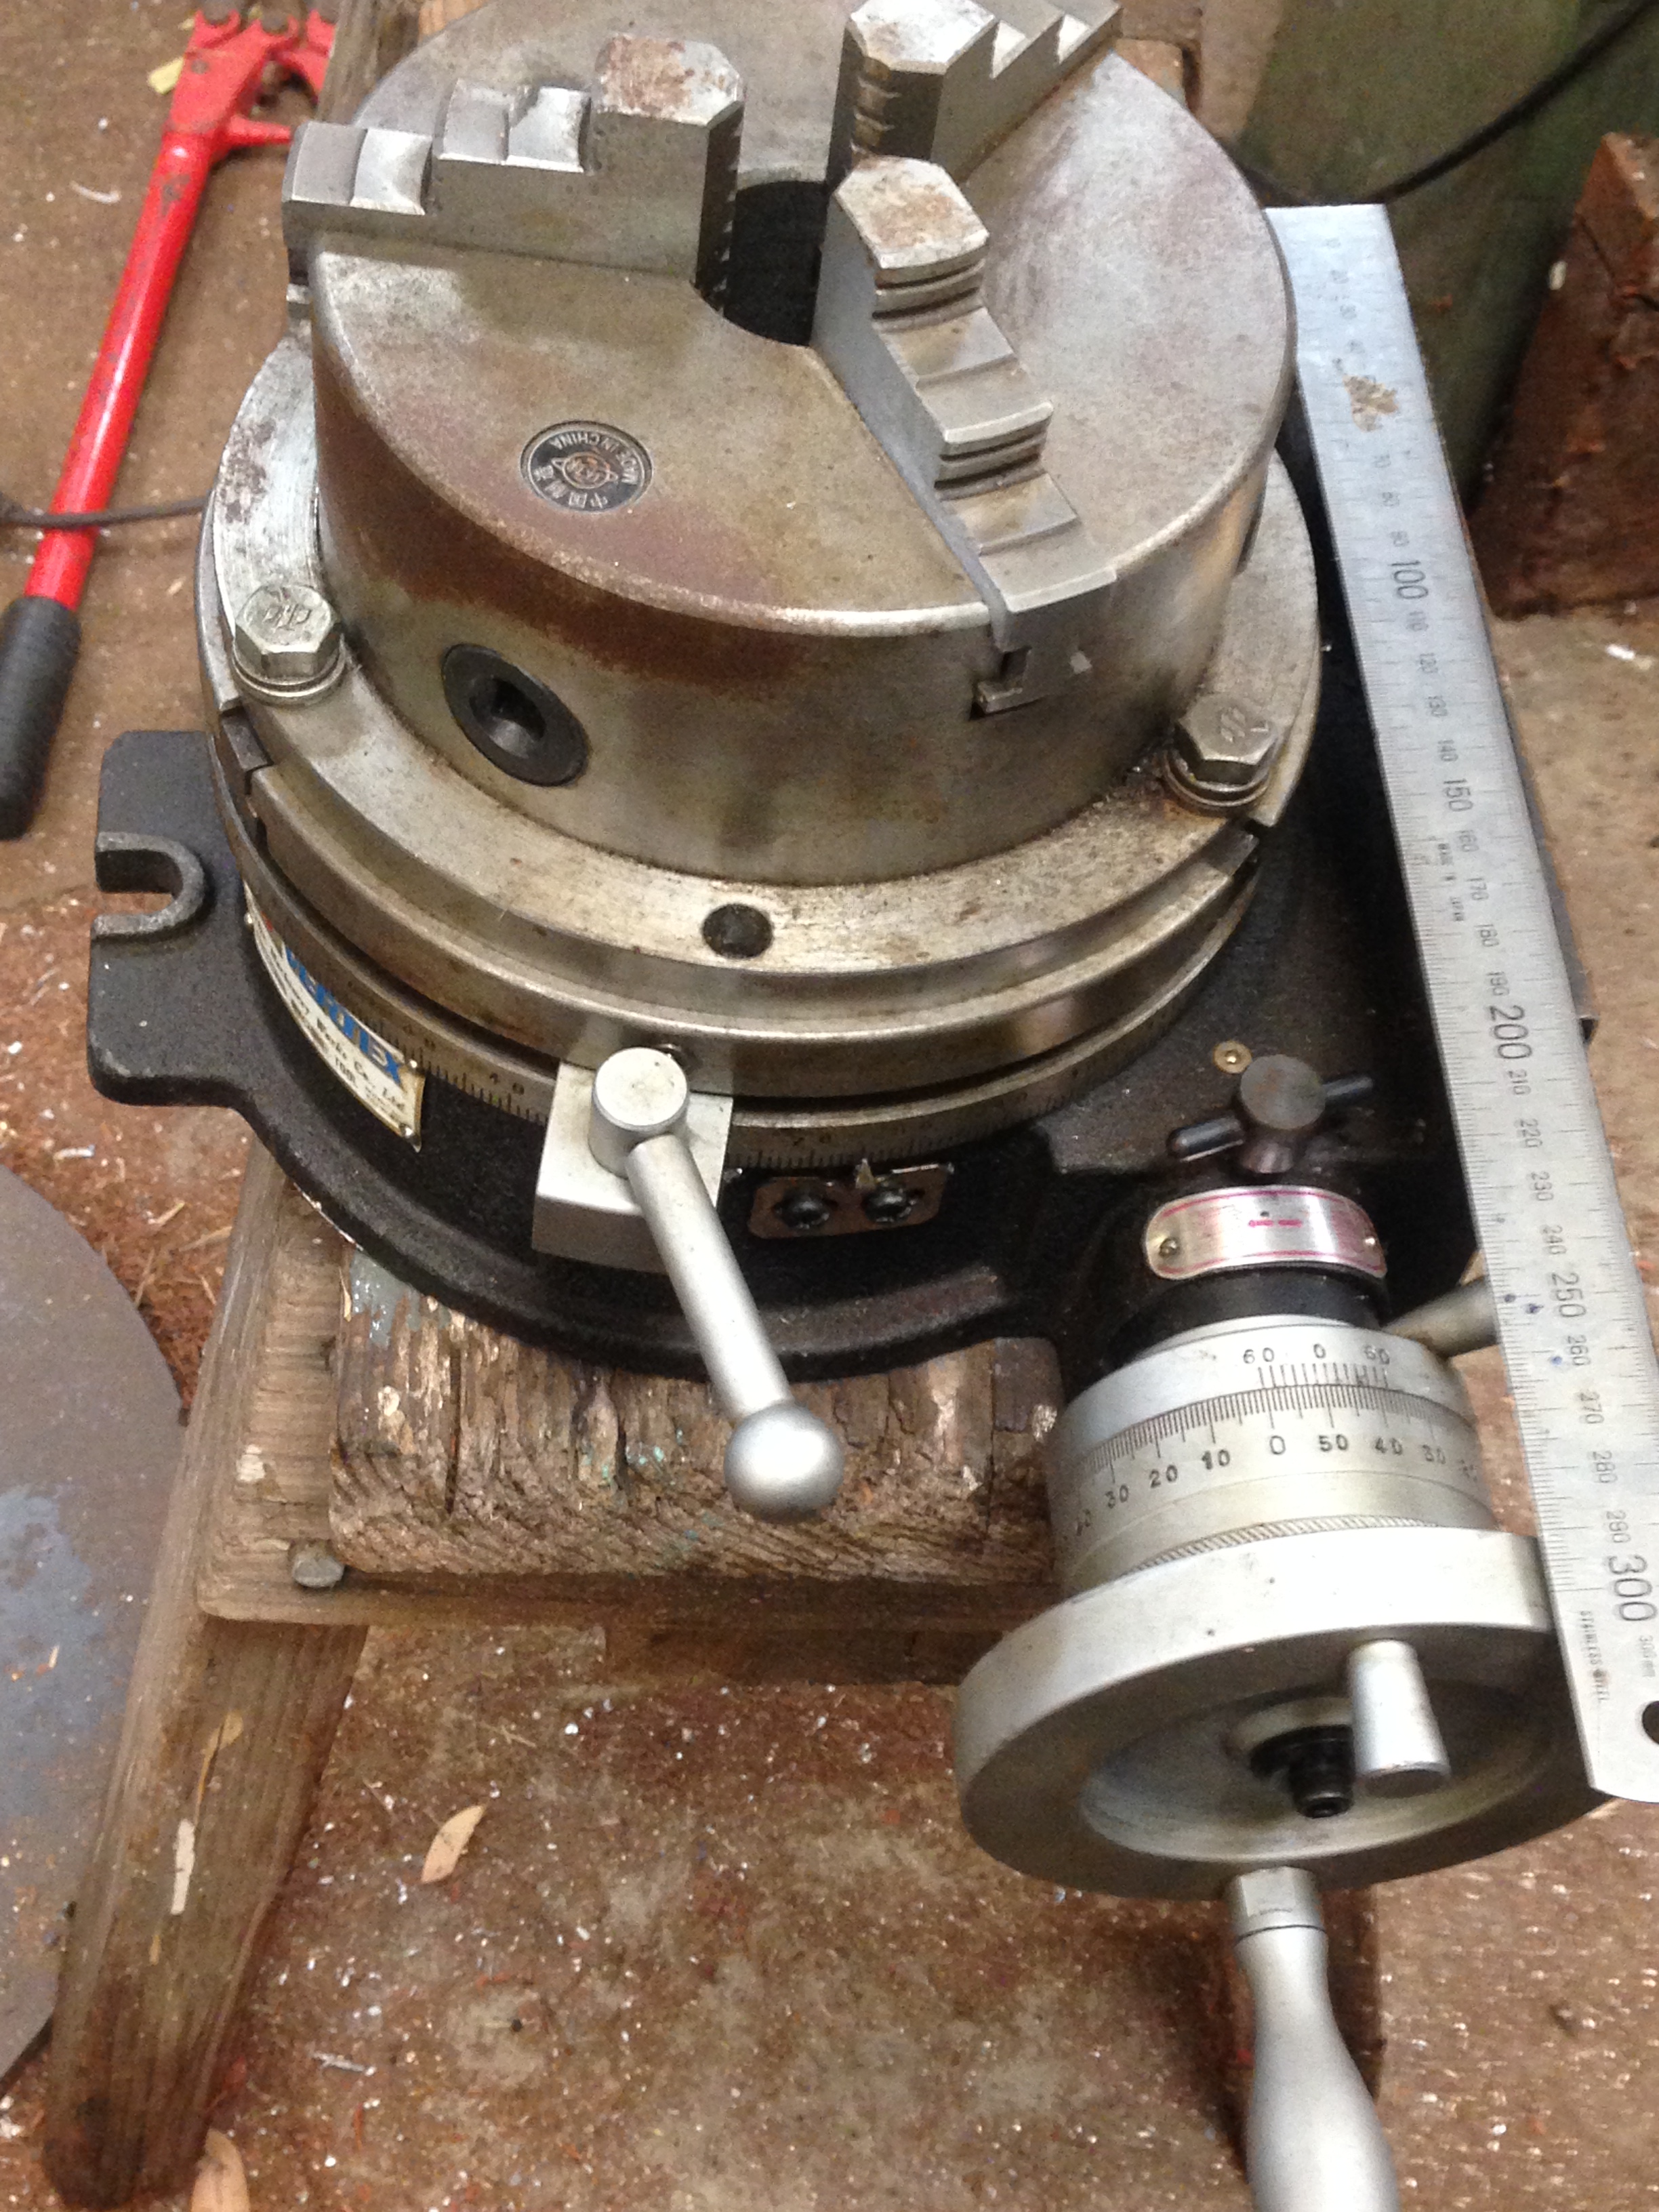
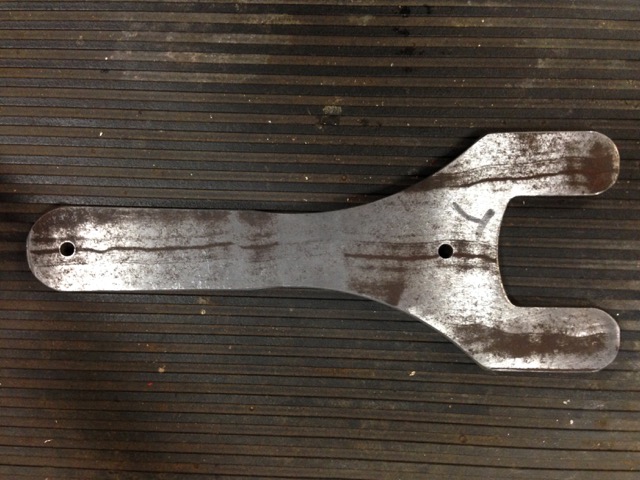
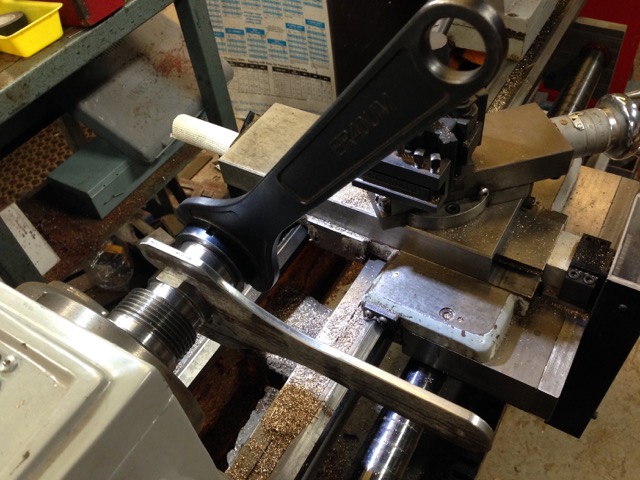
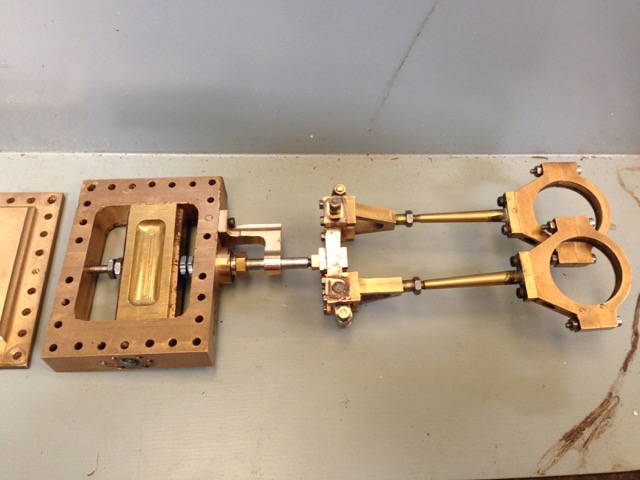
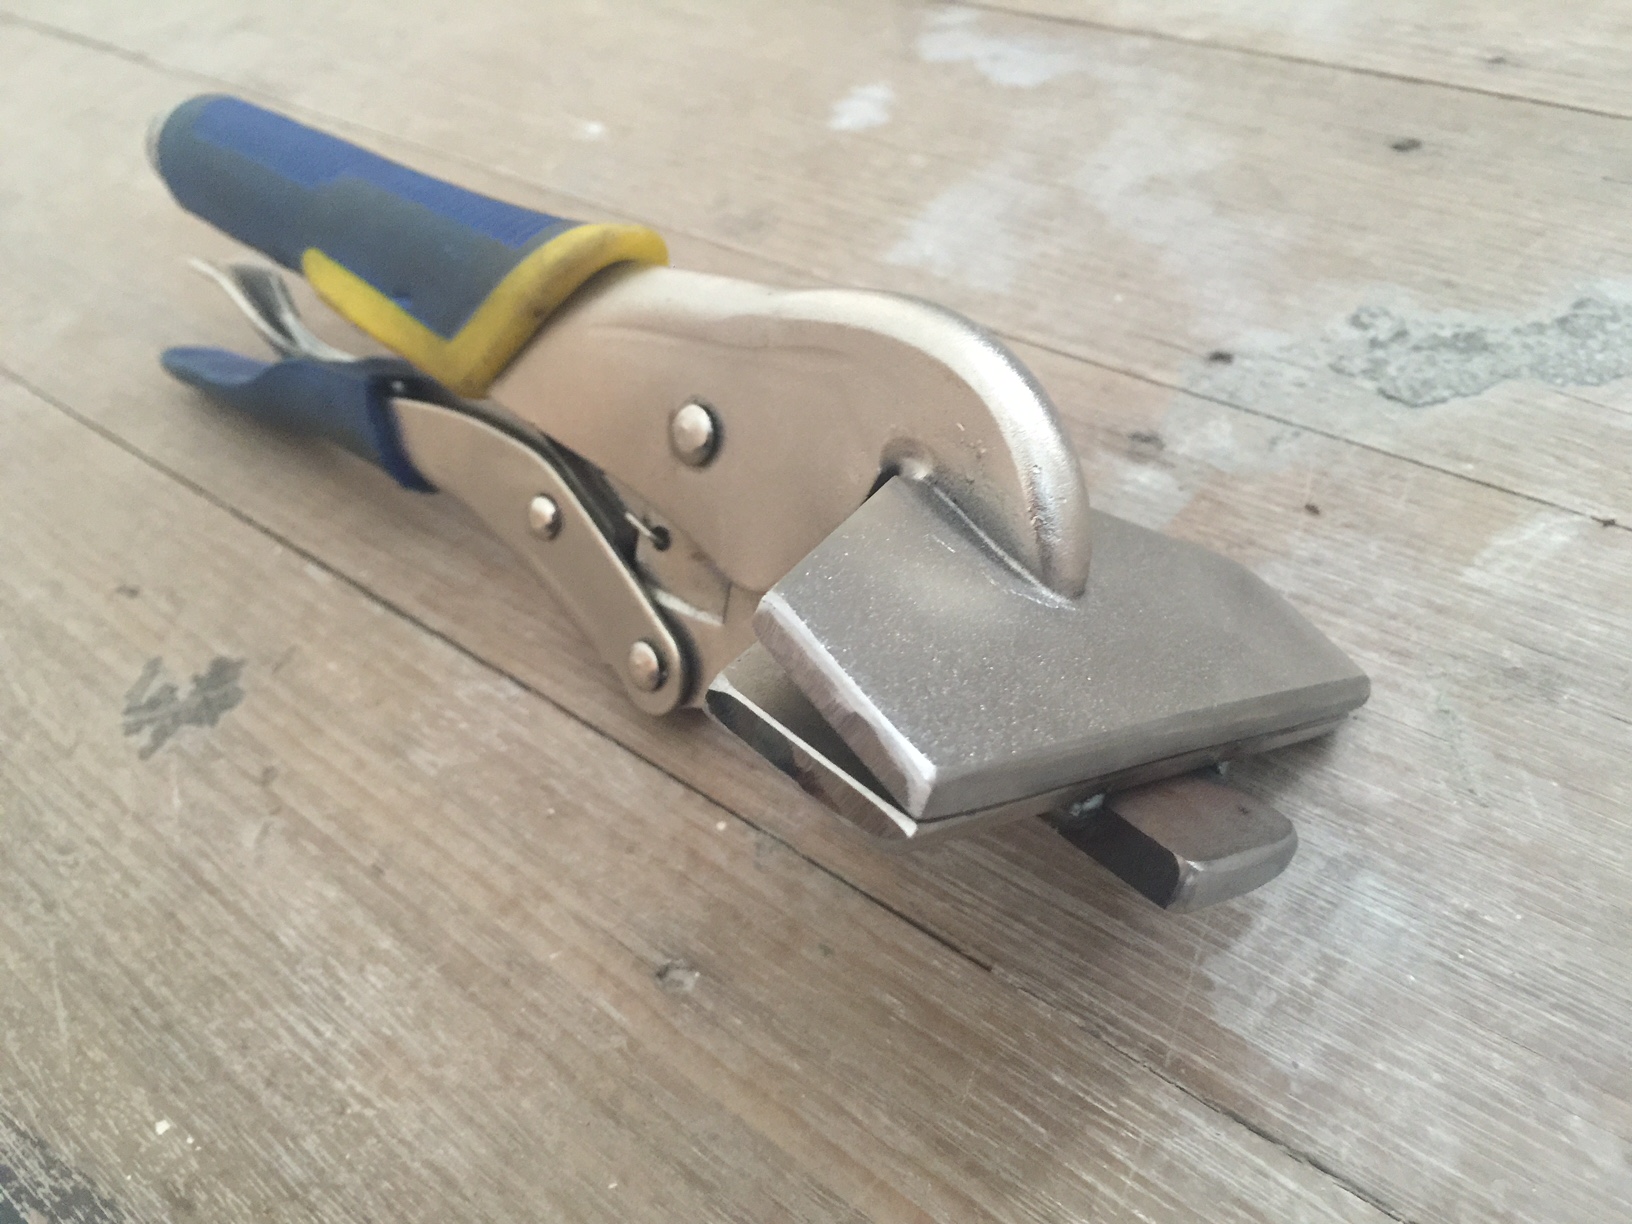
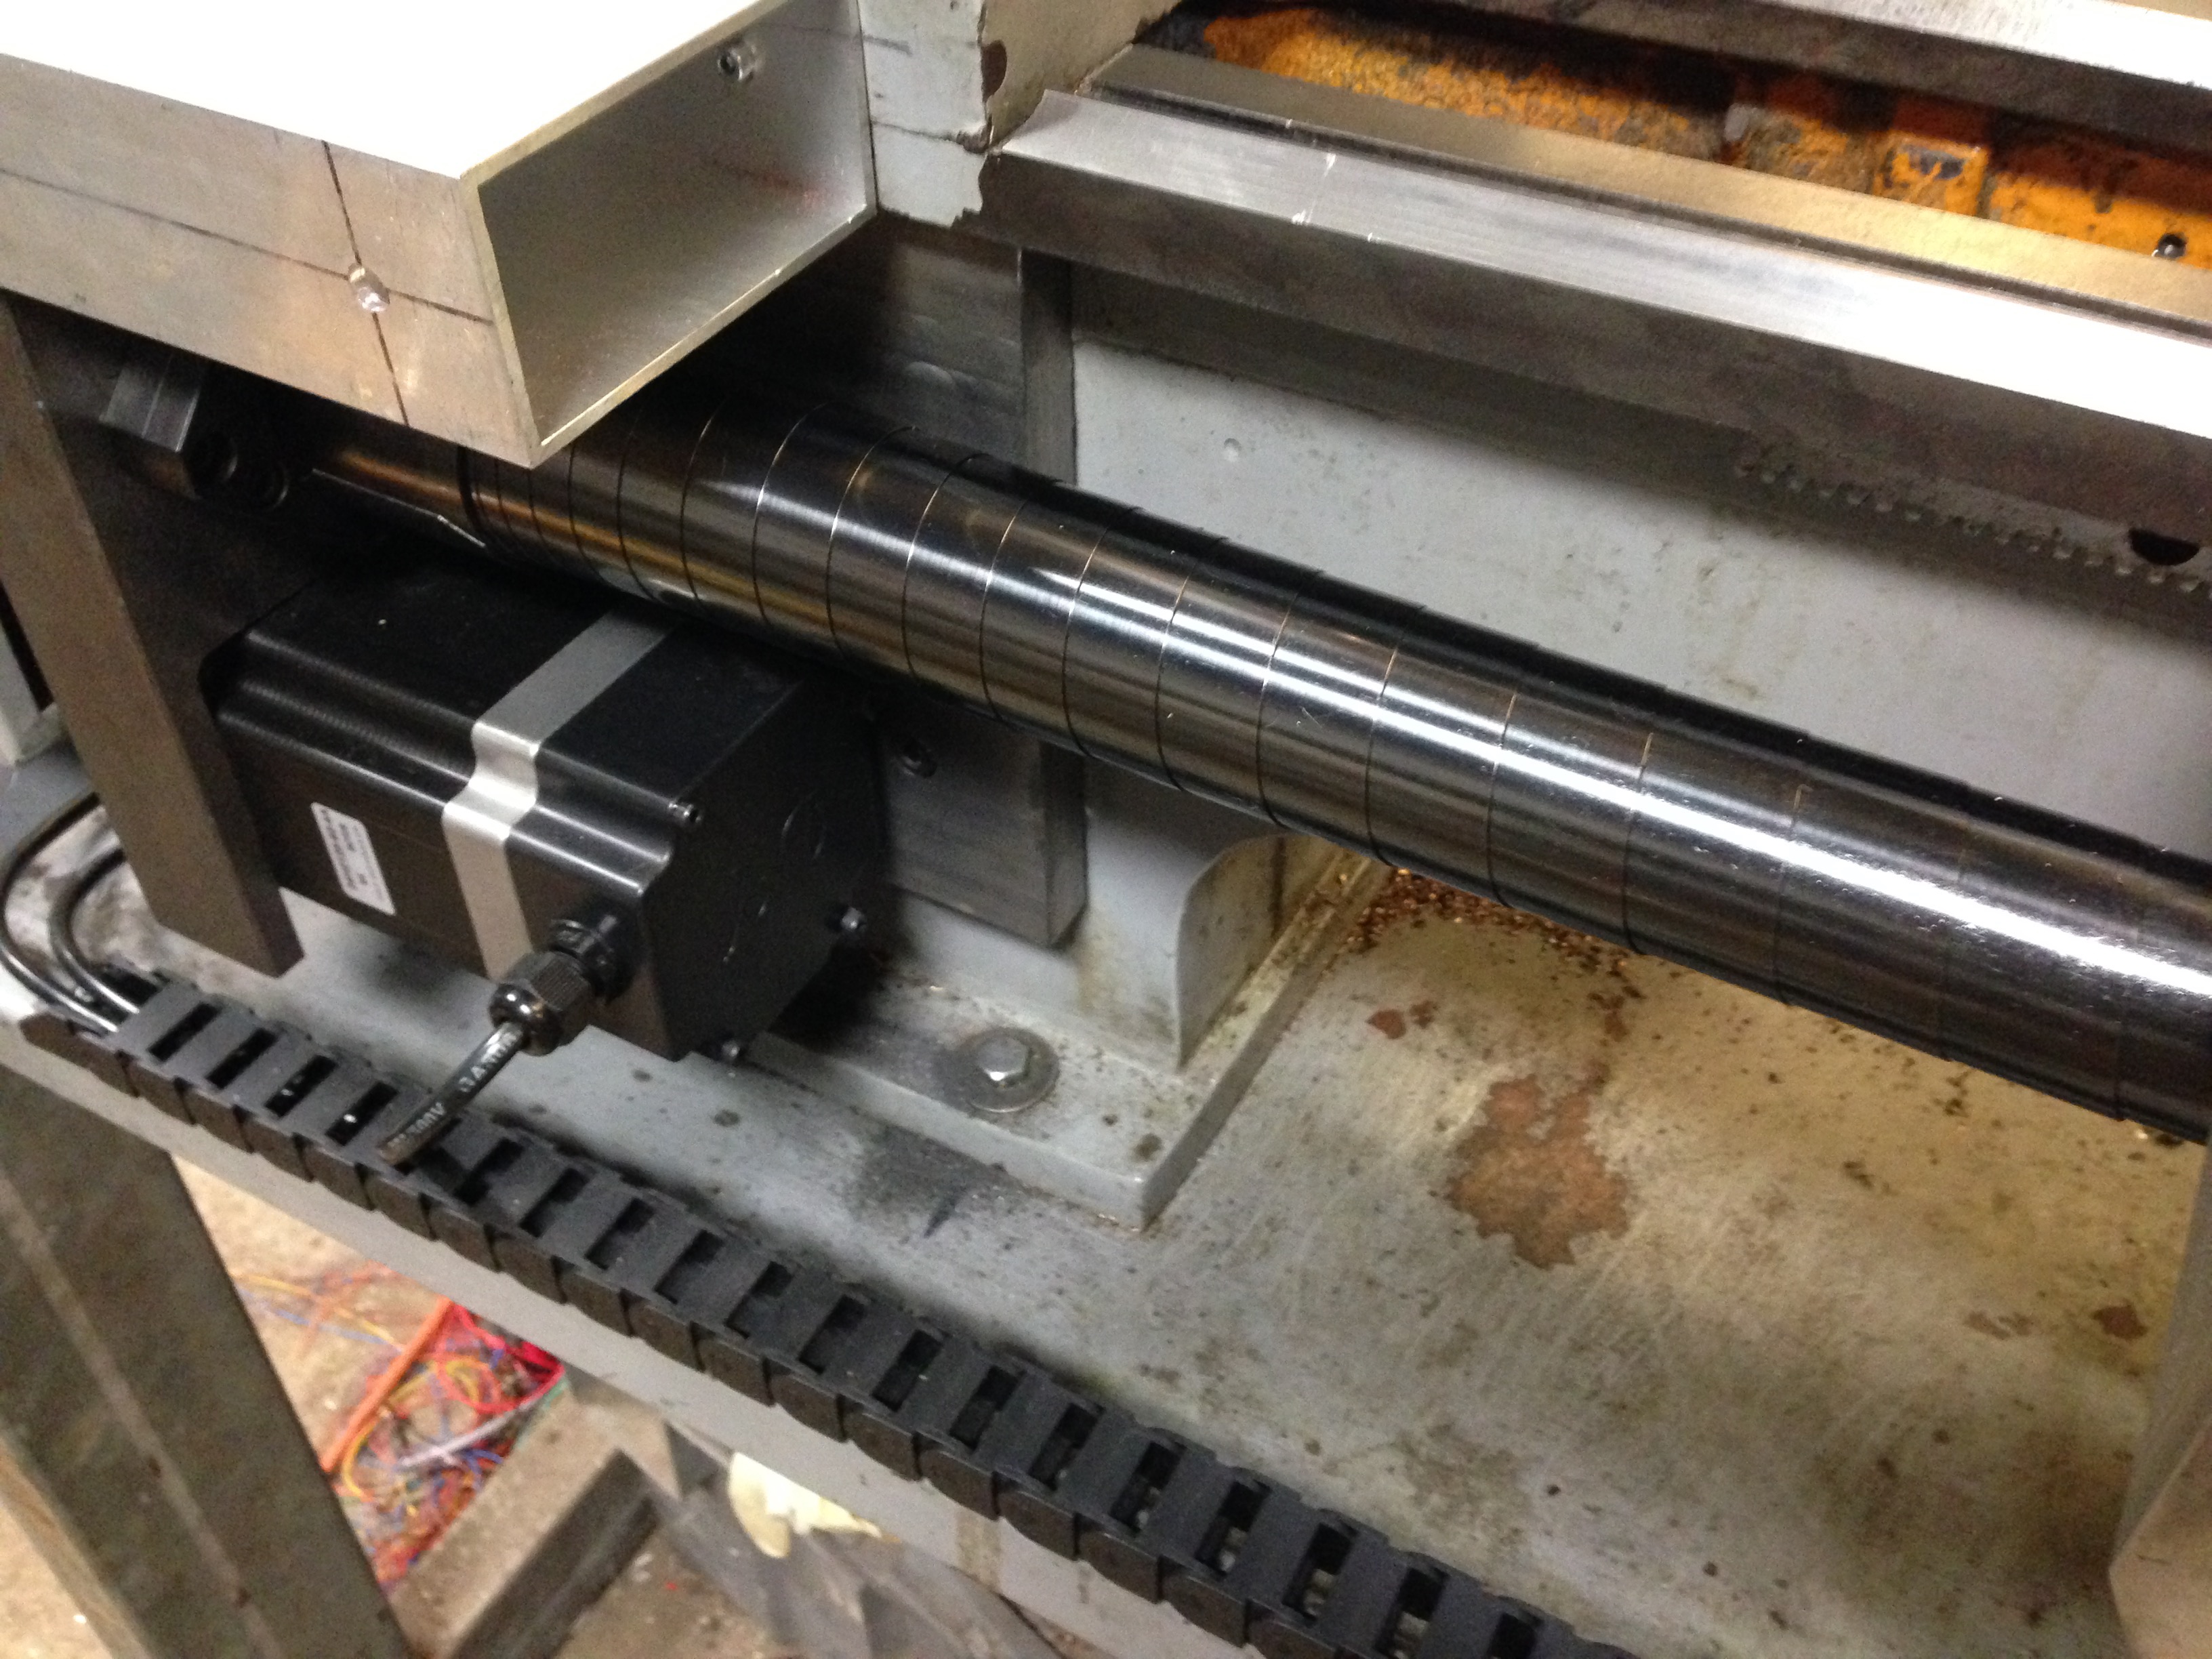
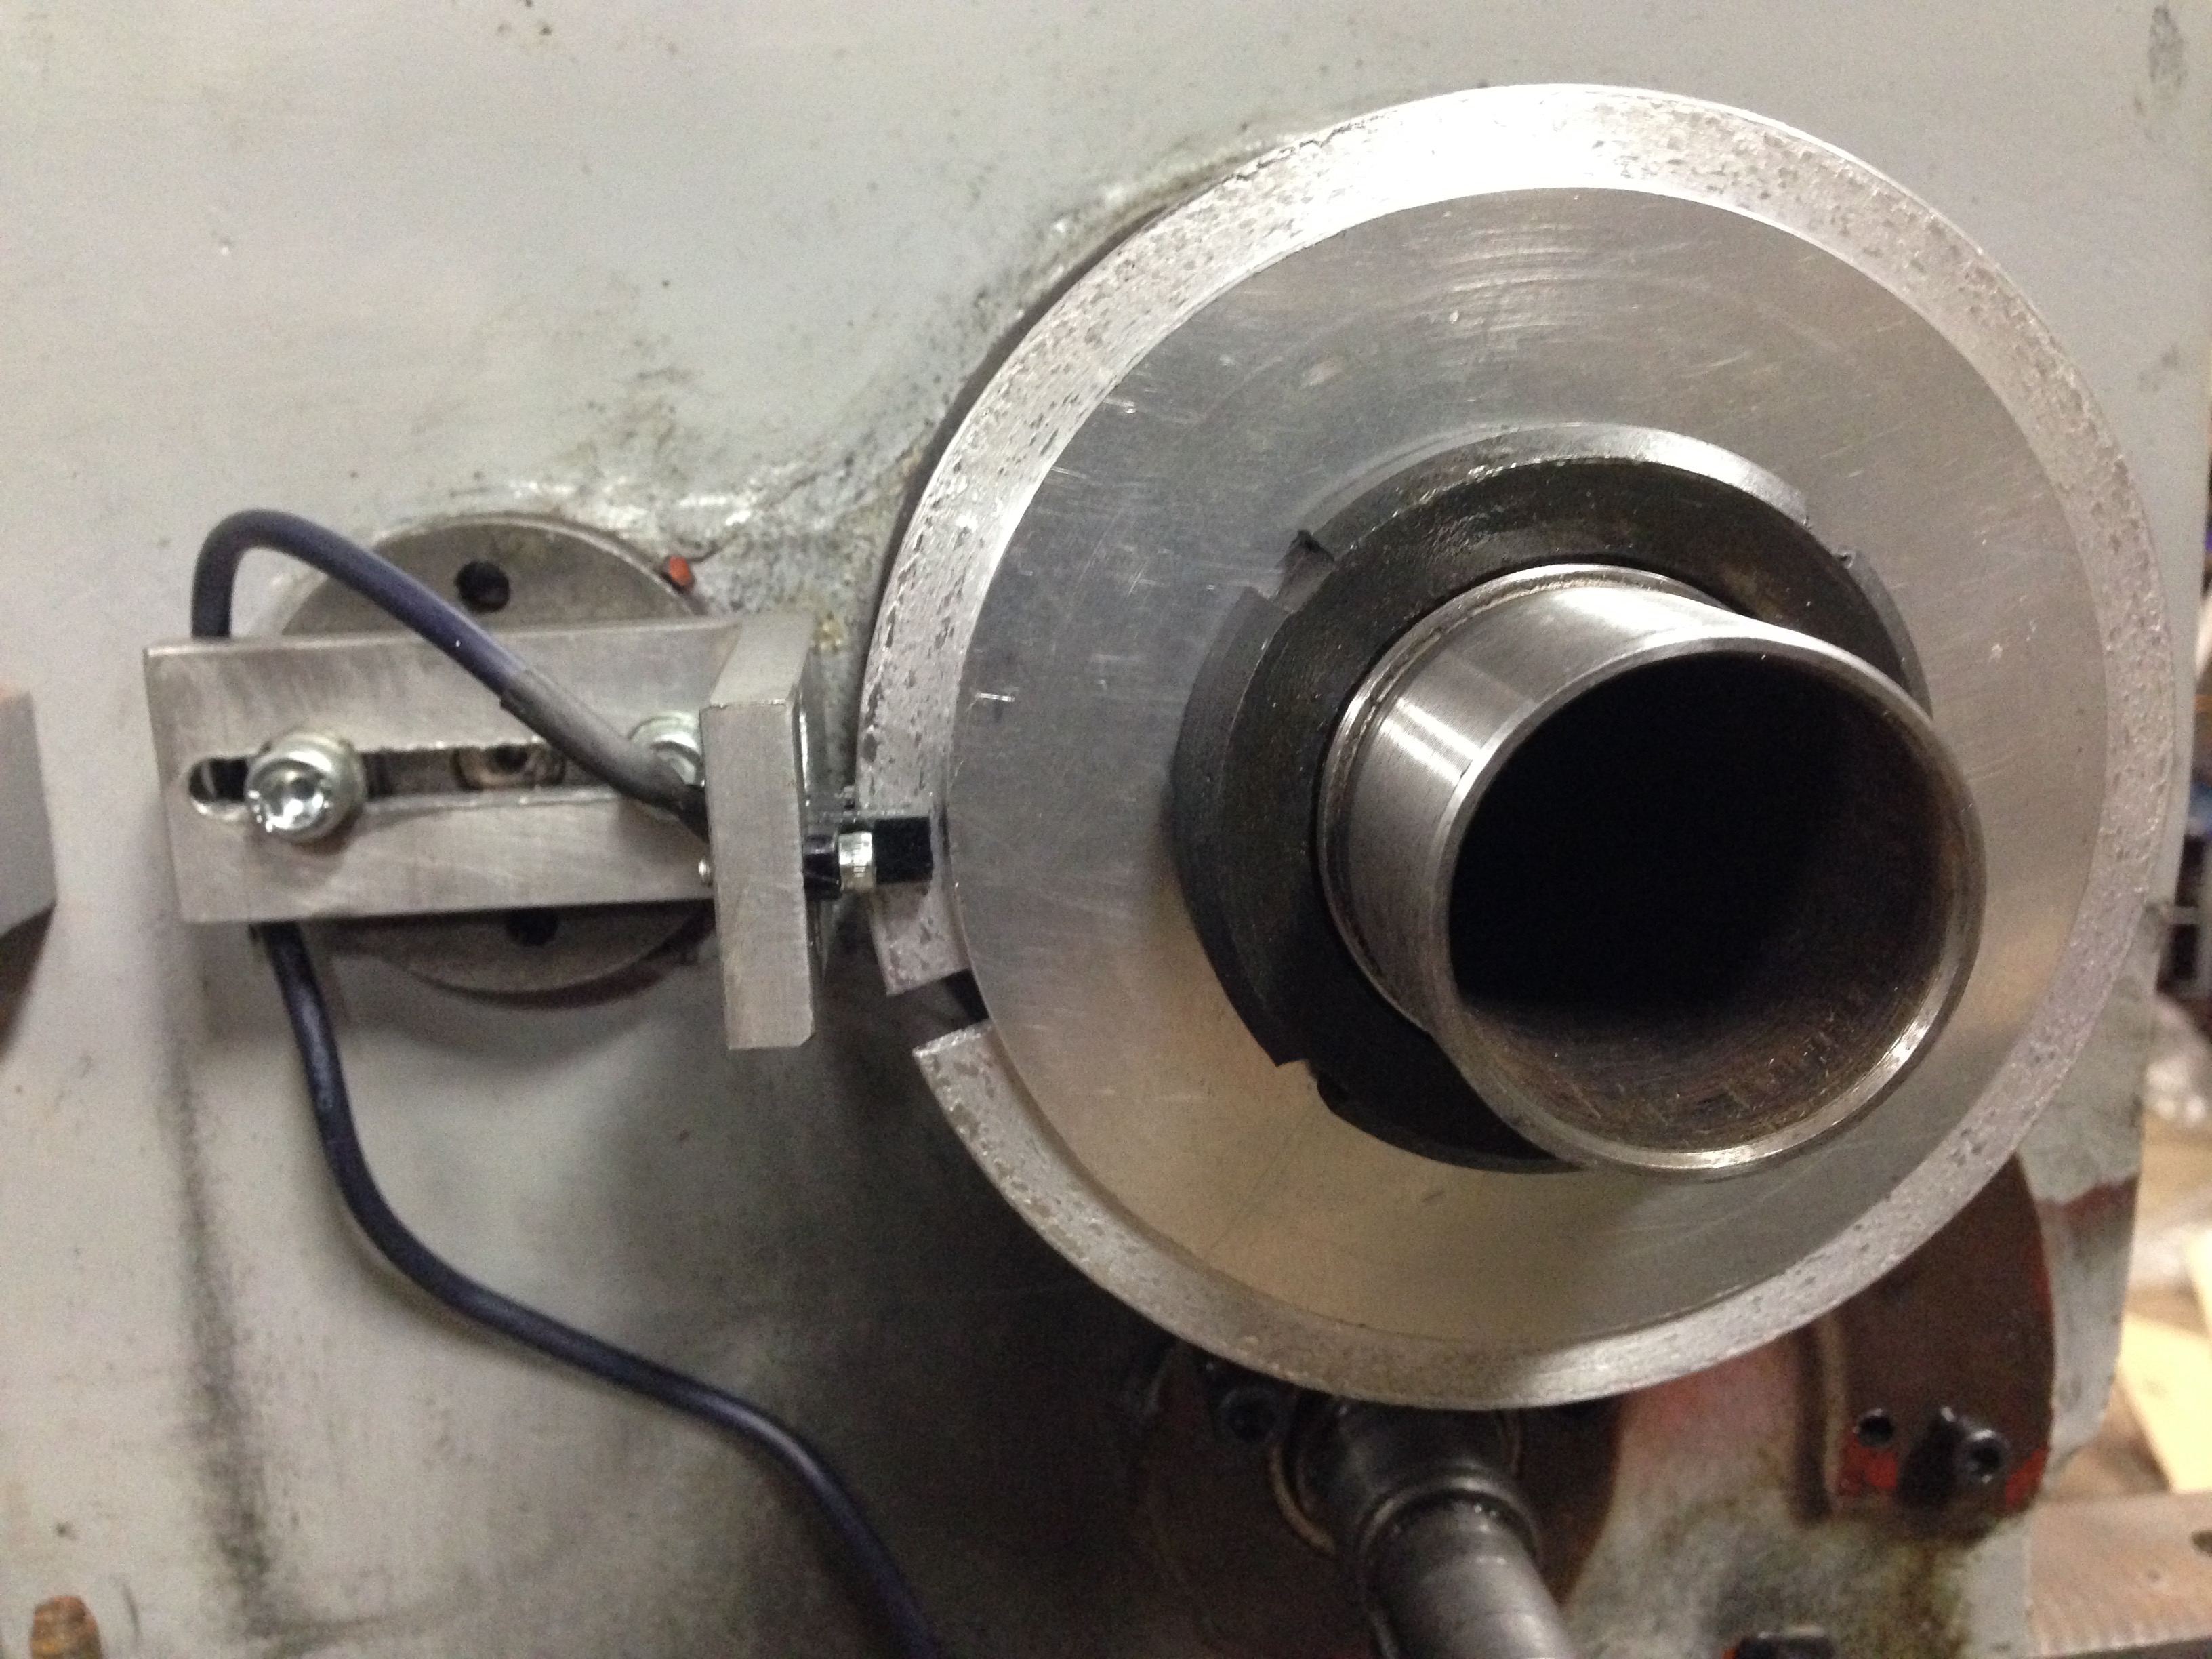
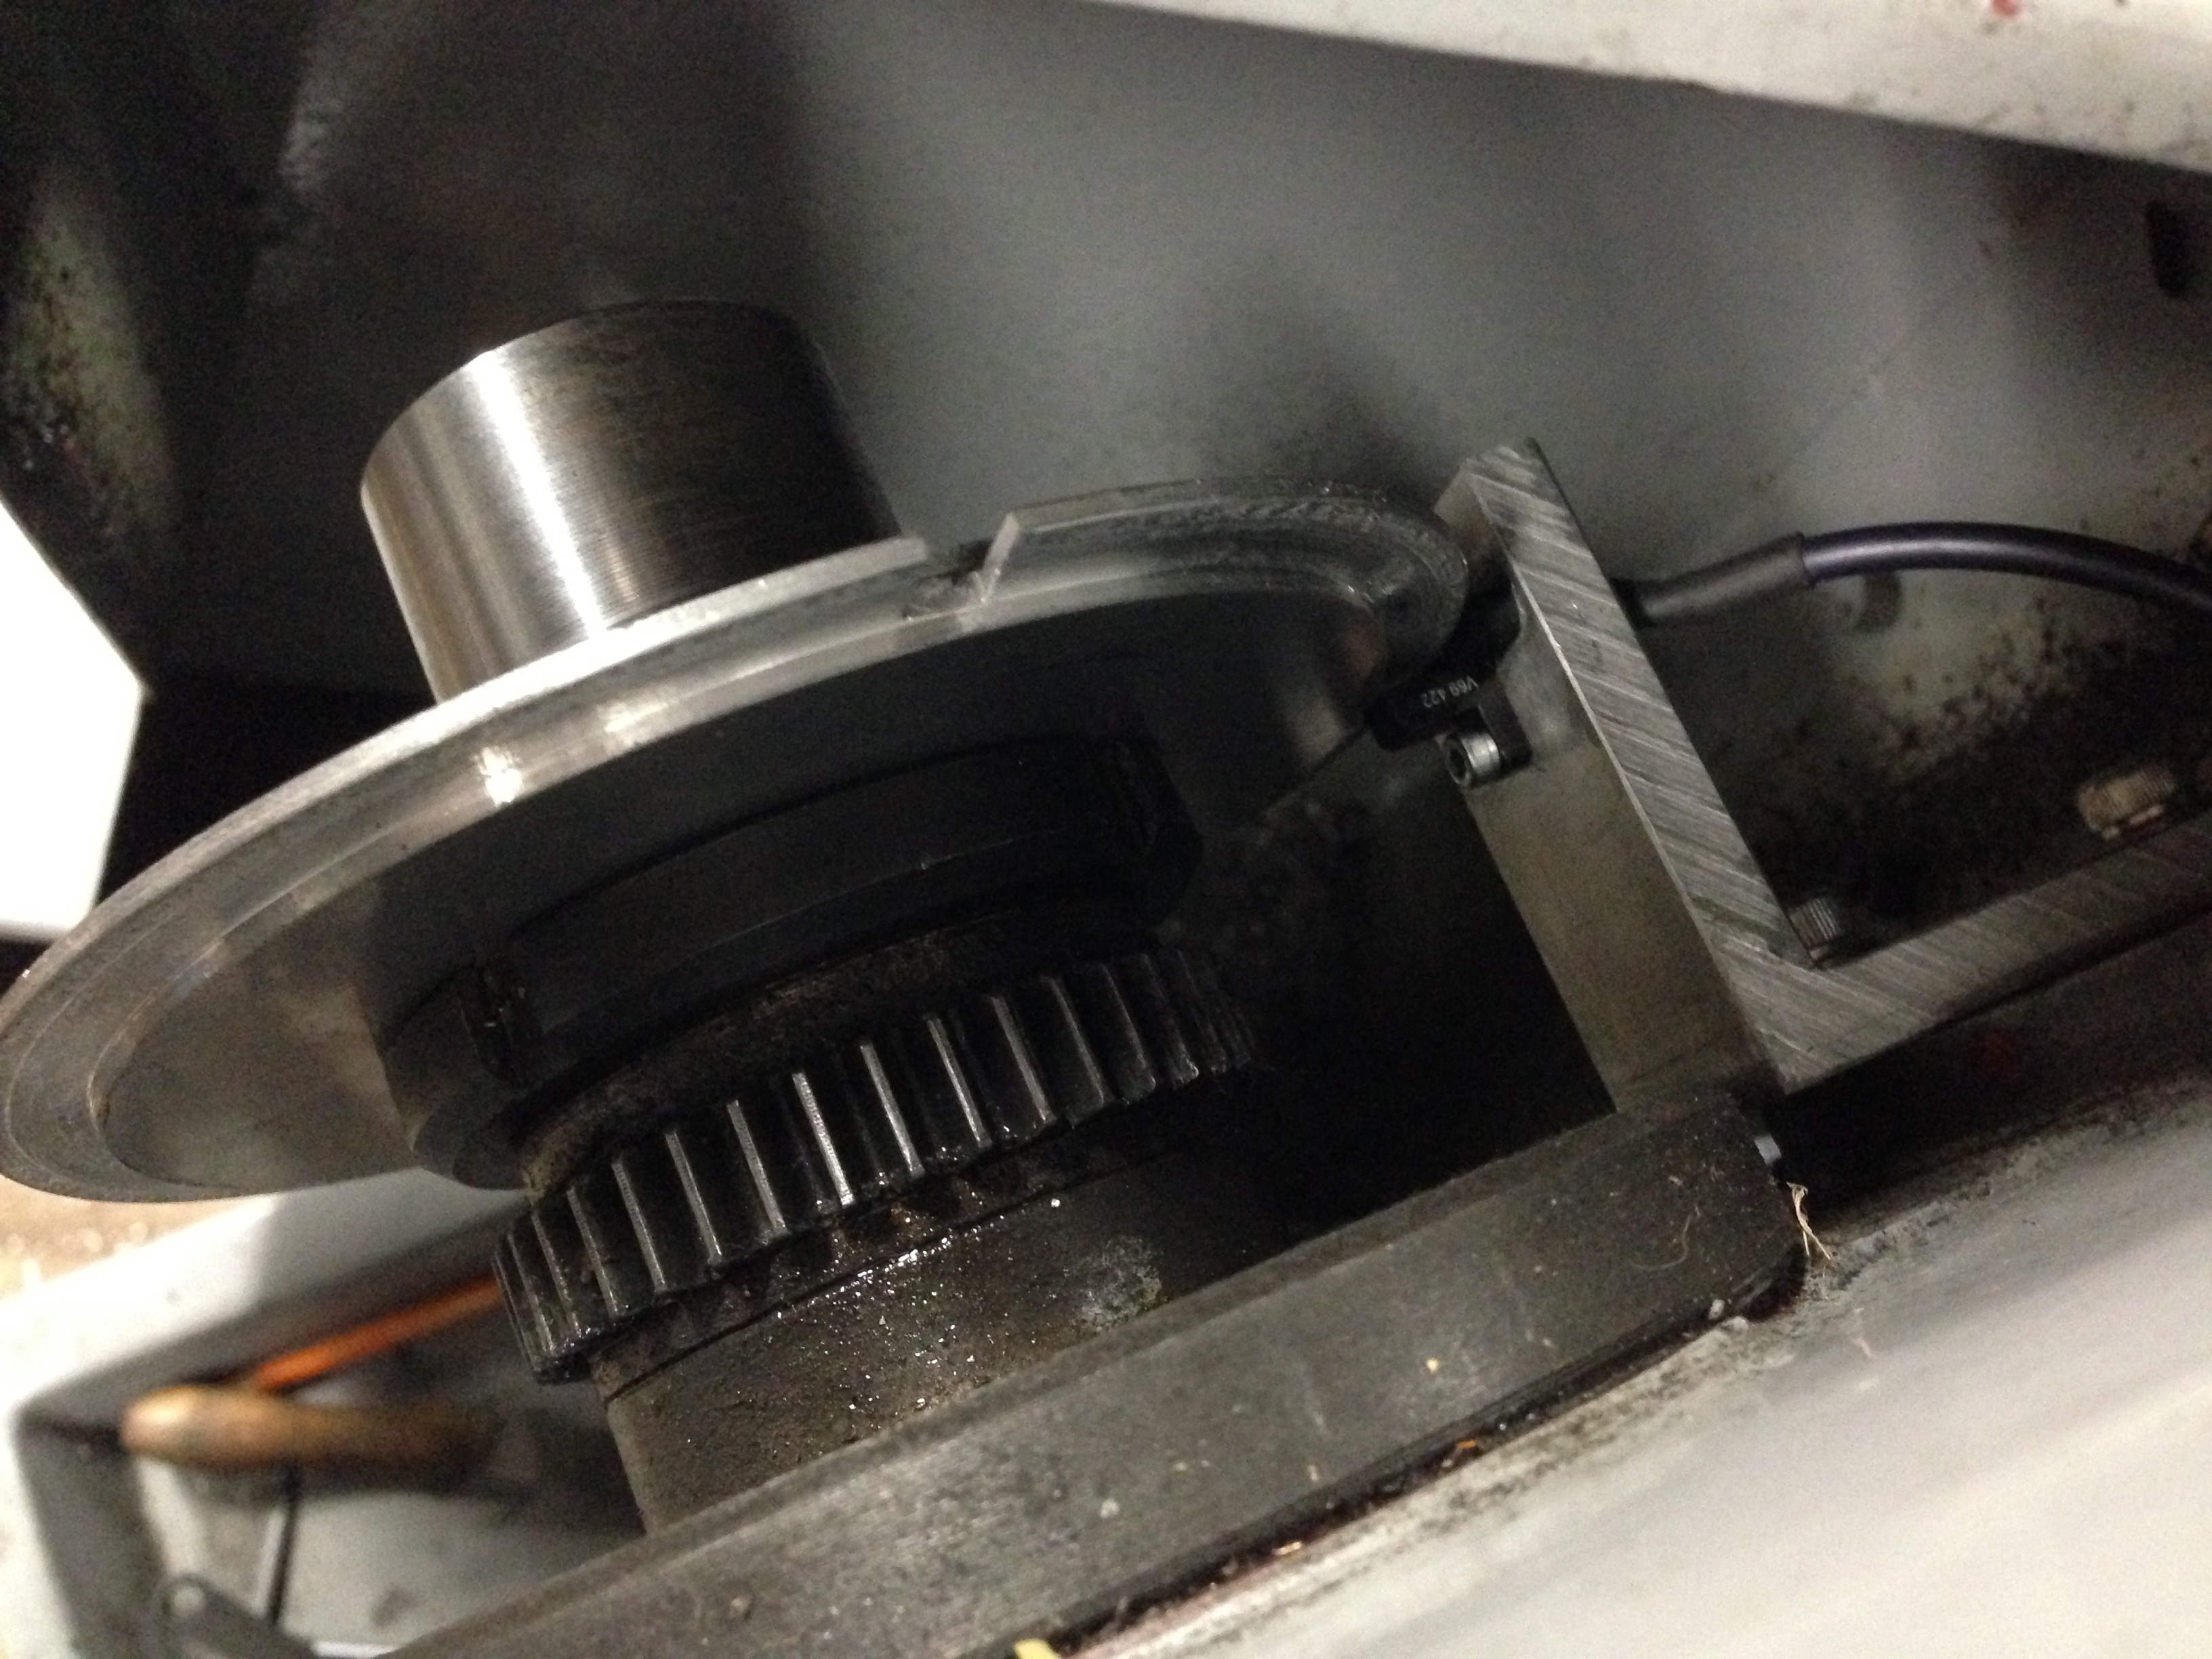
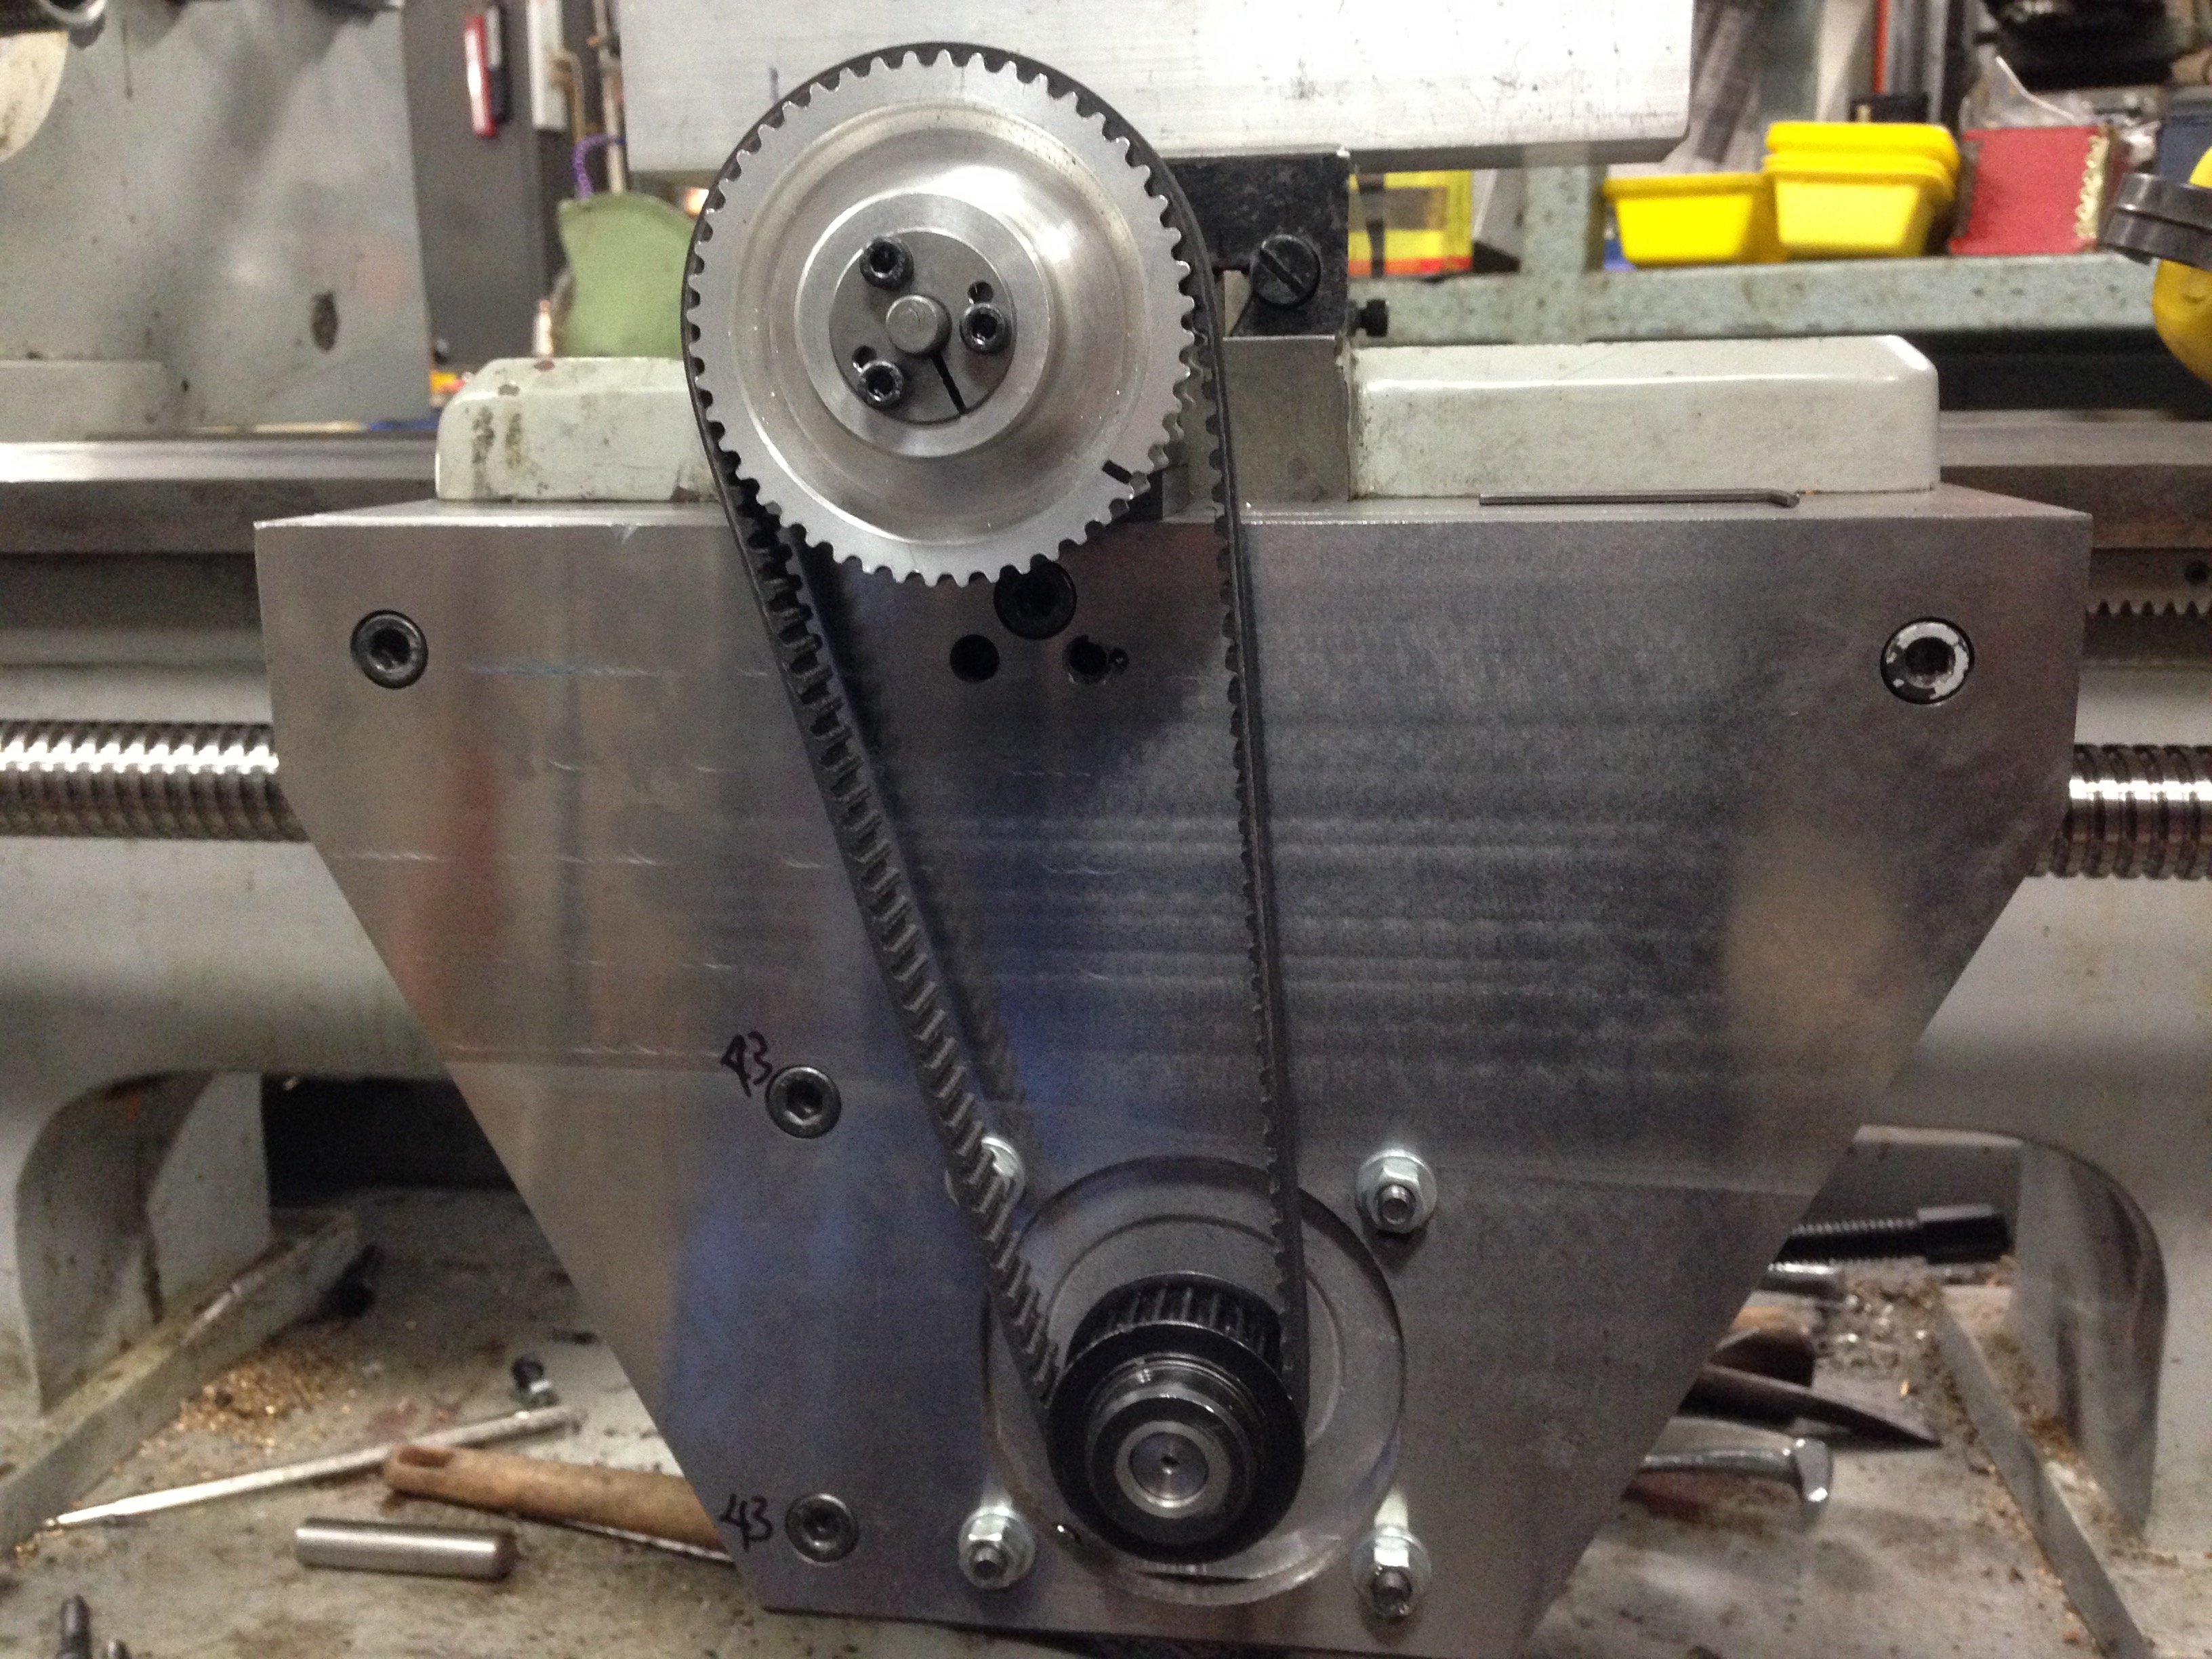
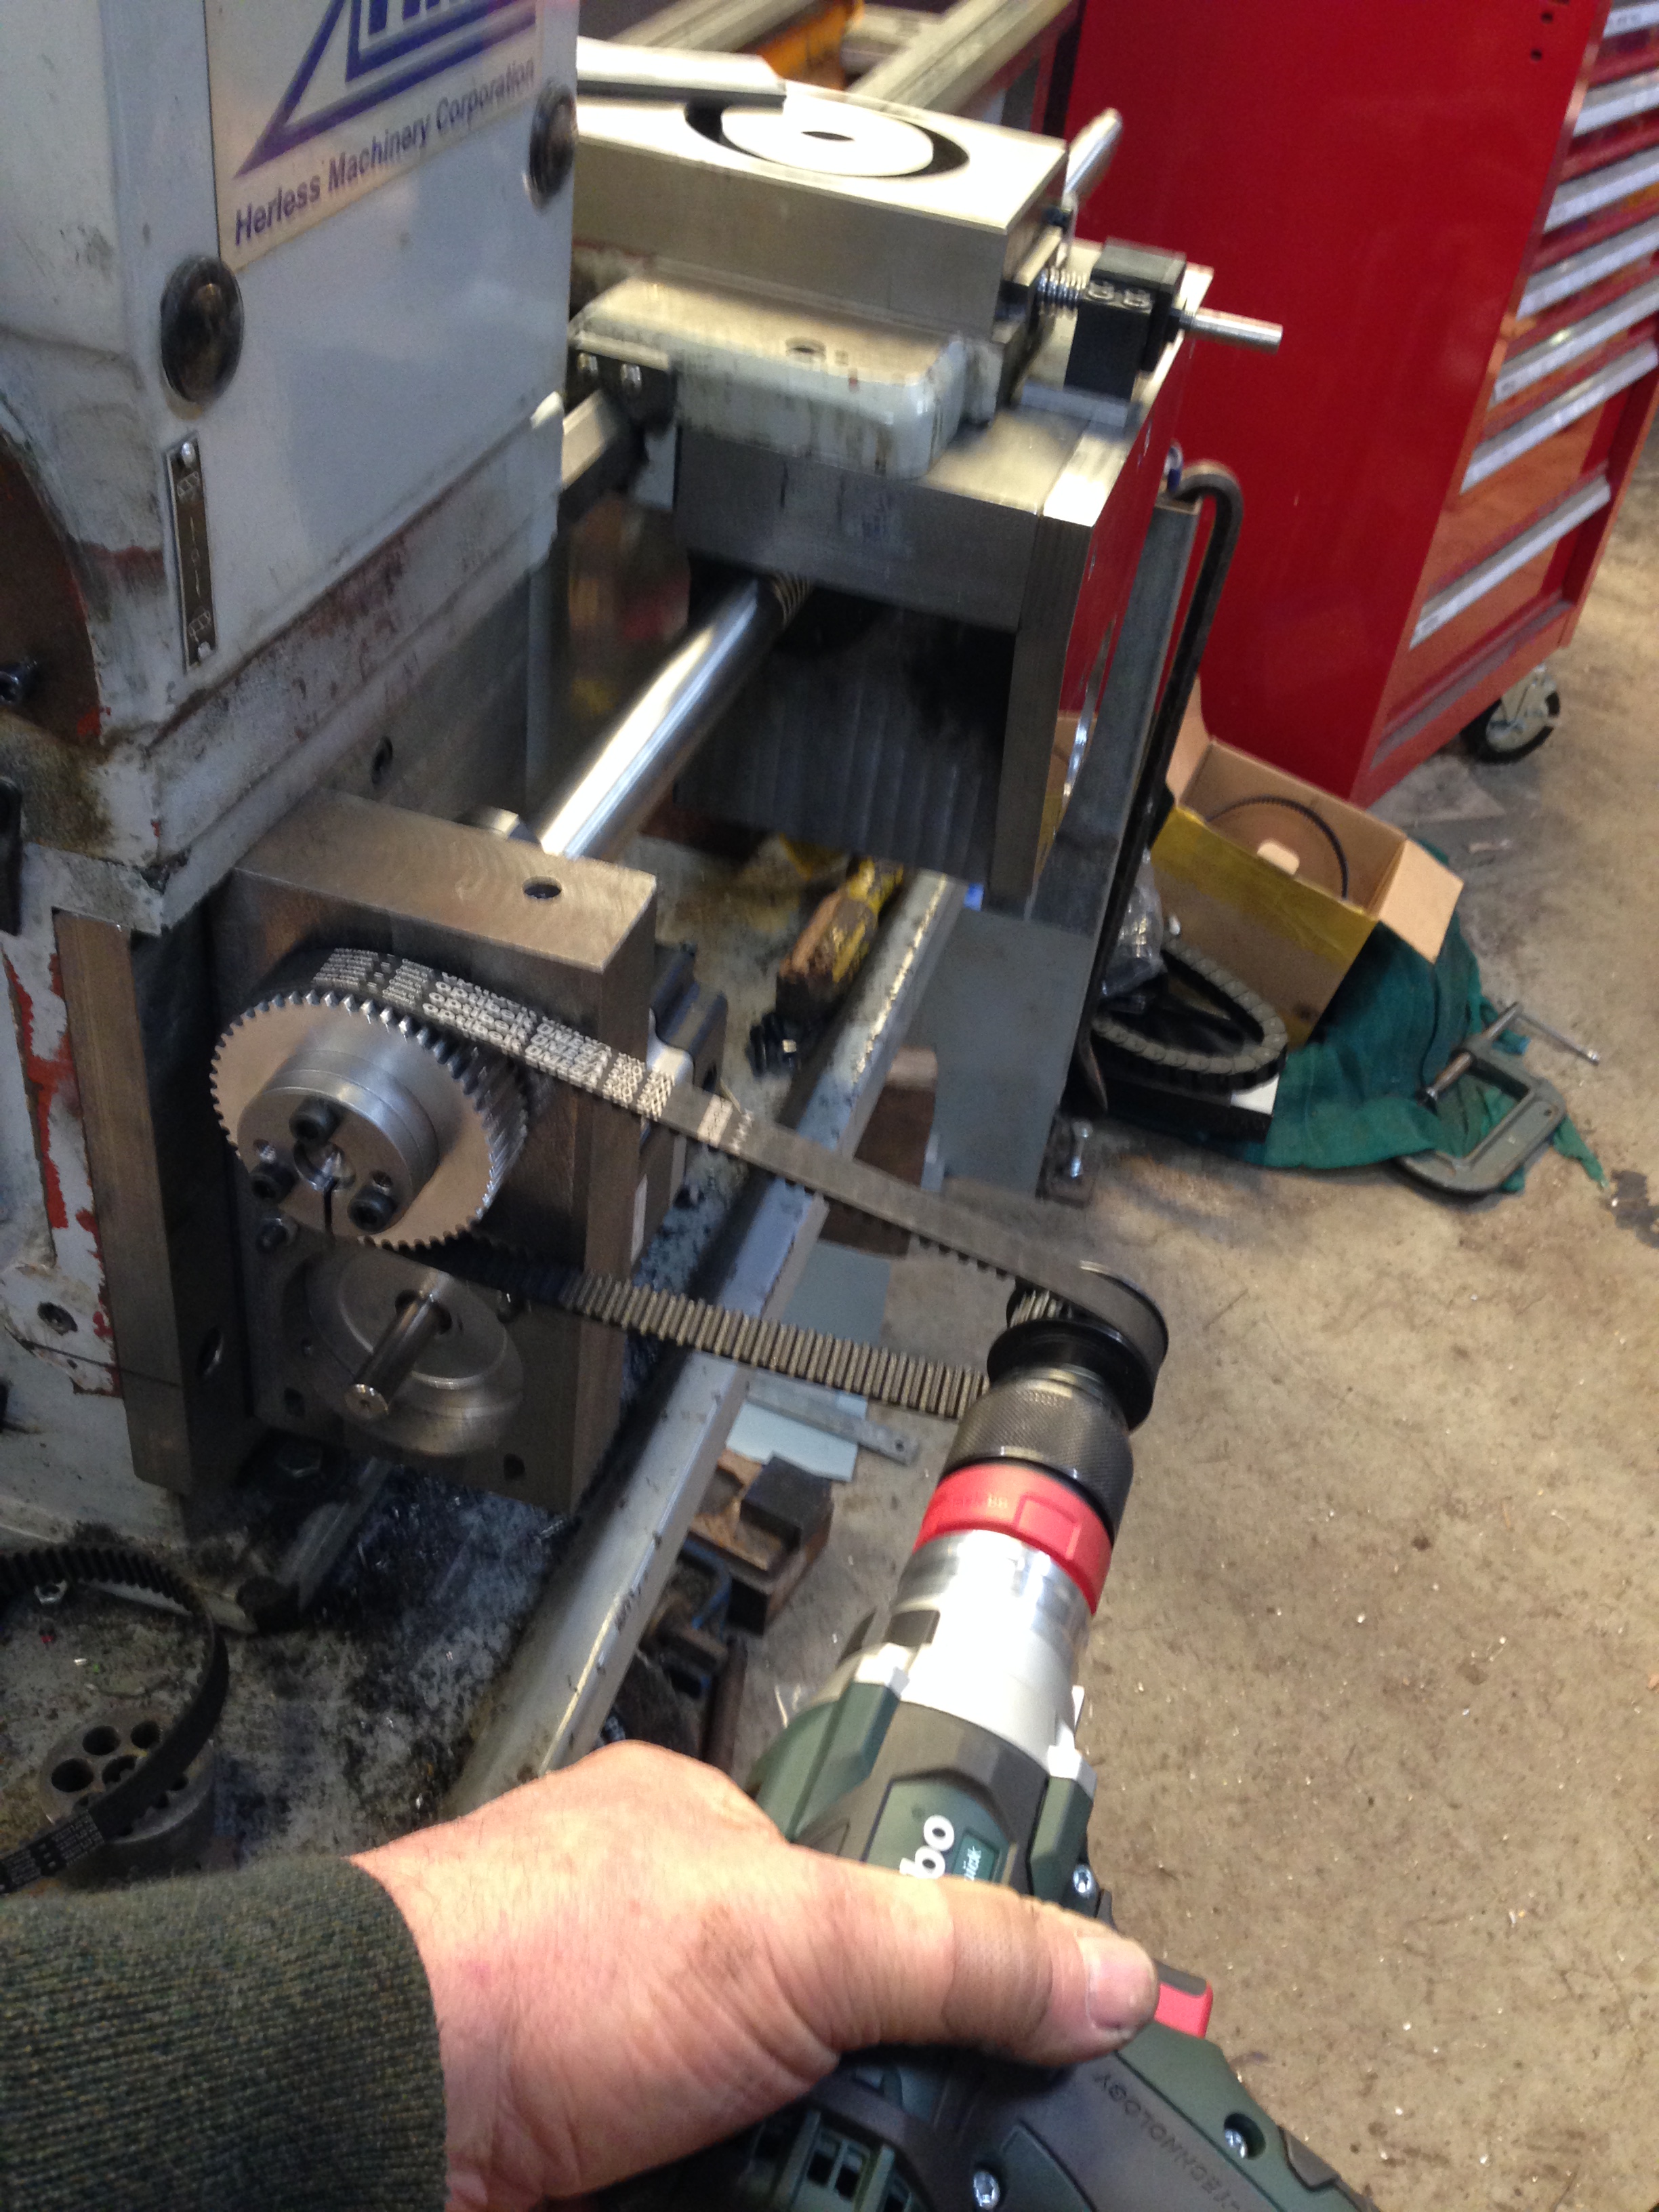
But the item that I was getting to, was hooking up my rotary table to CNC.  I had expected to pick up a new gear for my big lathe on my return from the UK, to replace the one with the broken tooth.  I was pretty annoyed to learn that the gear maker had not done the job, and worse still he had not notified me that it had not been done.  Since he never answers the telephone, I drove to the factory, expecting to pick up the new gear, as arranged and promised, to be met with apologies and excuses.  Long story, I have decided to make the gear myself.

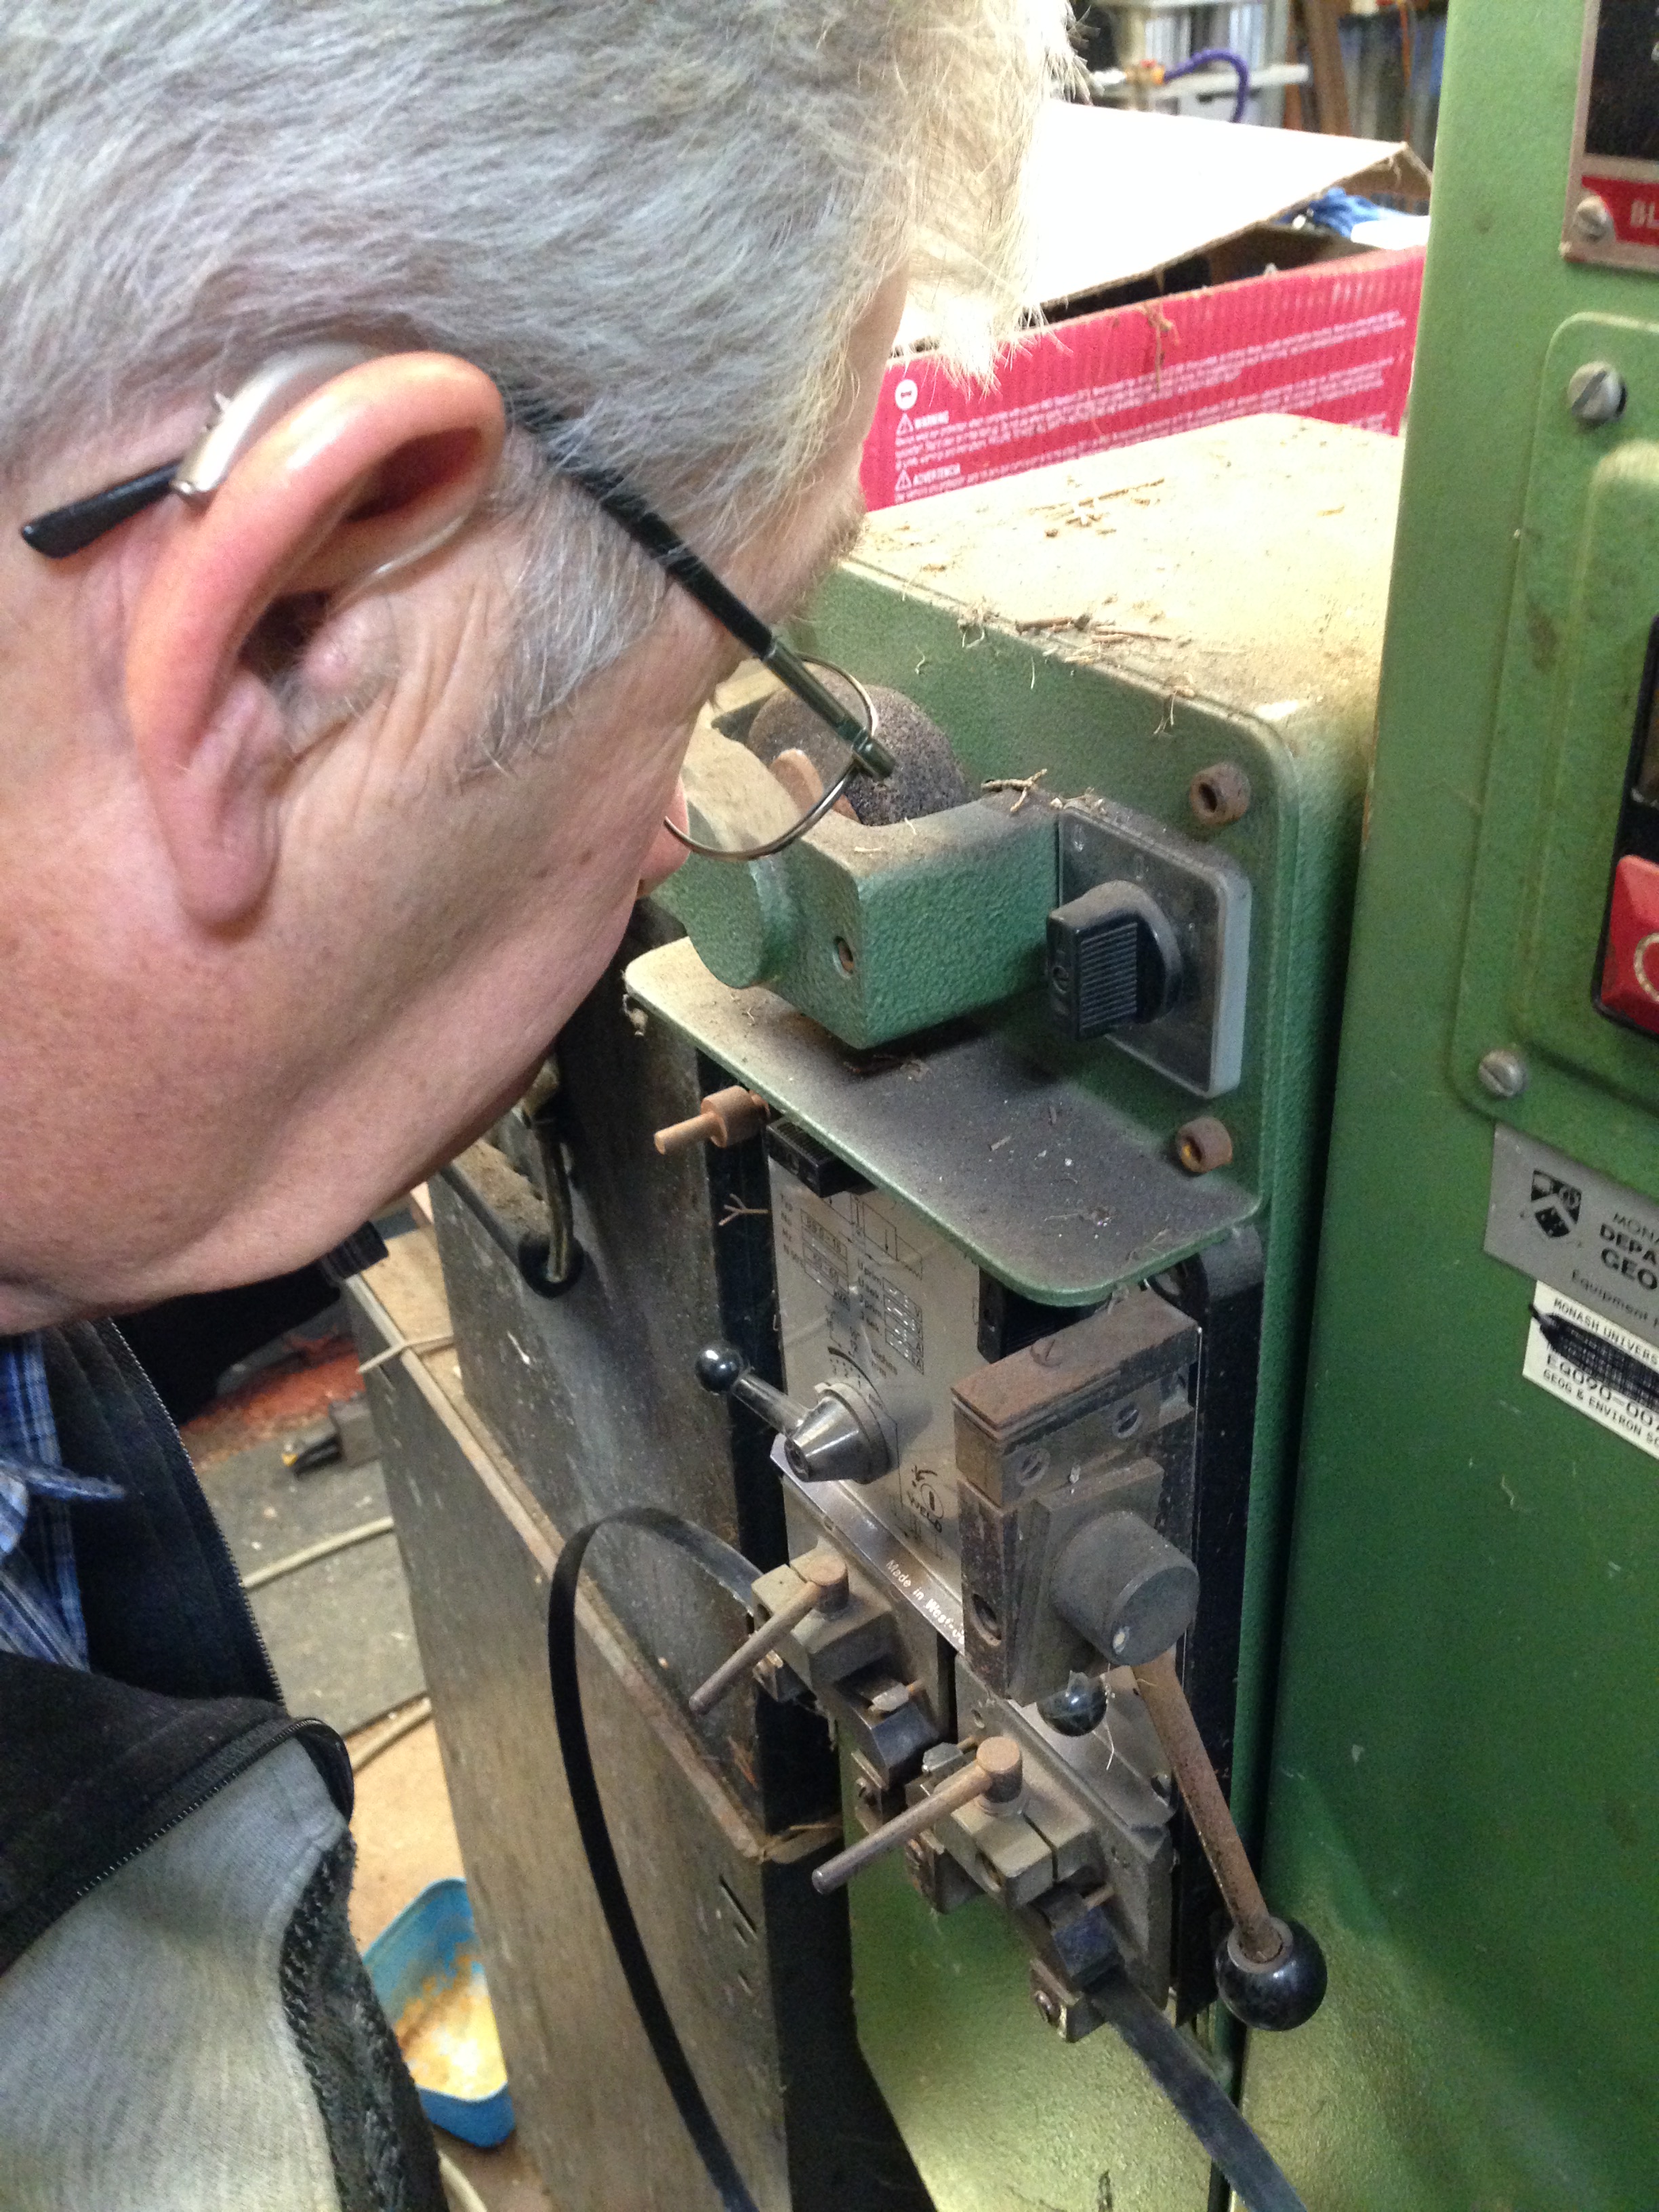
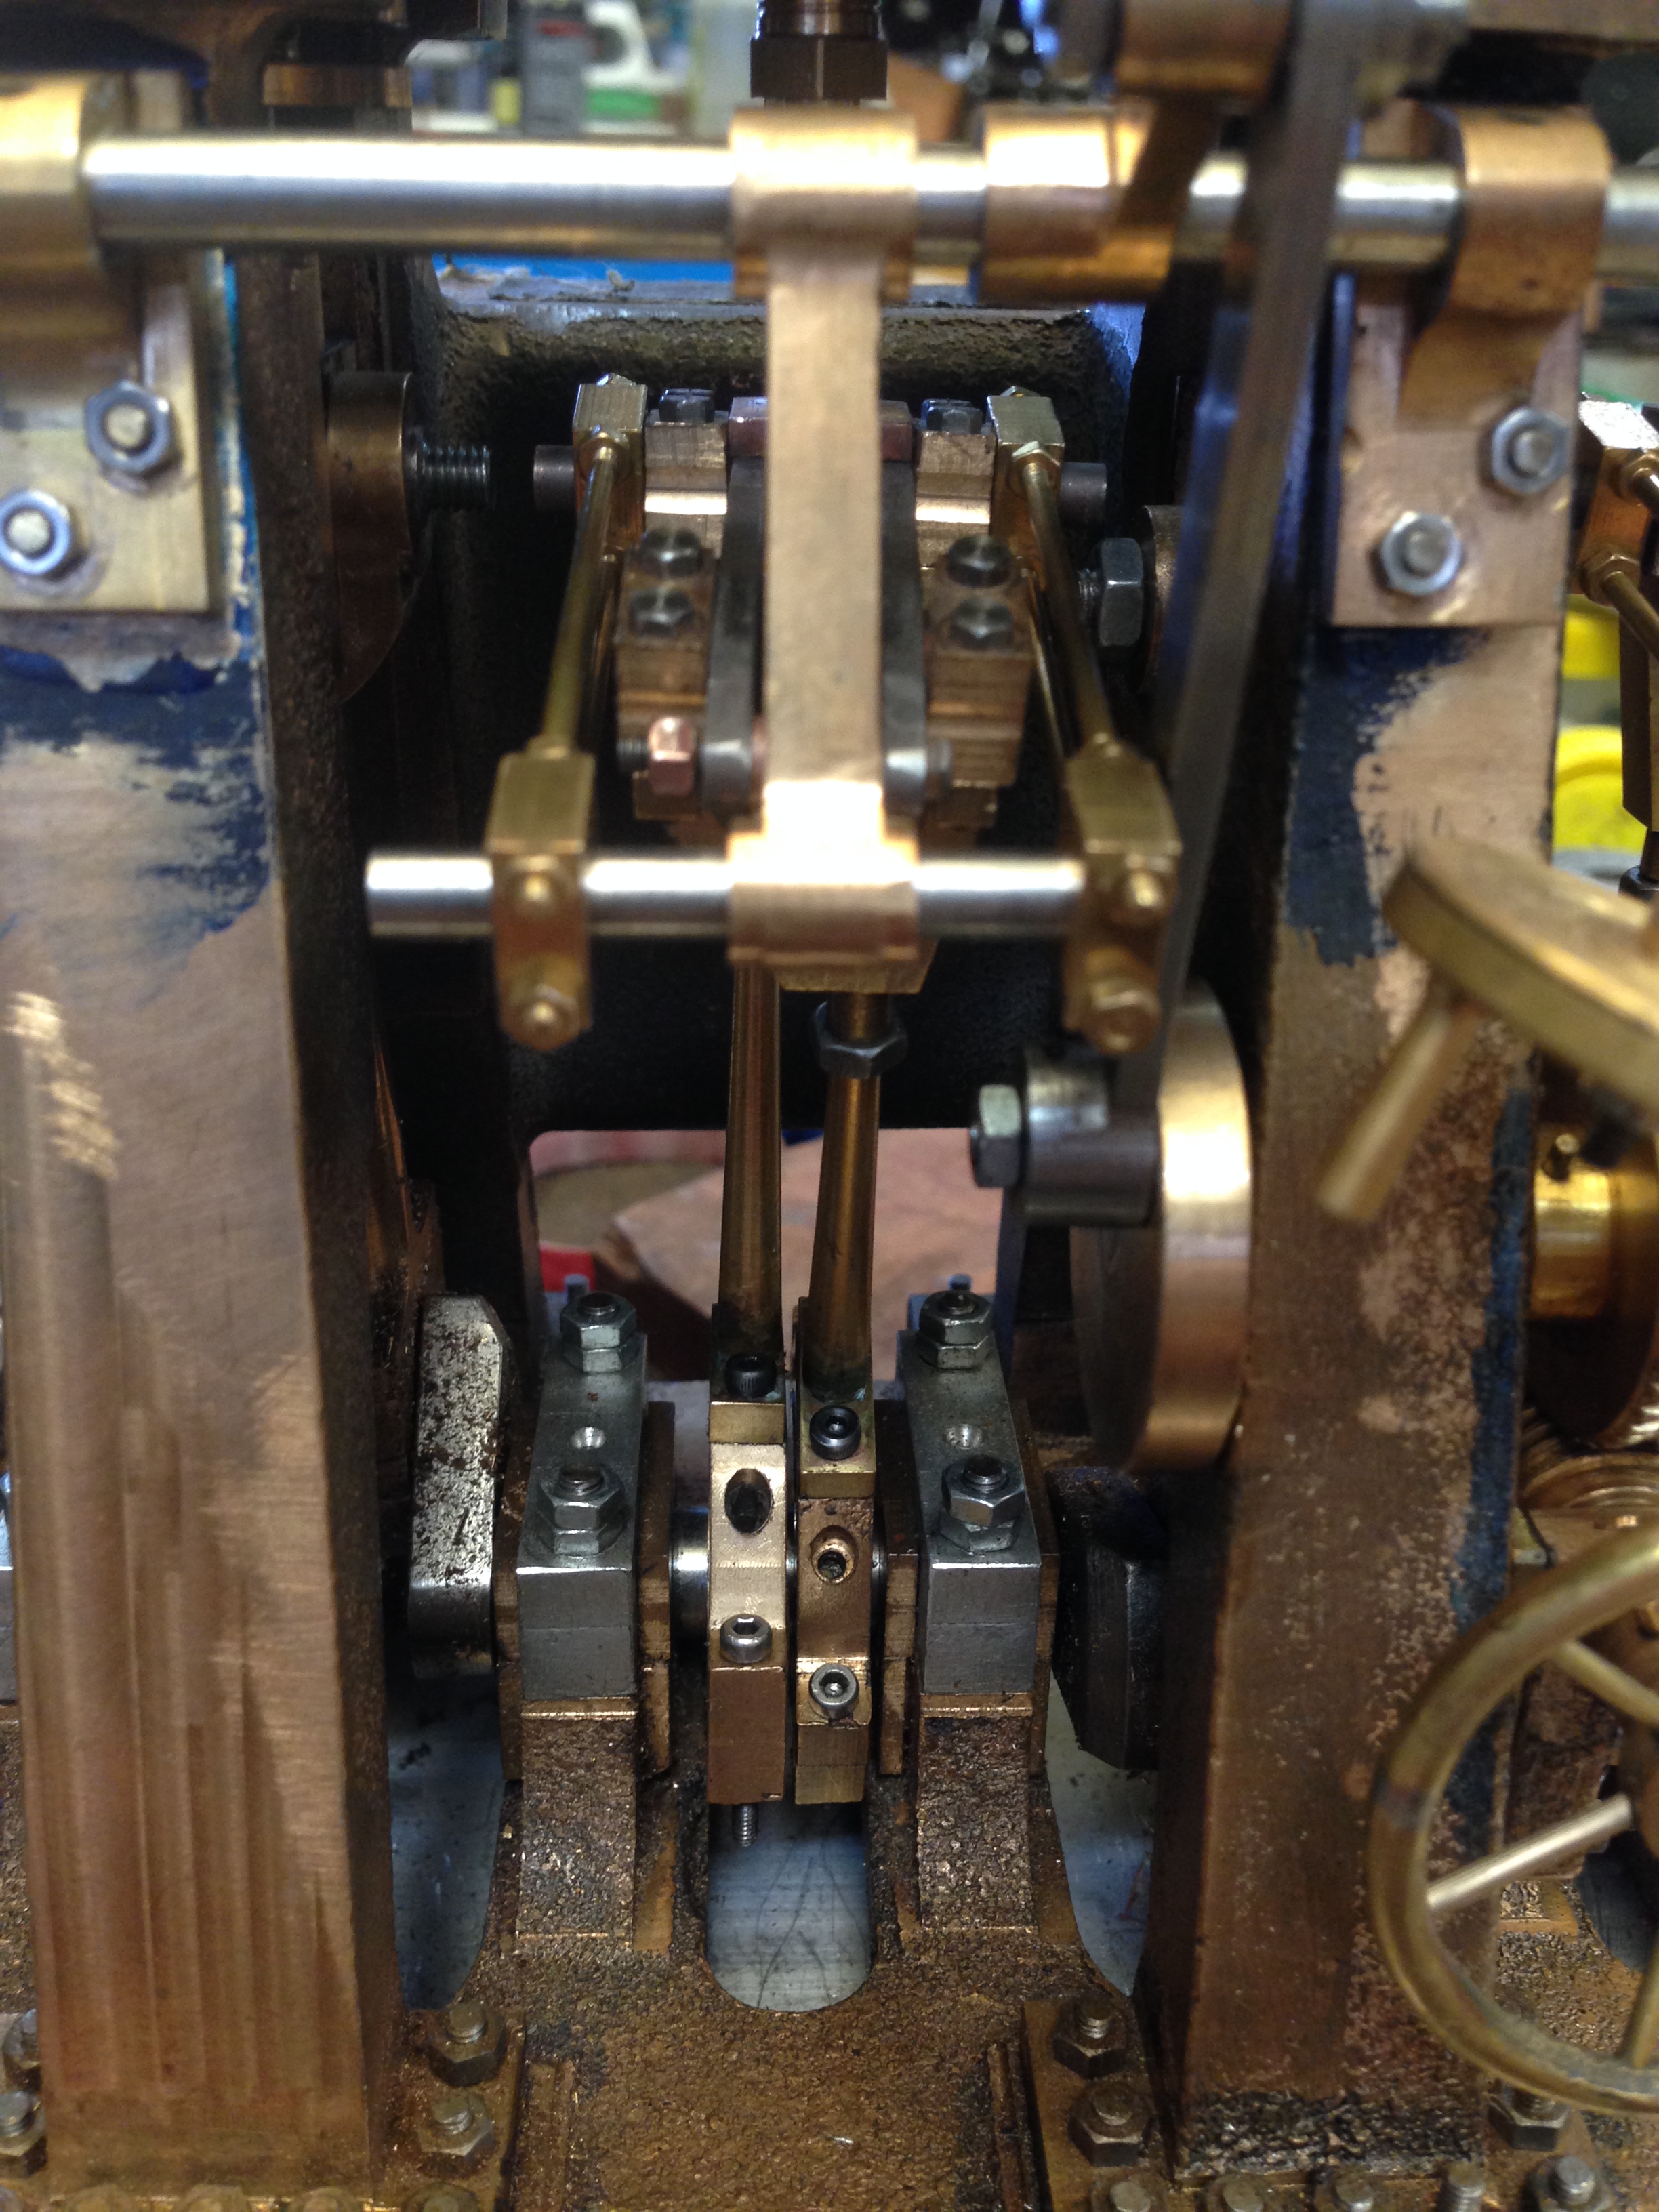
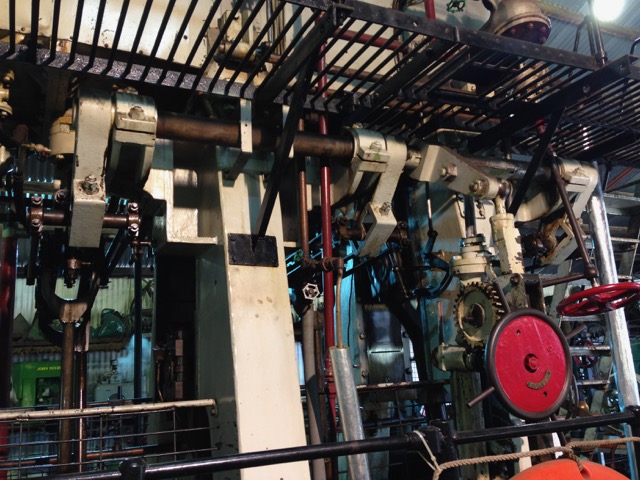
It has 77 teeth, an unusual number for a gear, which means that it has to be made, not purchased off the shelf.  I have a dividing plate with 77 teeth, but I could see plenty of potential for making mistakes using that, so I elected to finish the CNC conversion of the rotary table which I had started last year.  The mechanical aspects had been finished.  All that was required were the electronic hookups.   Fortunately for me, I have a friend who is an expert at these.

P1032849.JPG

In the center is the rotary table, an 8″ Vertex.  The stepper motor is a NEMA 36.   The intervening aluminium block is the coupler.  The controlling program is Mach 3.  Originally I intended to use an Arduino, but it seemed more complicated and less robust than this setup, which involved using the breakout board of the CNC lathe (right), and a new Gecko driver. (see next pictures)

P1032855.JPG

P1032853.JPG

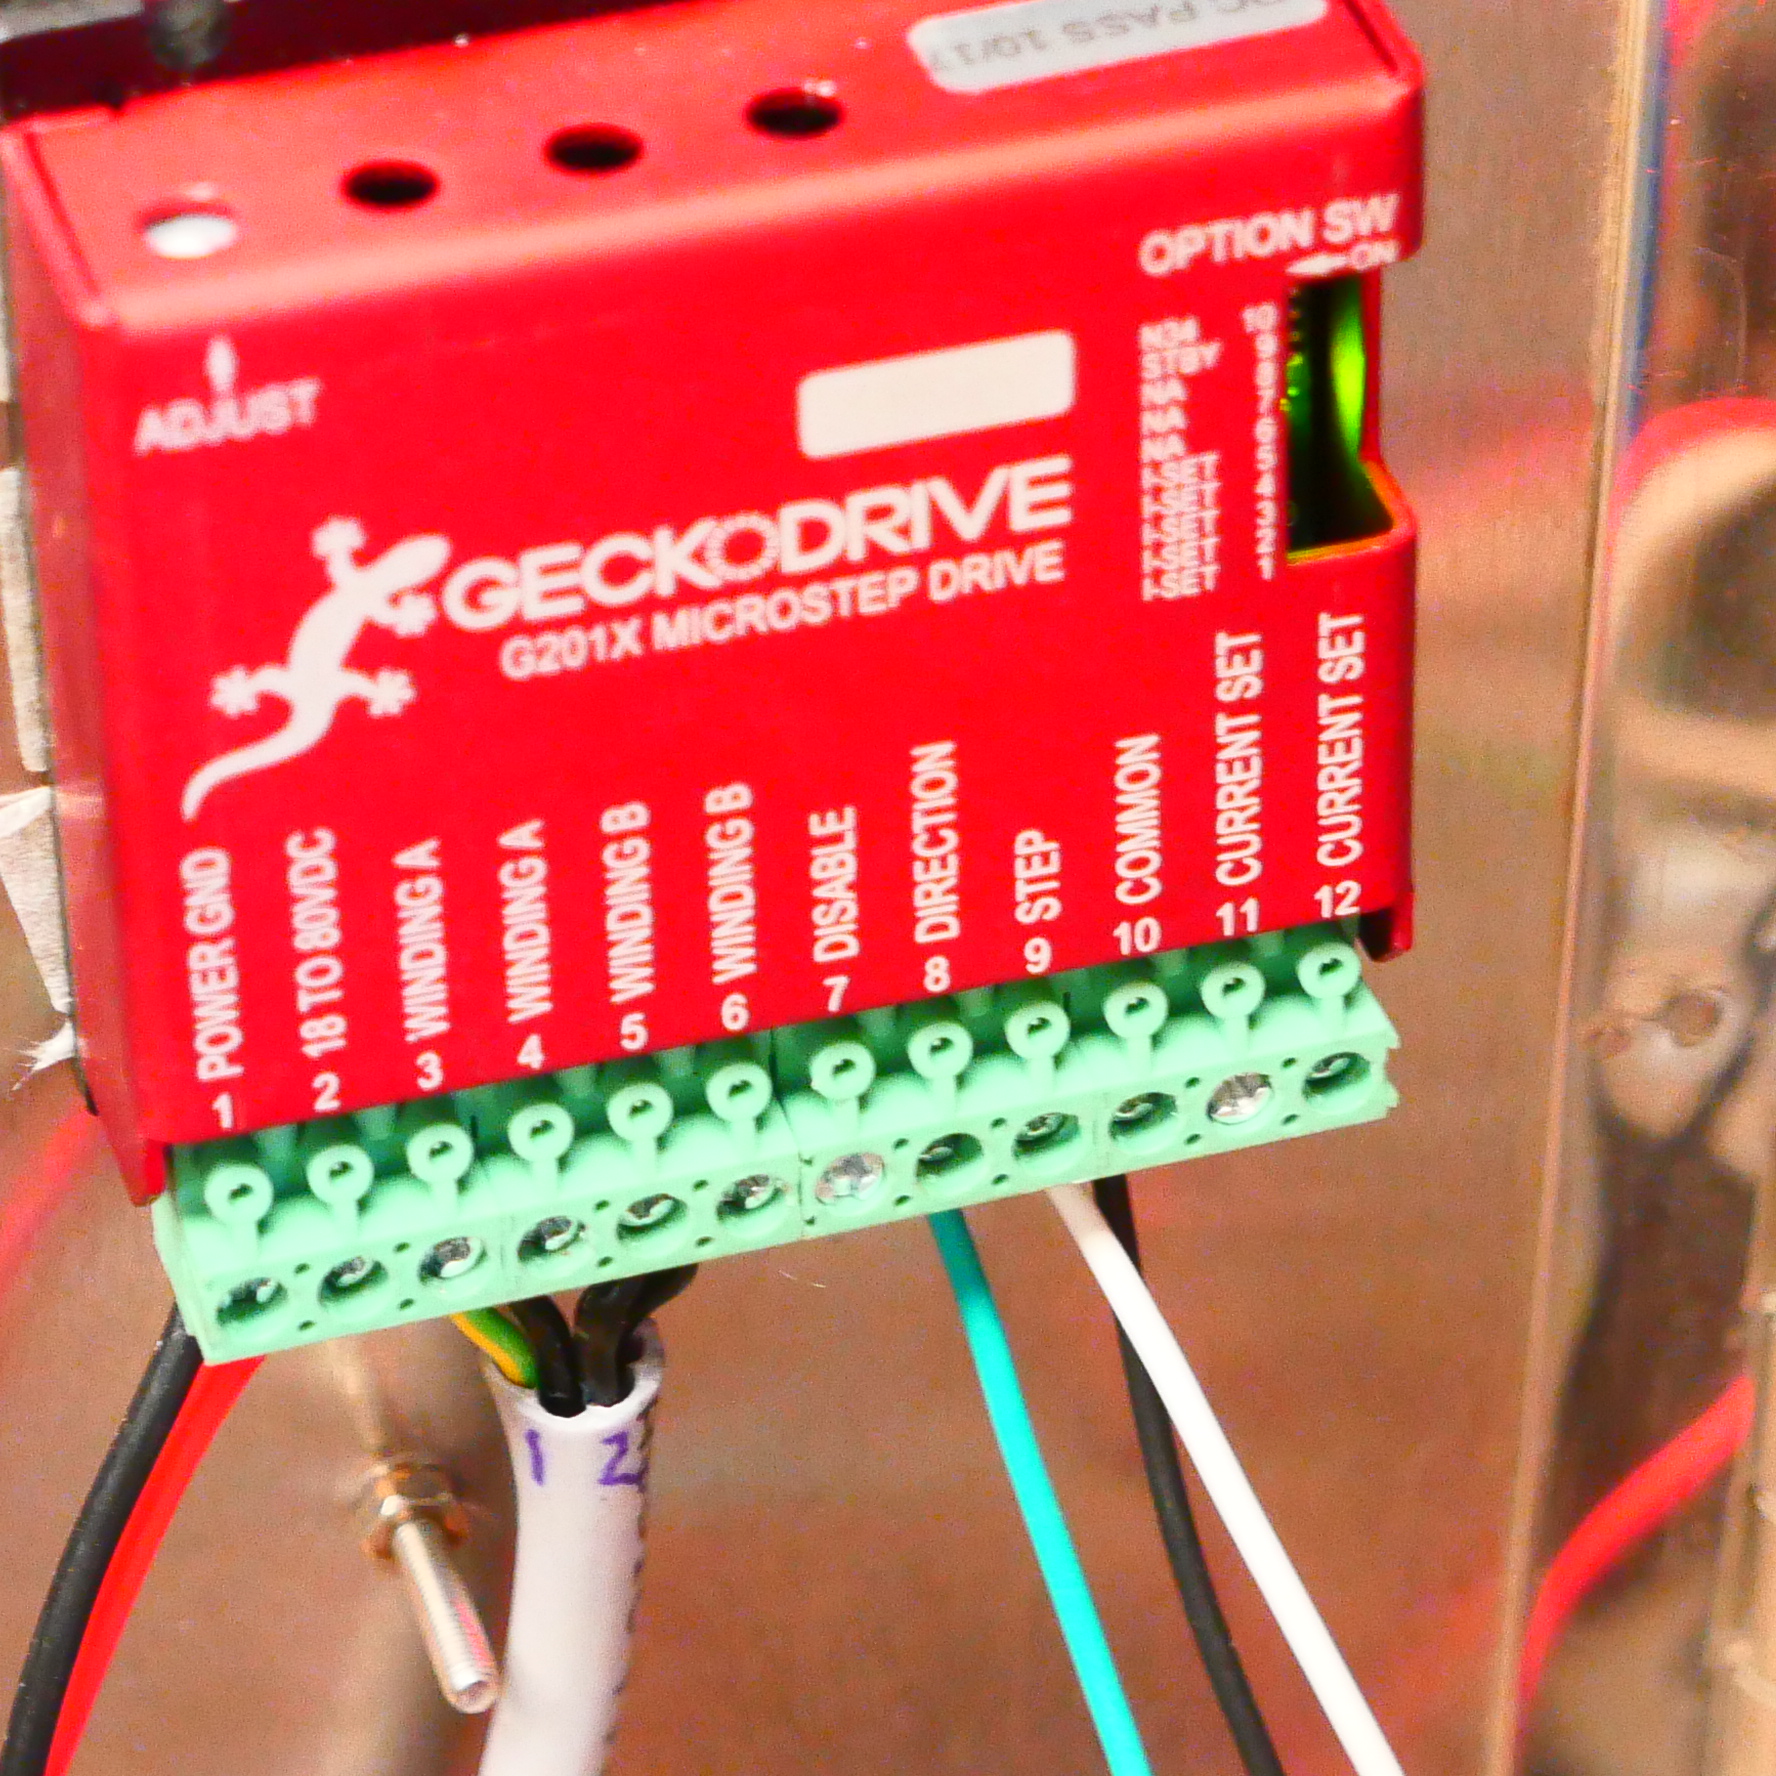
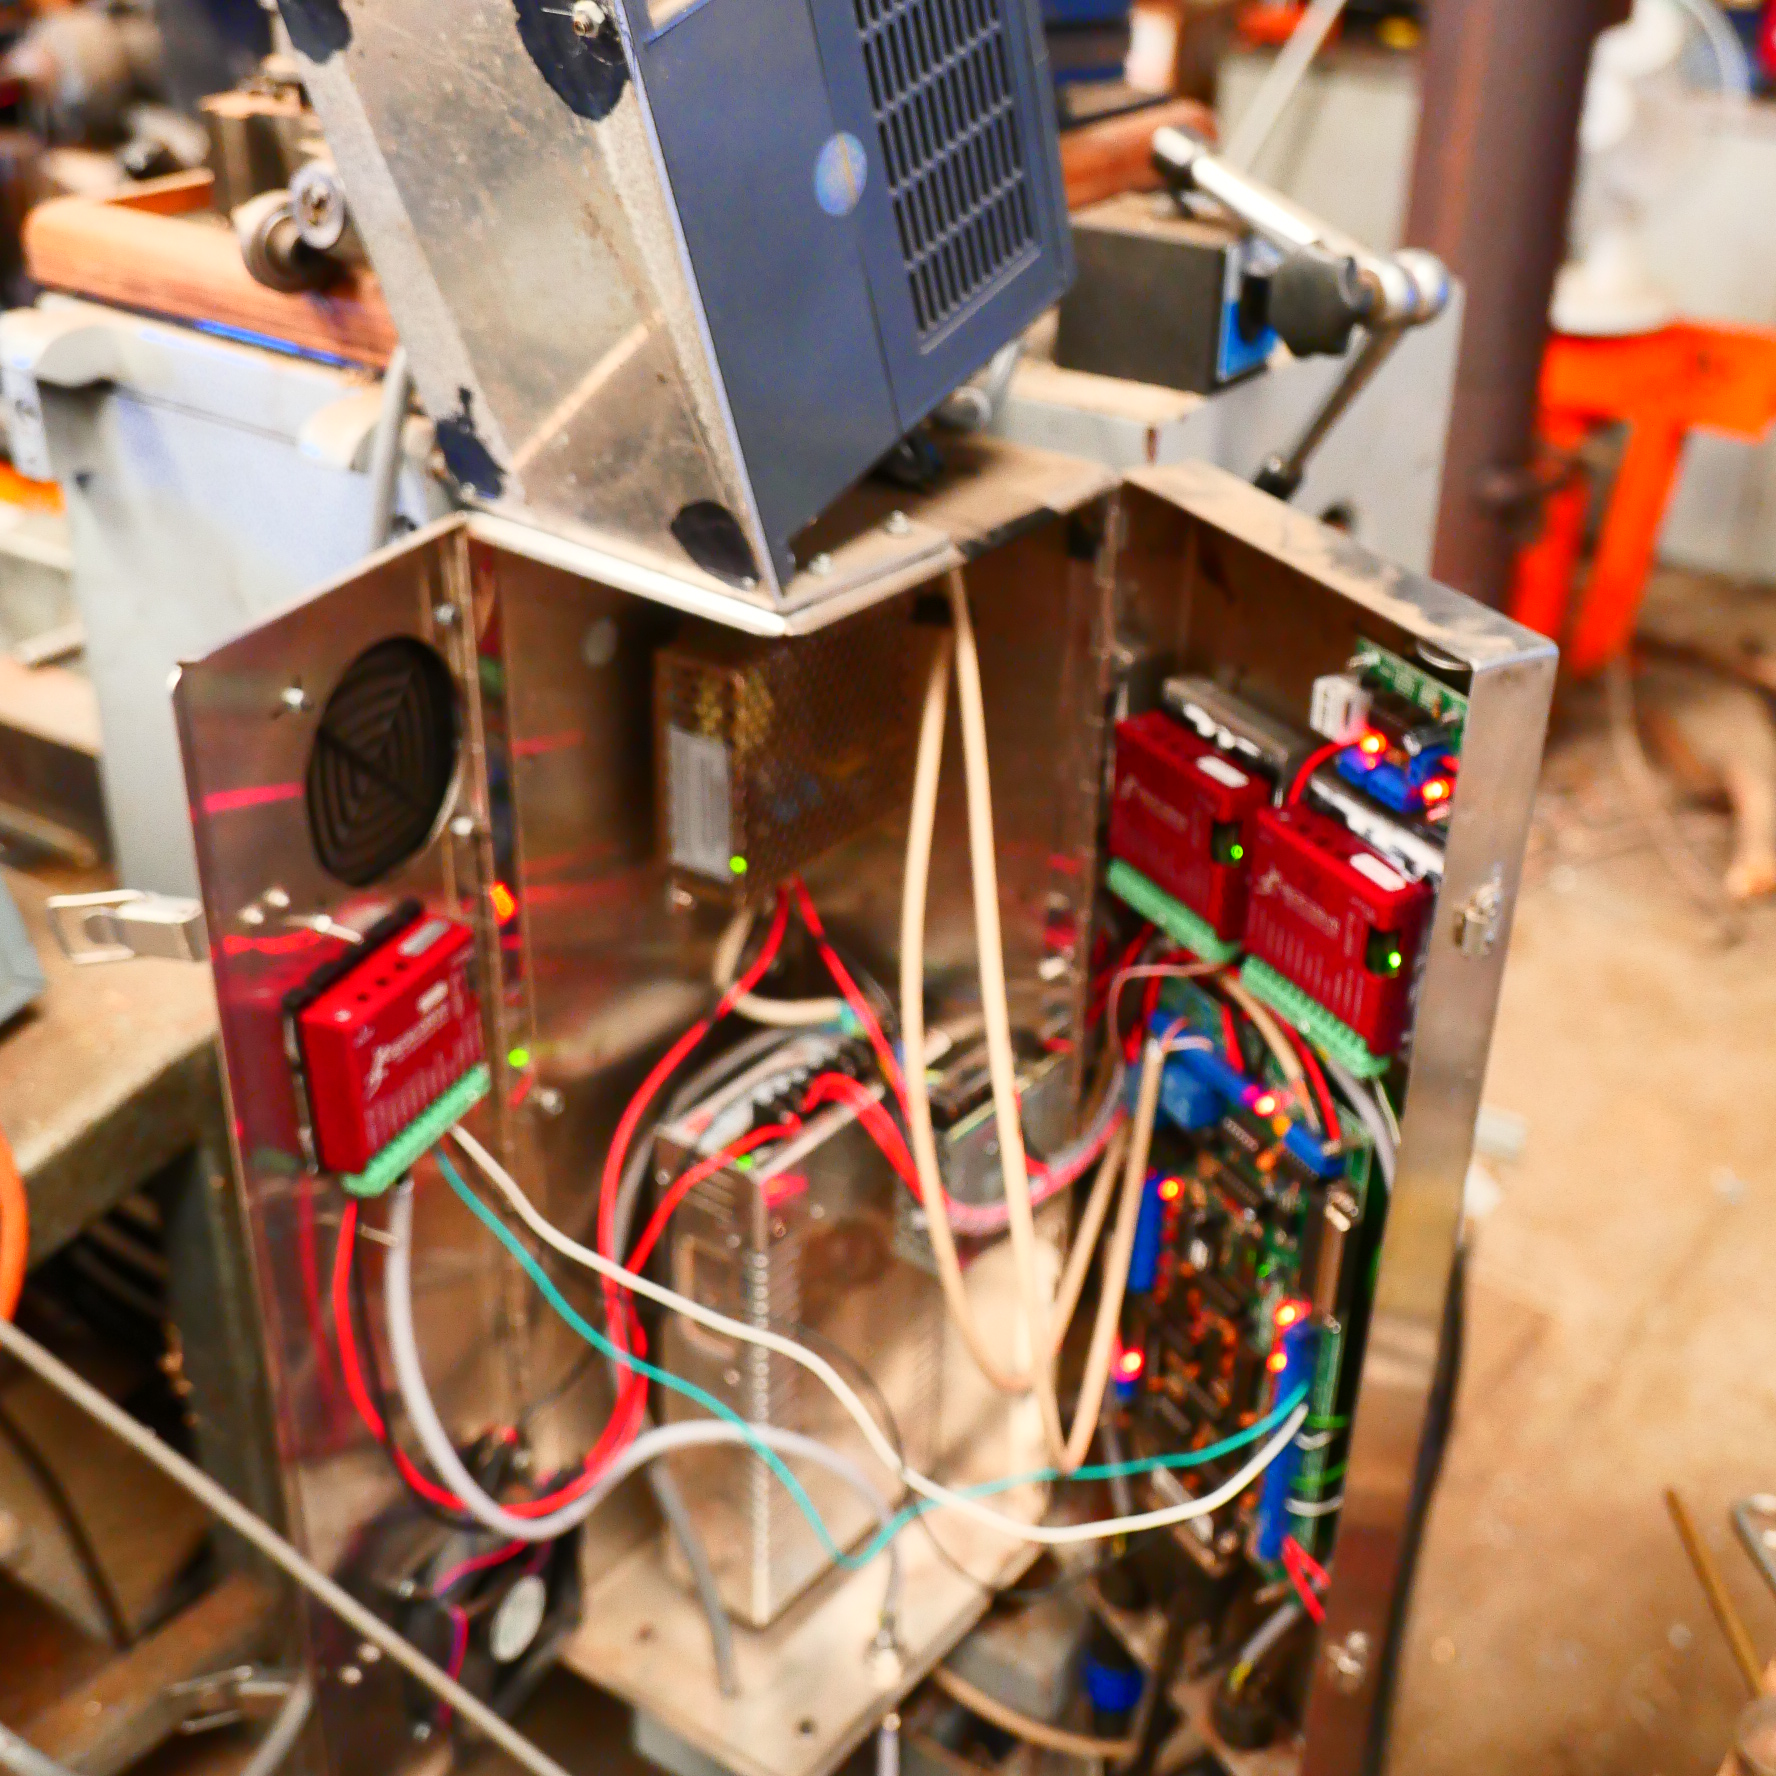
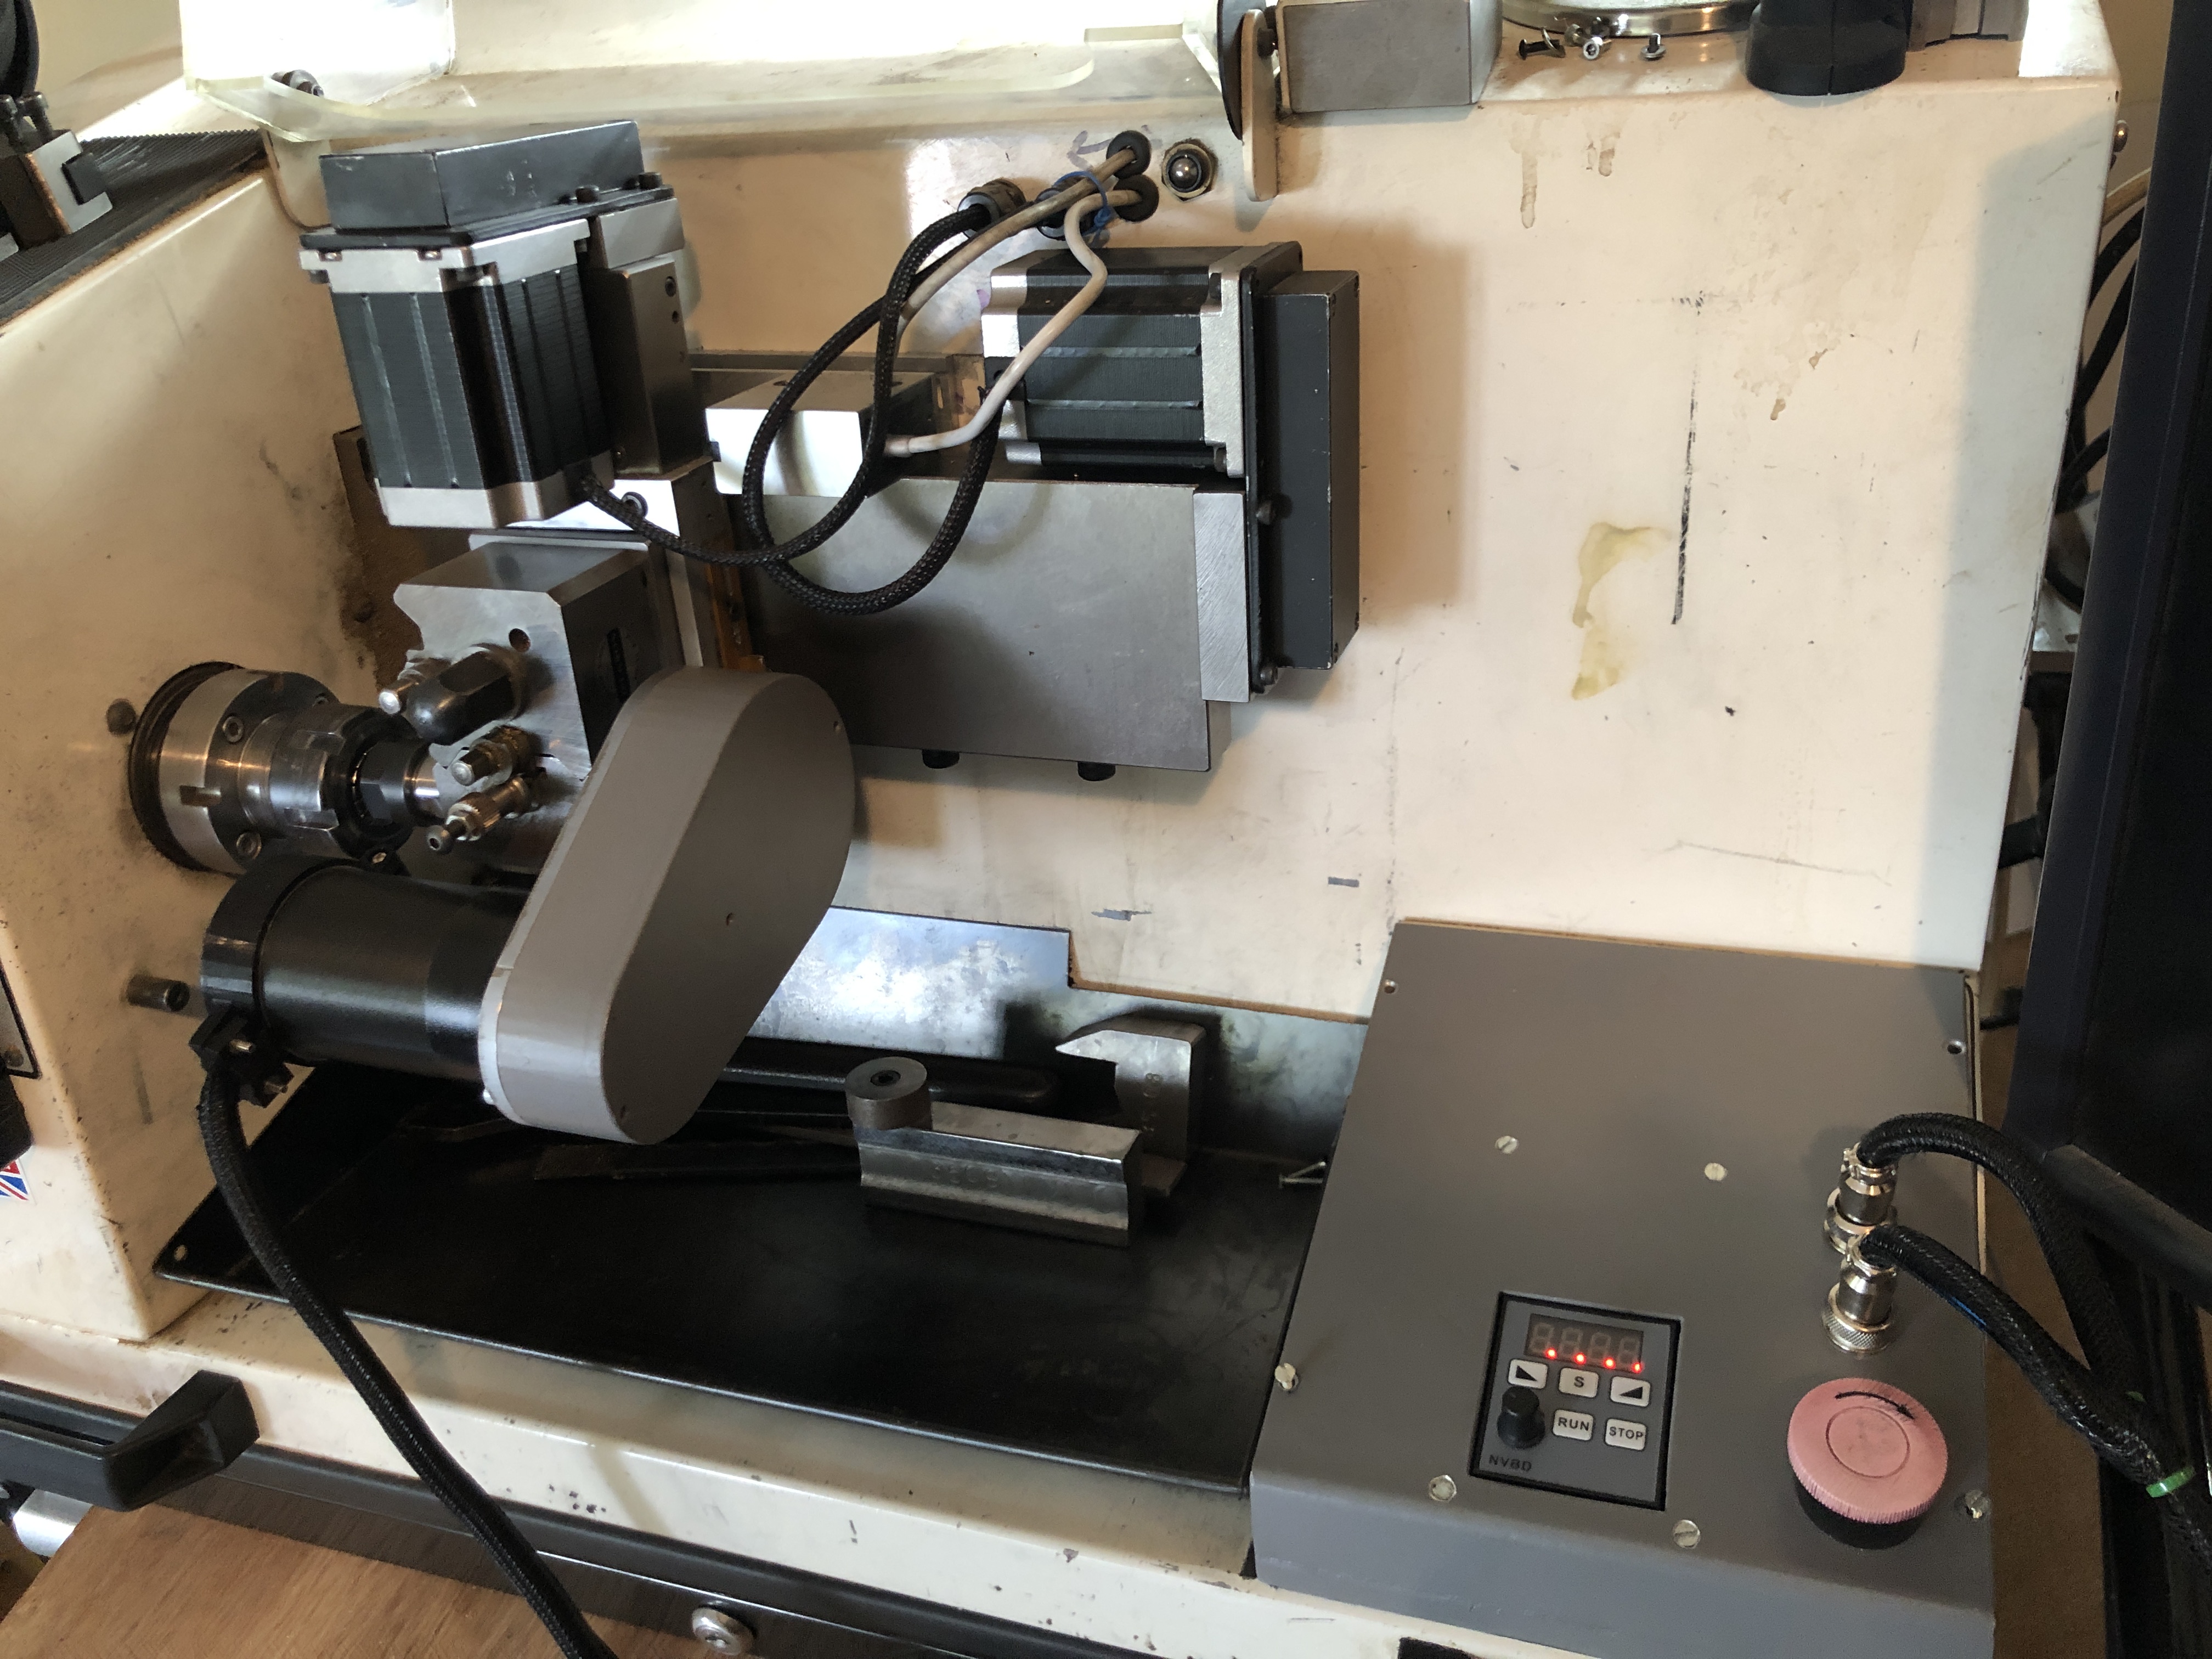
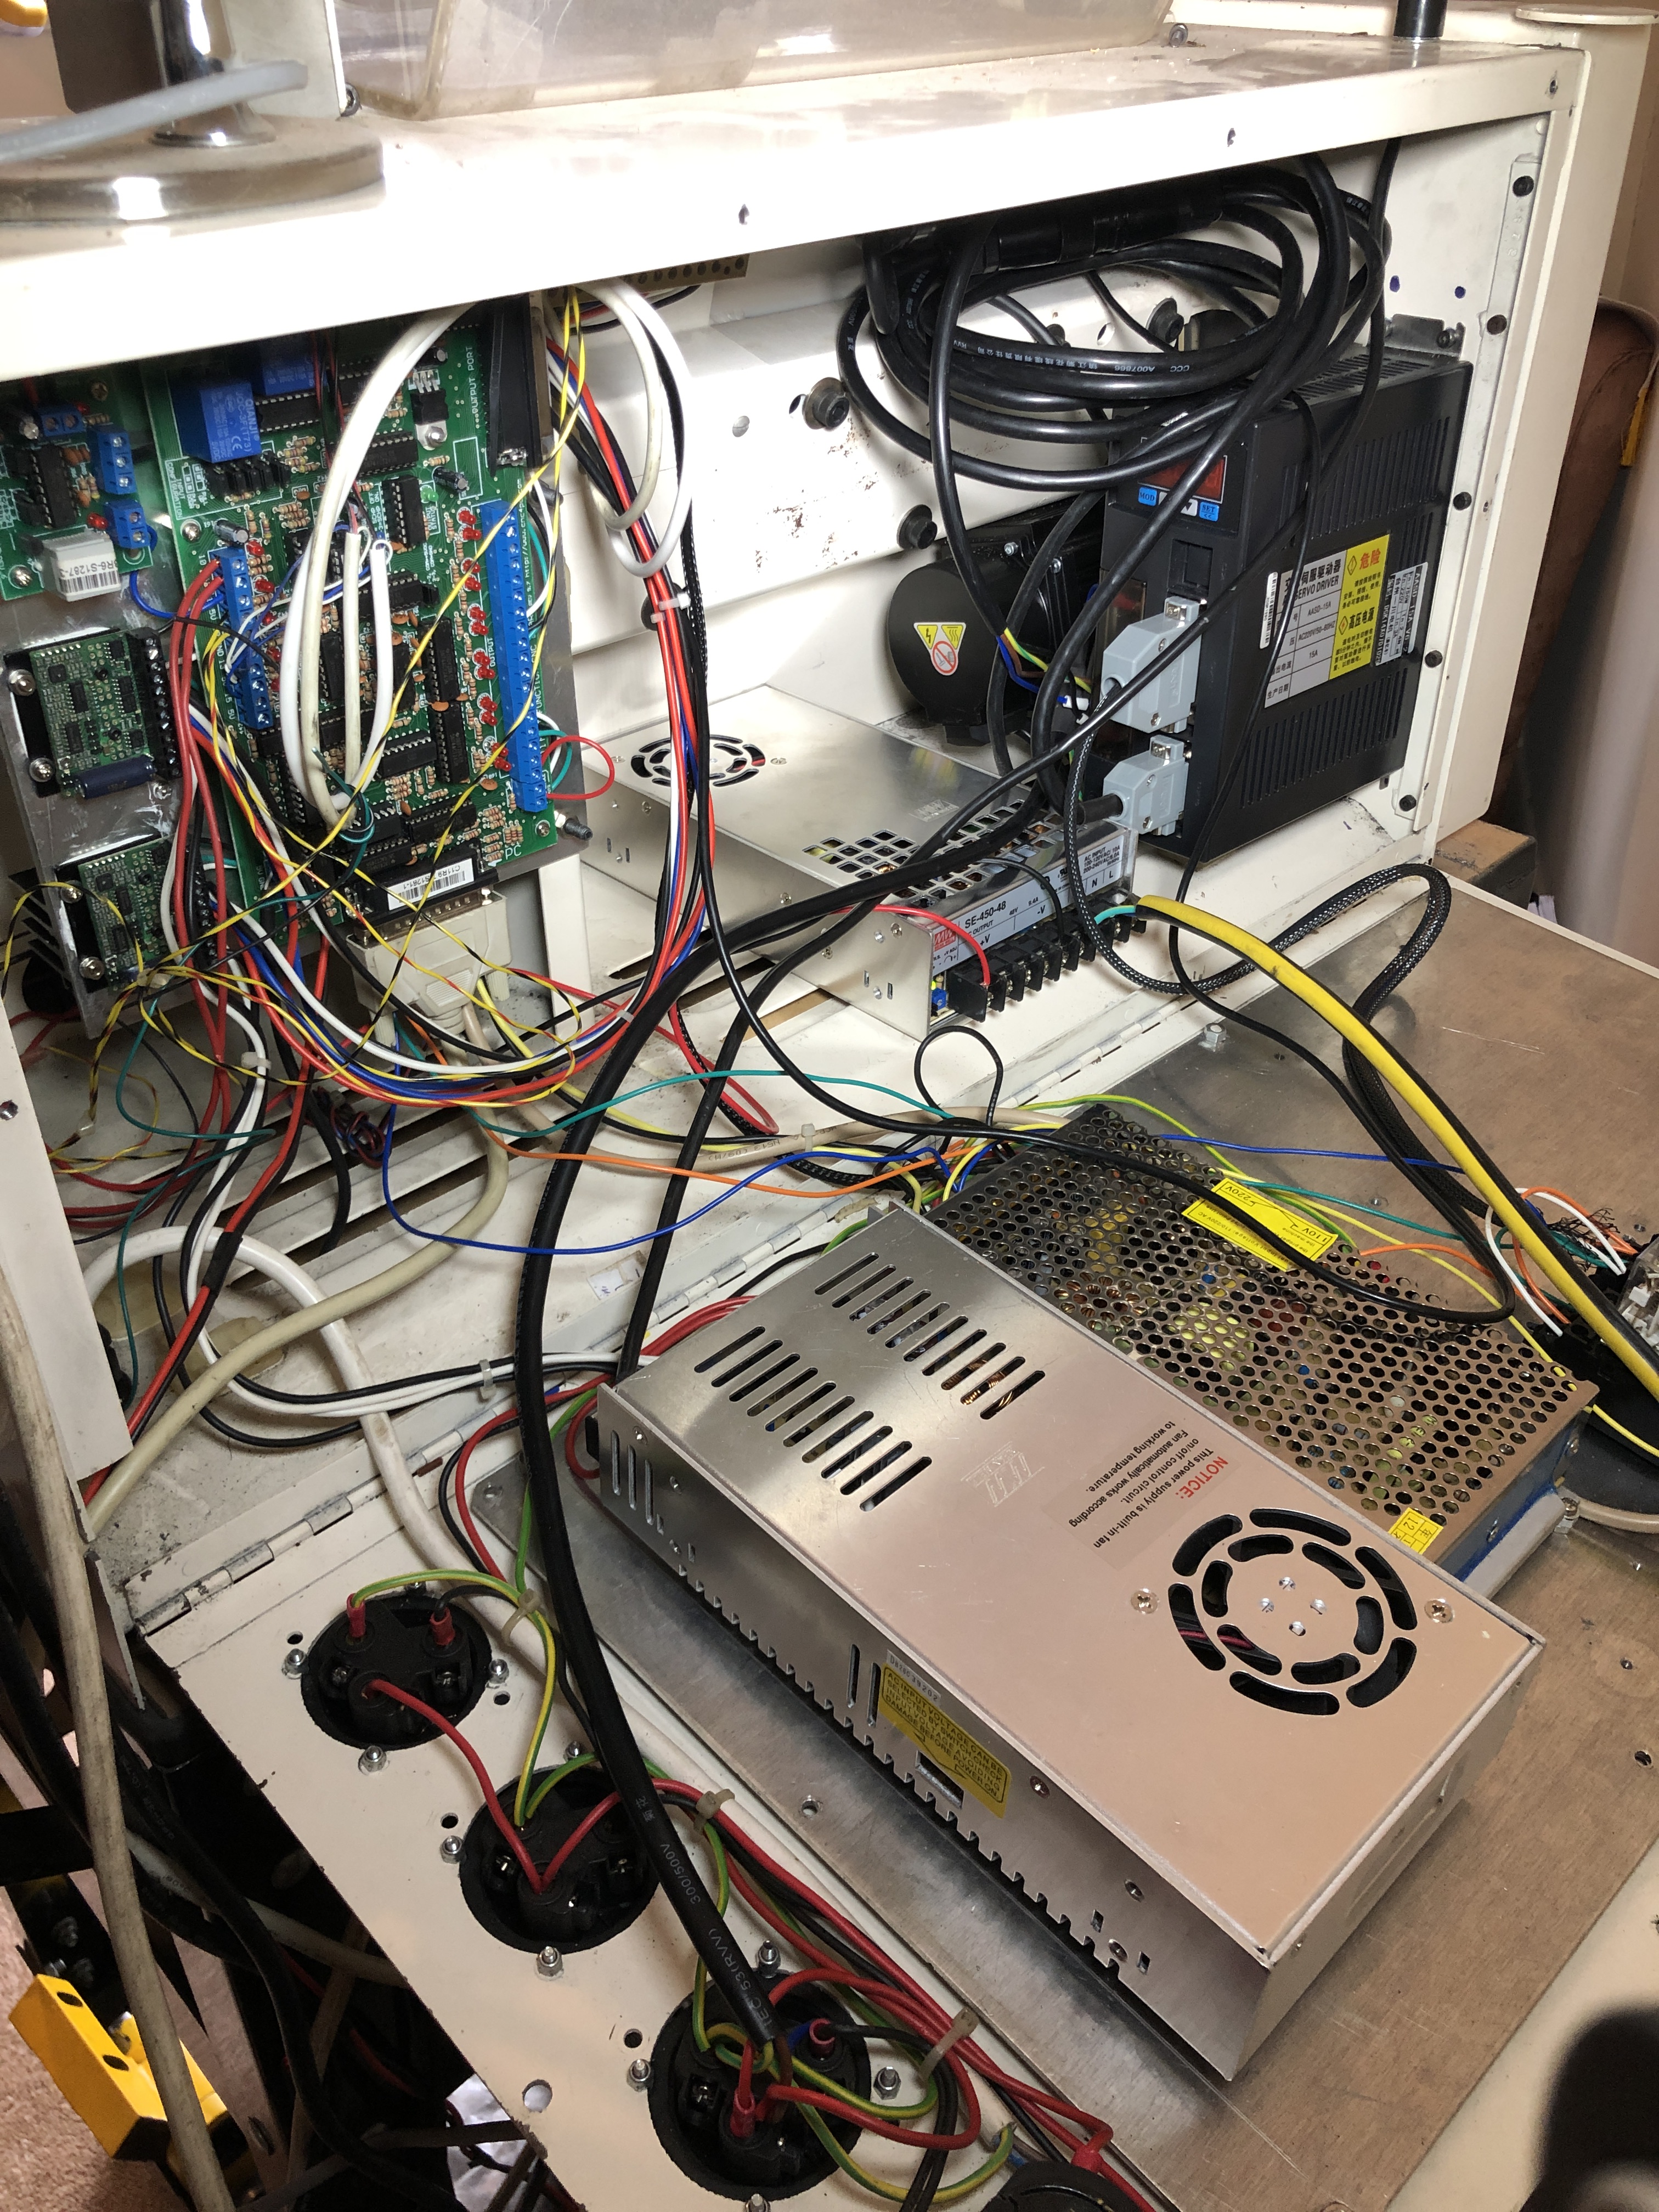
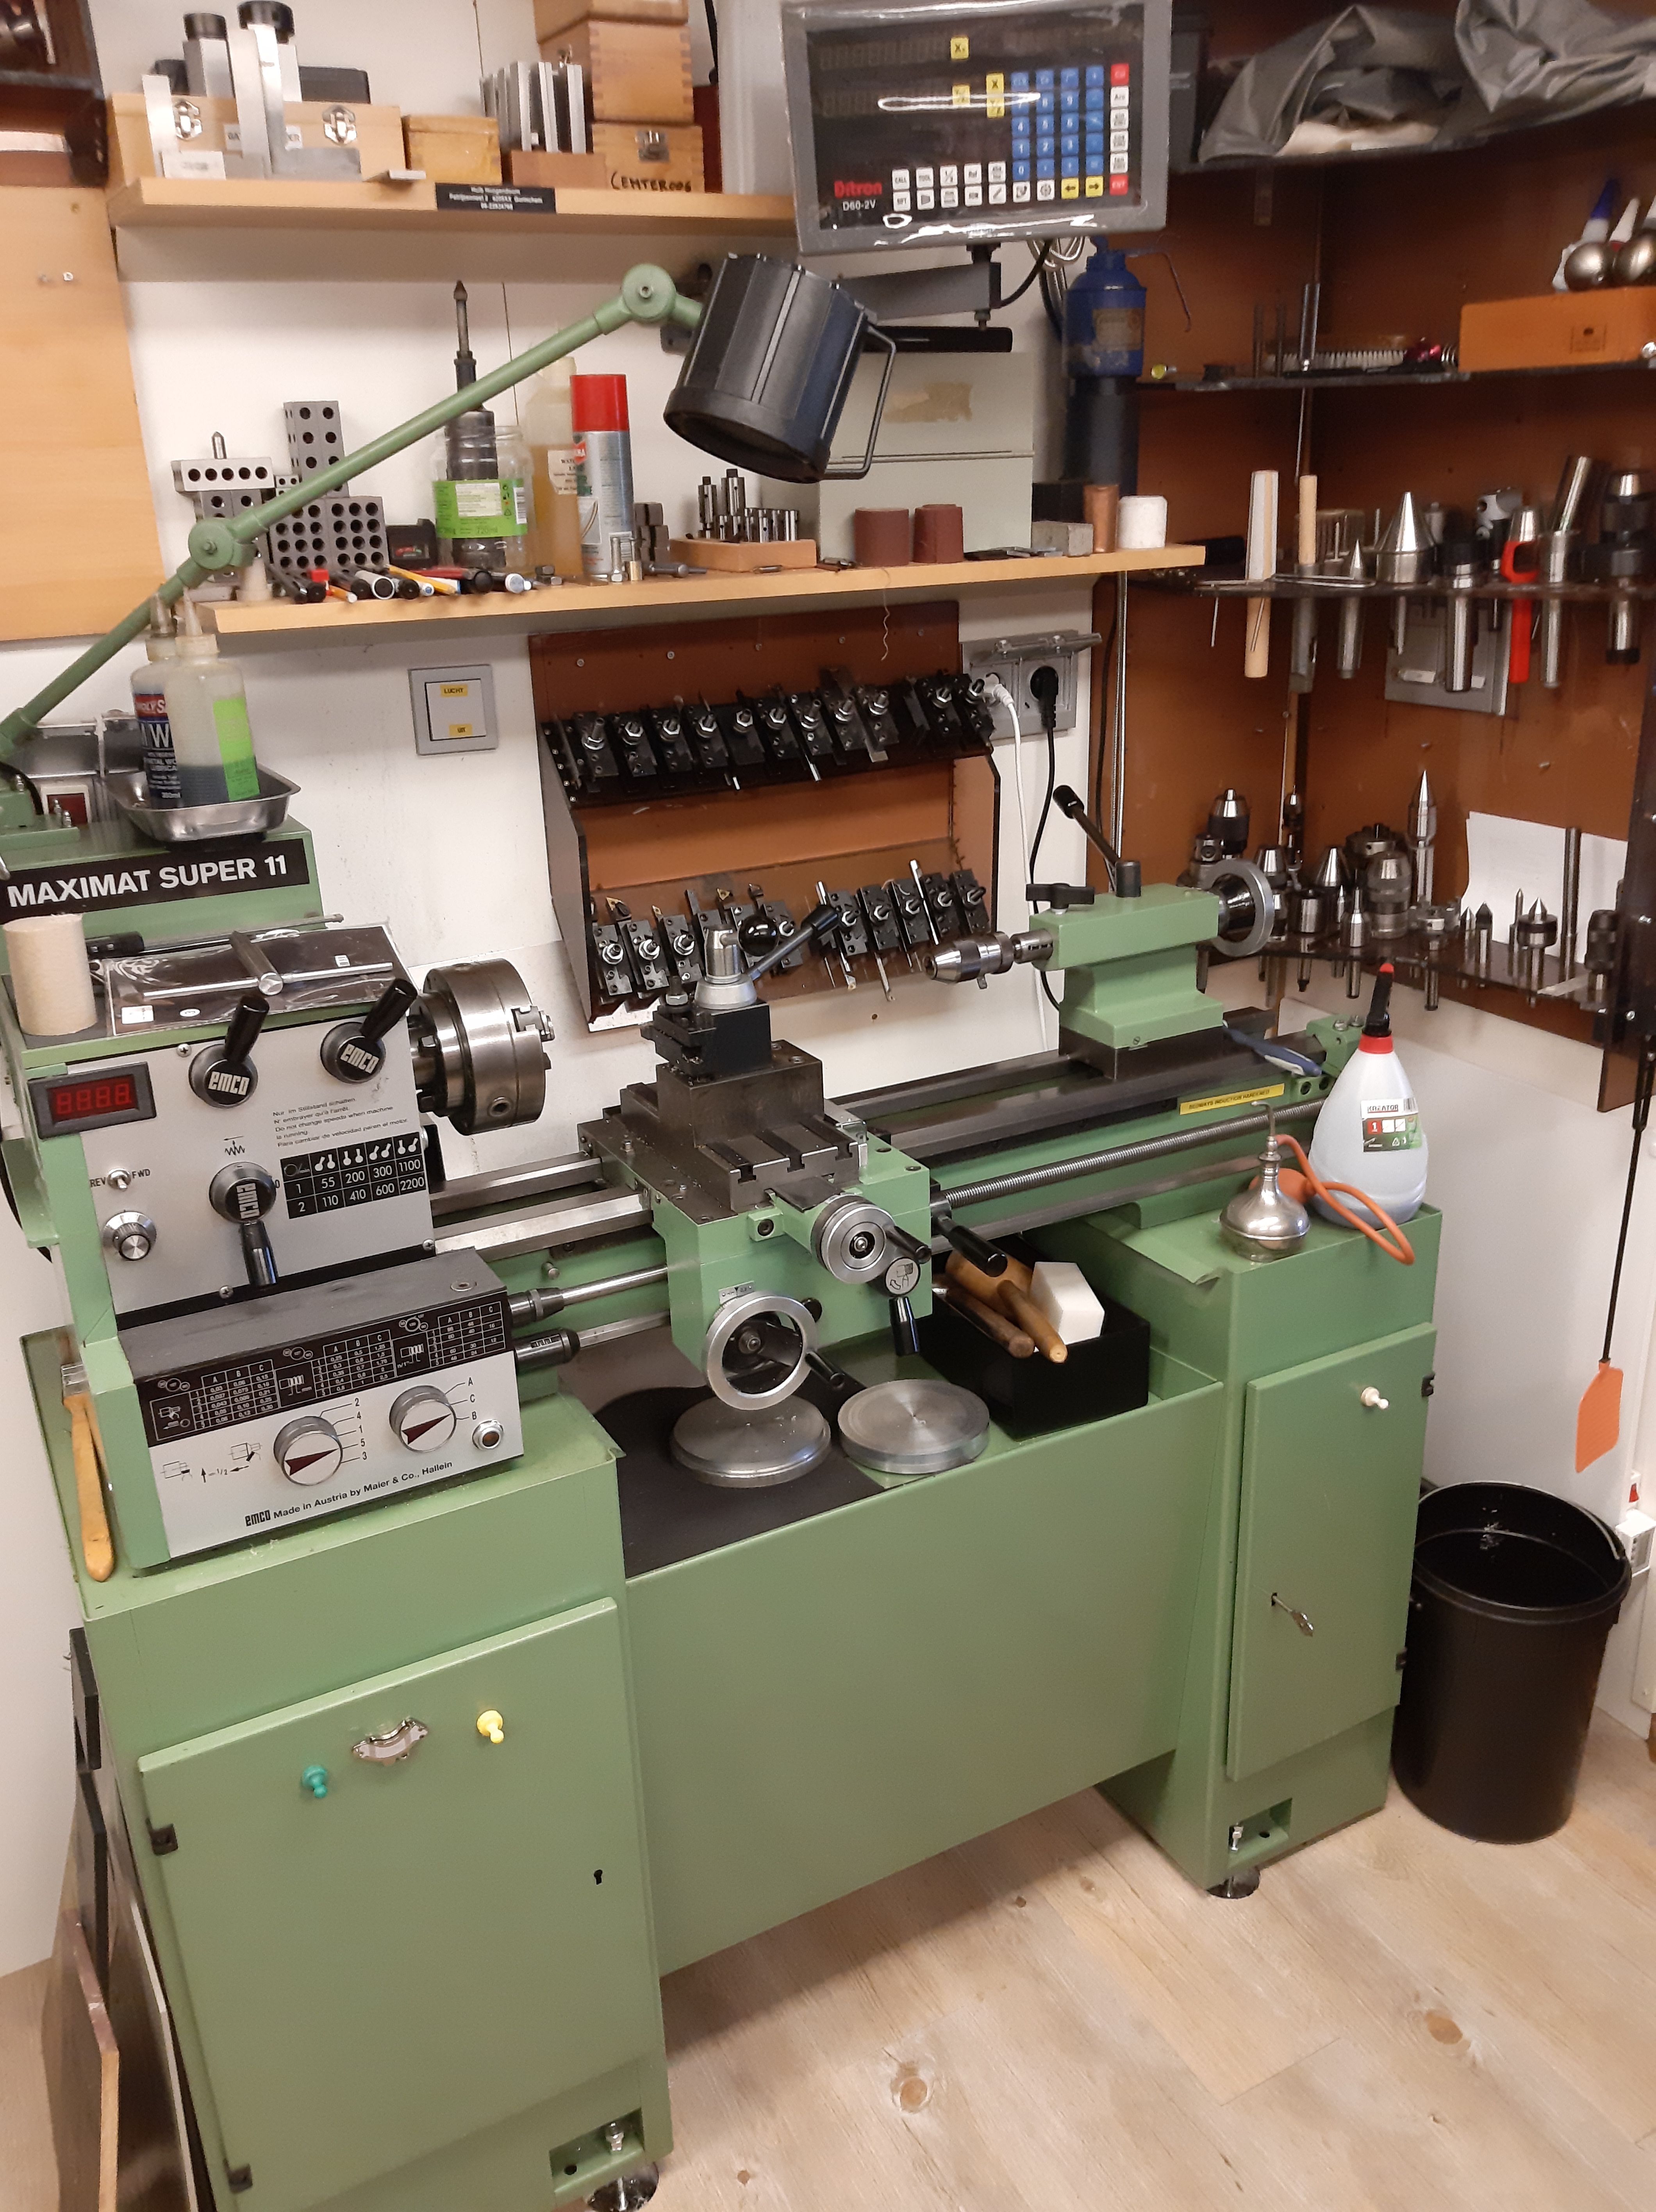
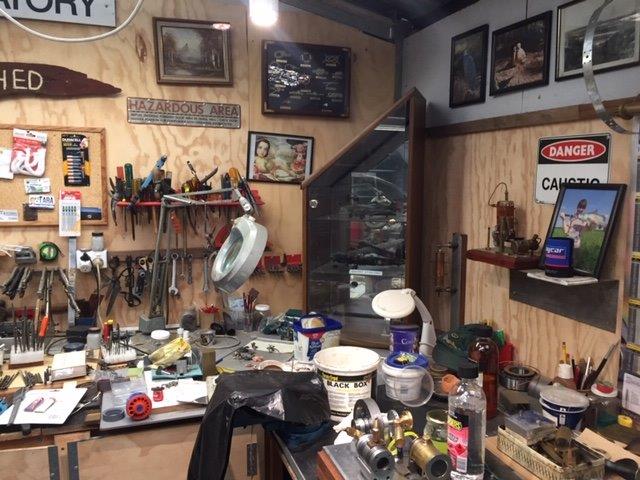
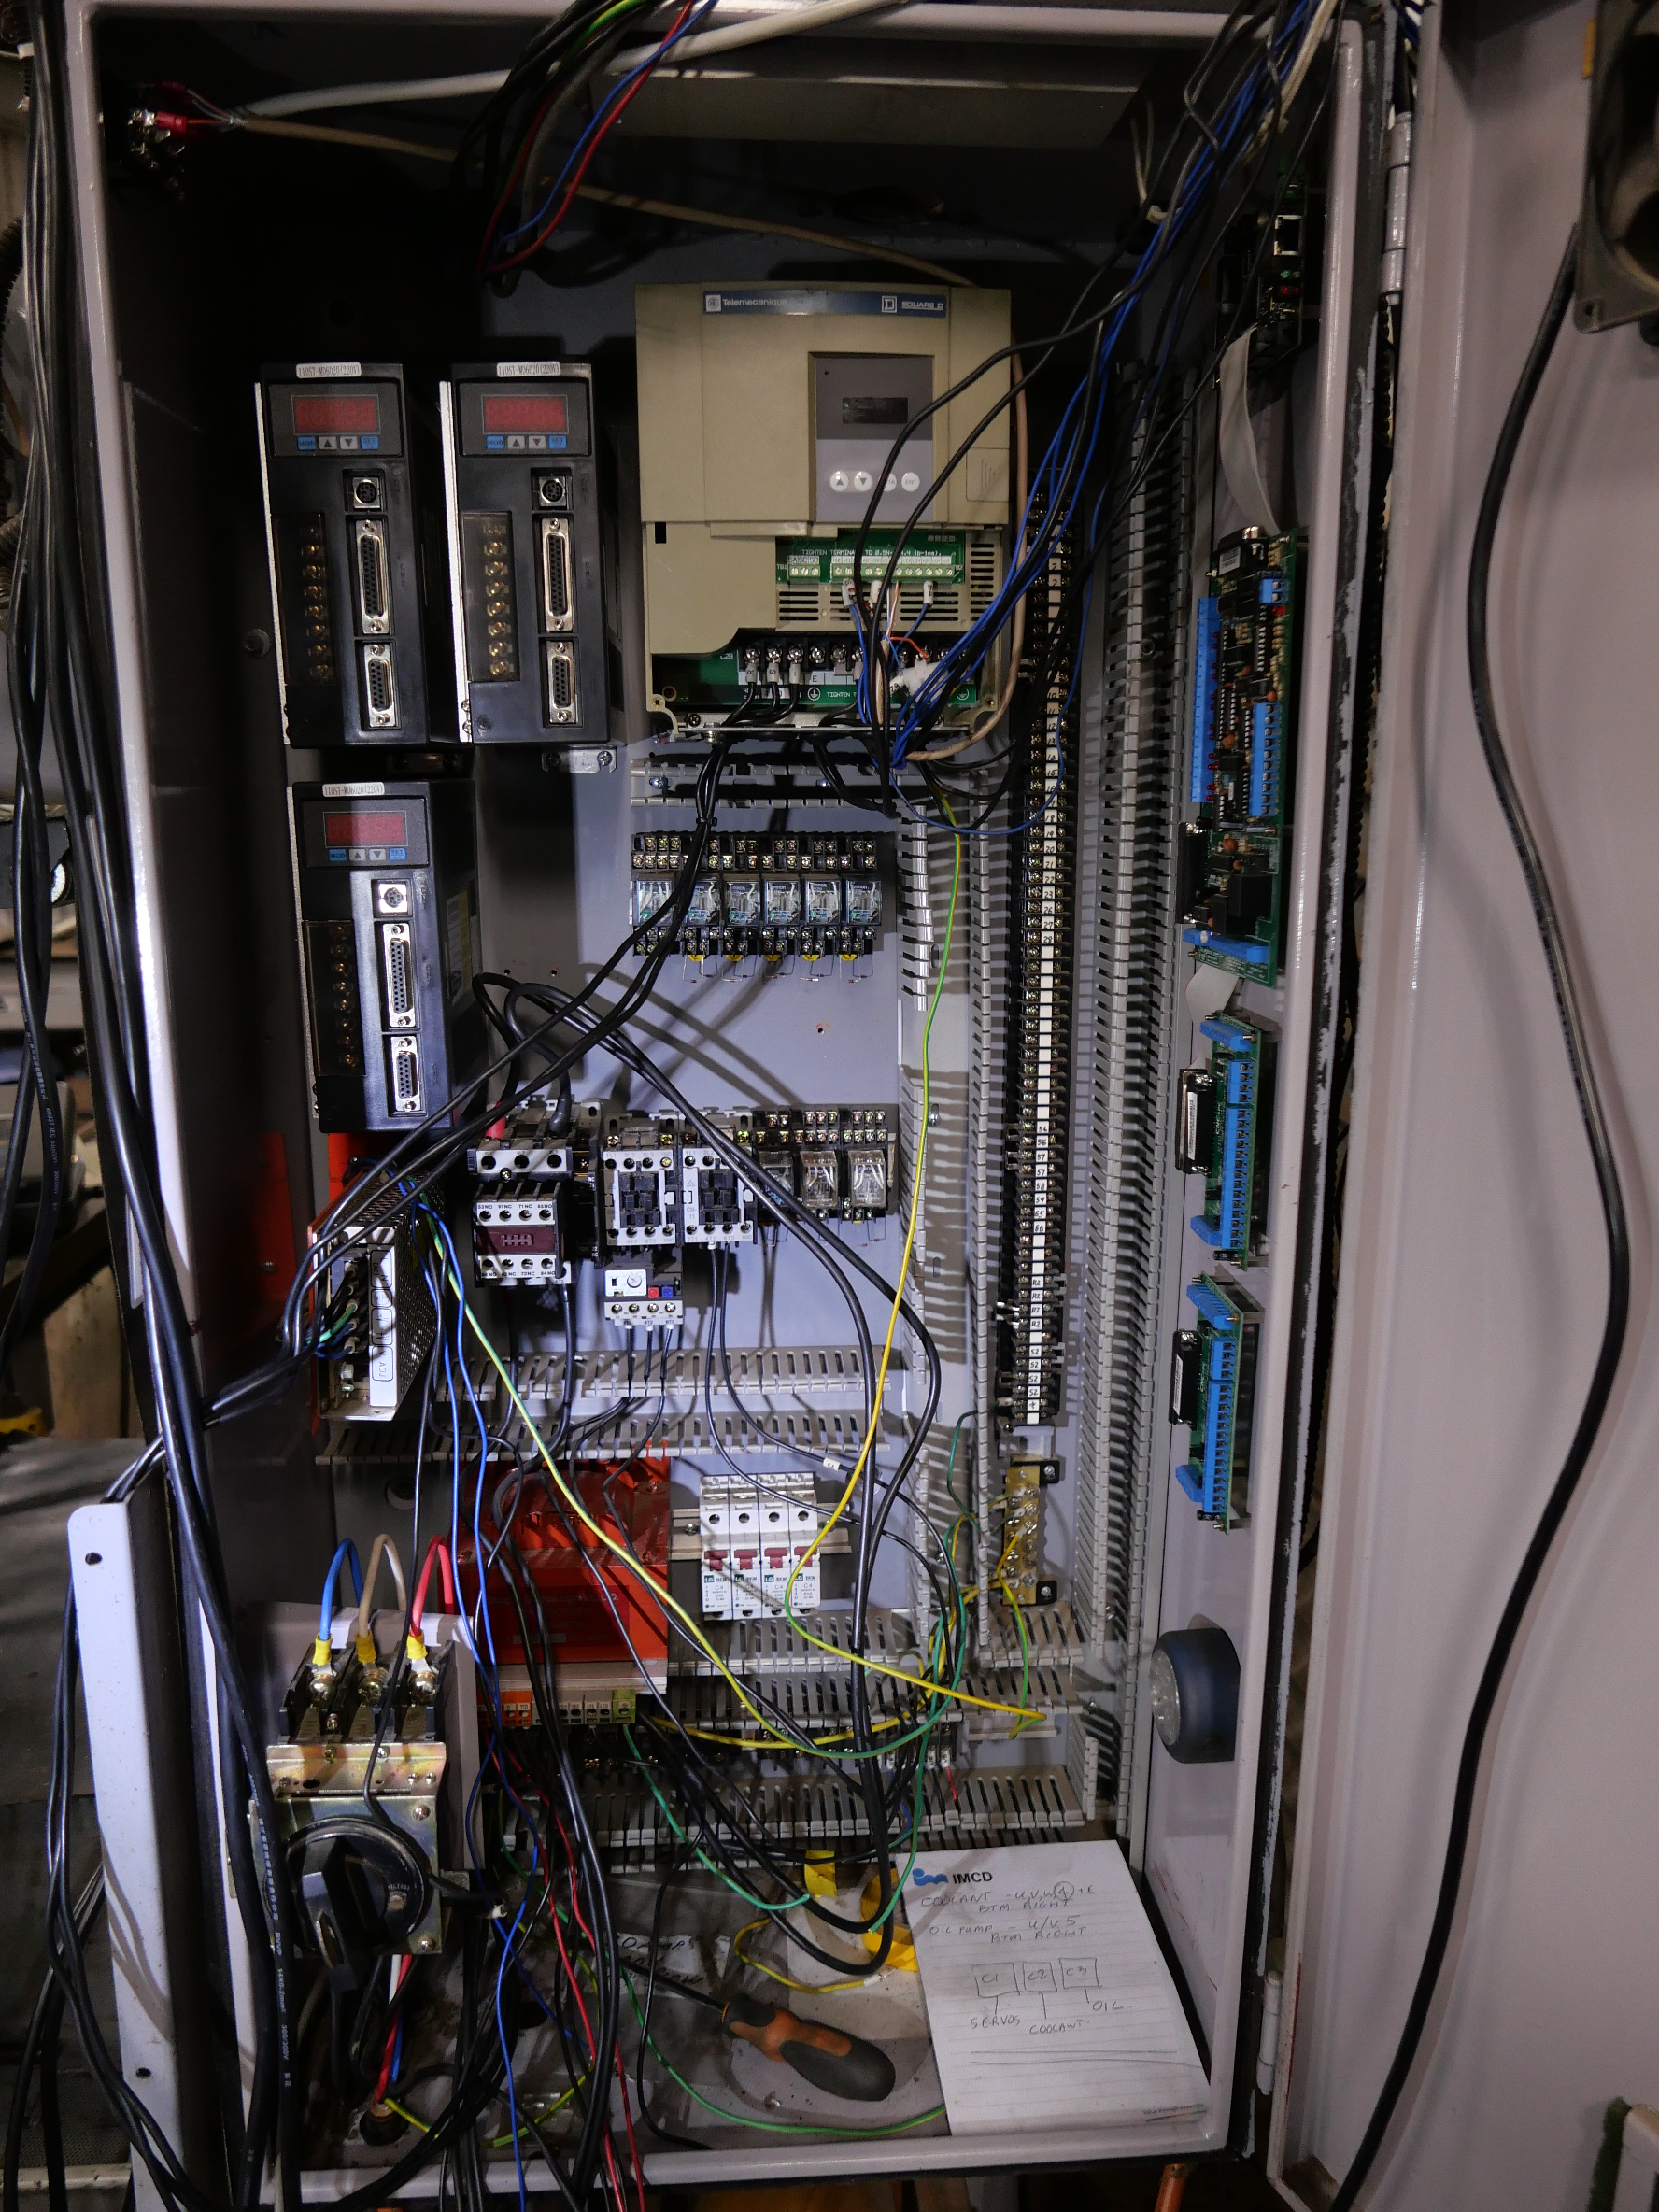
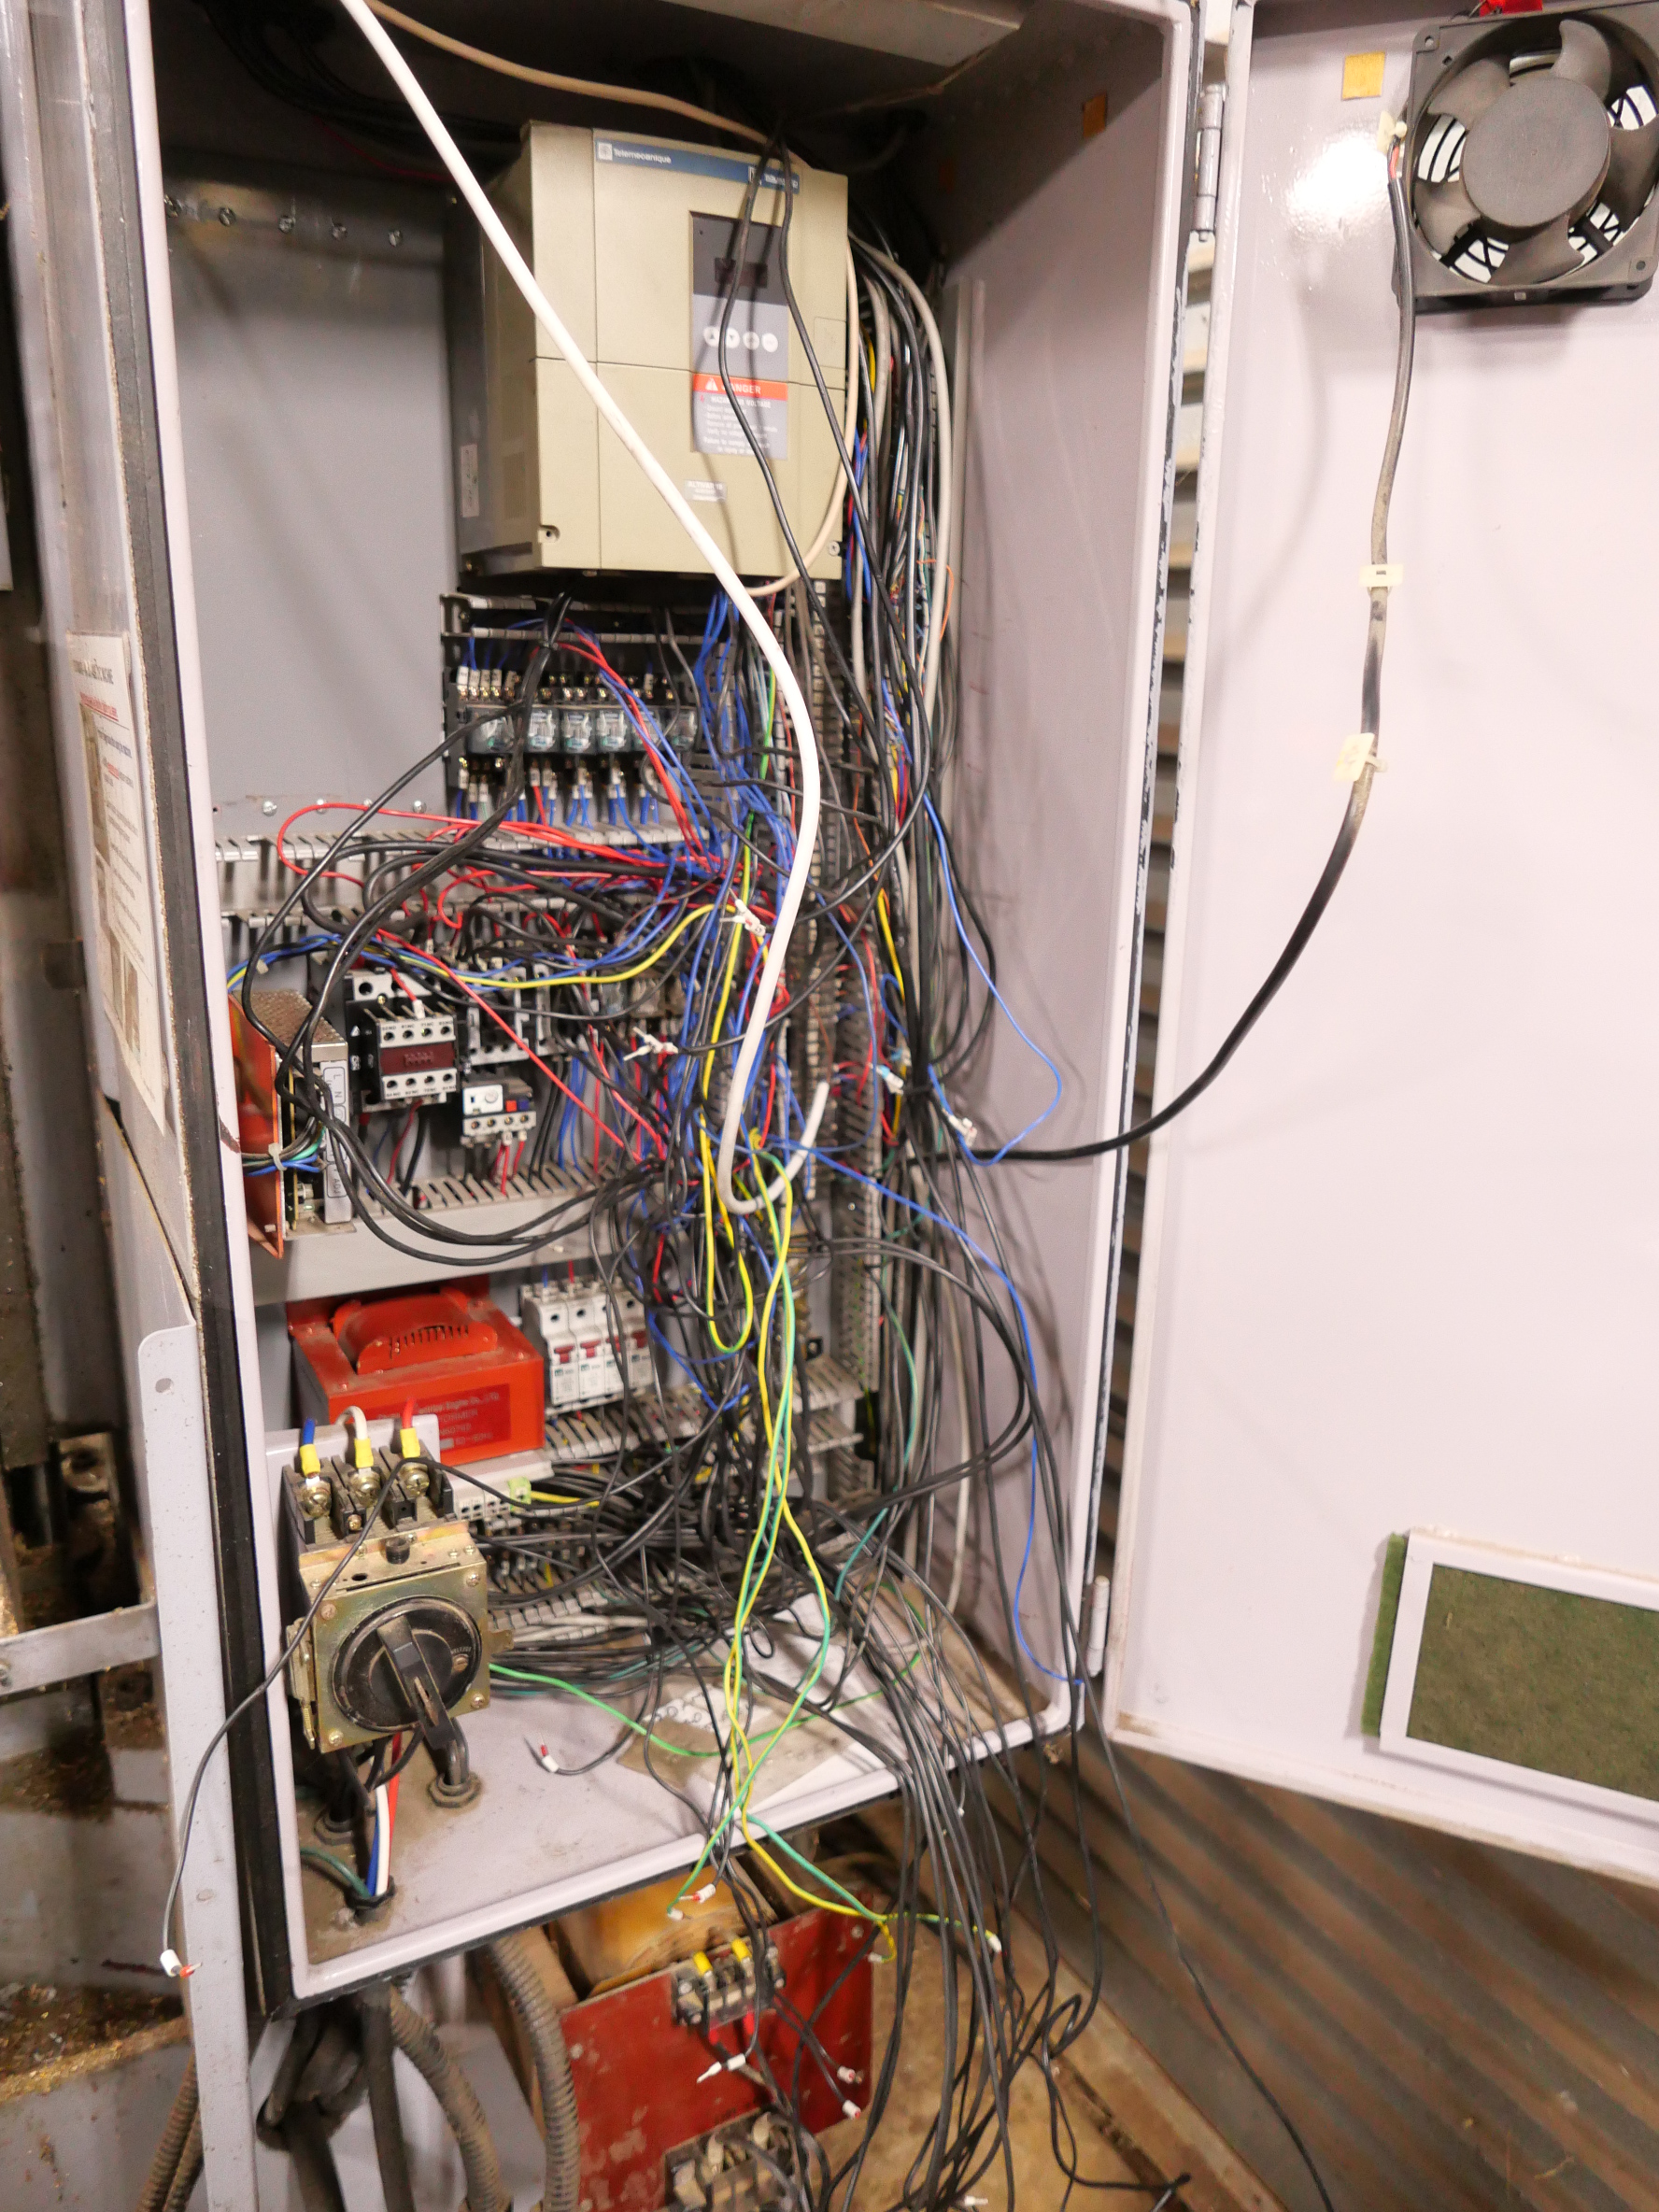
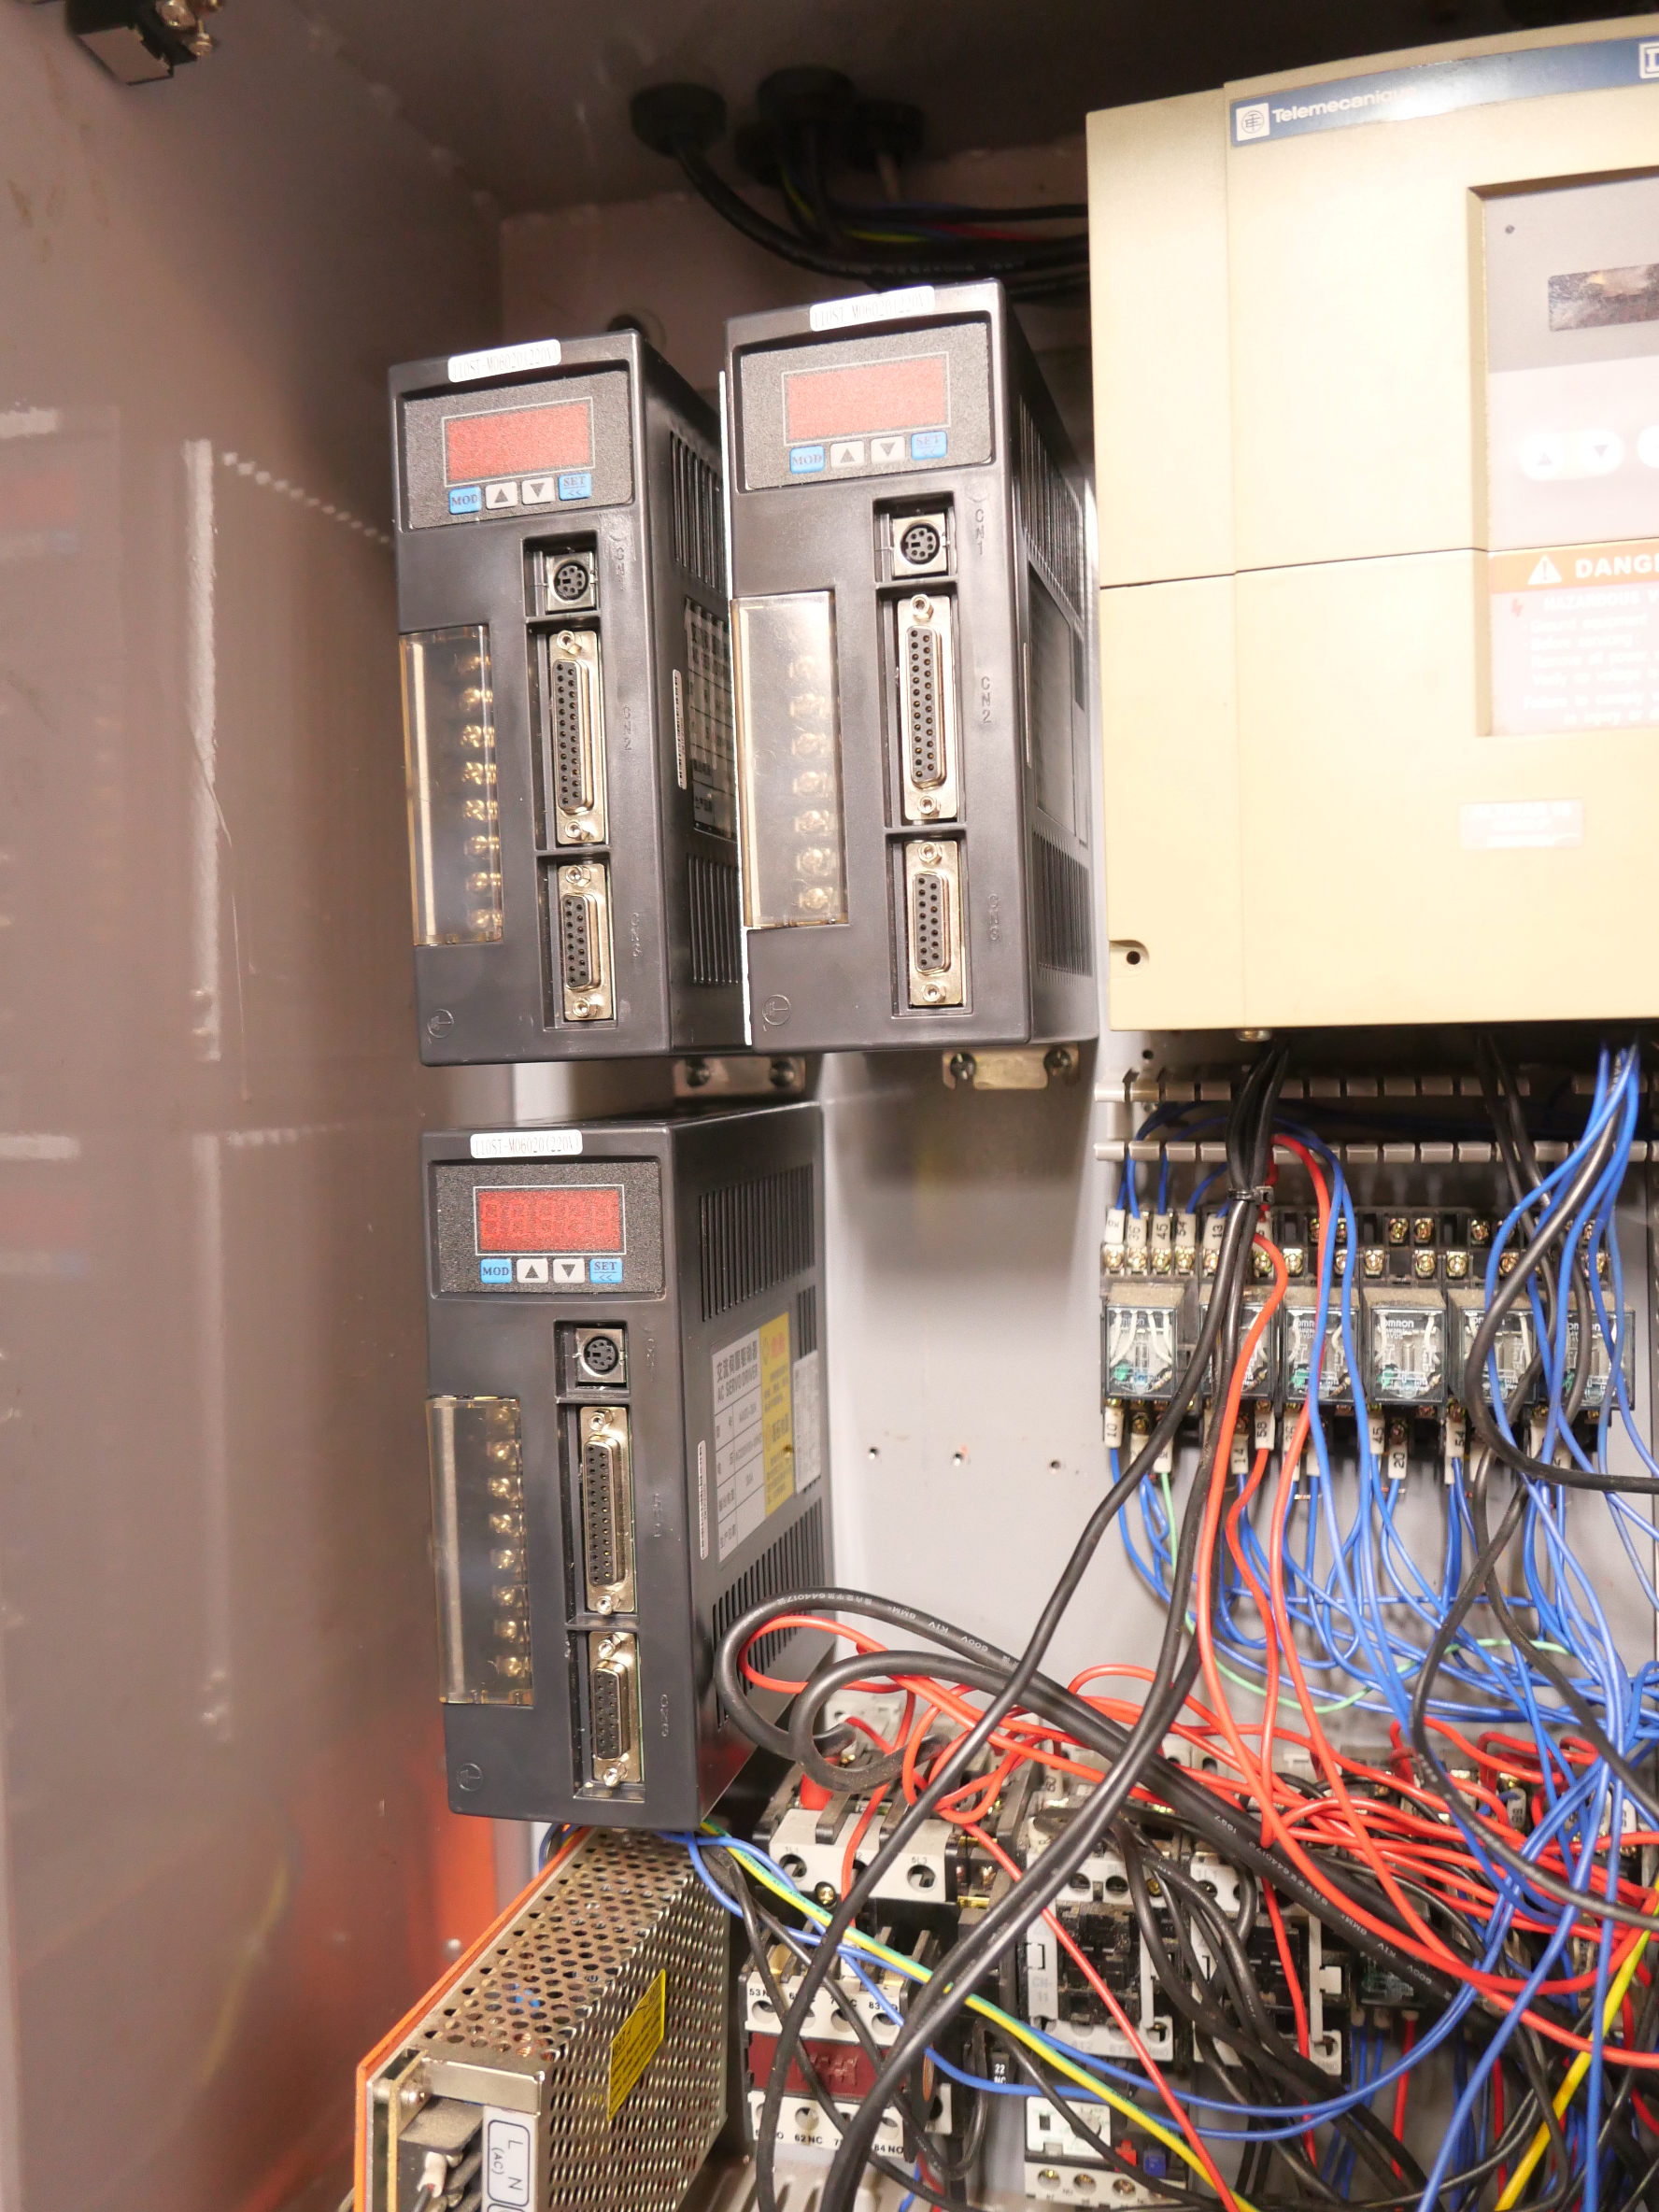
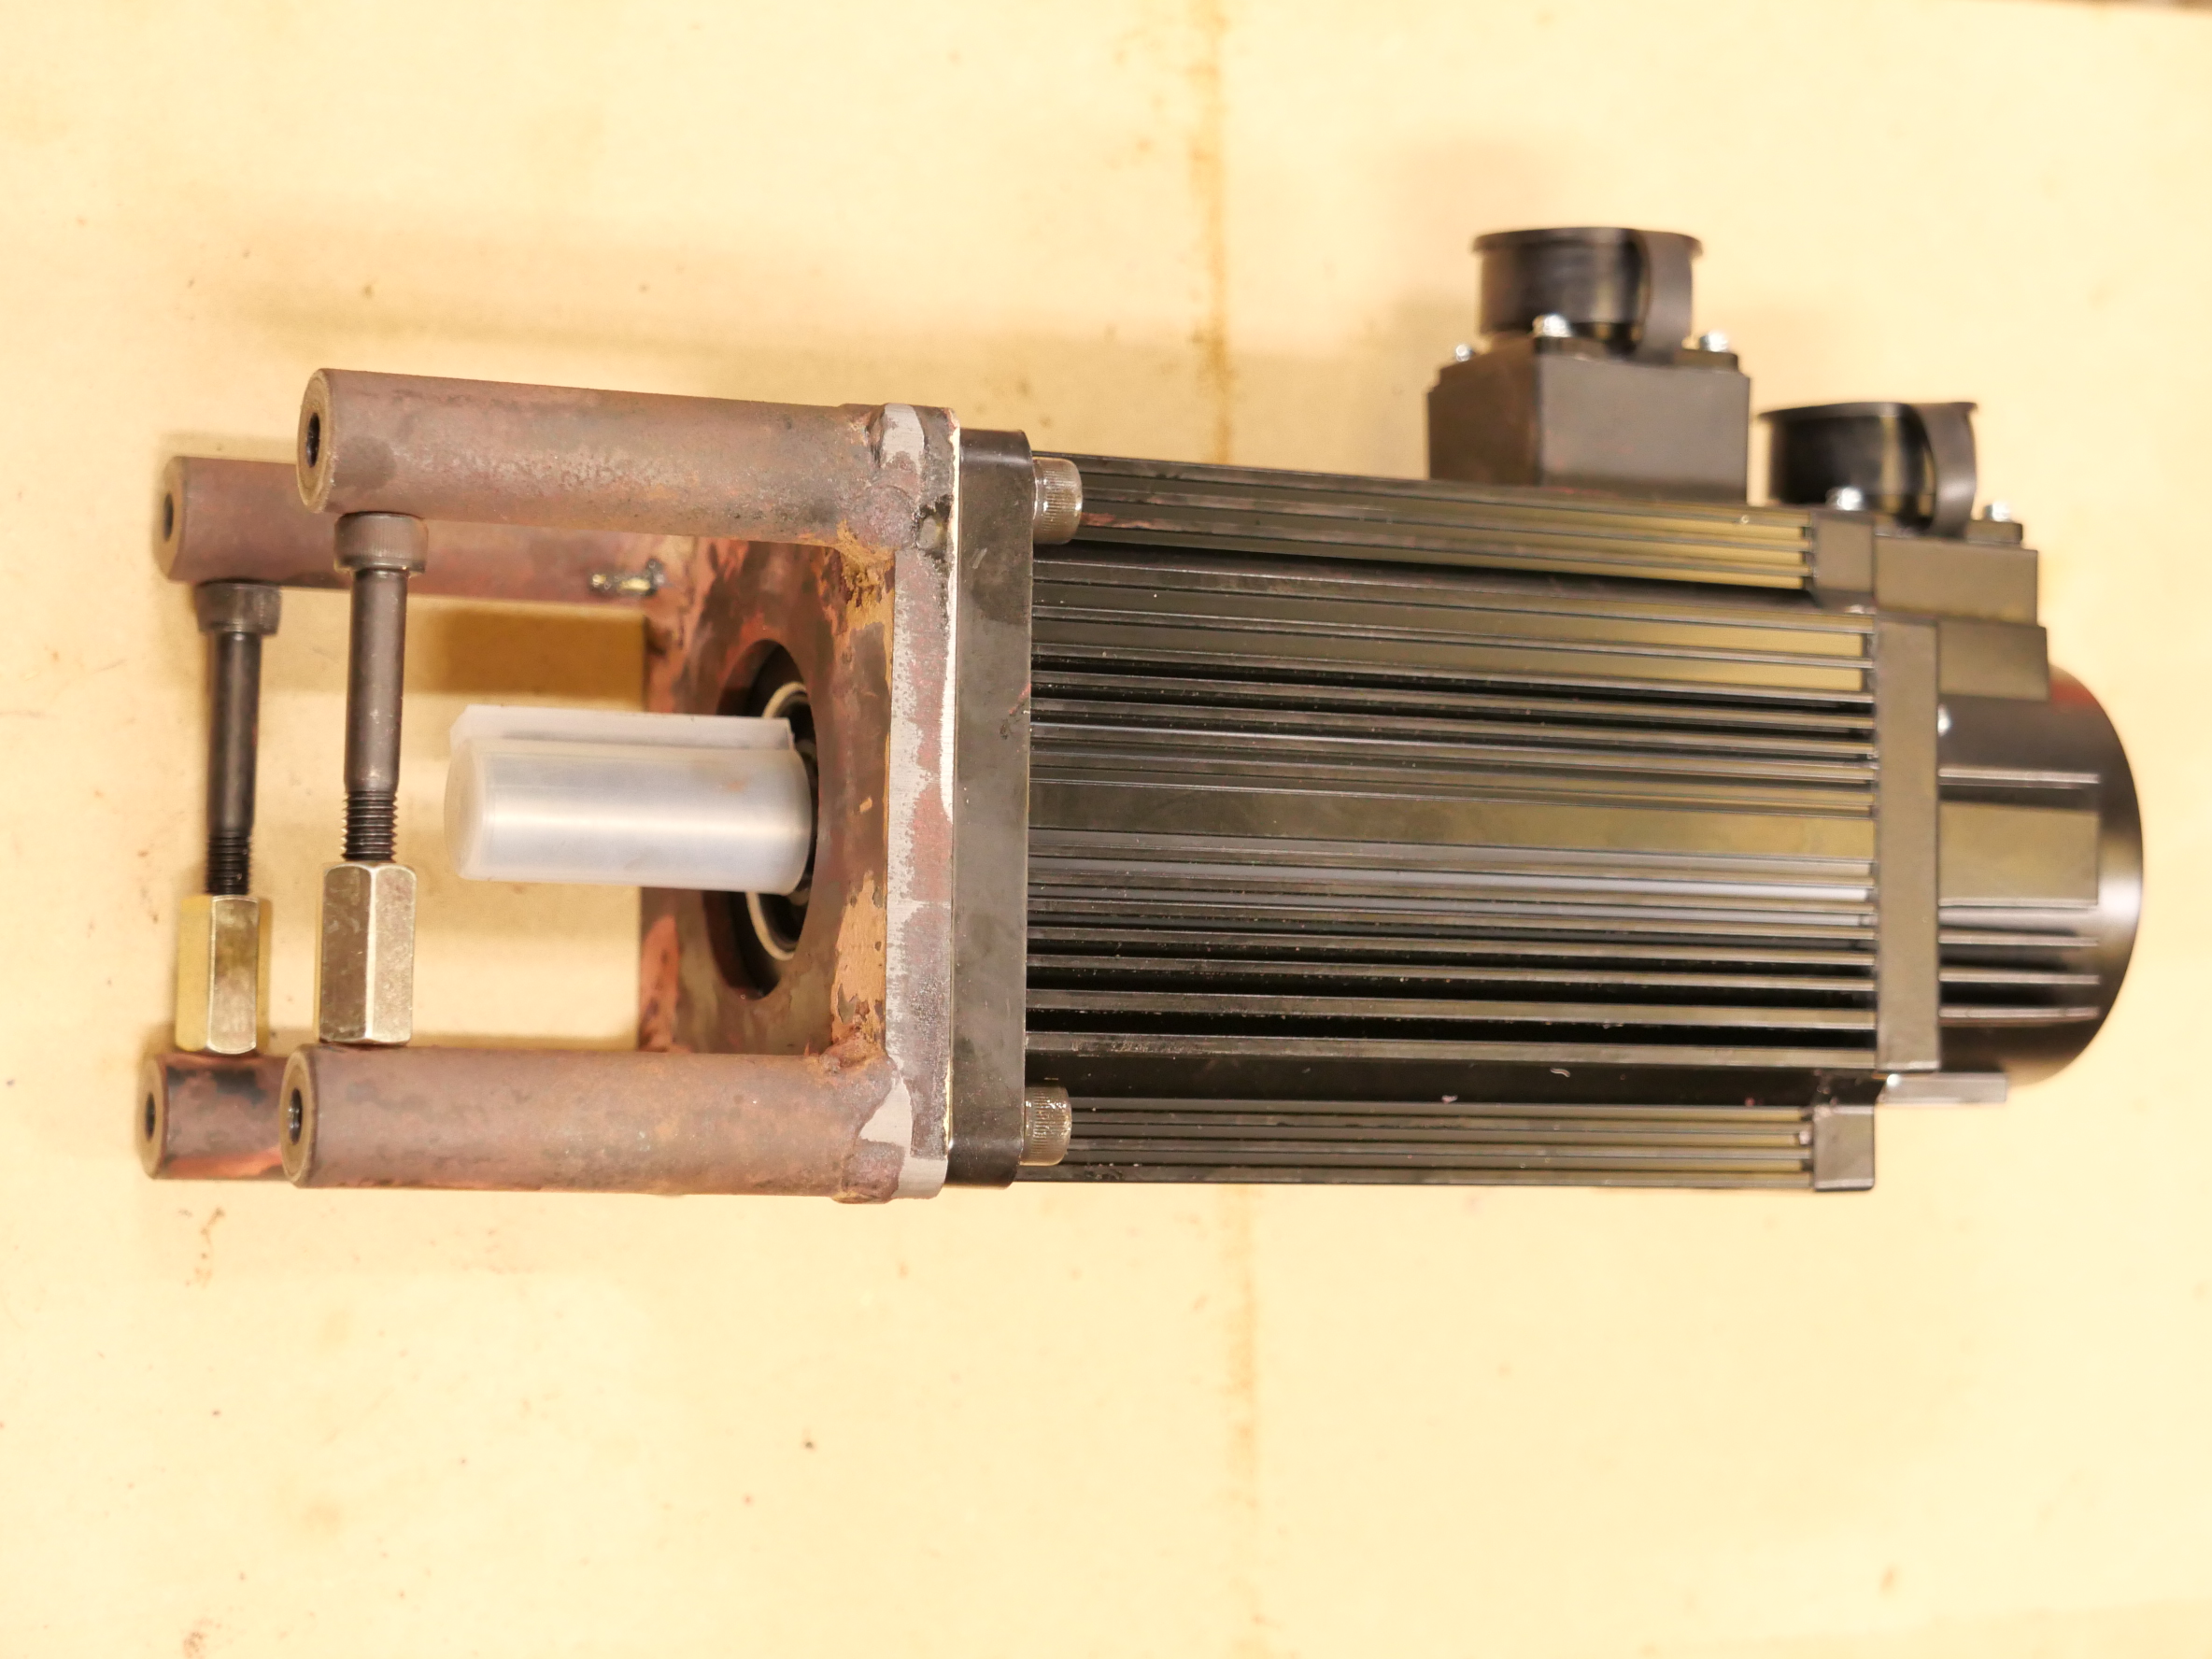
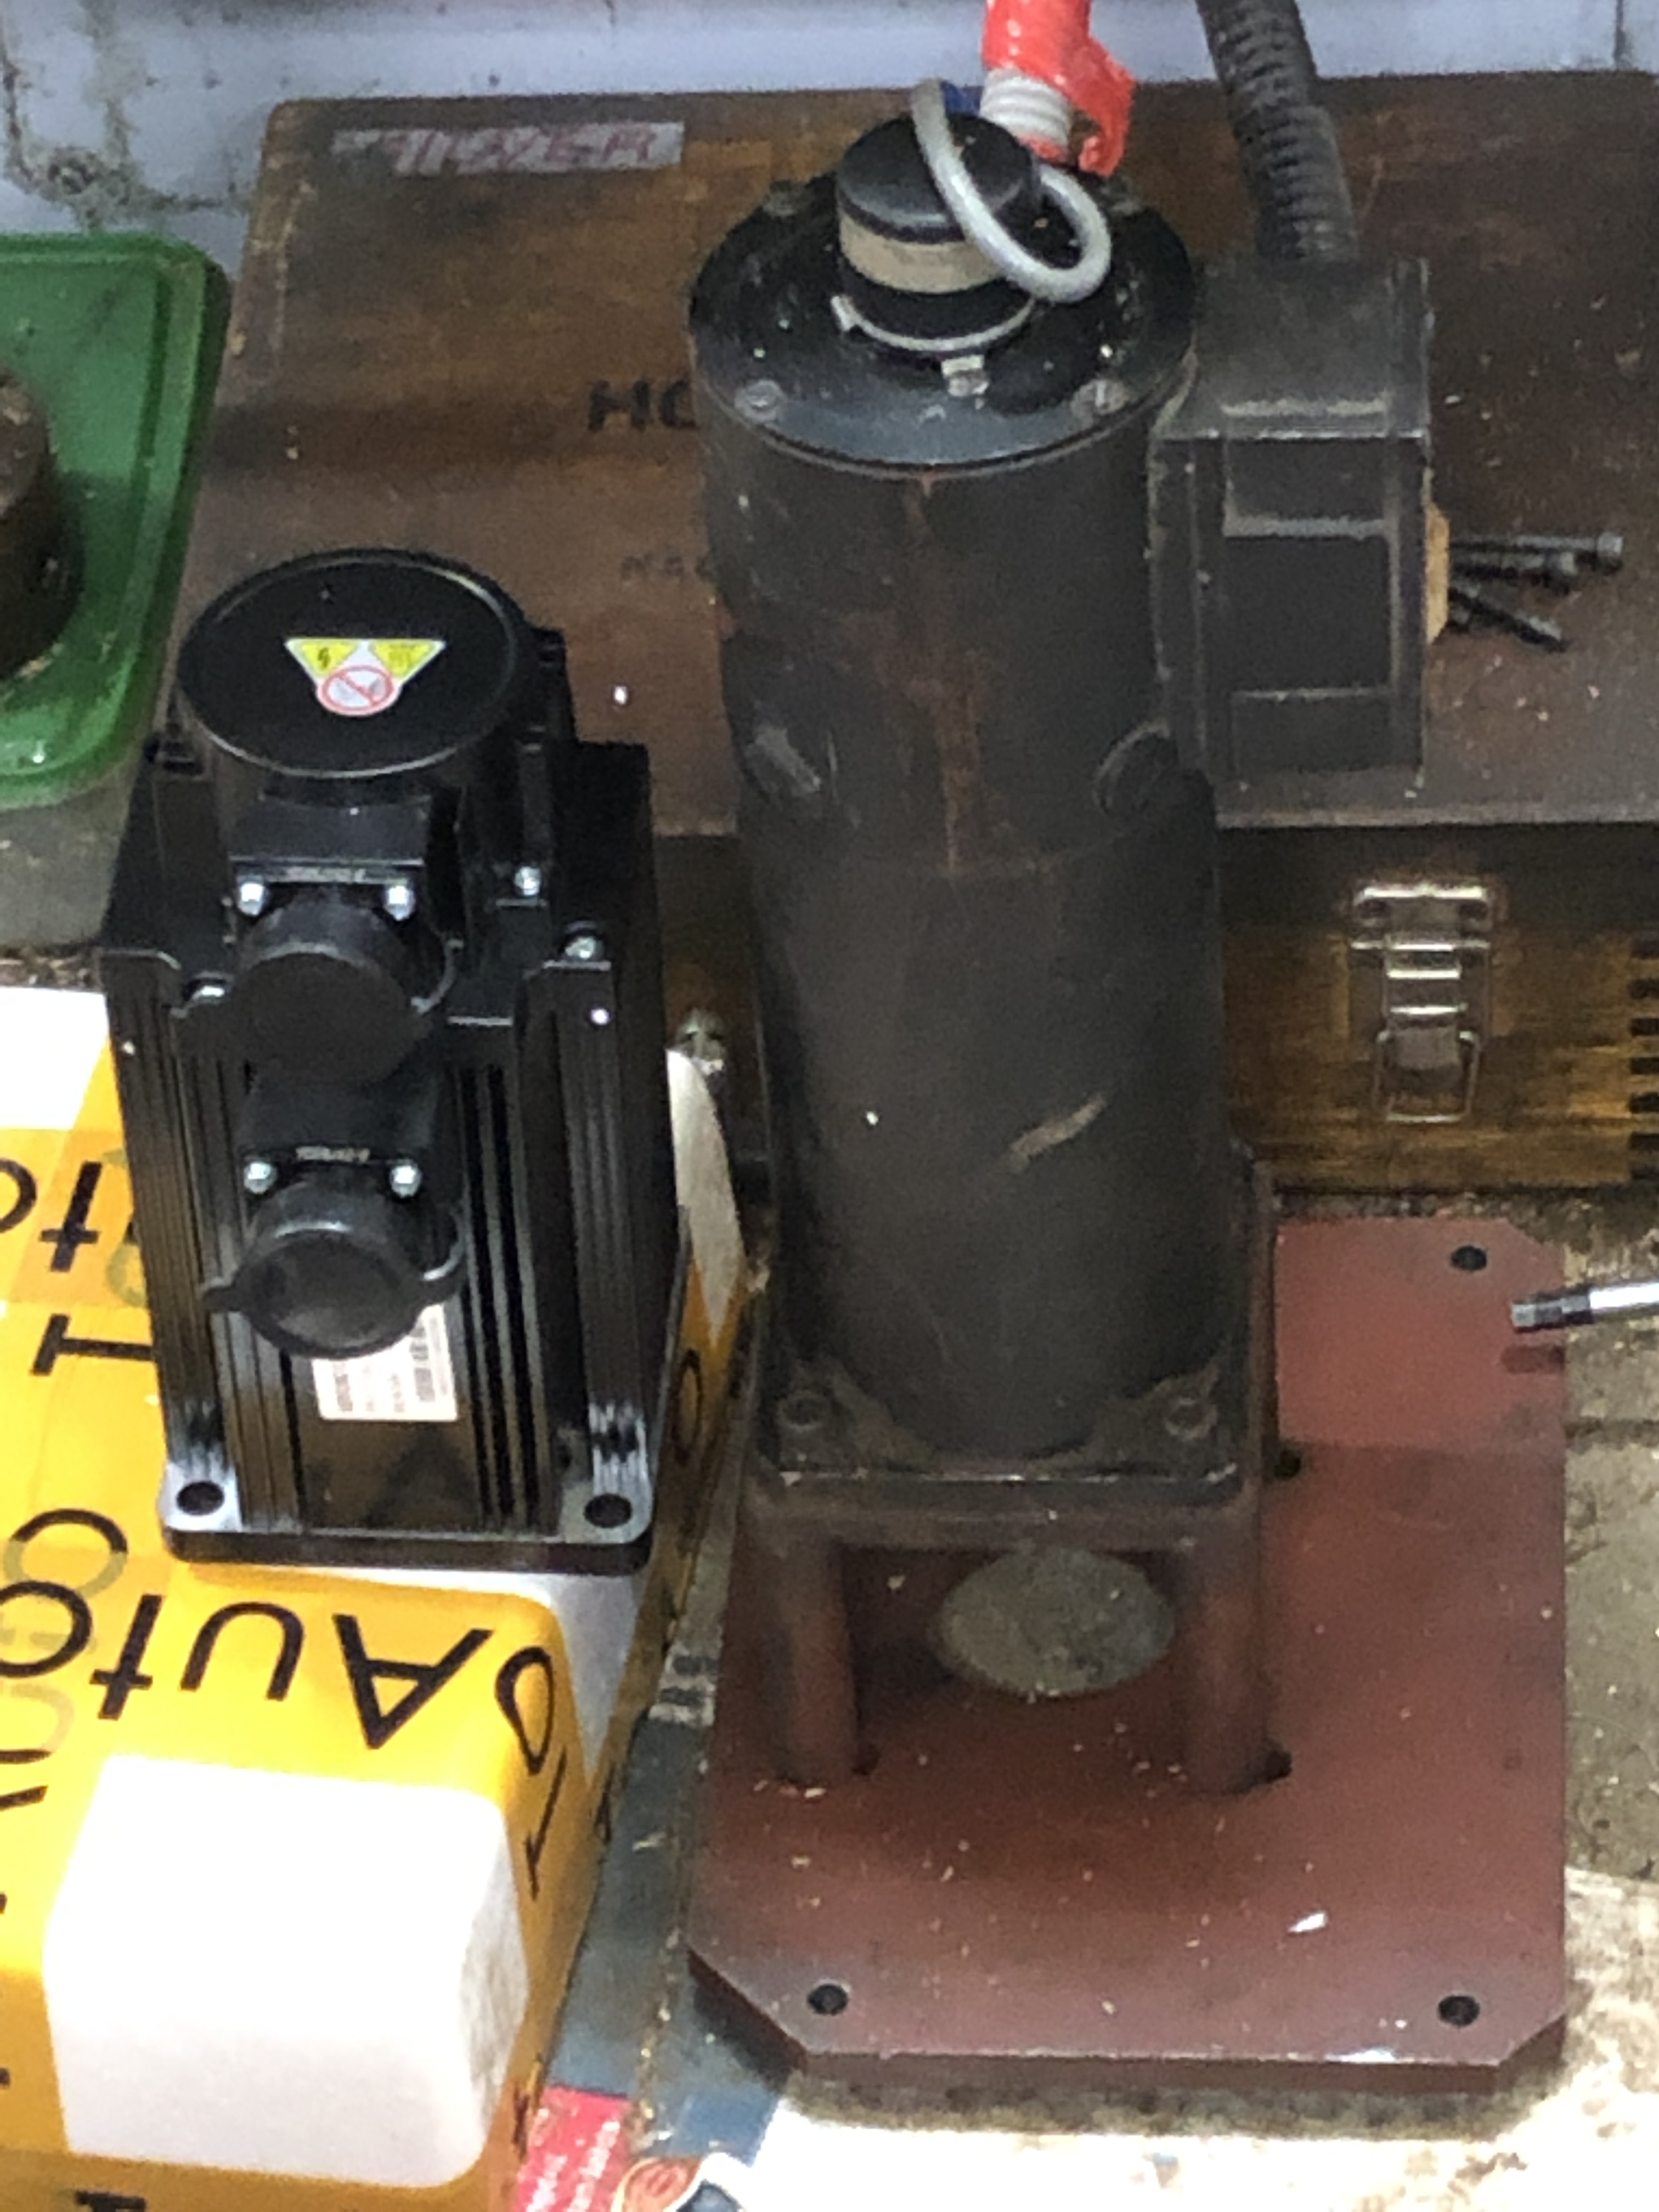
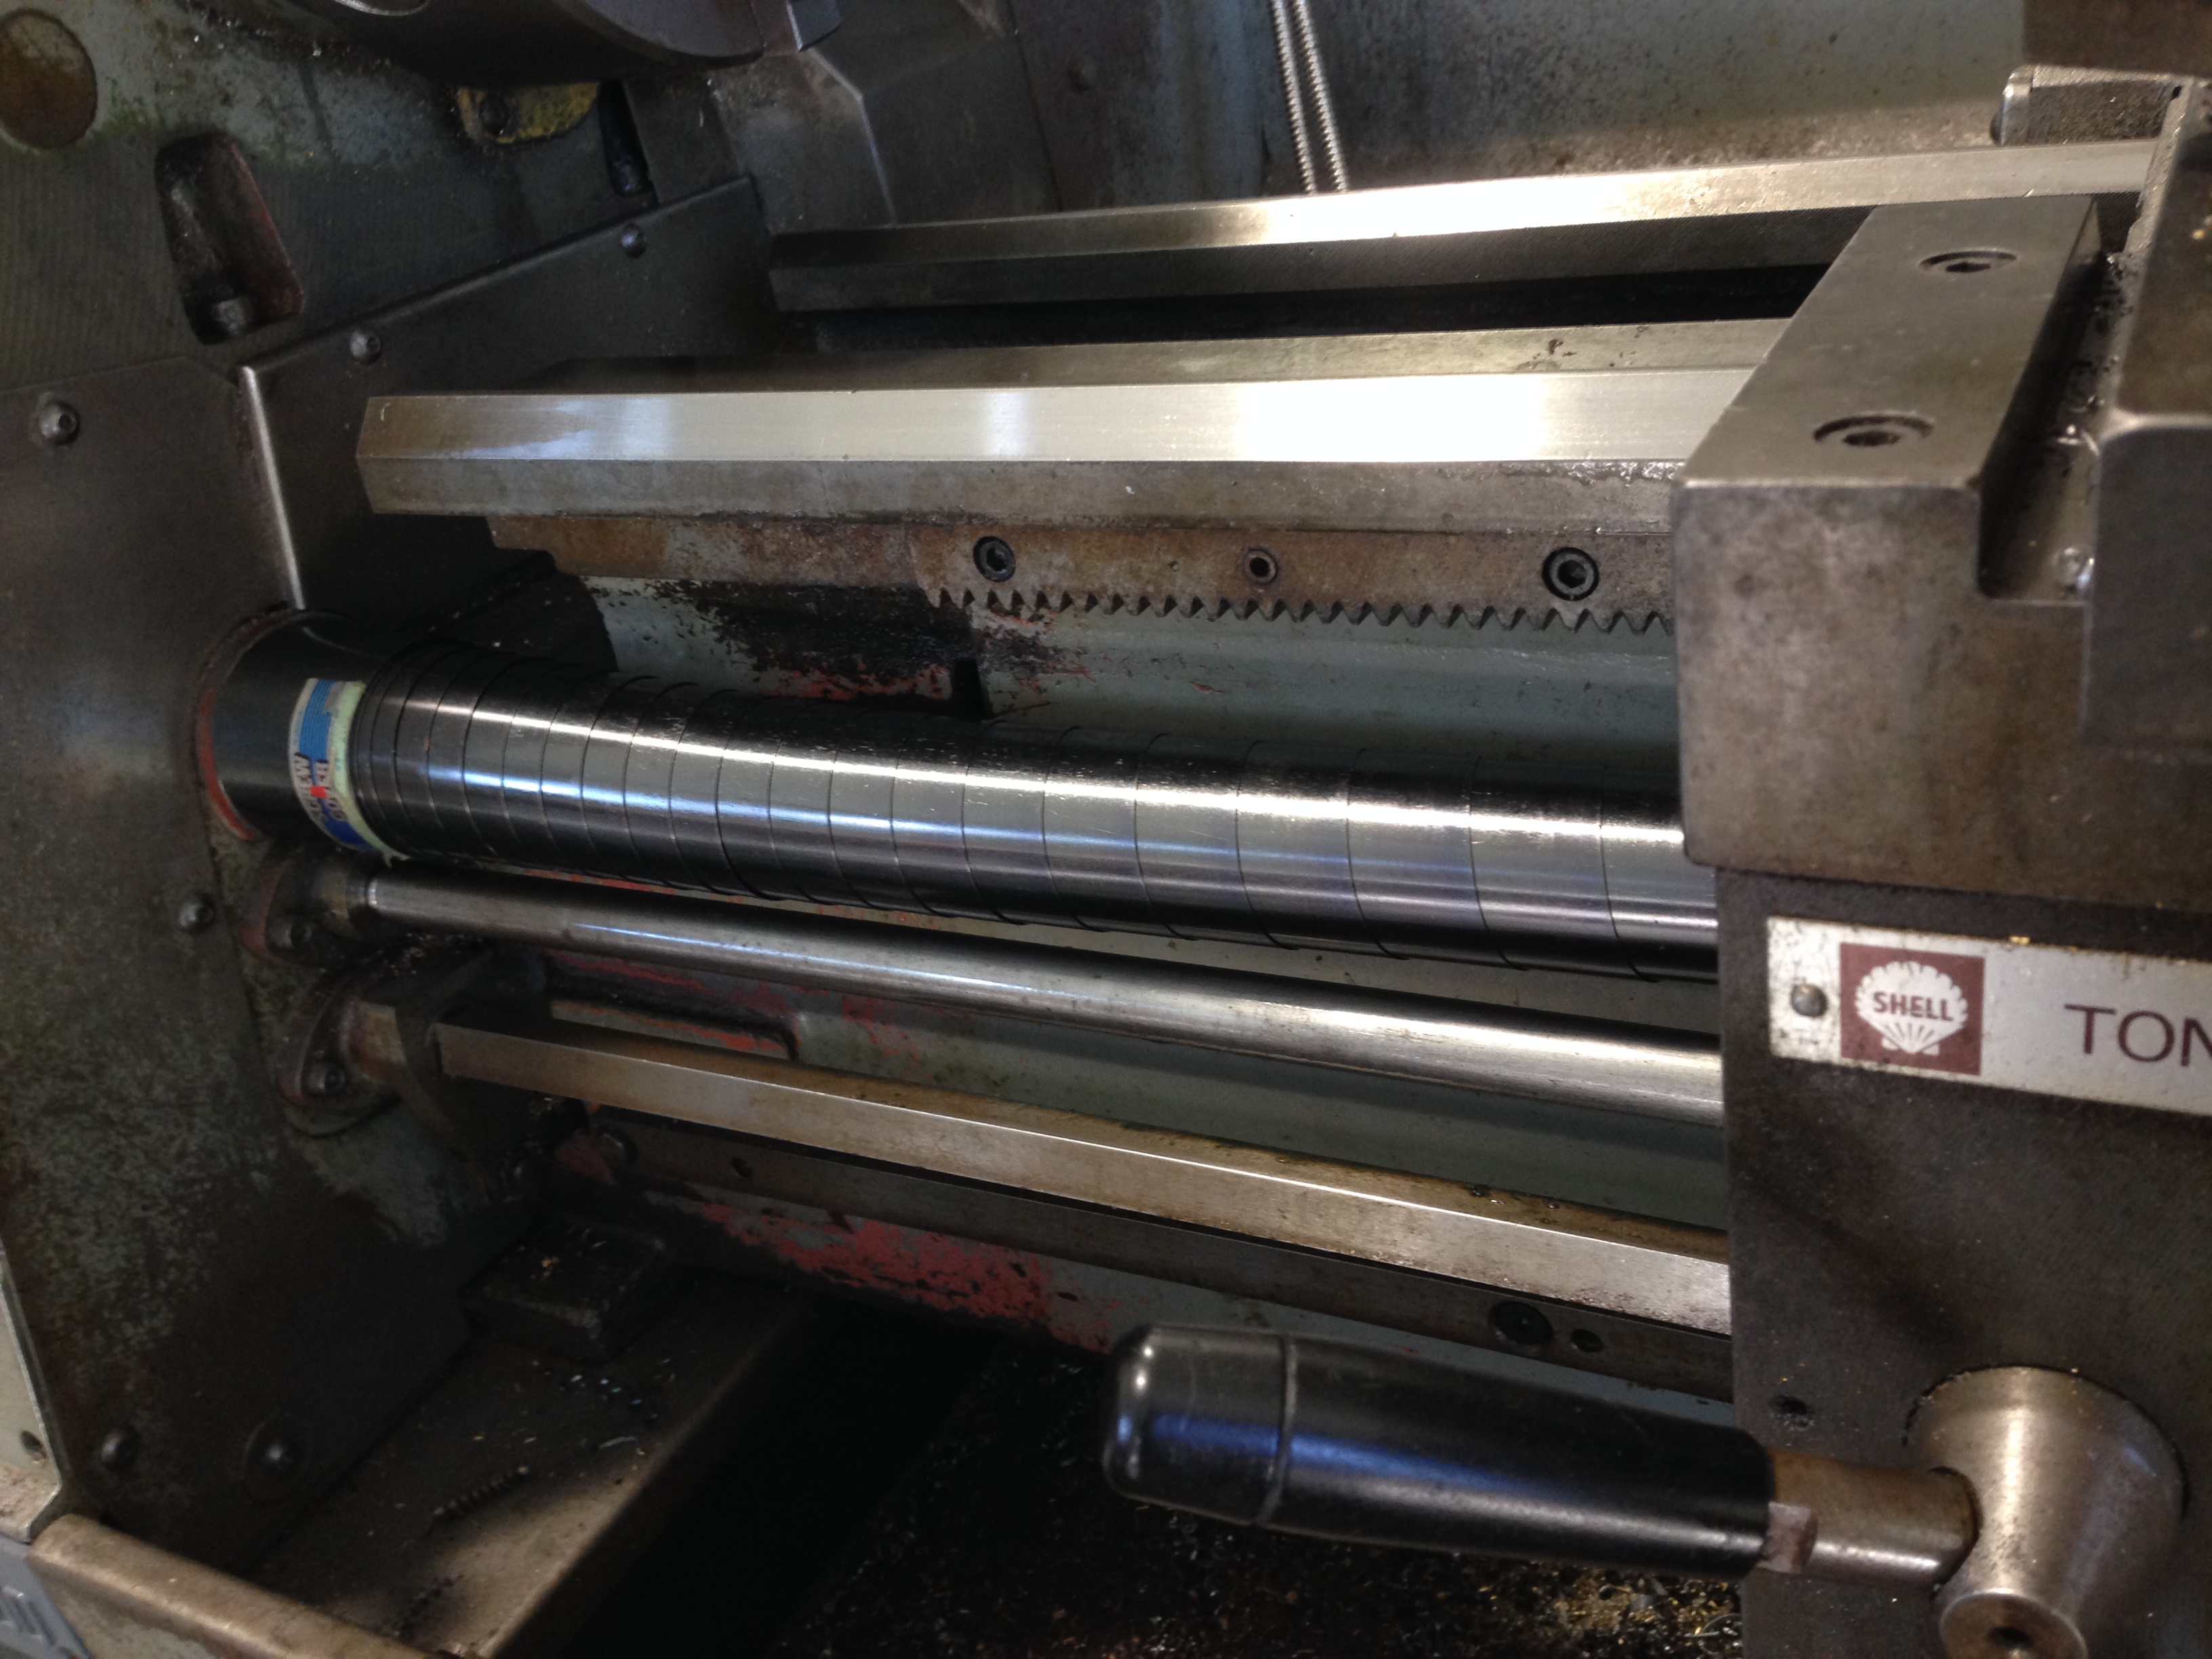
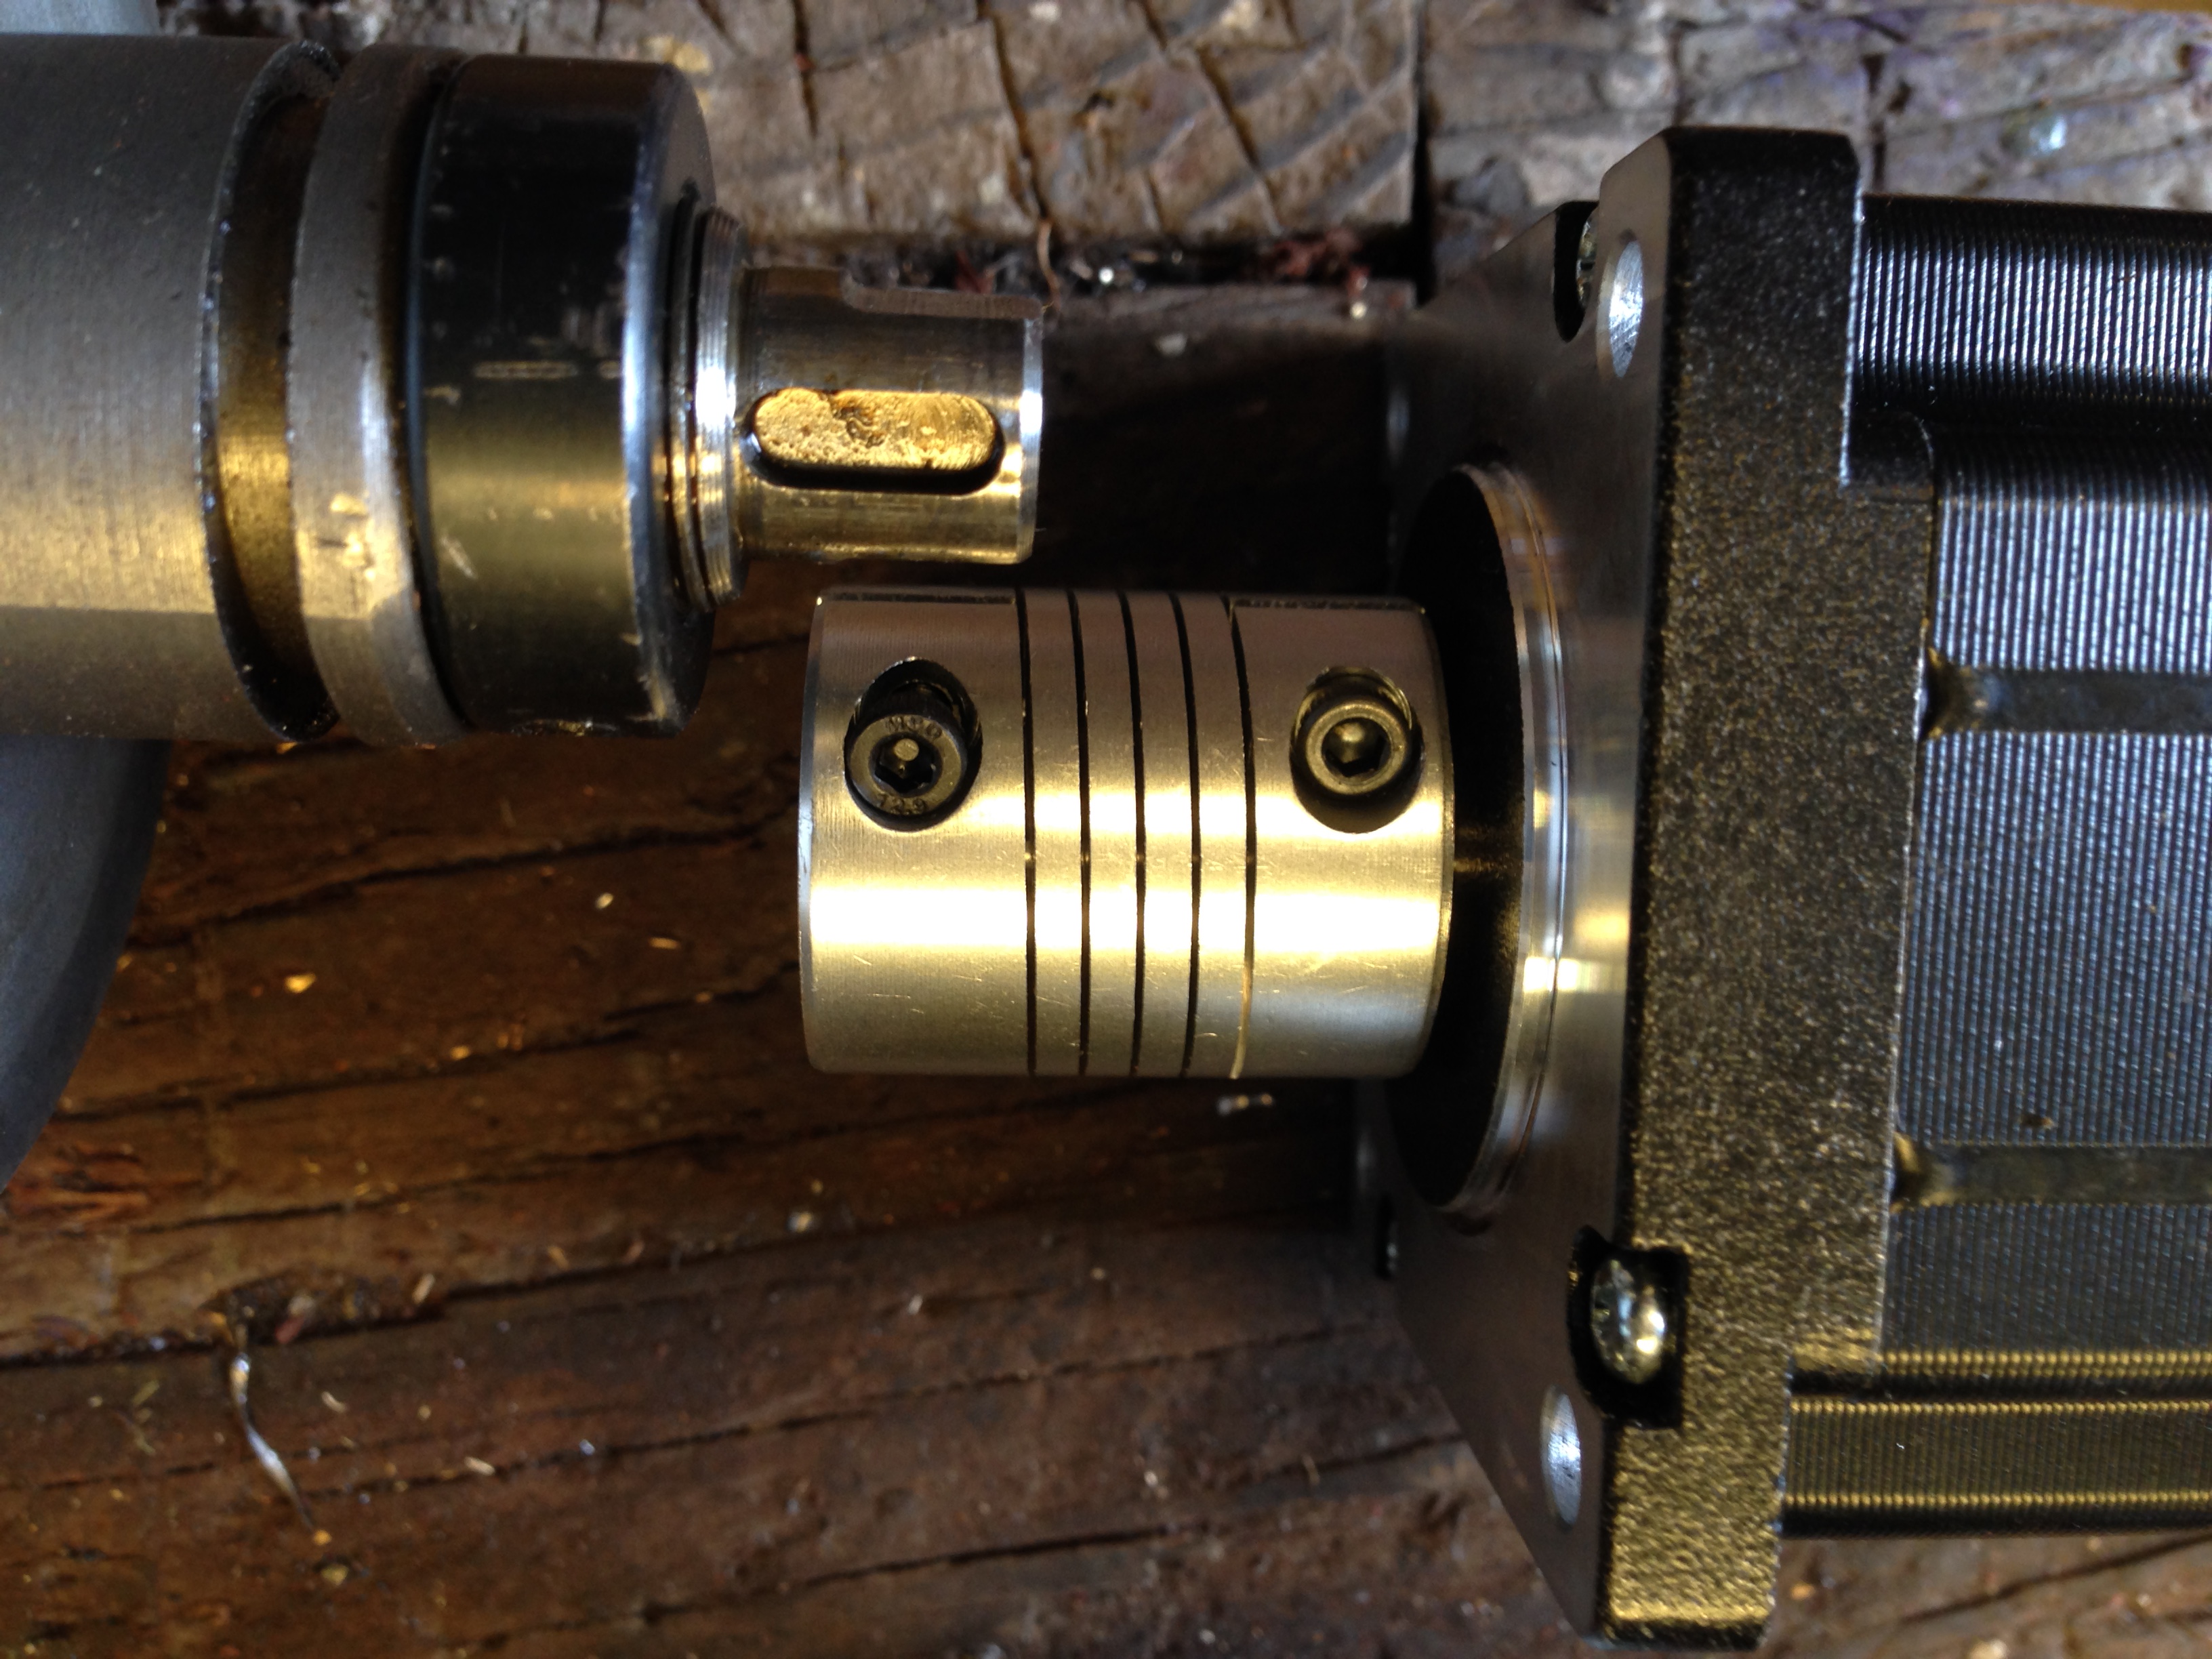
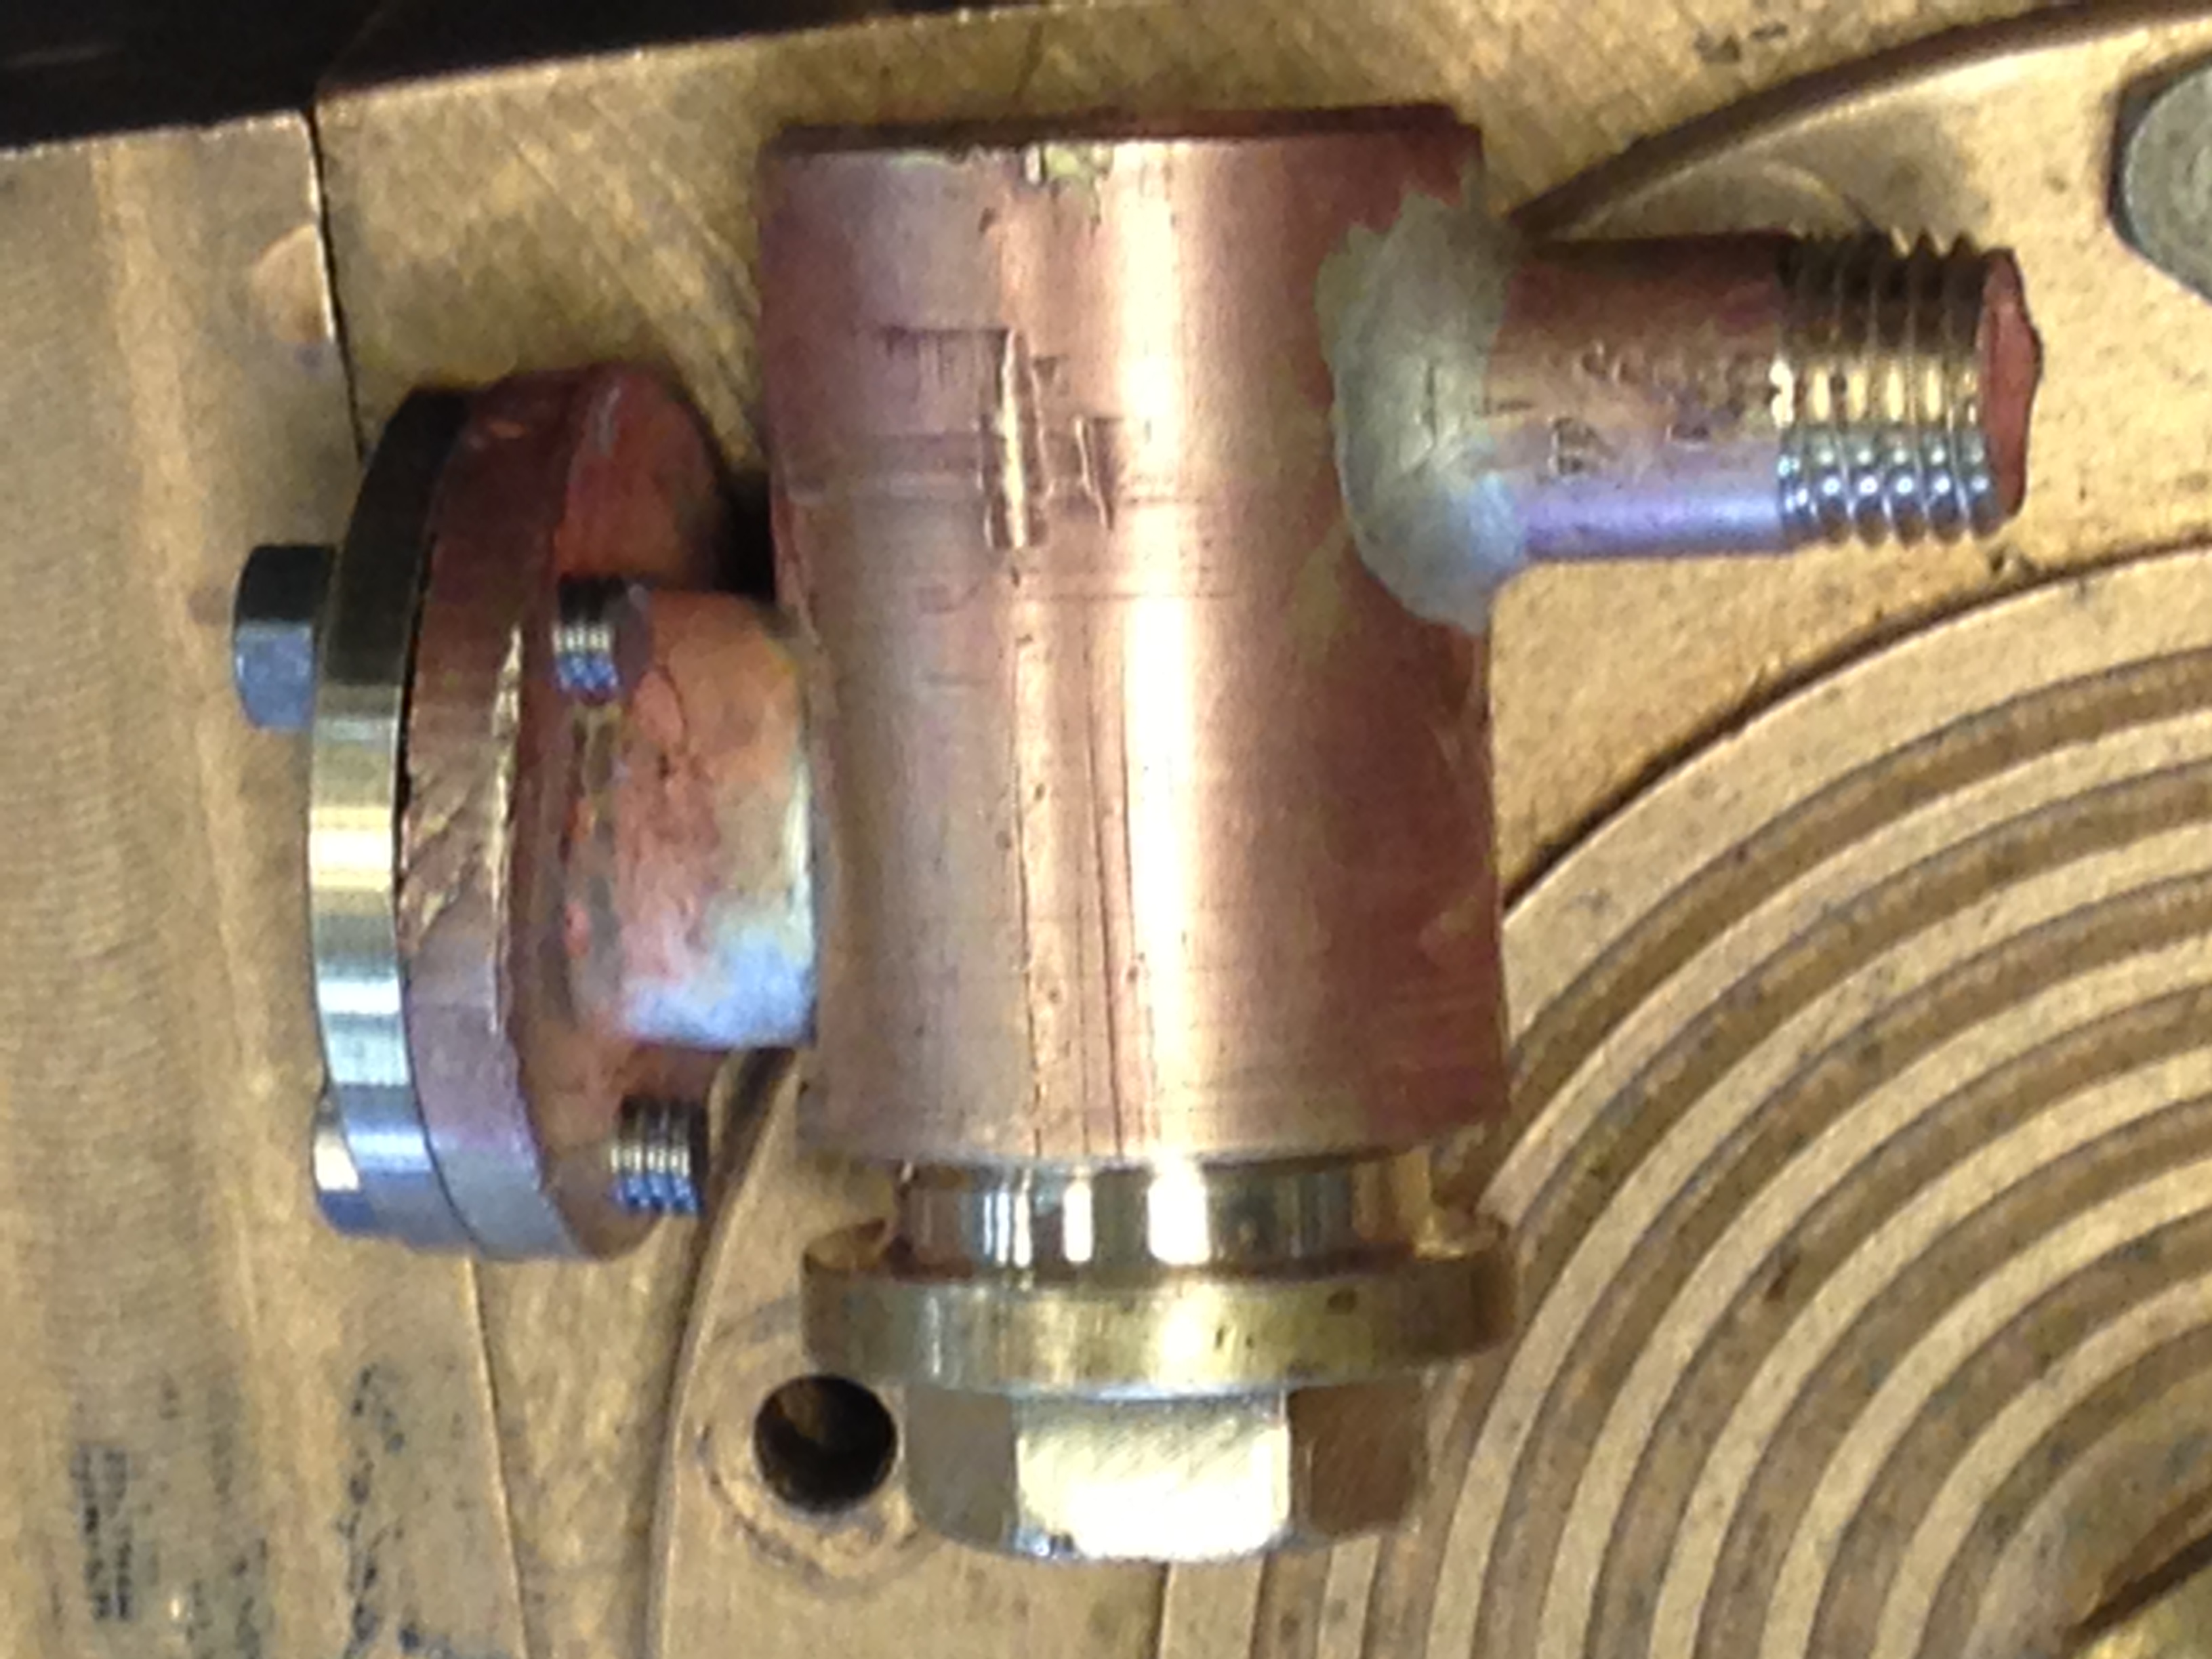
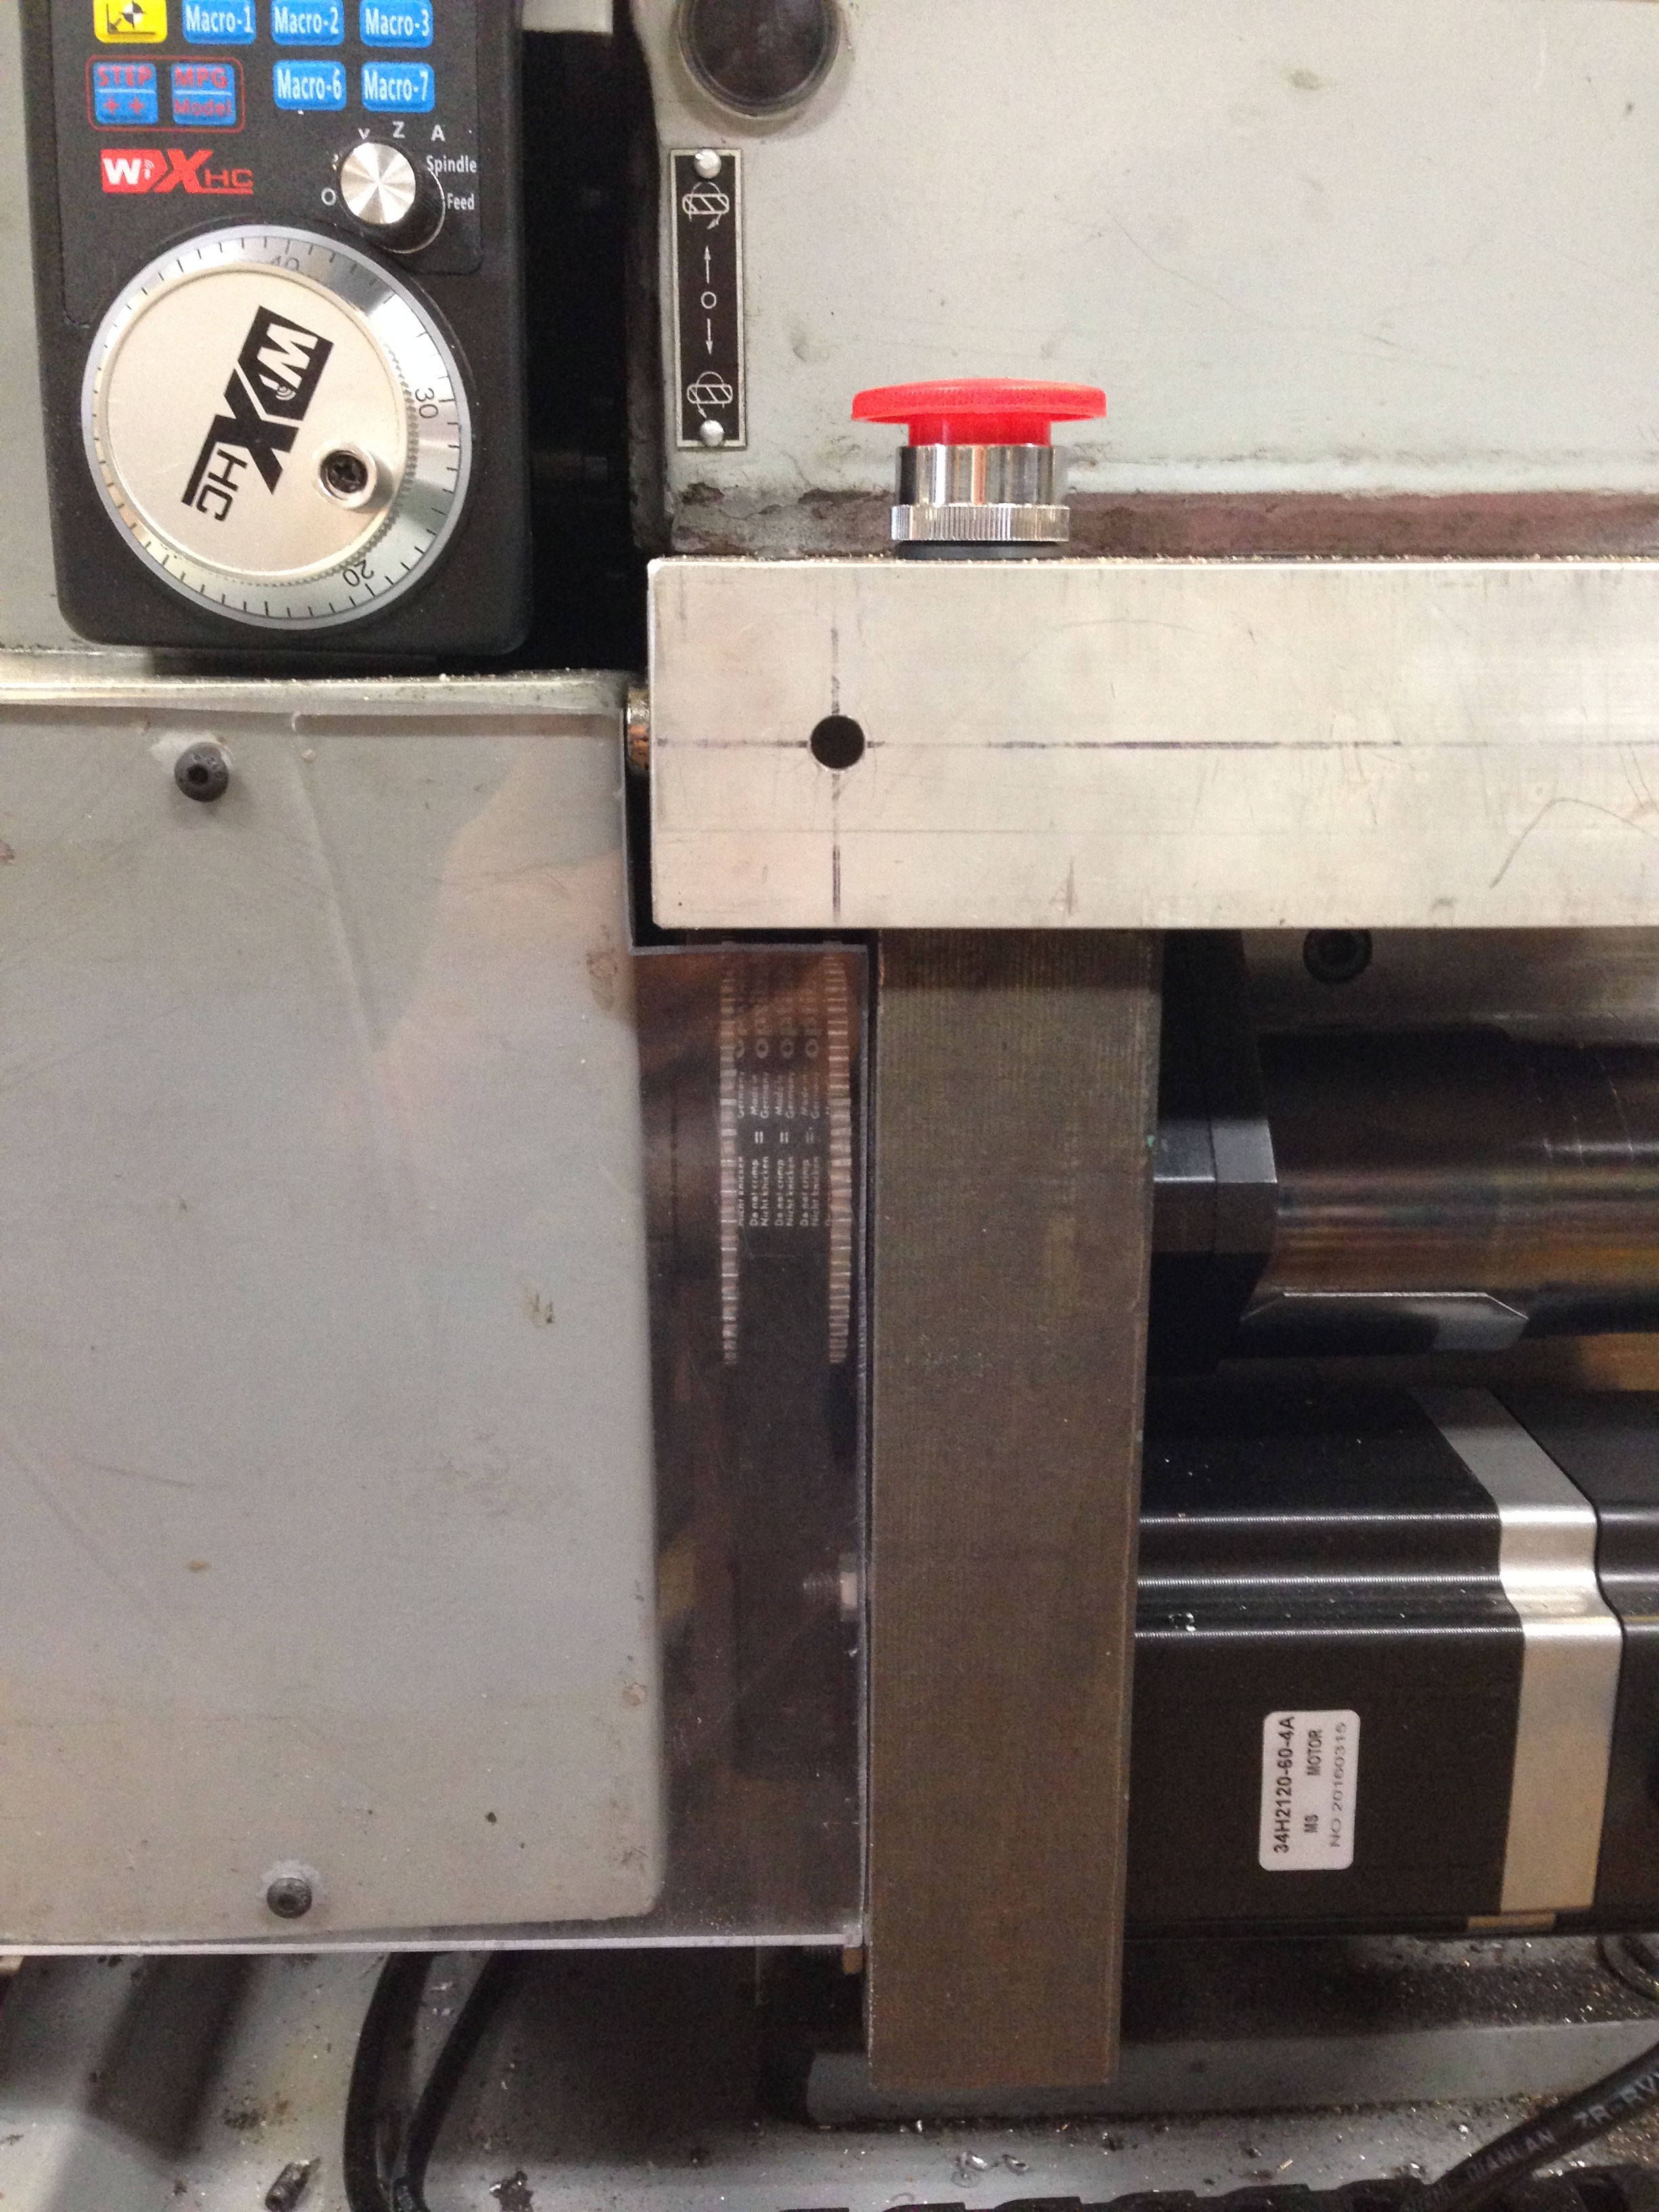
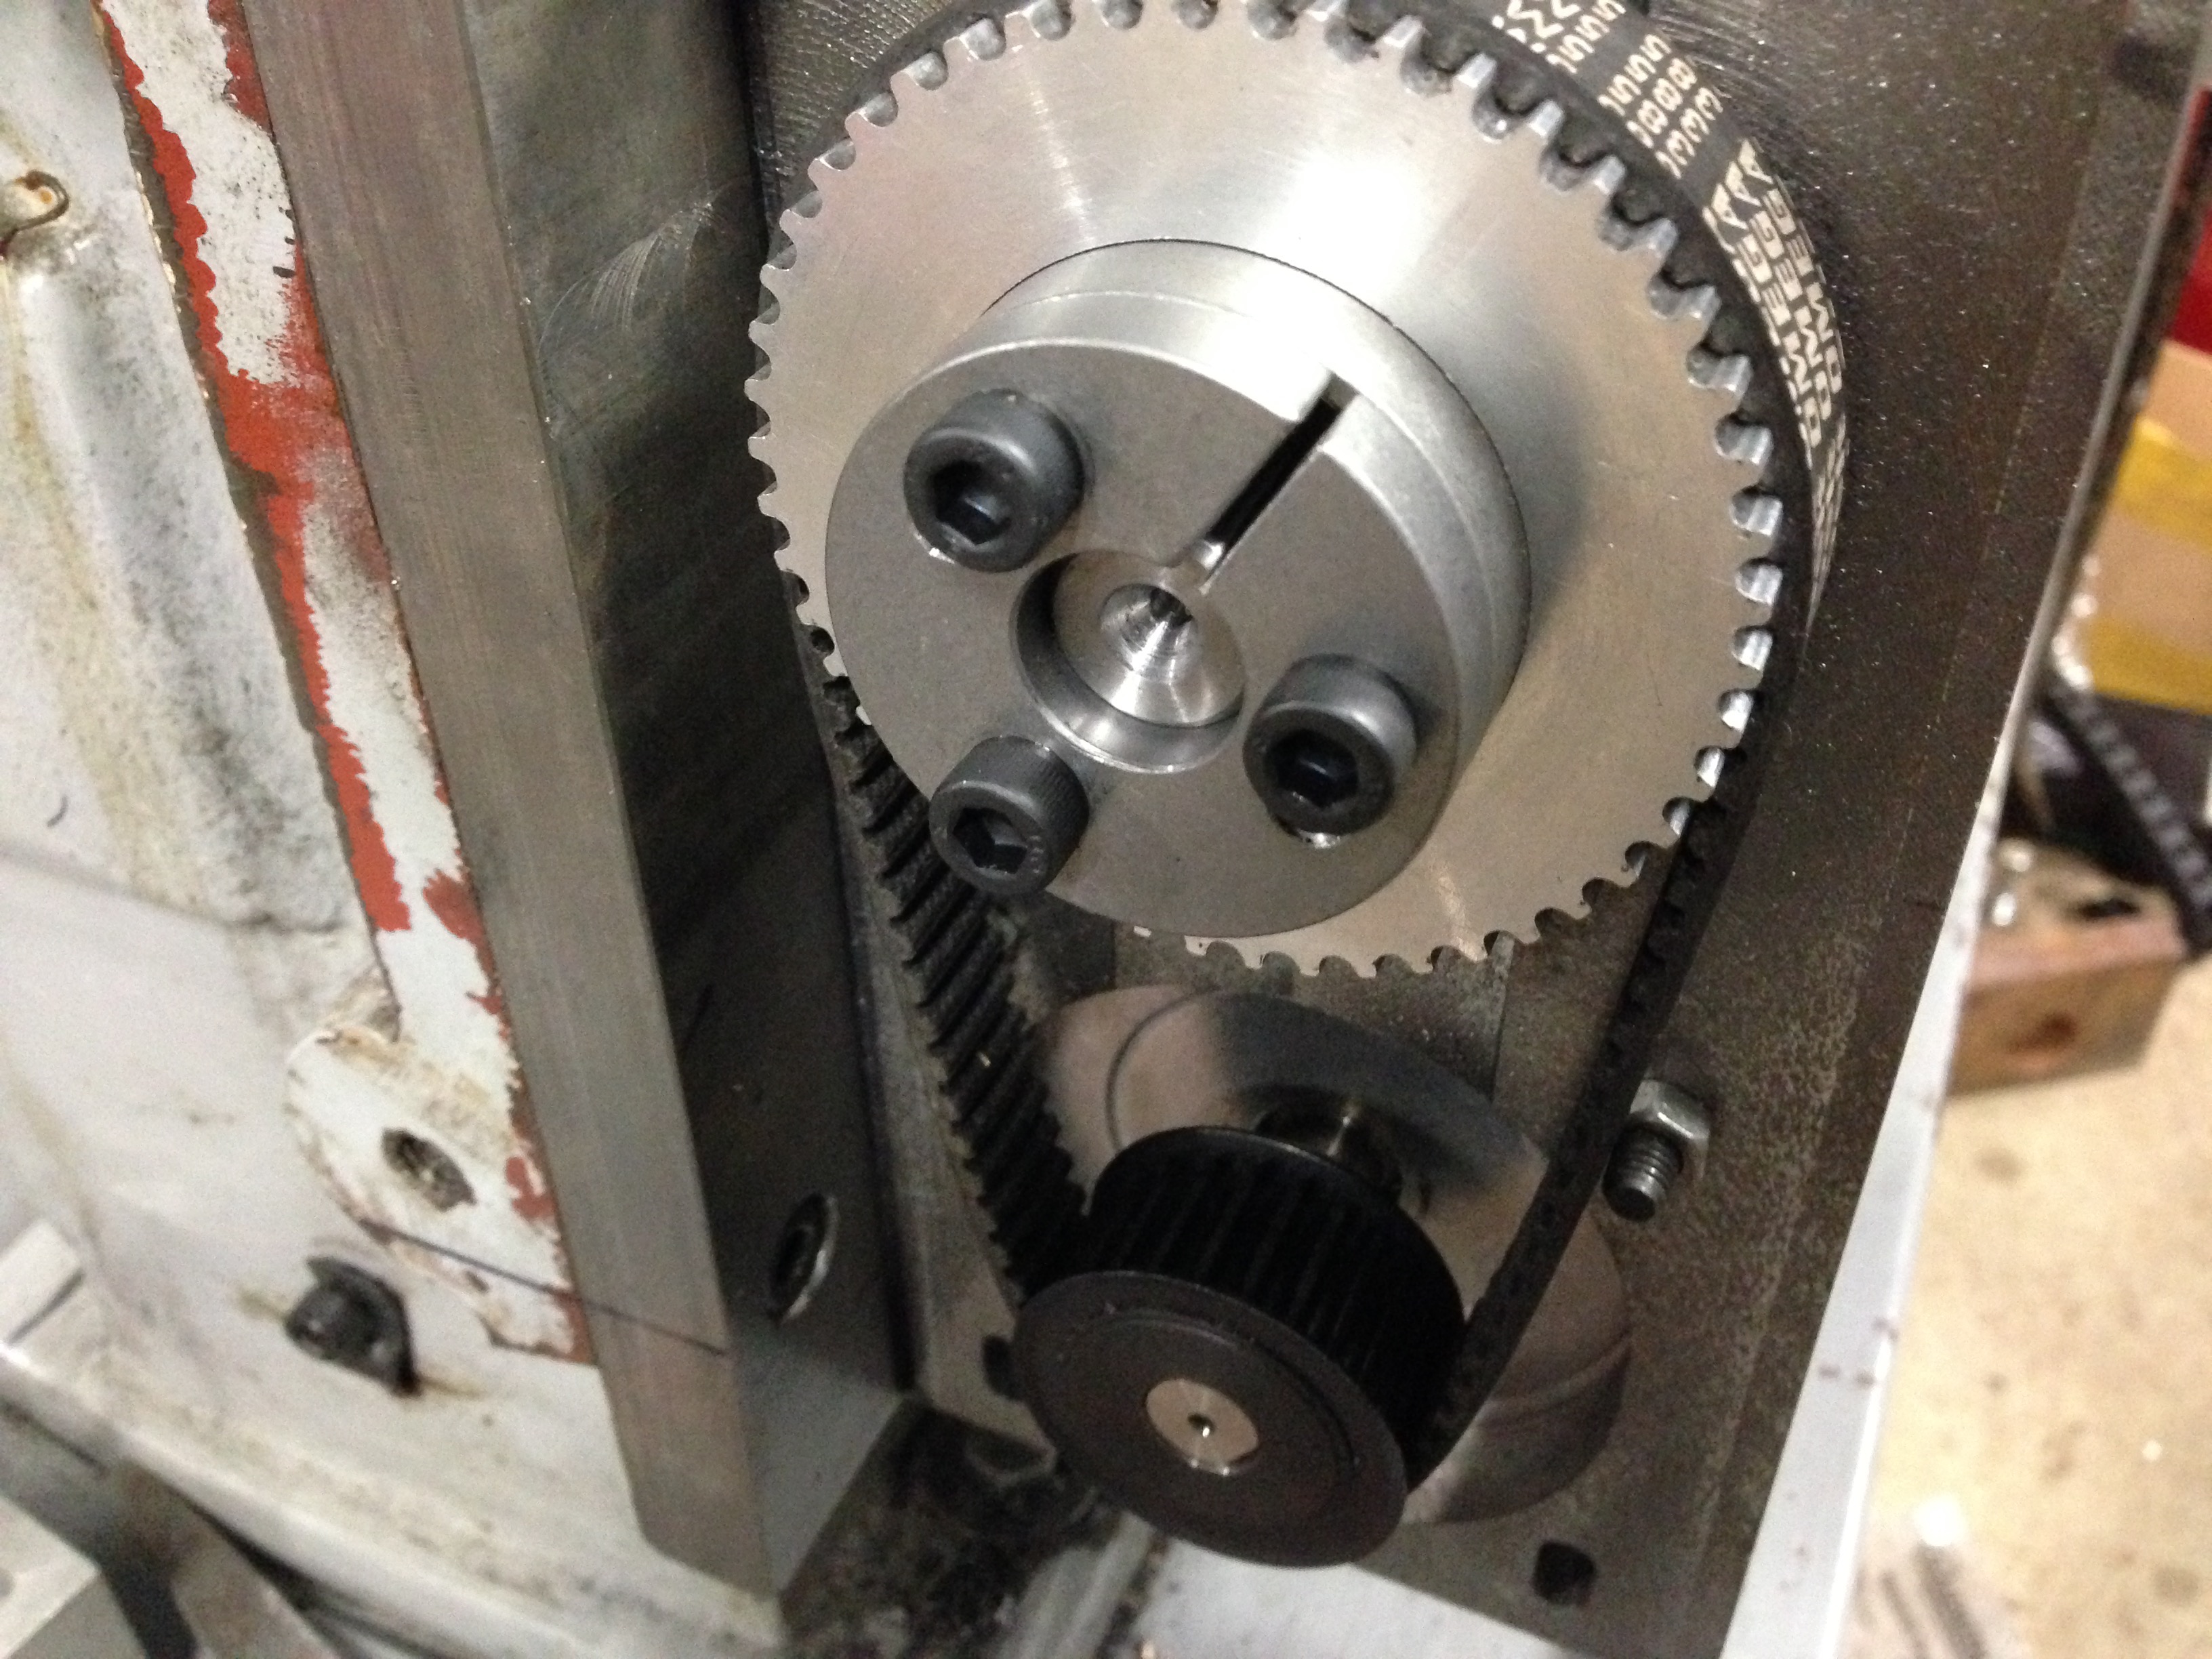
Looks complicated and messy.  Much better with the doors closed.  The rotary table Geckodrive is the one on the left.  The 2 on the right are for the lathe.  The black white and green wires 8,9,10, are from the breakout board.  The black and red 1 and 2 are from the 48v power supply, and the stepper motor power is from Windings A and B, 3,4,5,6, in the thick white wire.

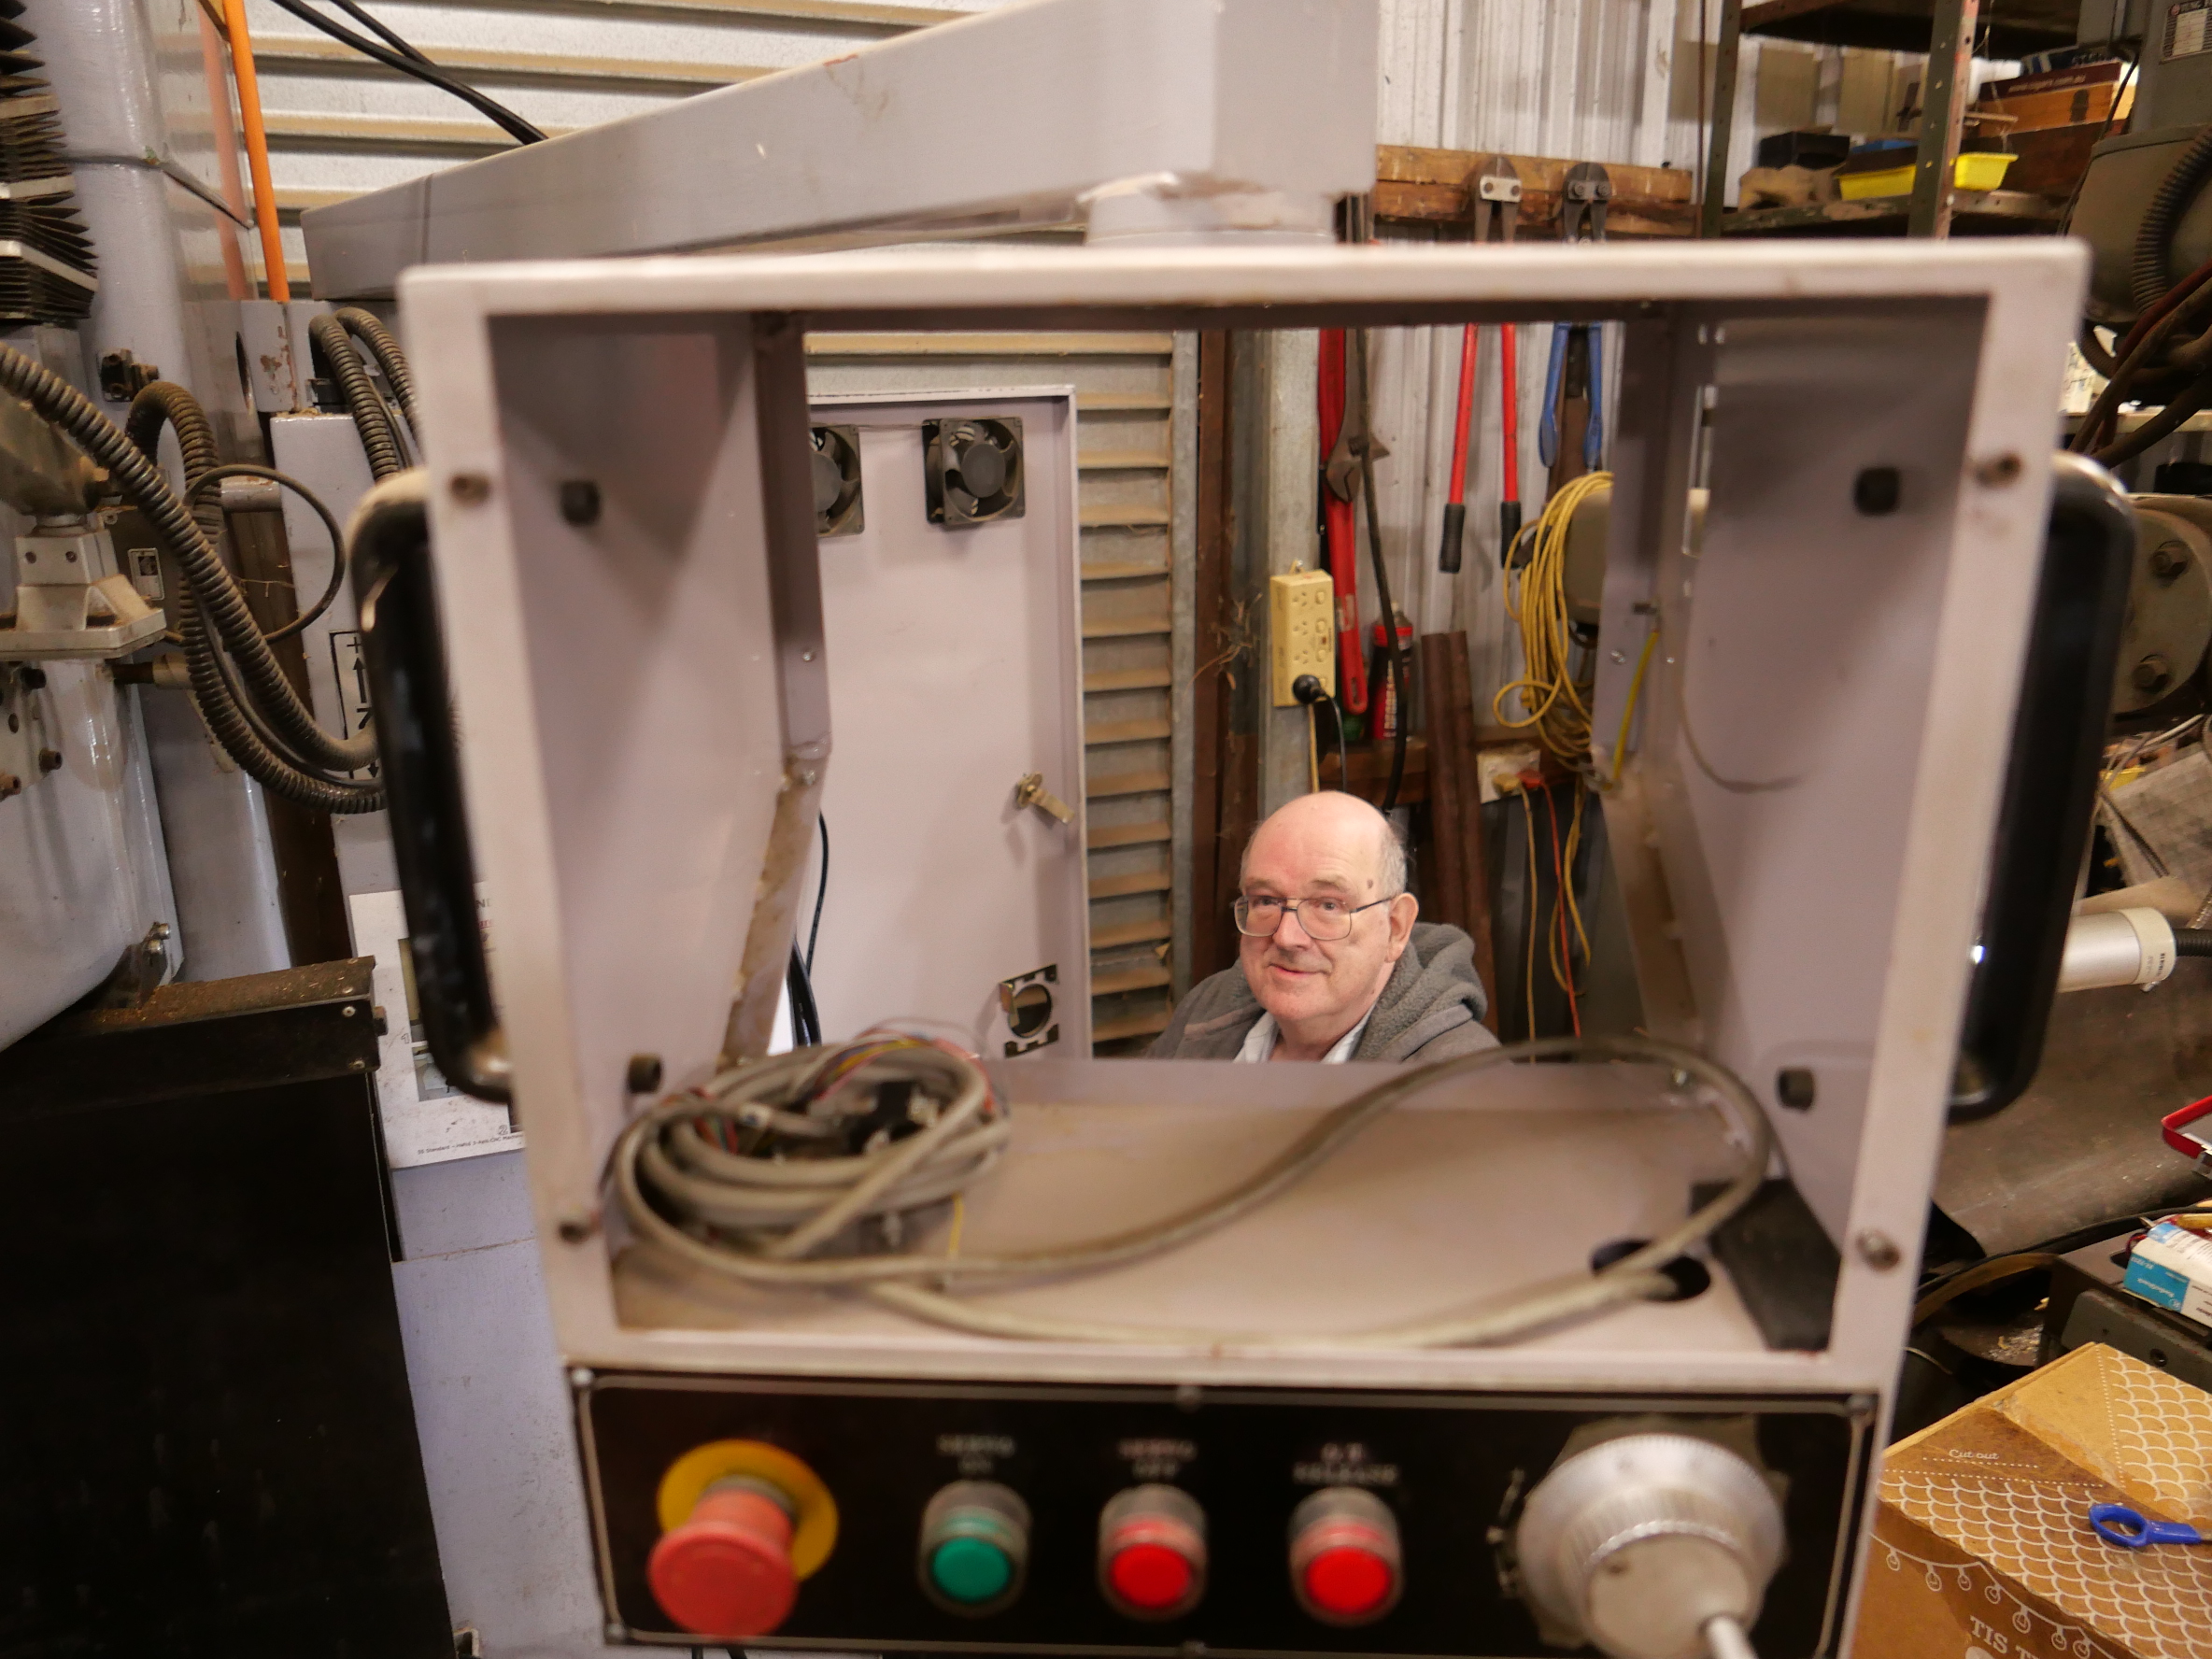
I confess that I have little understanding of the wiring.  Stuart had it hooked up in under an hour.  A bit longer configuring and tweaking Mach 3, and it was working.  The extra Geckodrive, and some wires were the only extra components required to make the electronic connections.

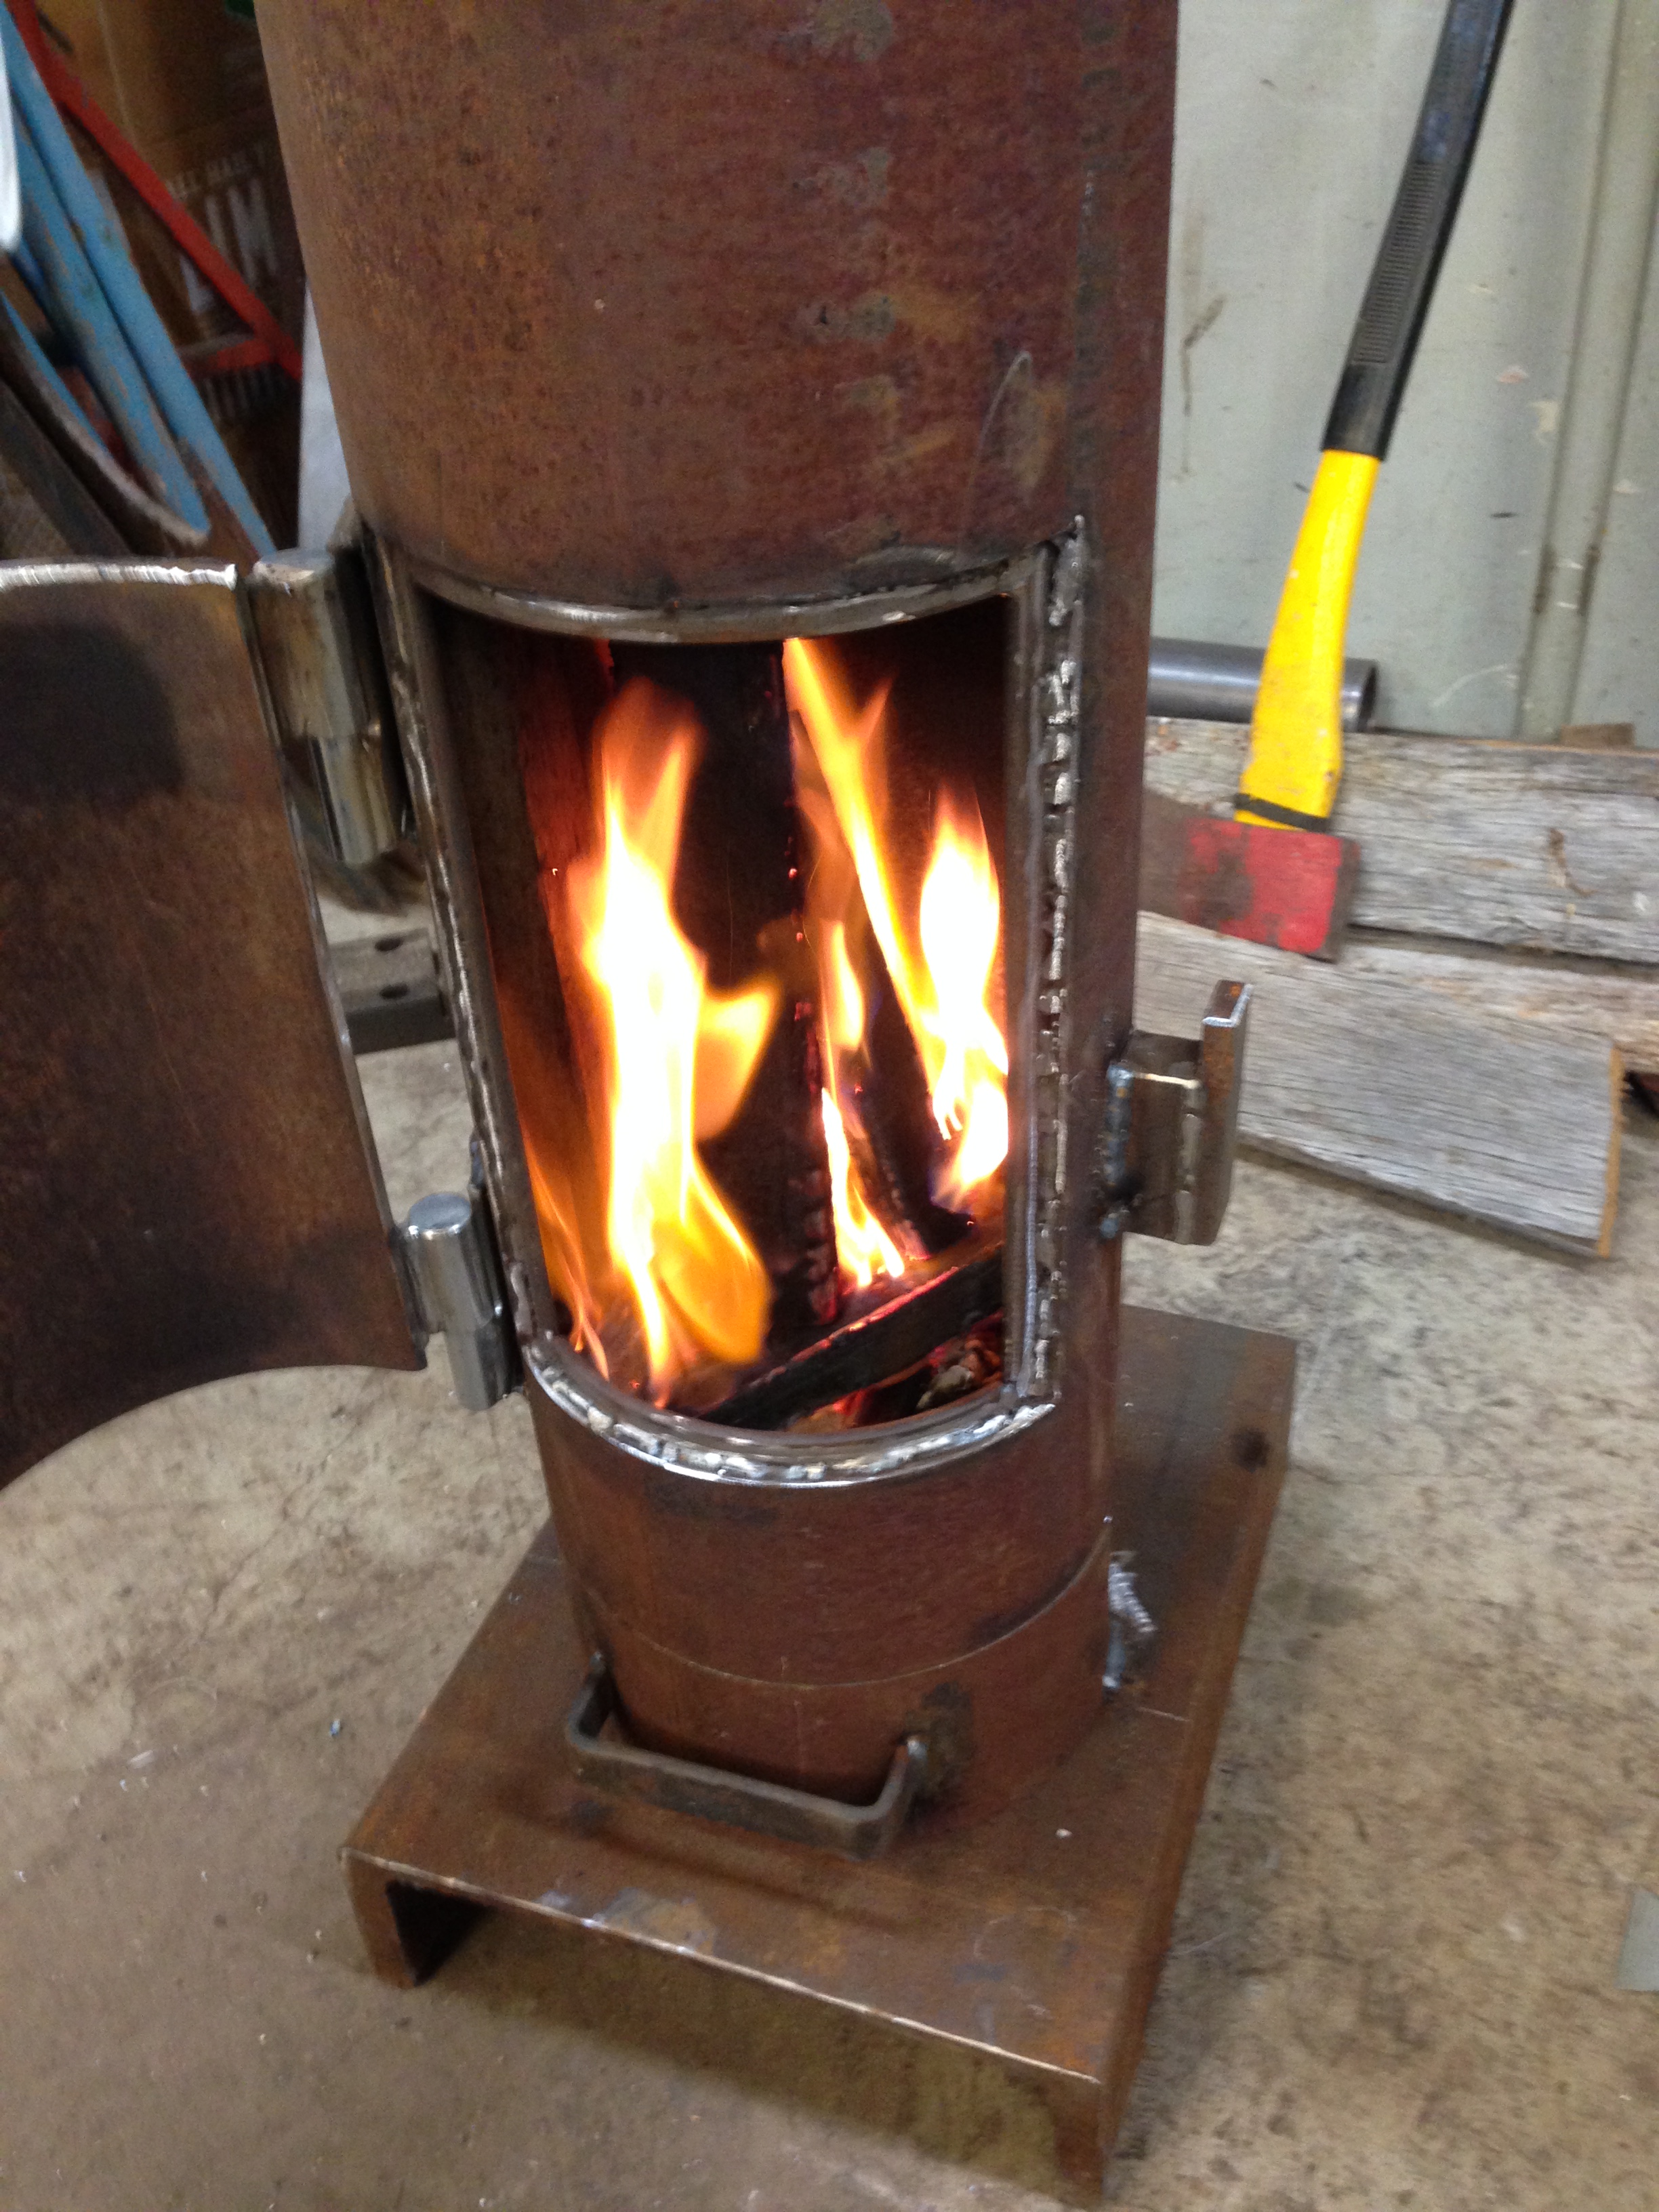
I shot a video of it working, with giving a commentary.  But it is so bad that I will reshoot it, and add it to this post in a day or 2.   Sorry.  Not done yet.   But I have been busy preparing the blank for cutting a new gear.

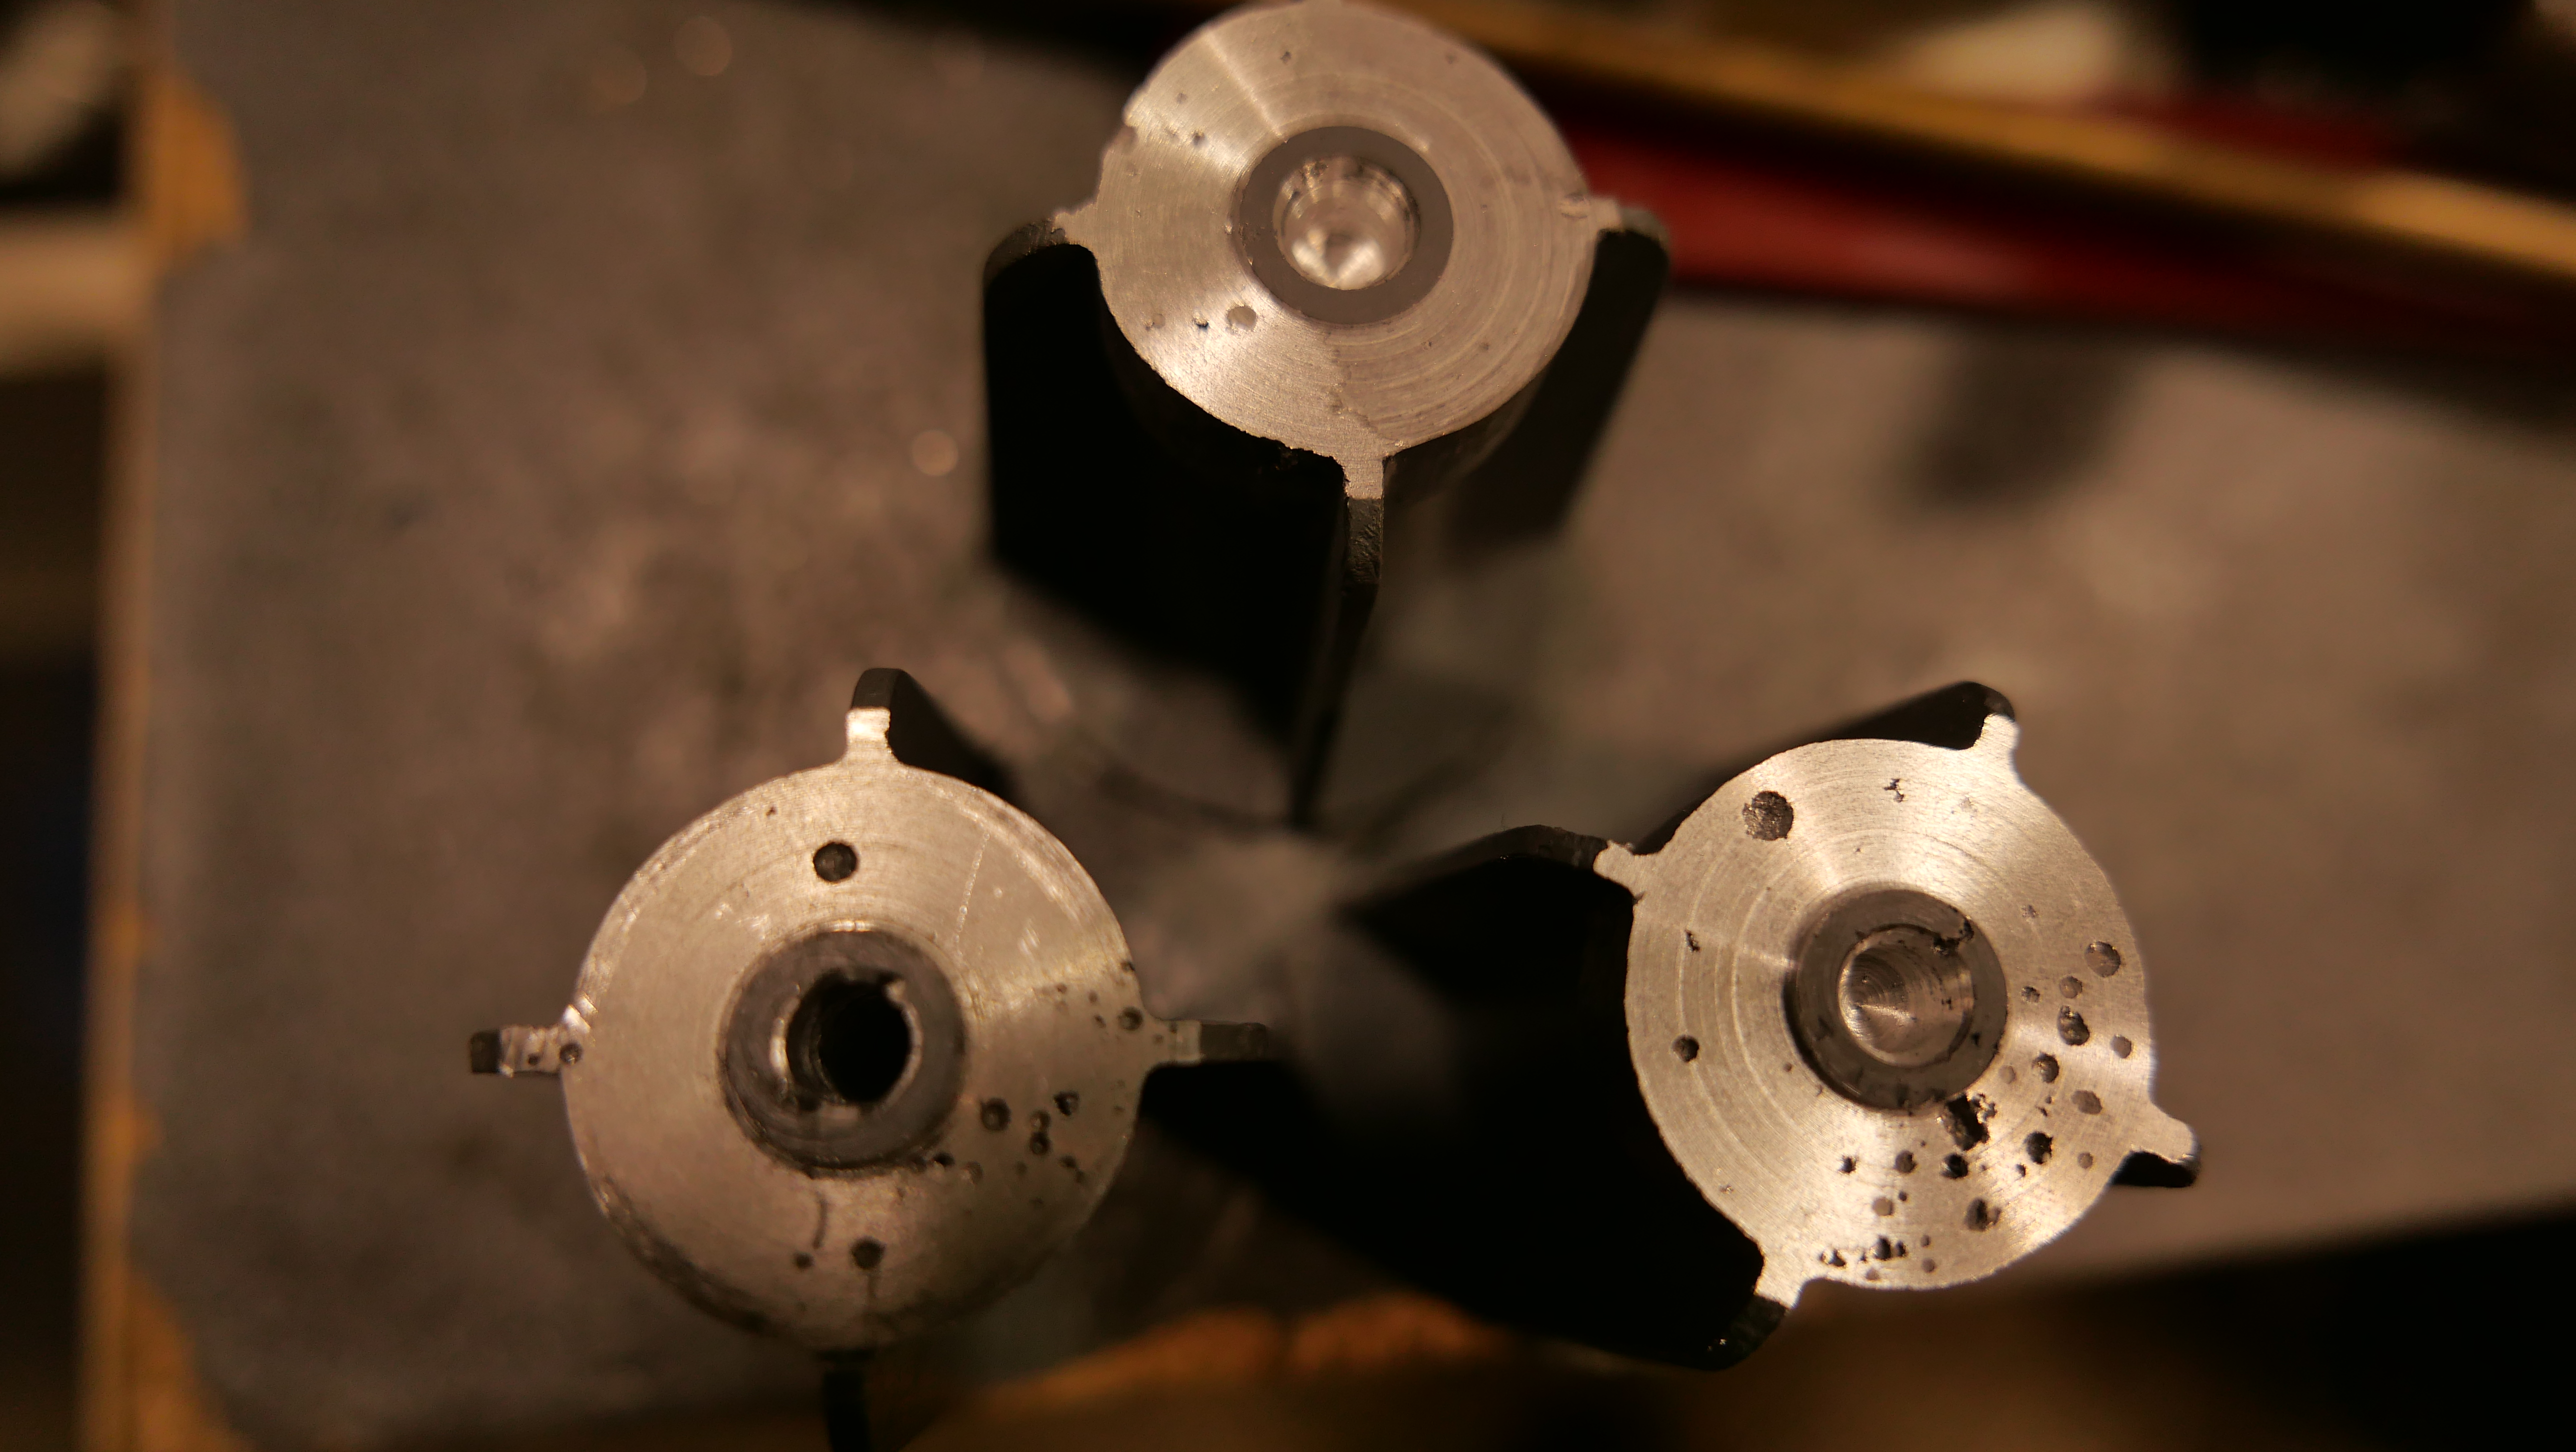
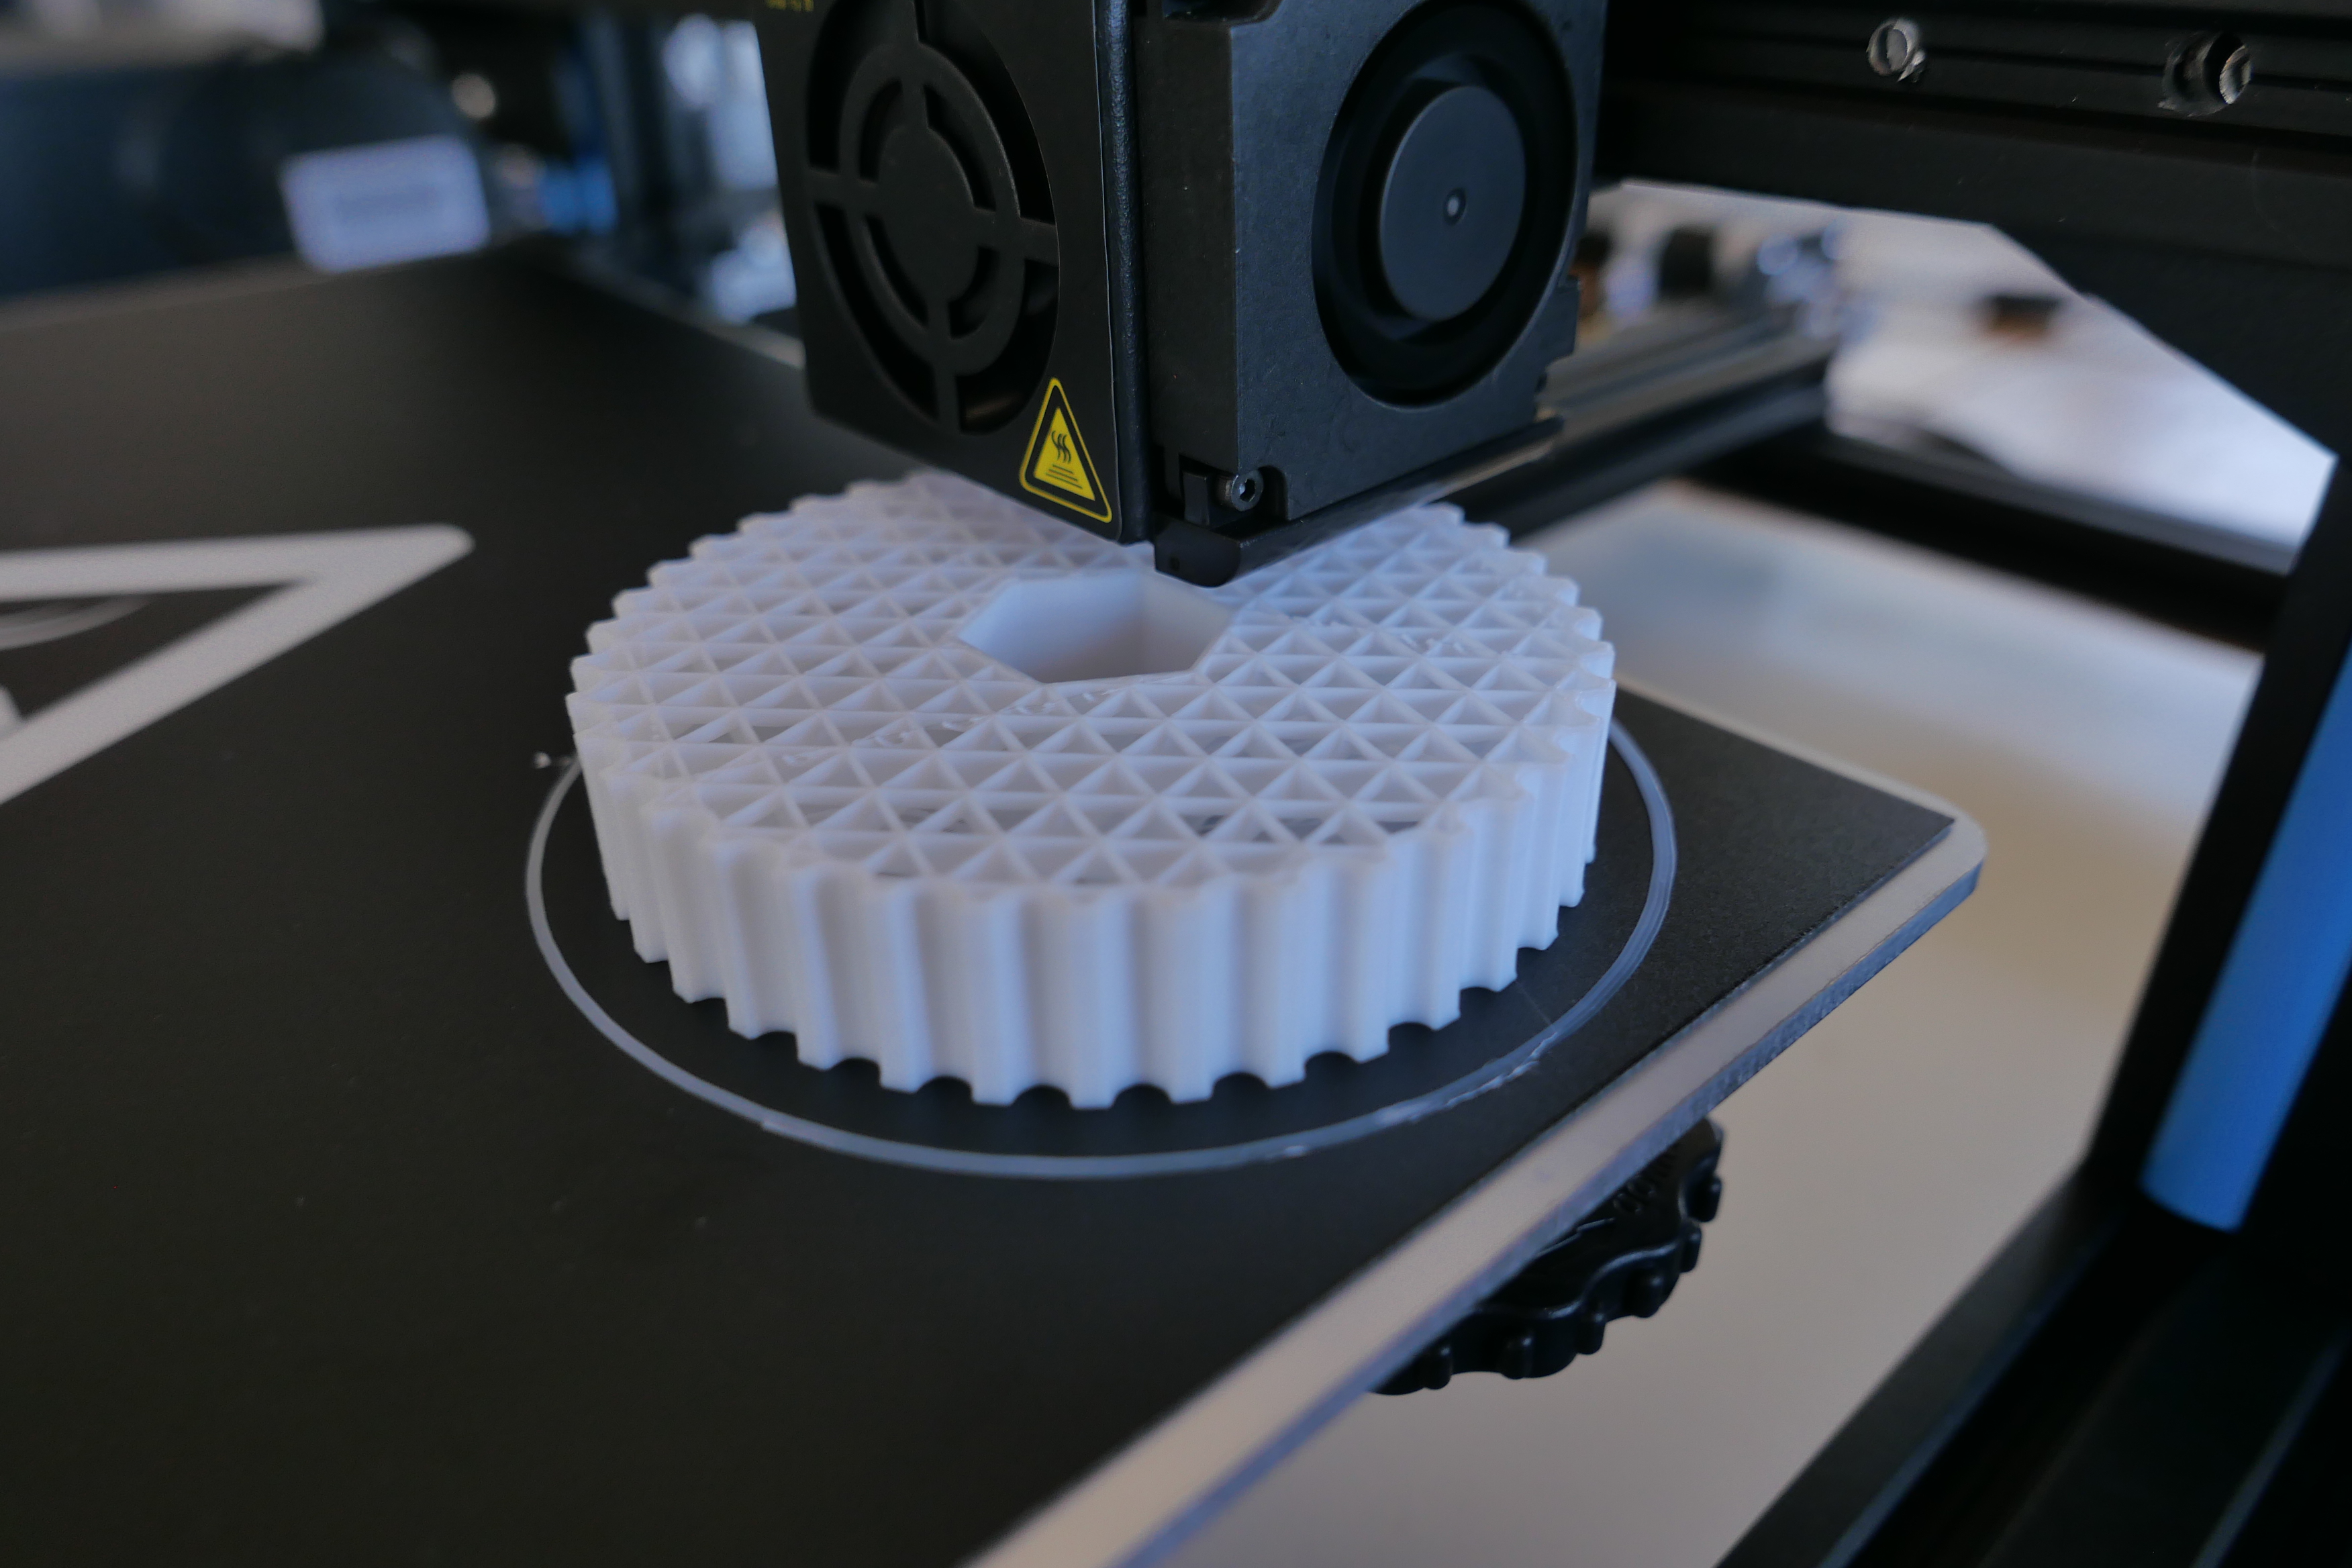
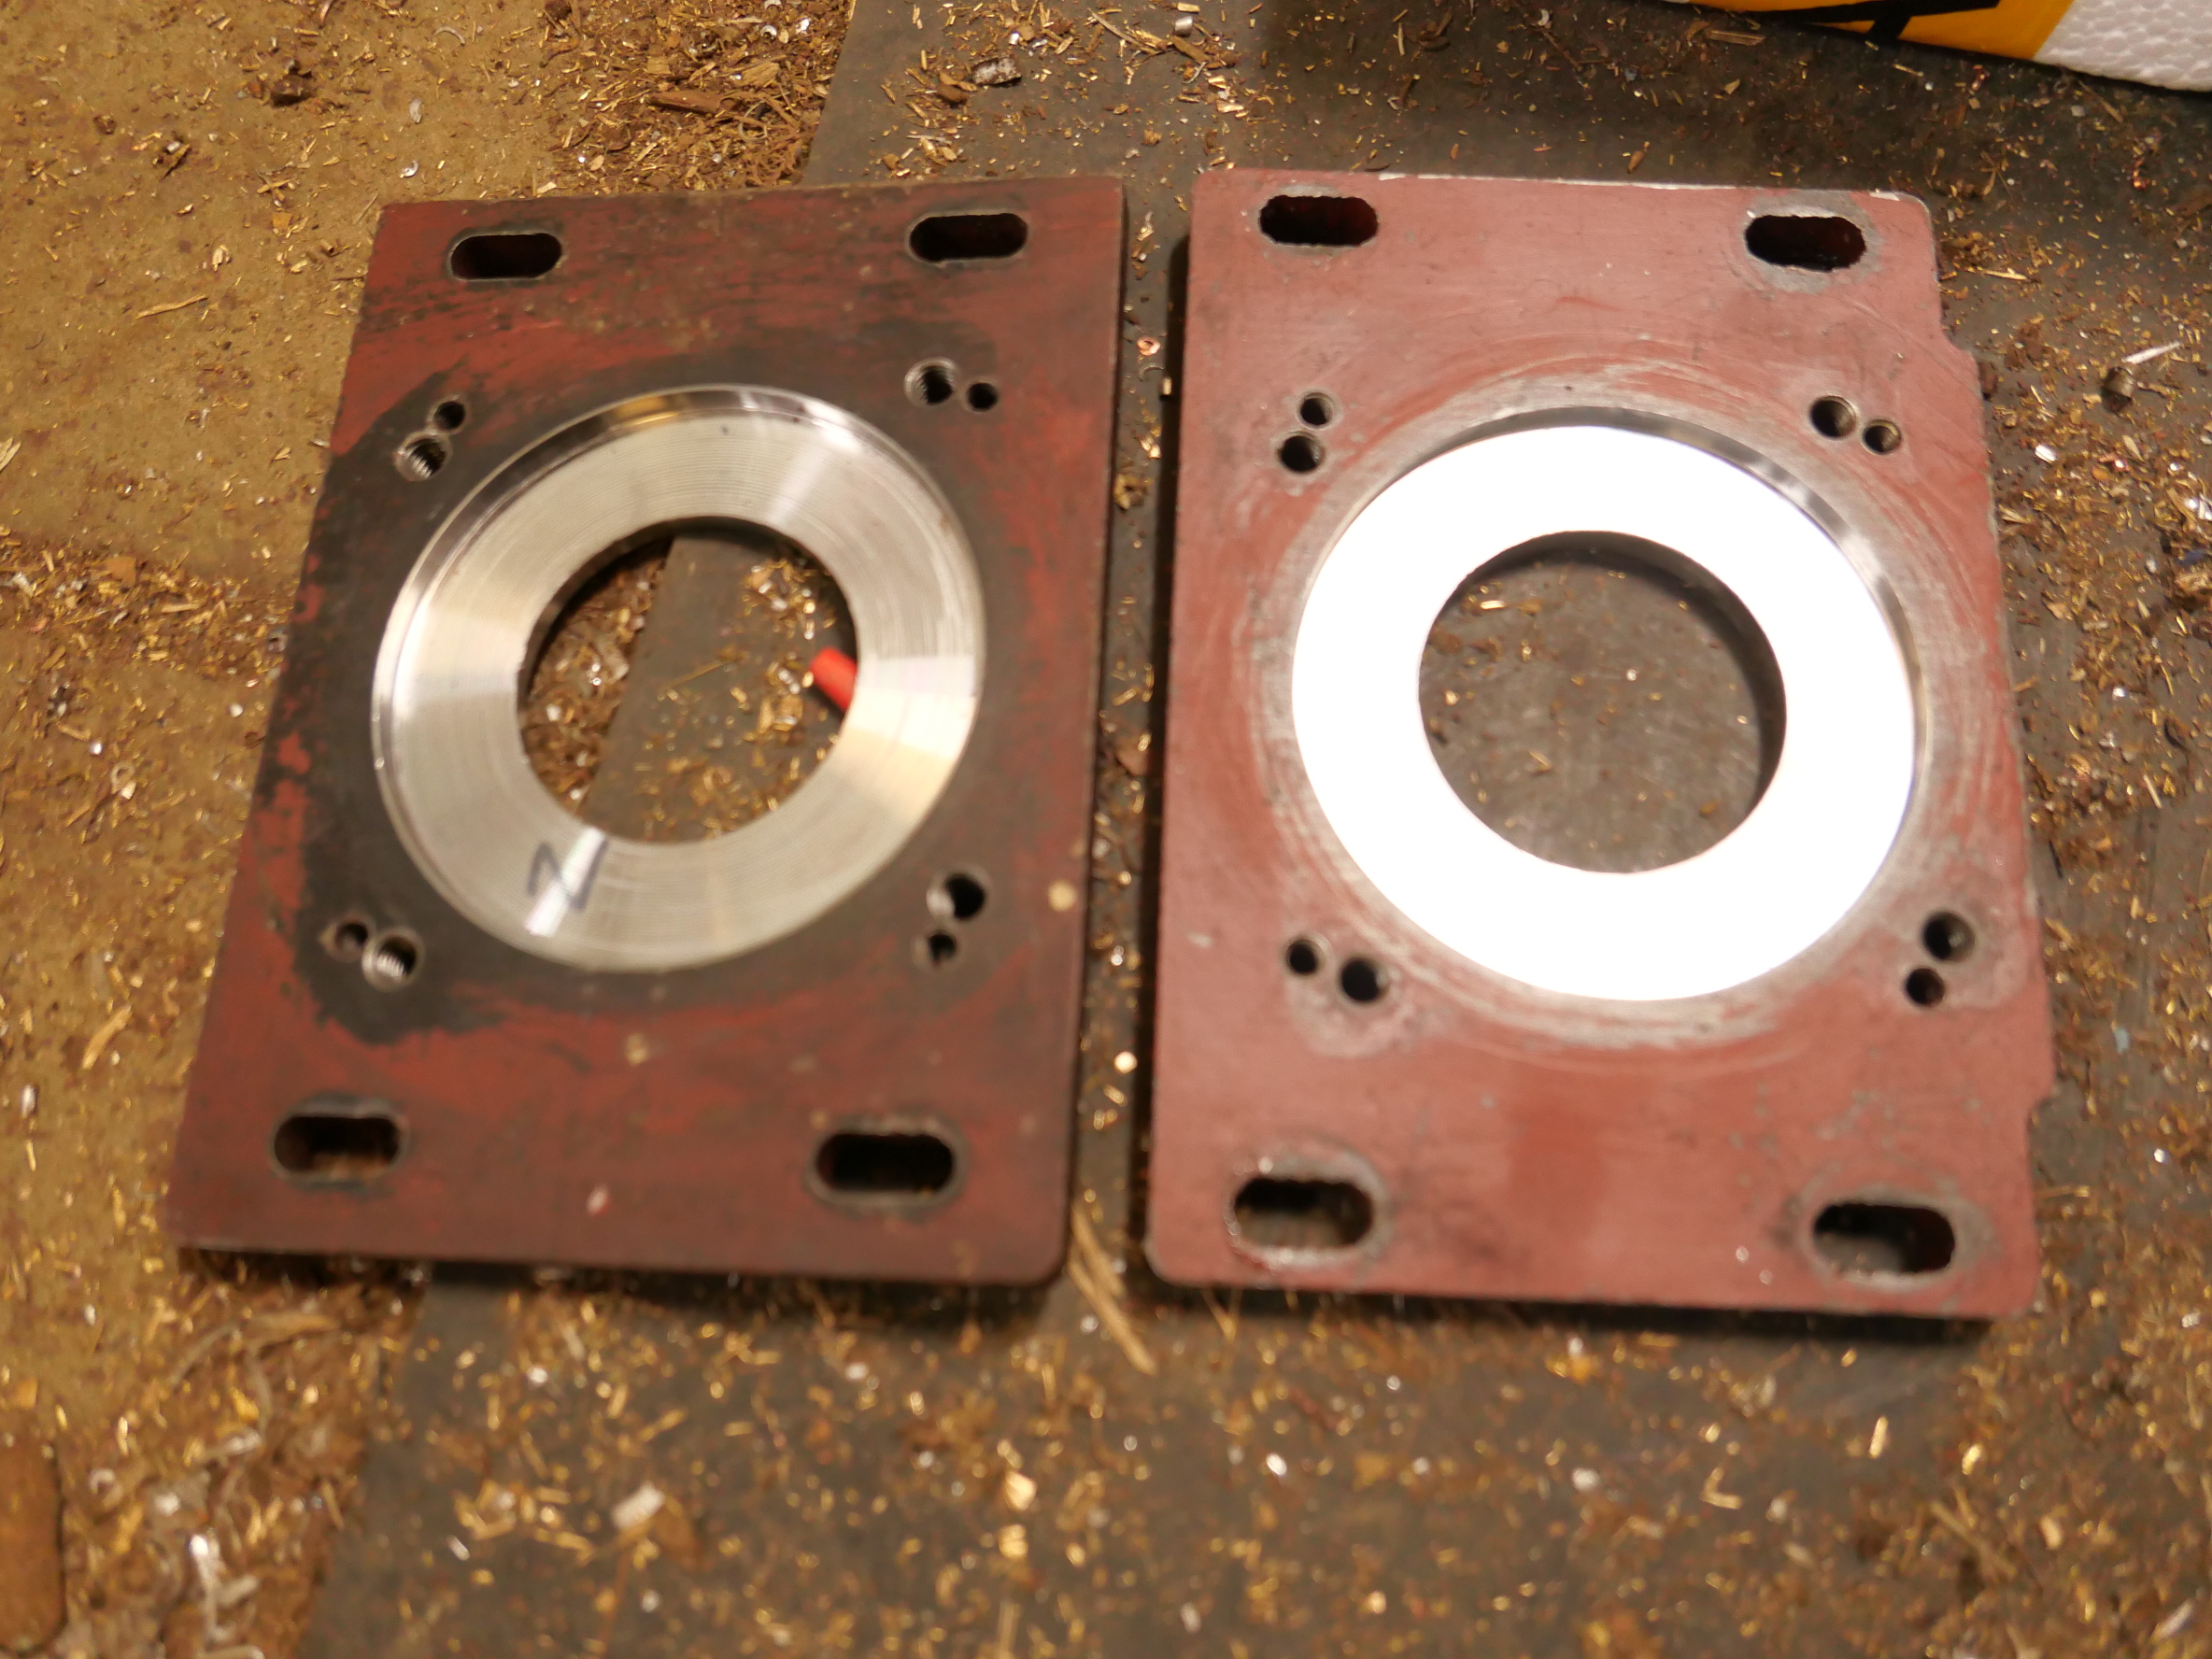
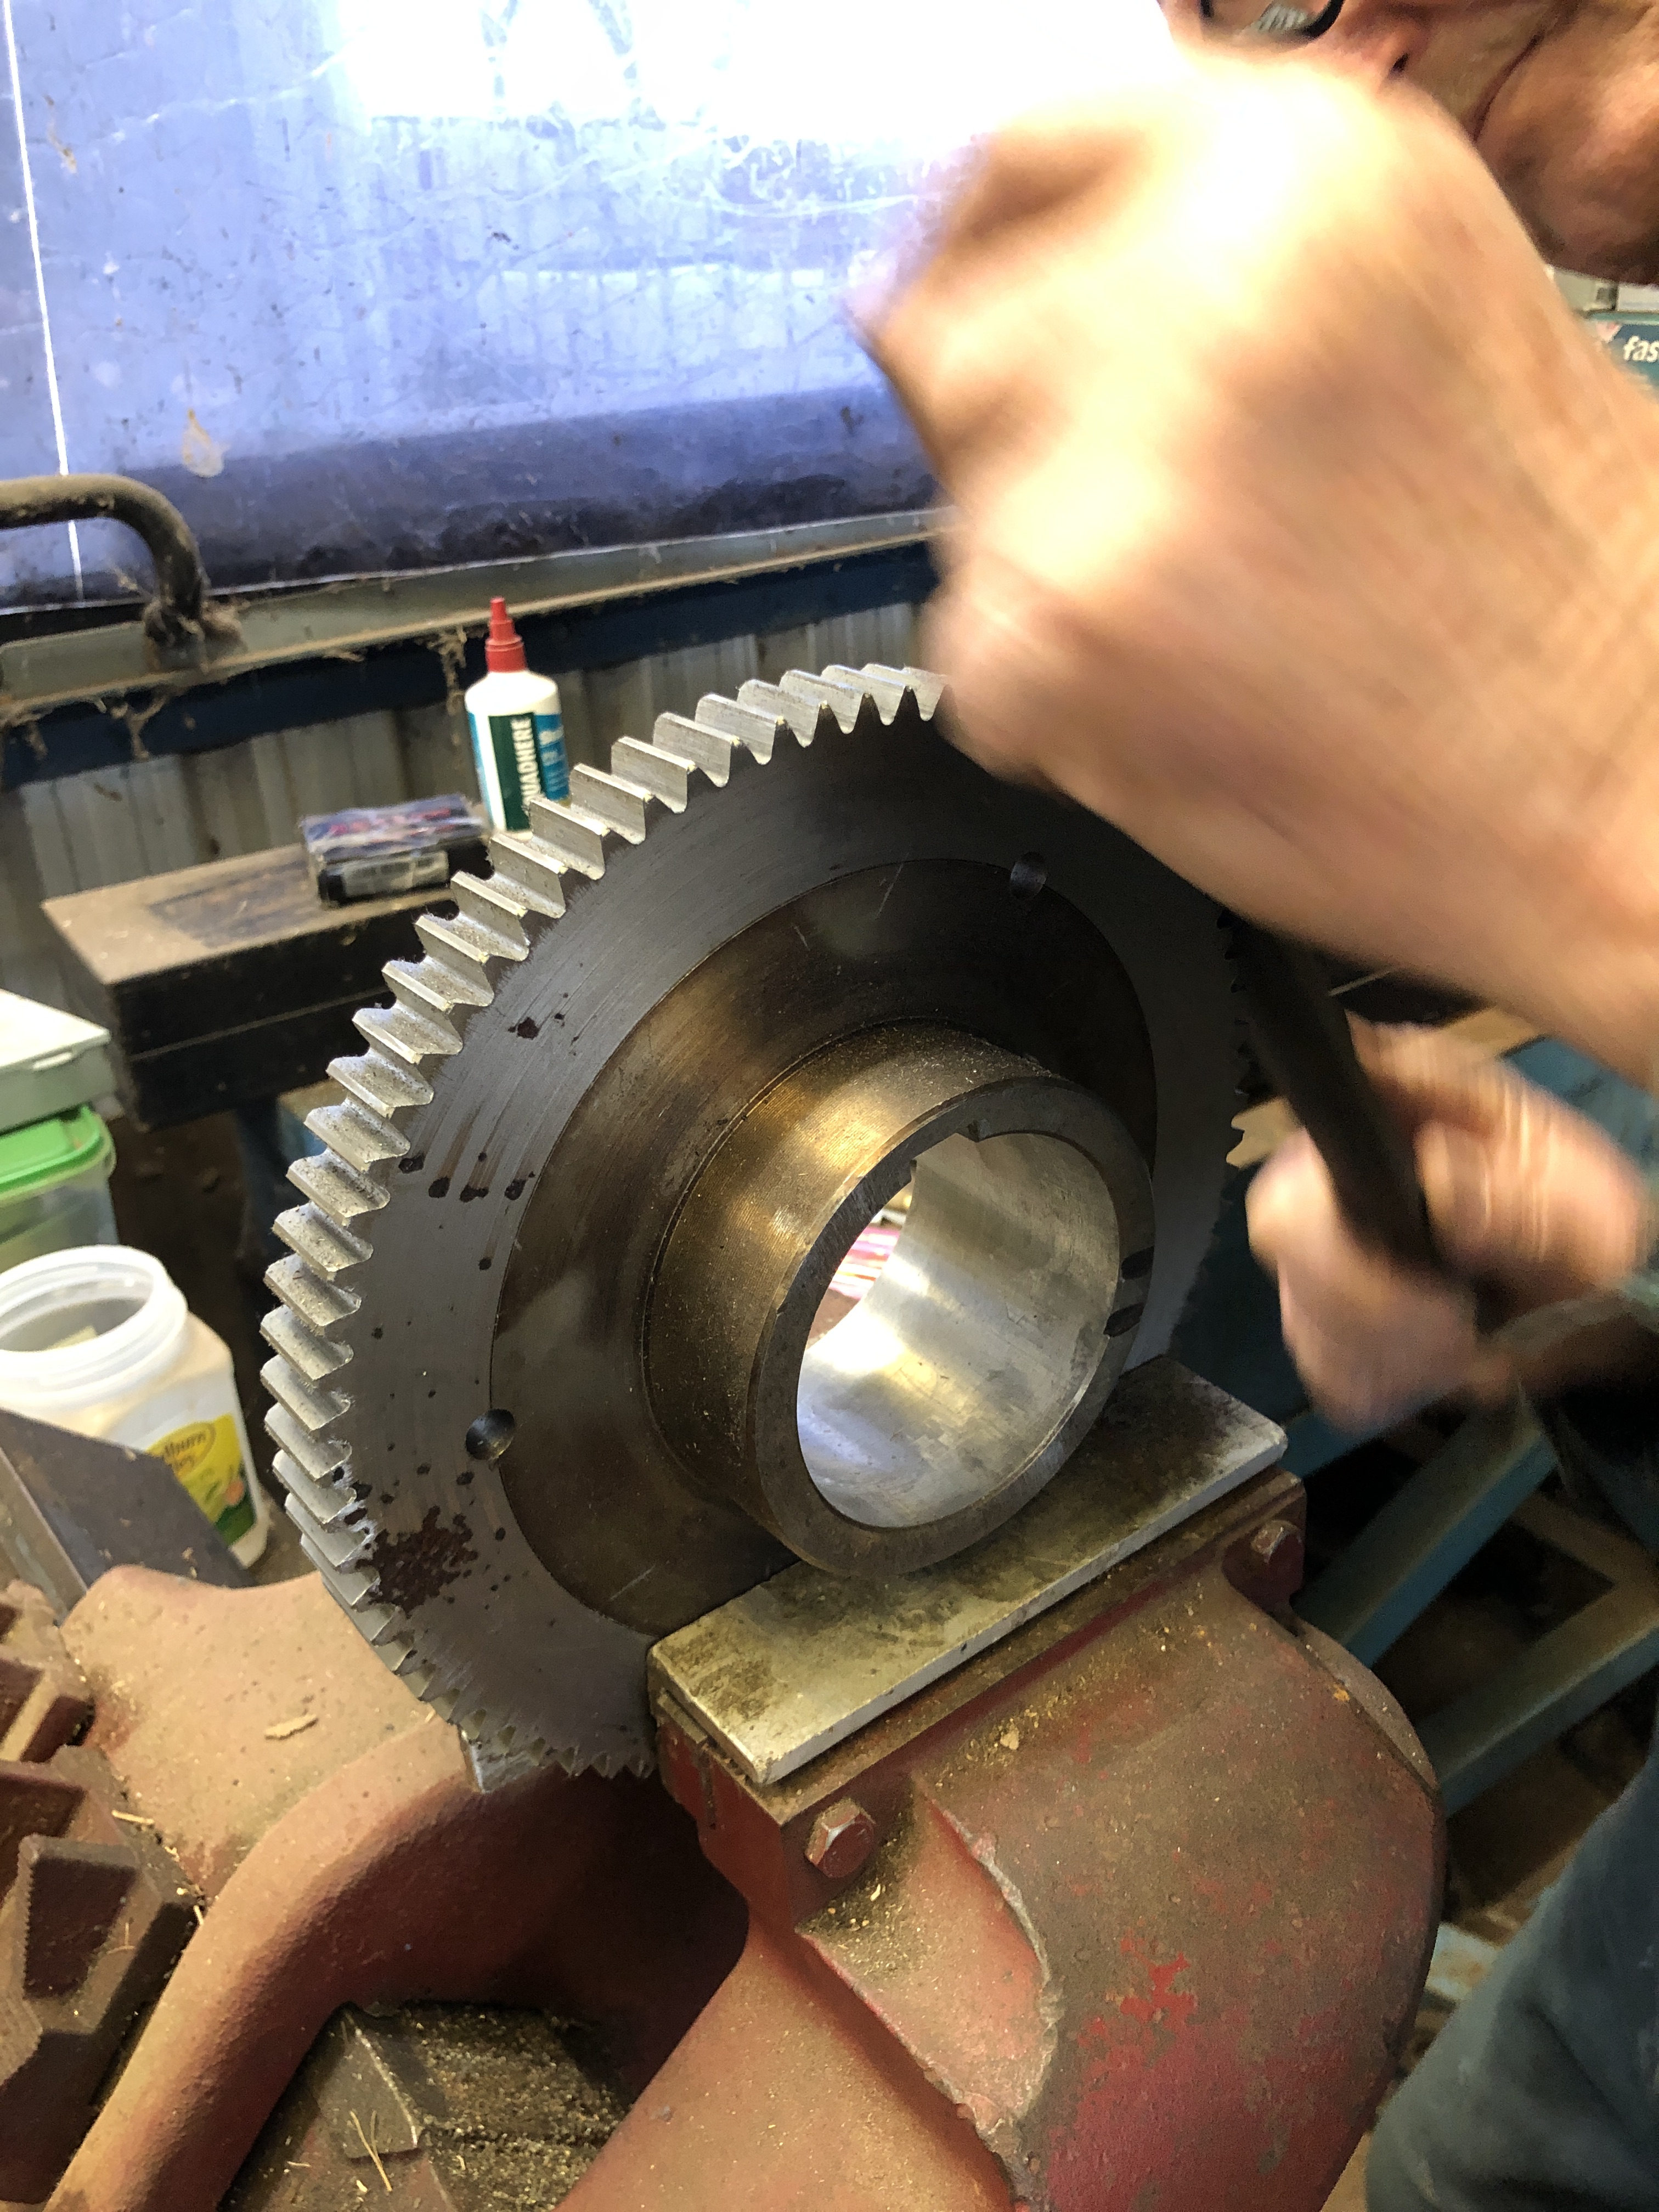
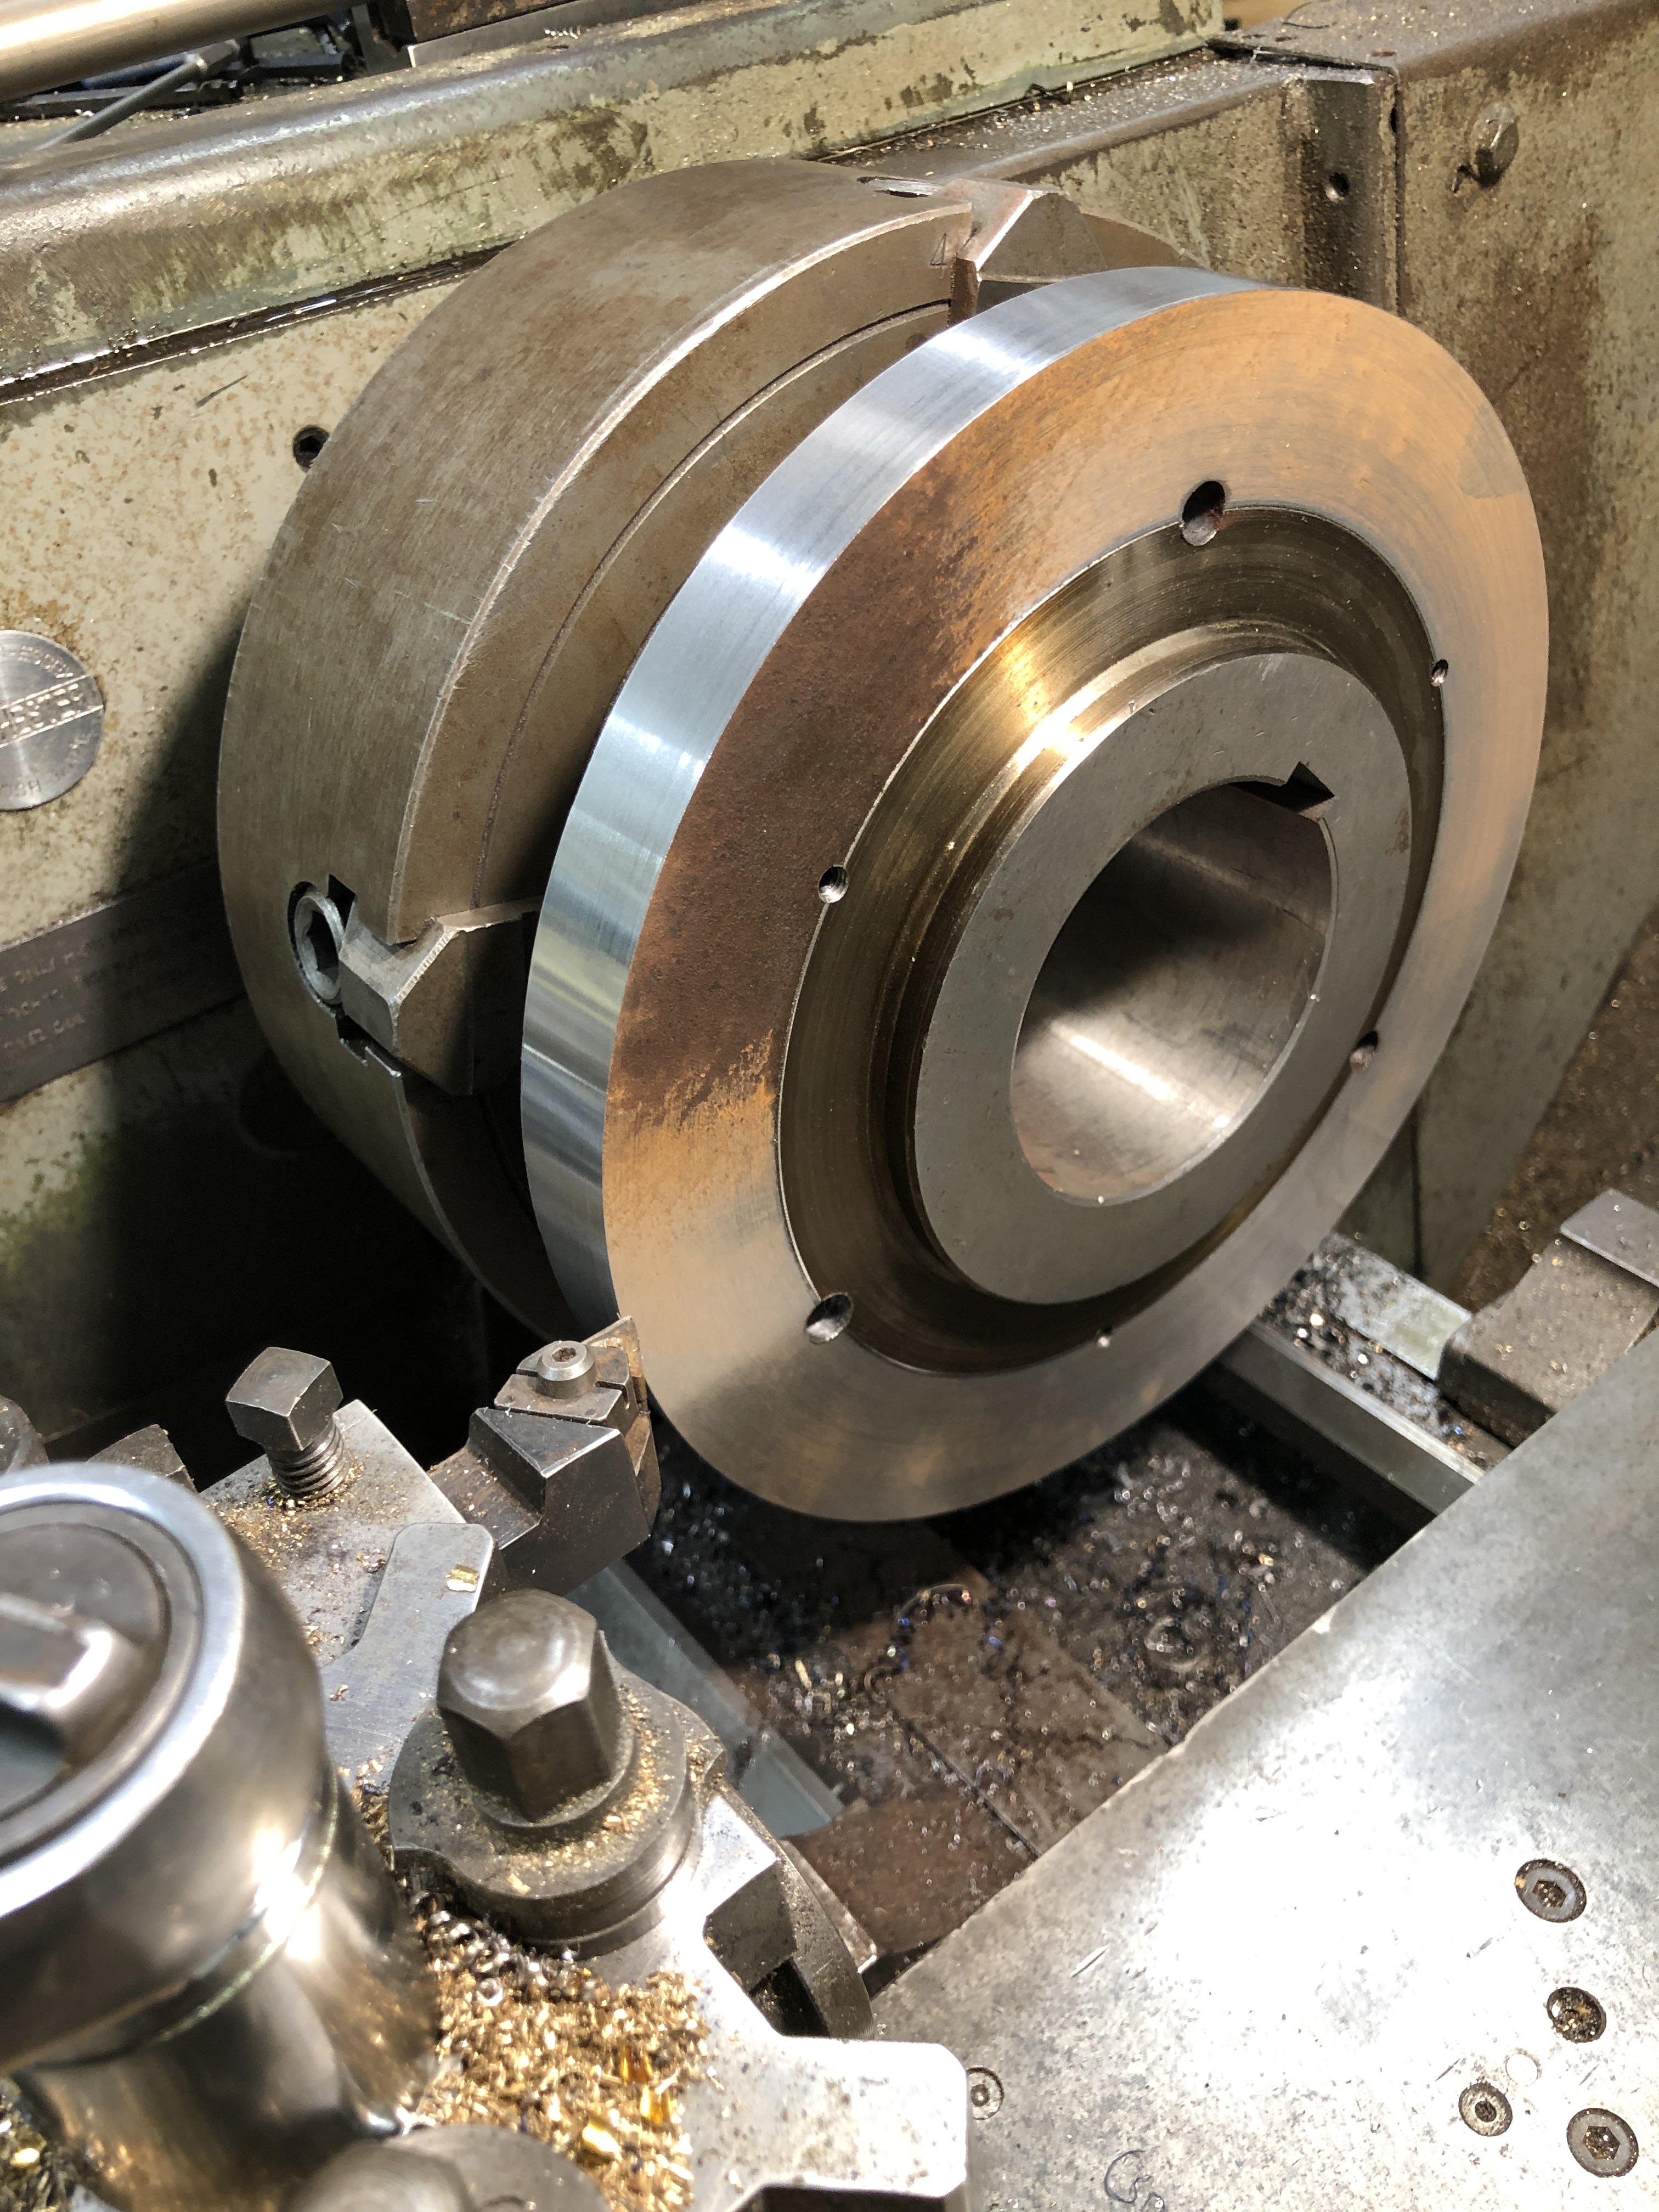
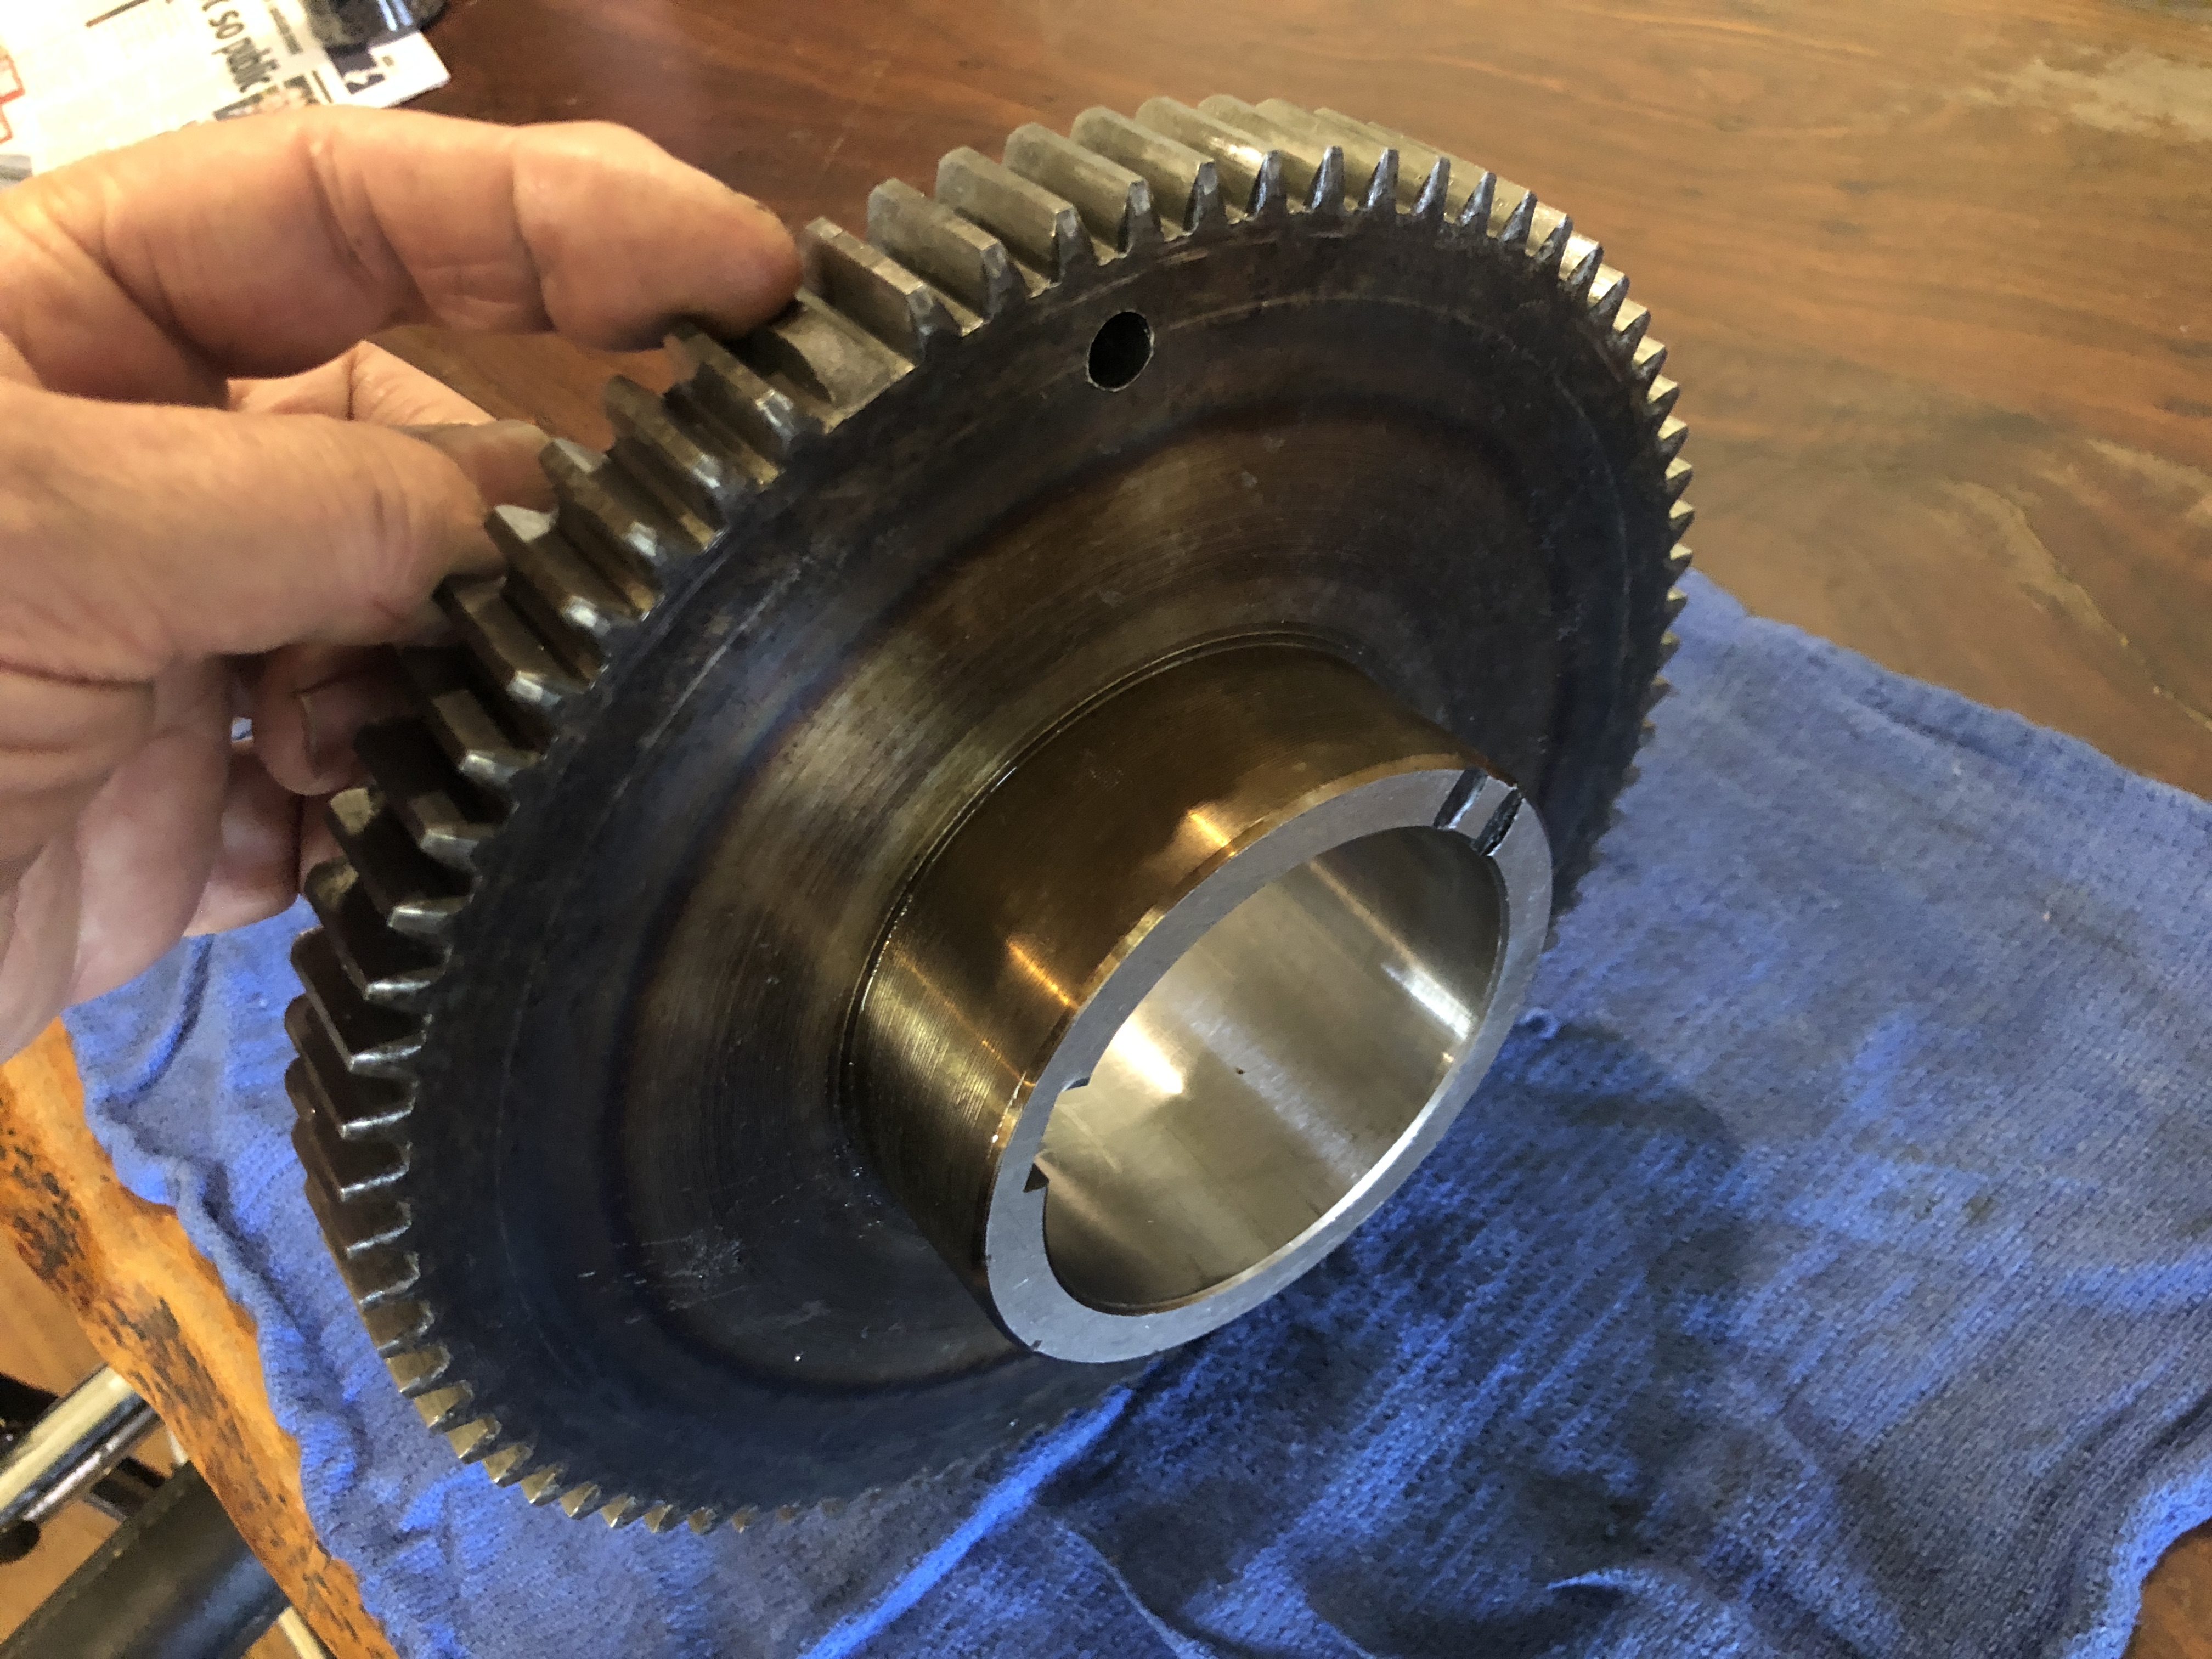
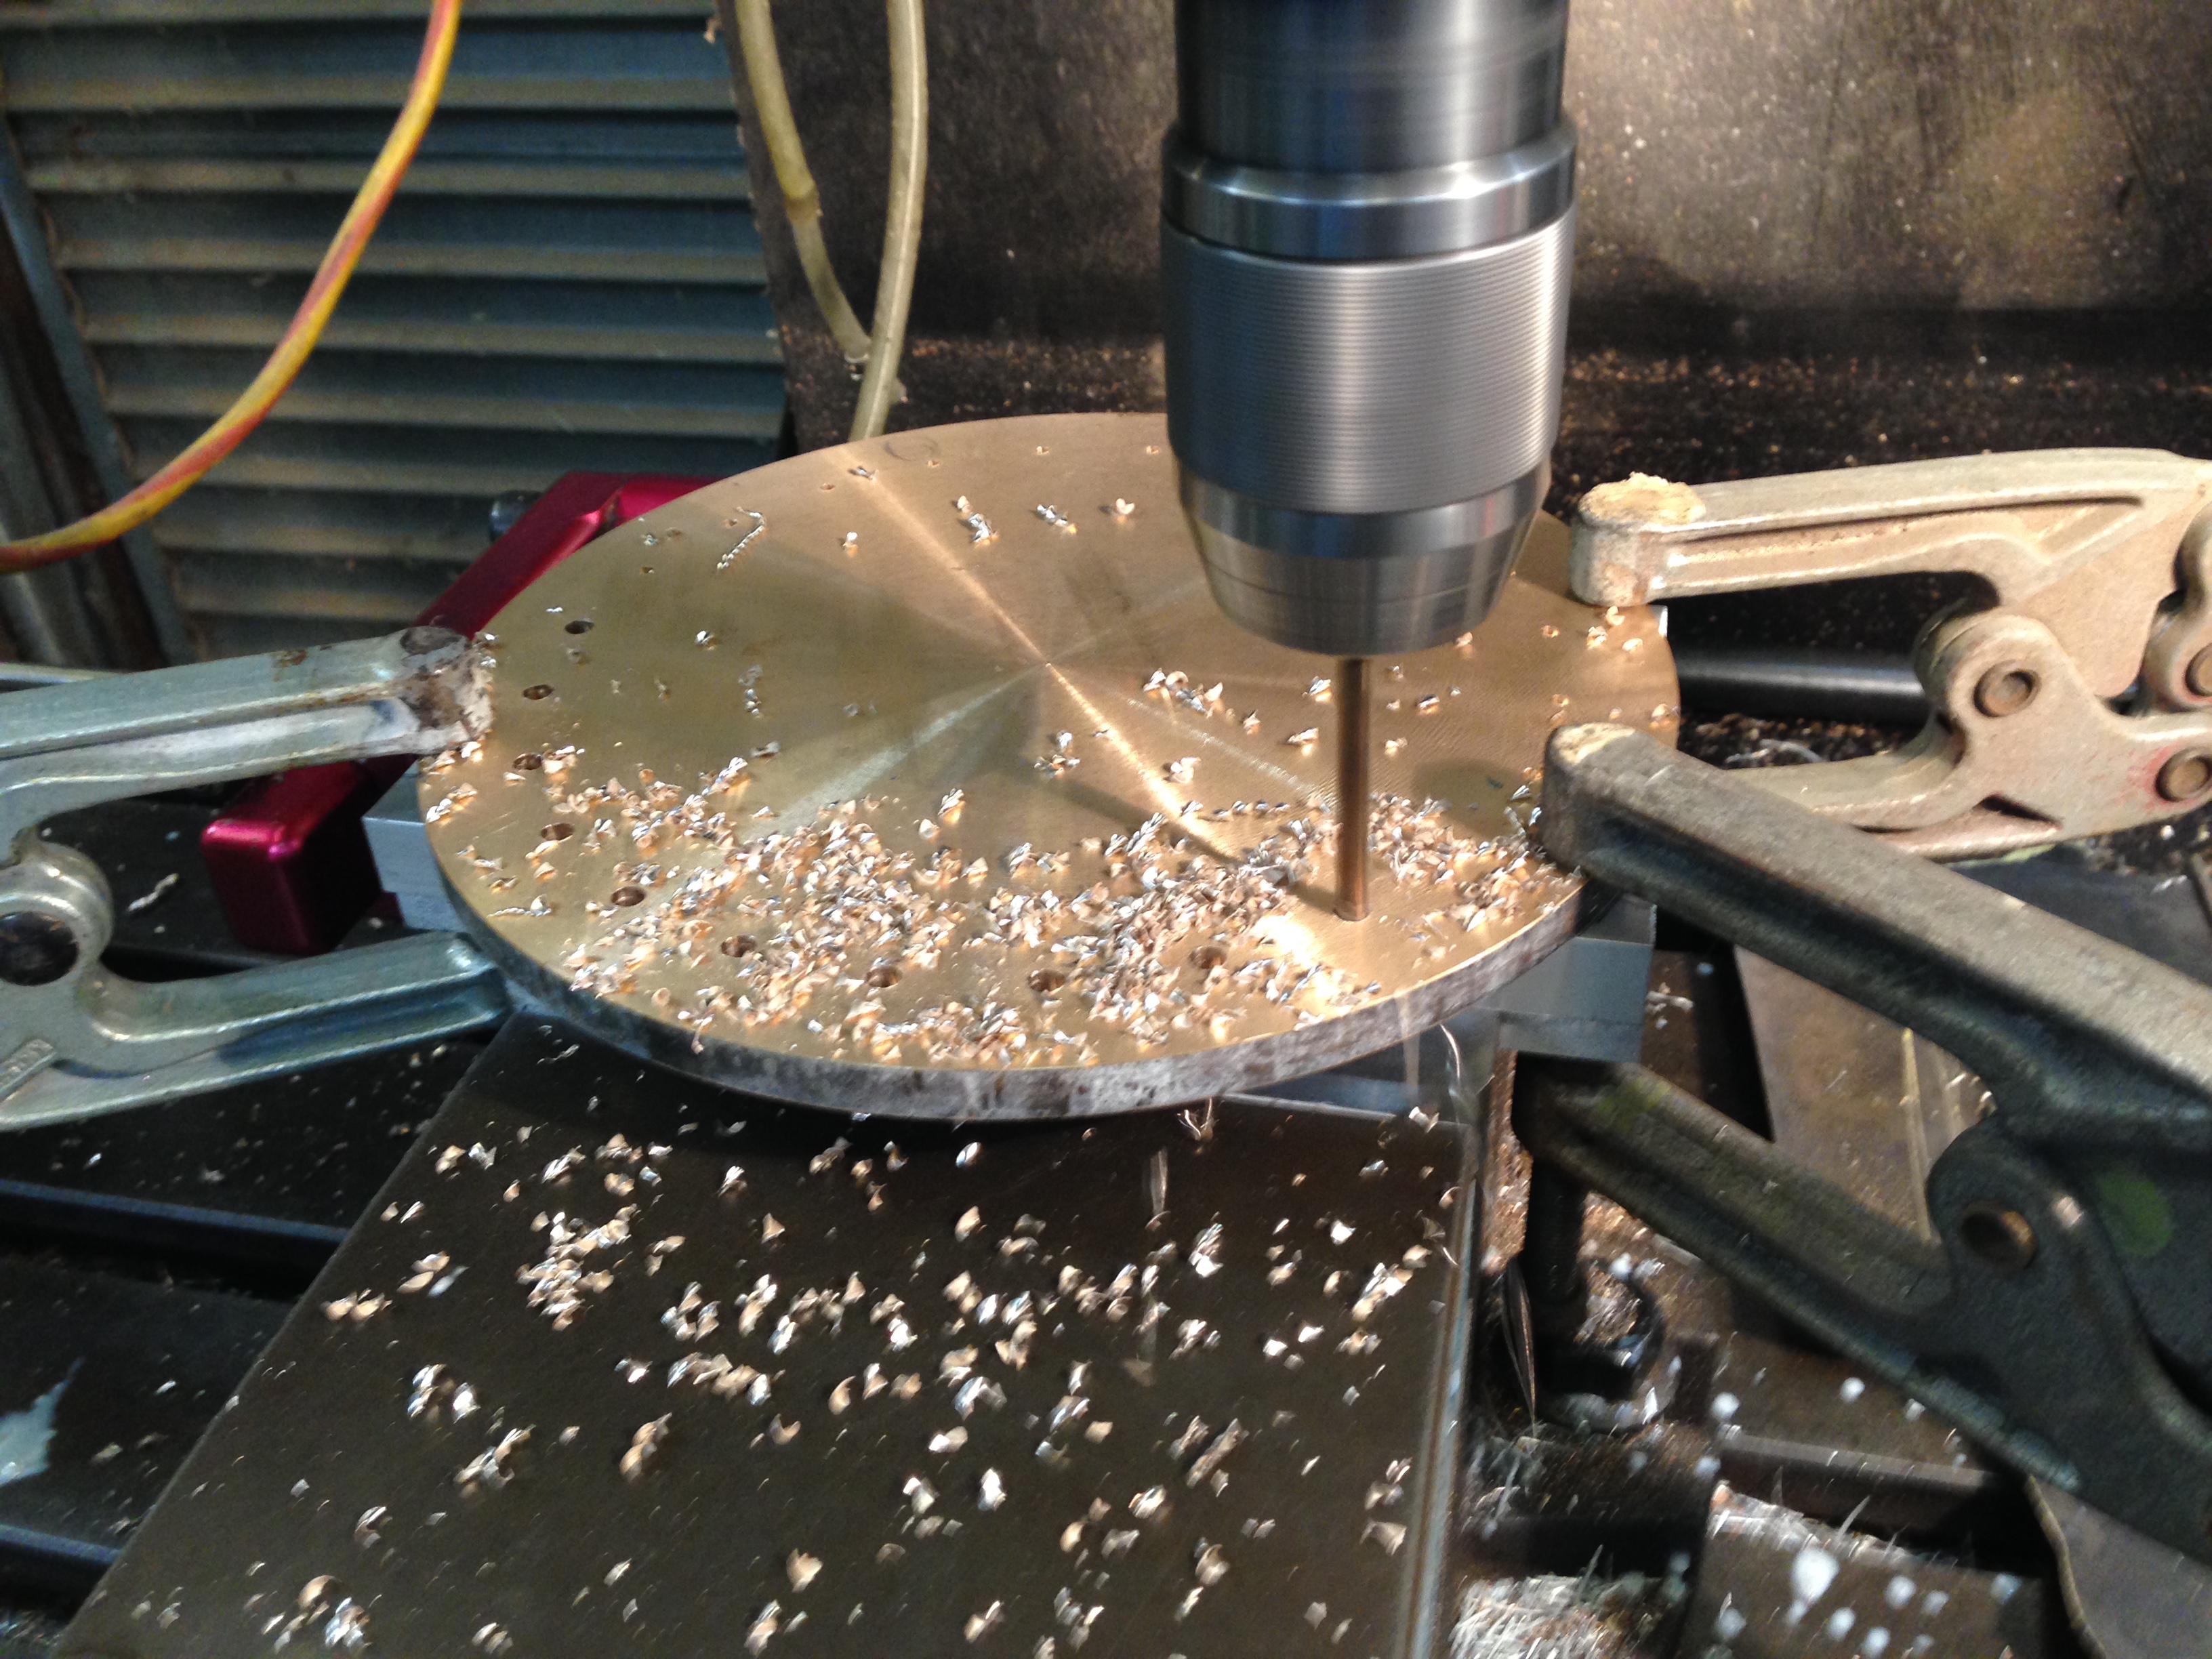
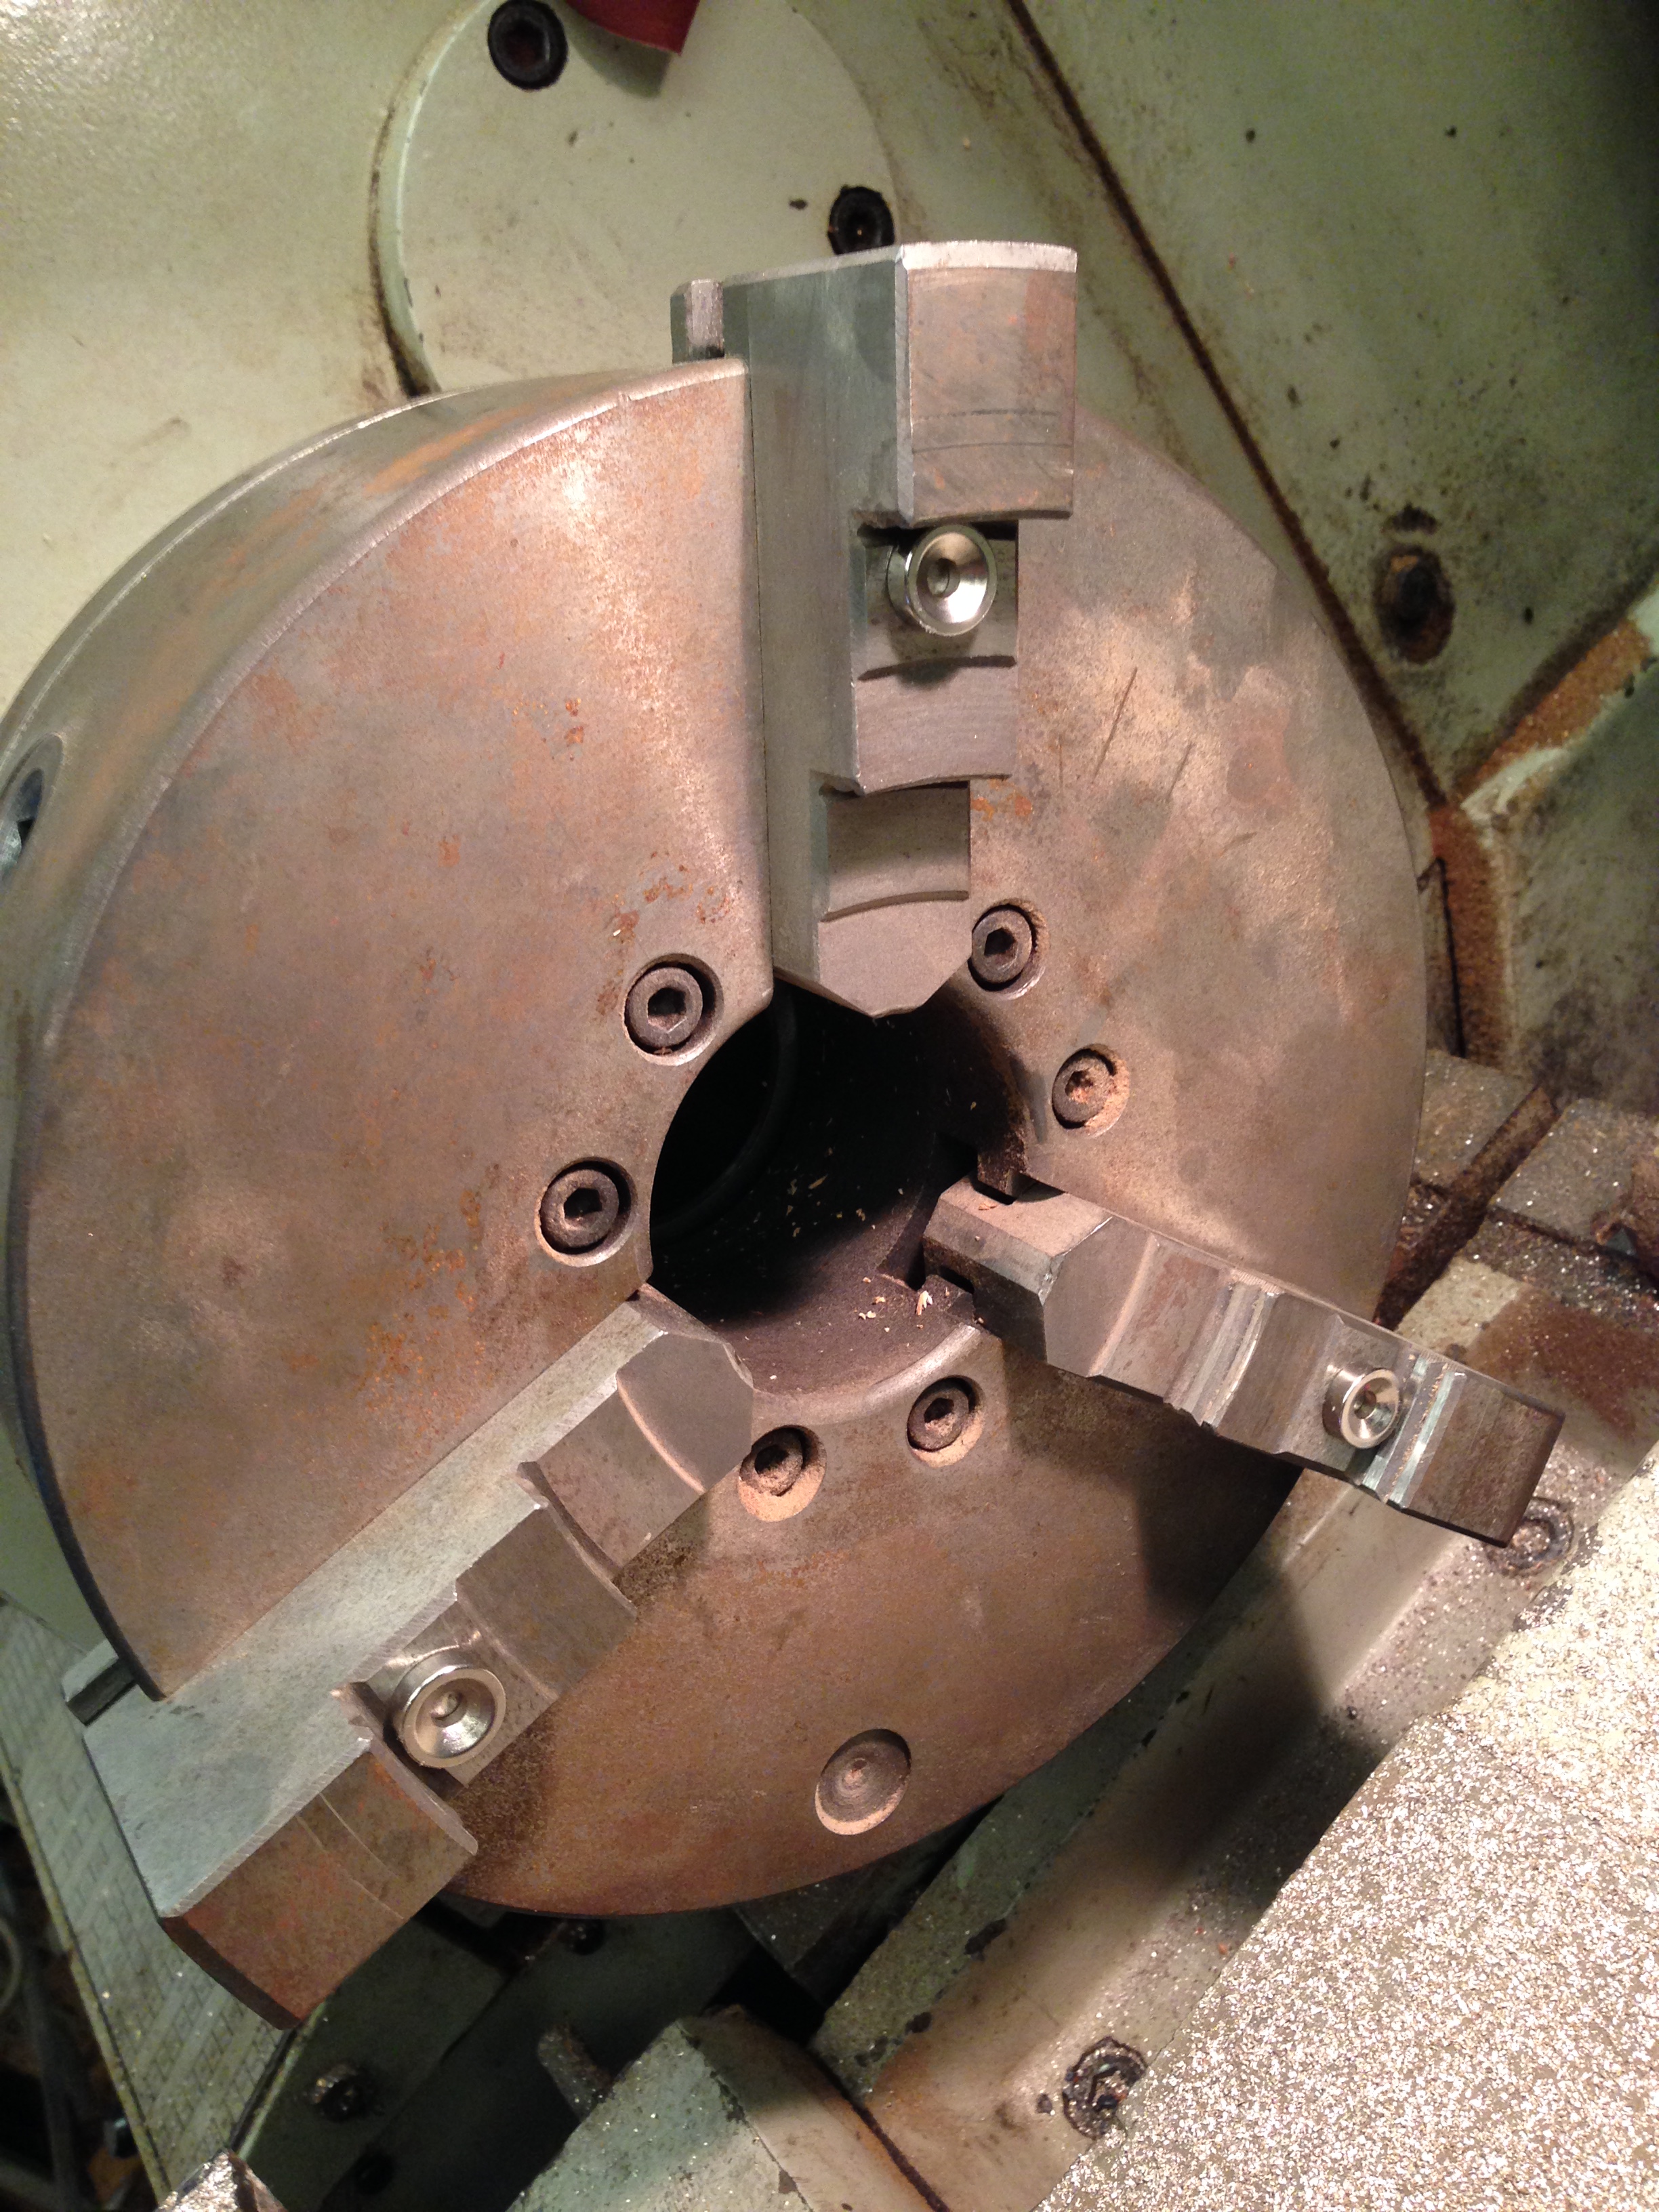
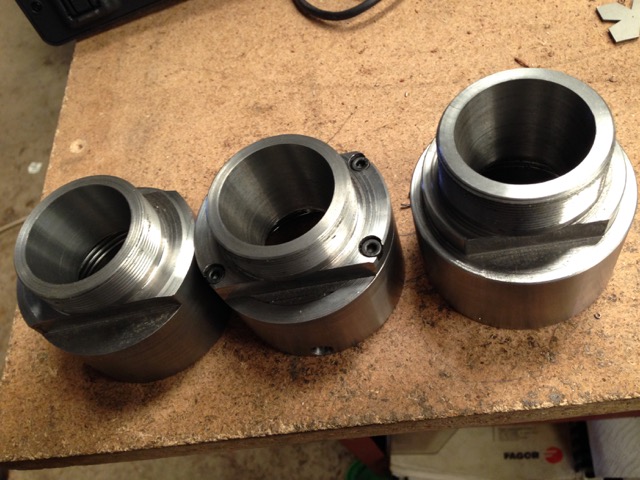
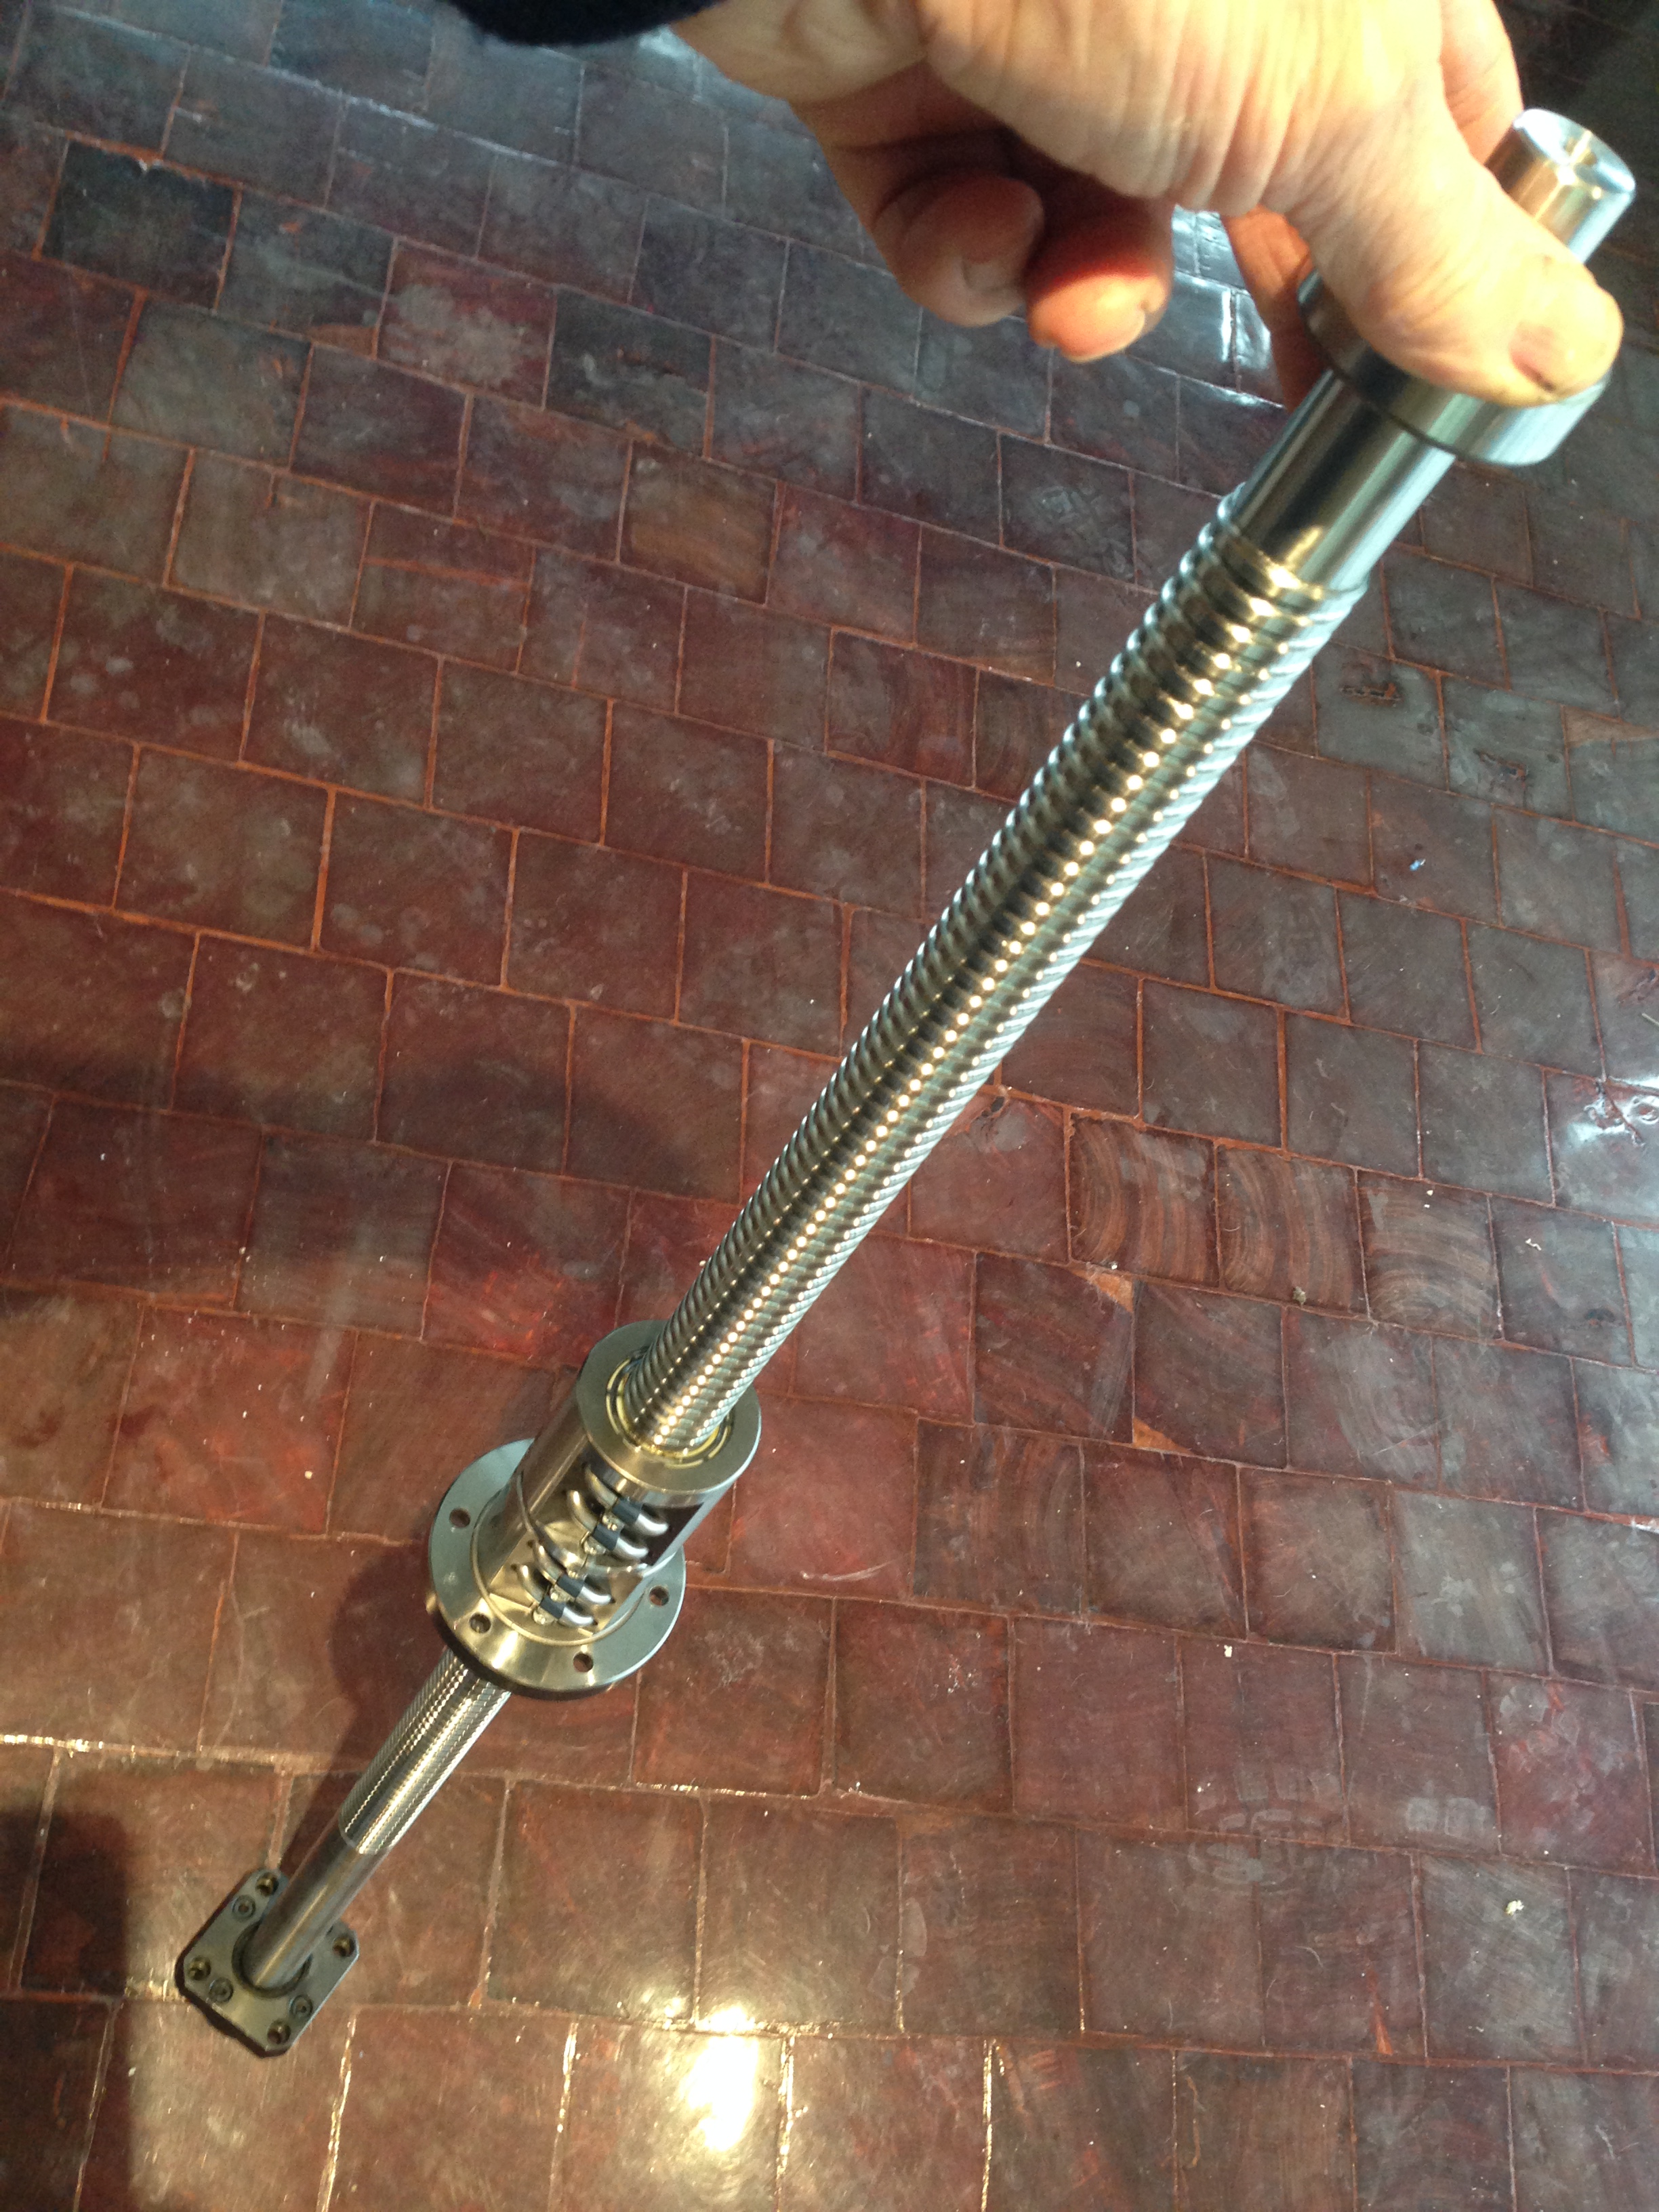
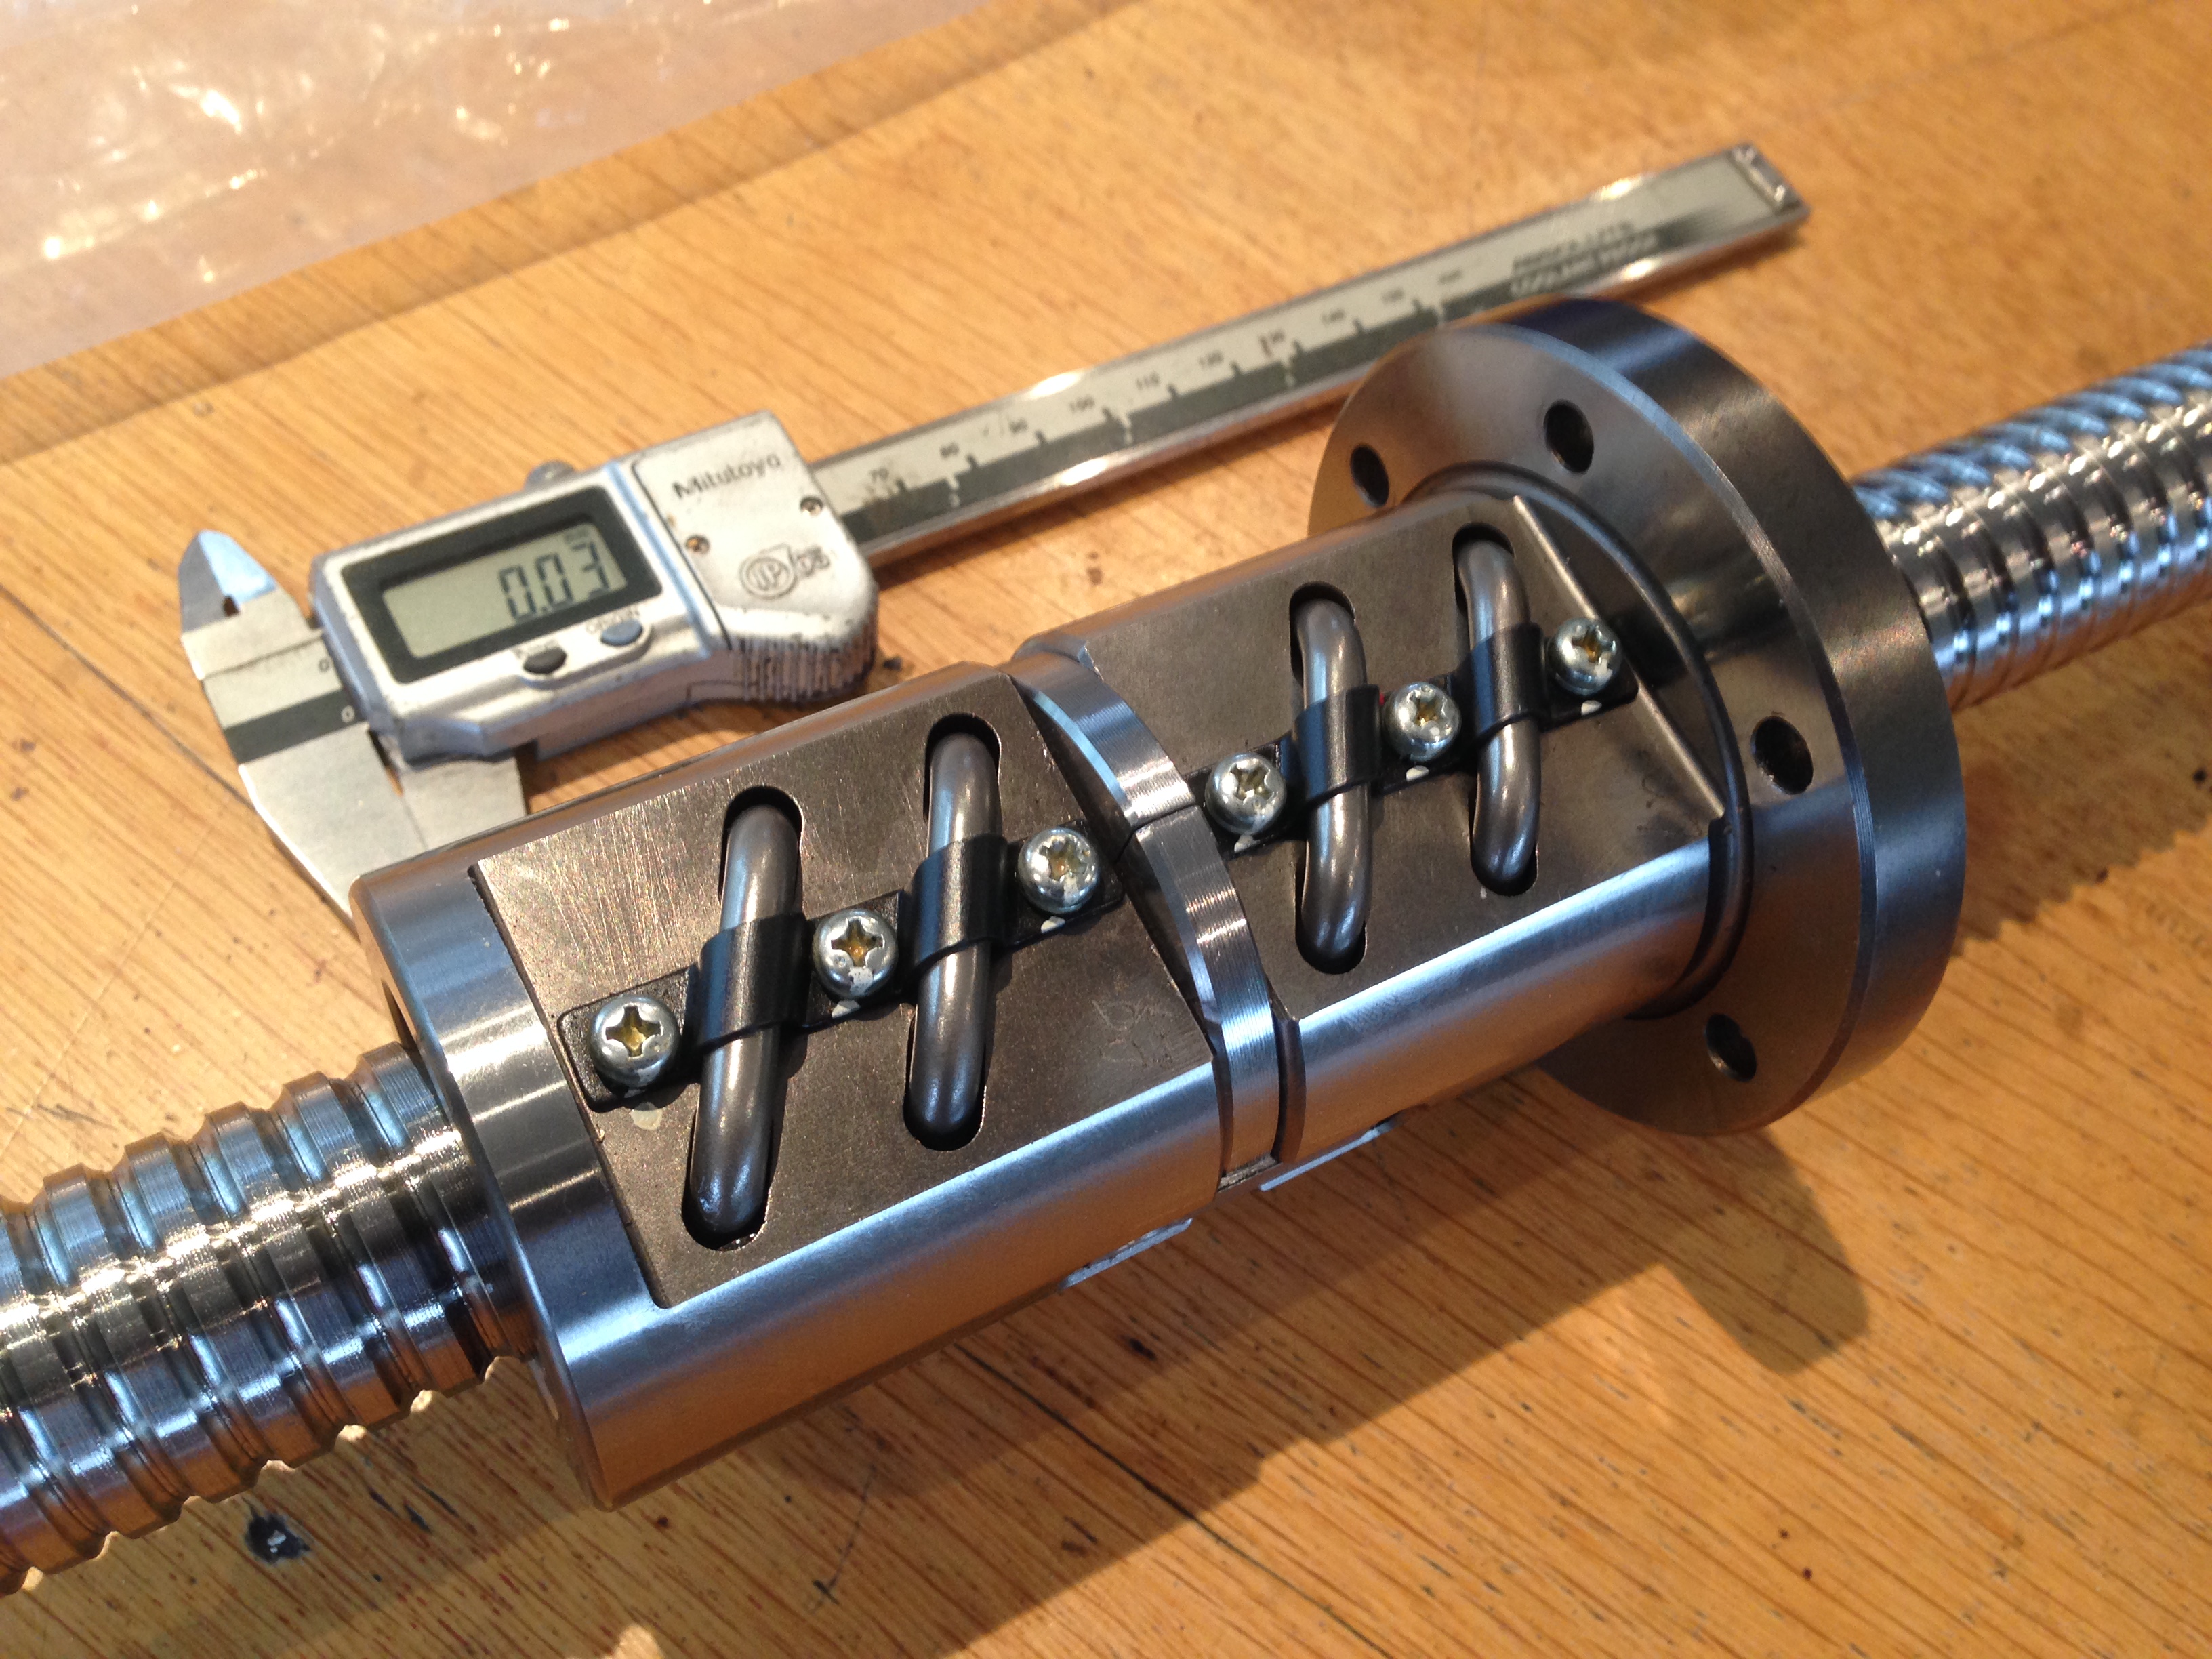
I decided to retain the hub of the gear and to add on a new ring which will be machined, and then new teeth cut into it.

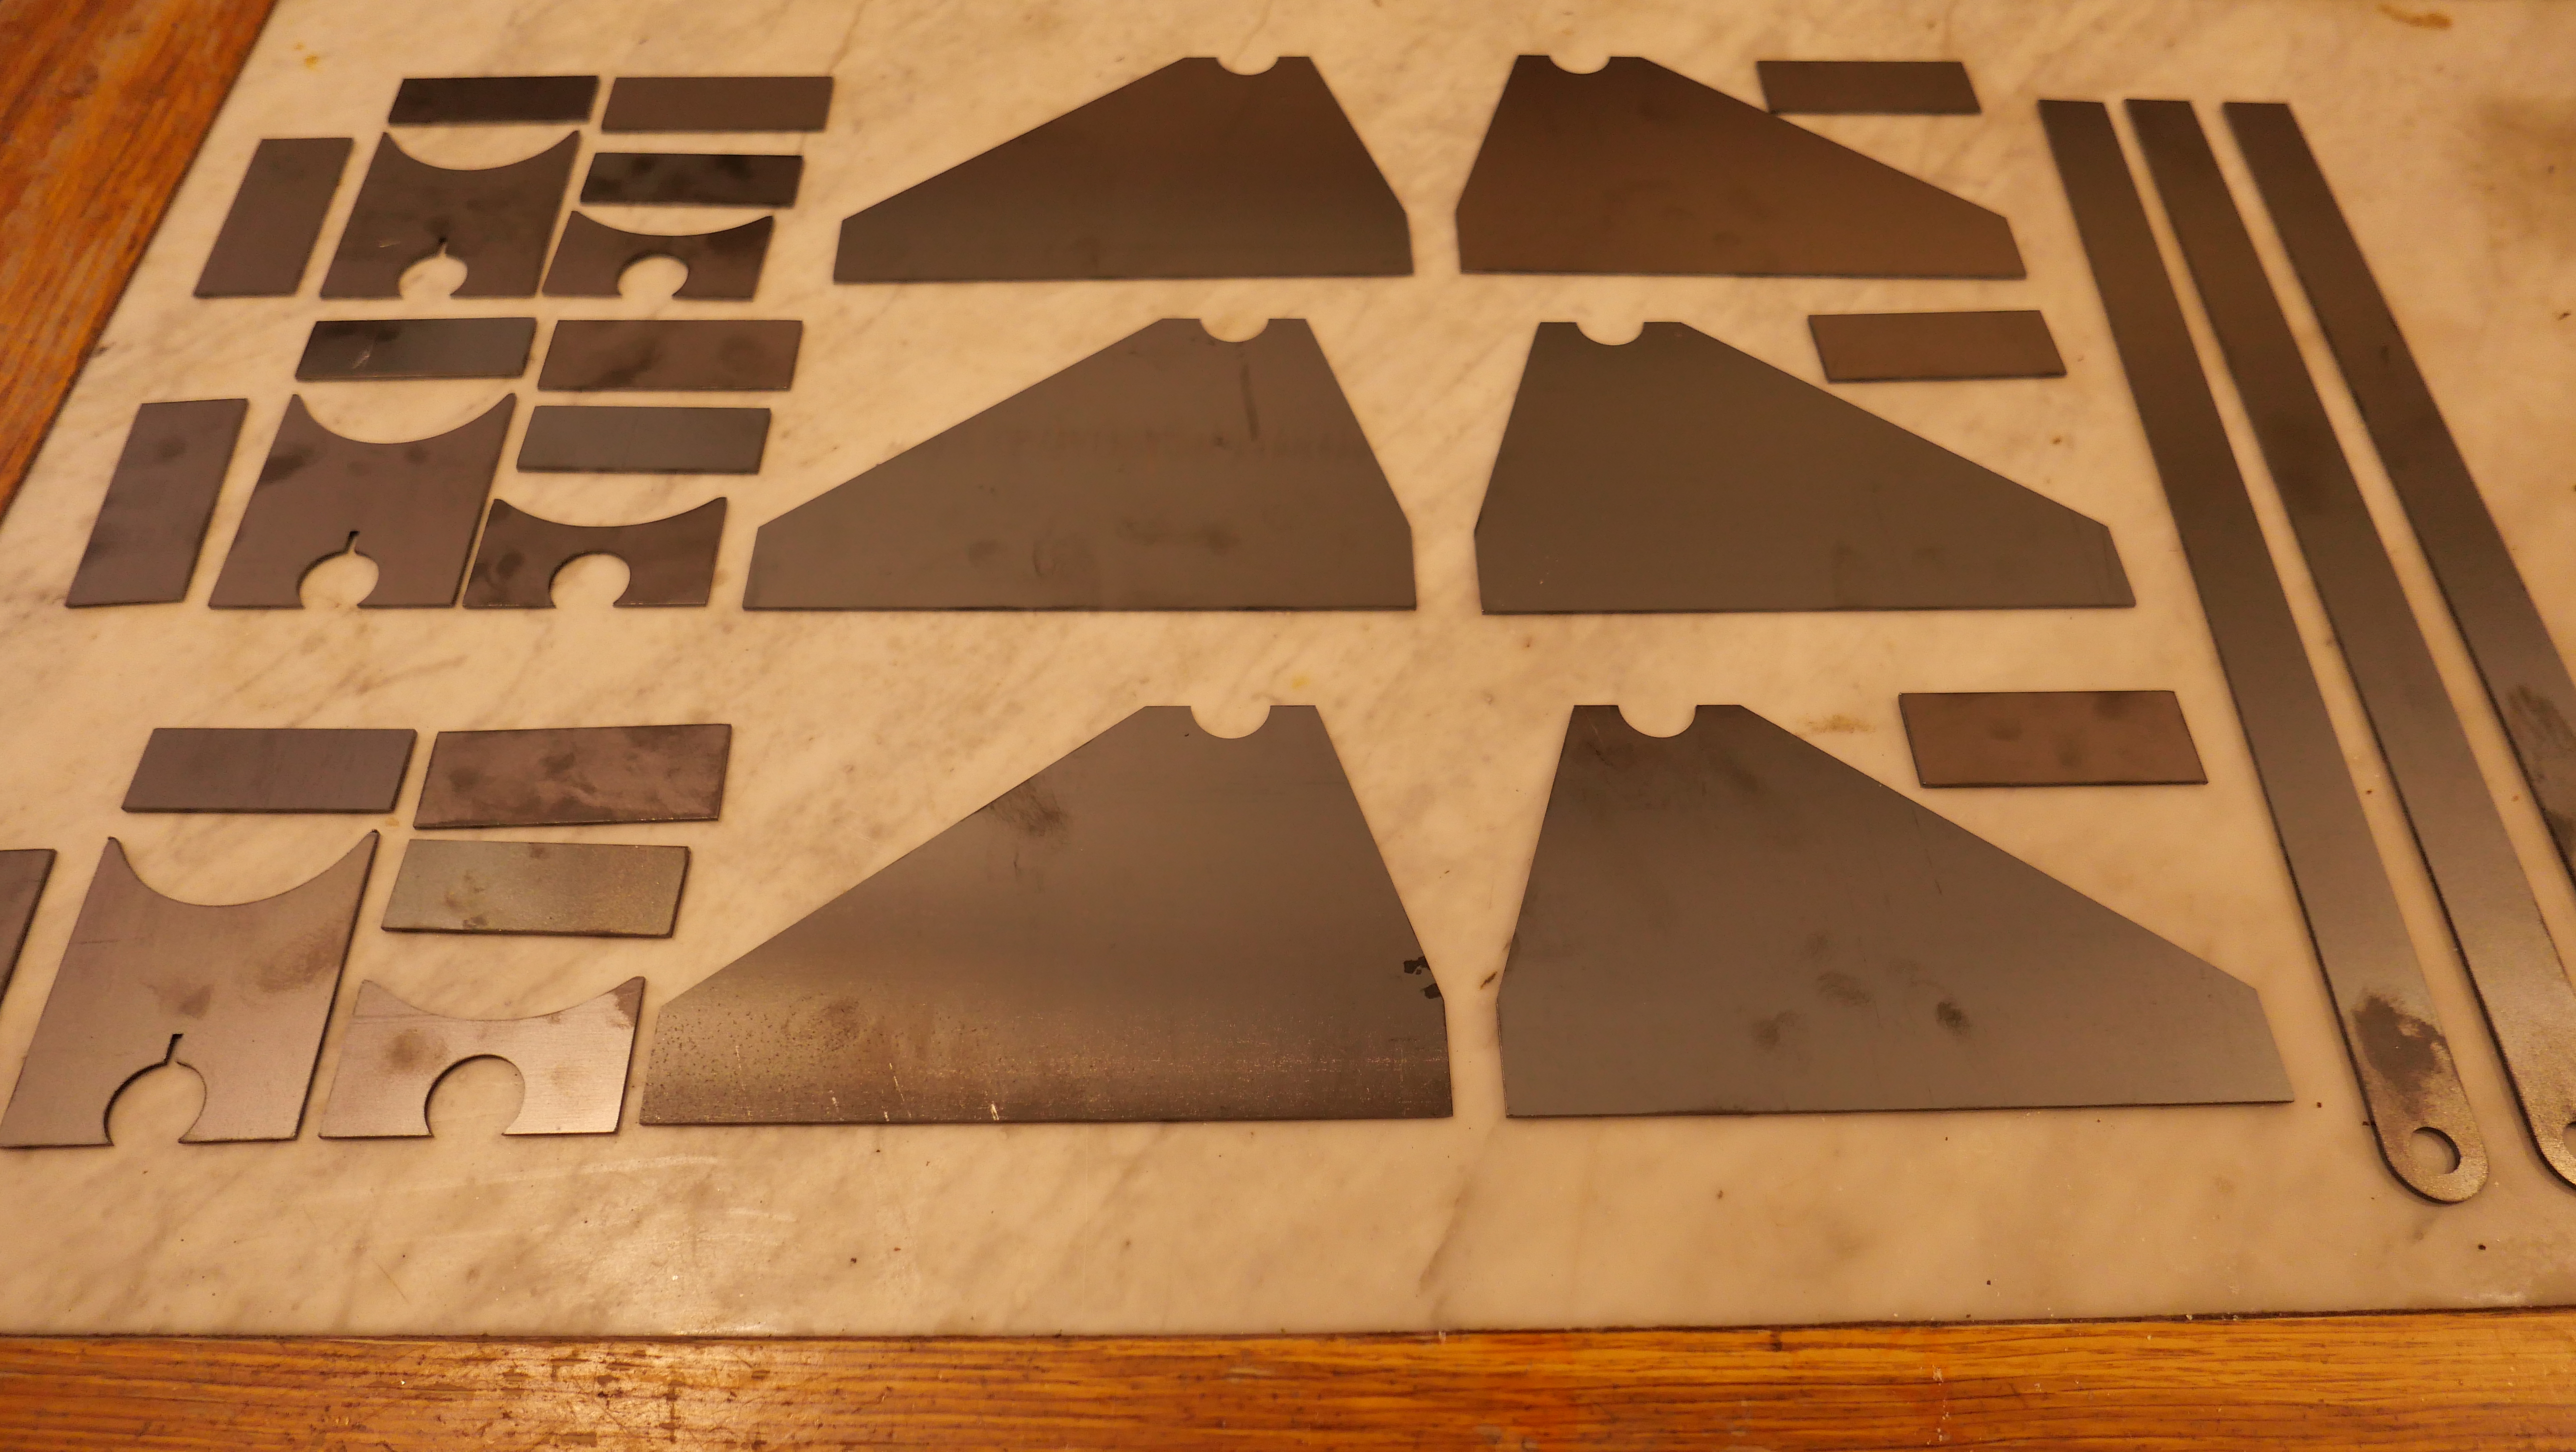
Firstly I had some 25mm steel plate water jetted approximately to size.  I chose water jetting in preference to laser cutting or oxy-acetylene cutting to avoid any inadvertent heat hardening.

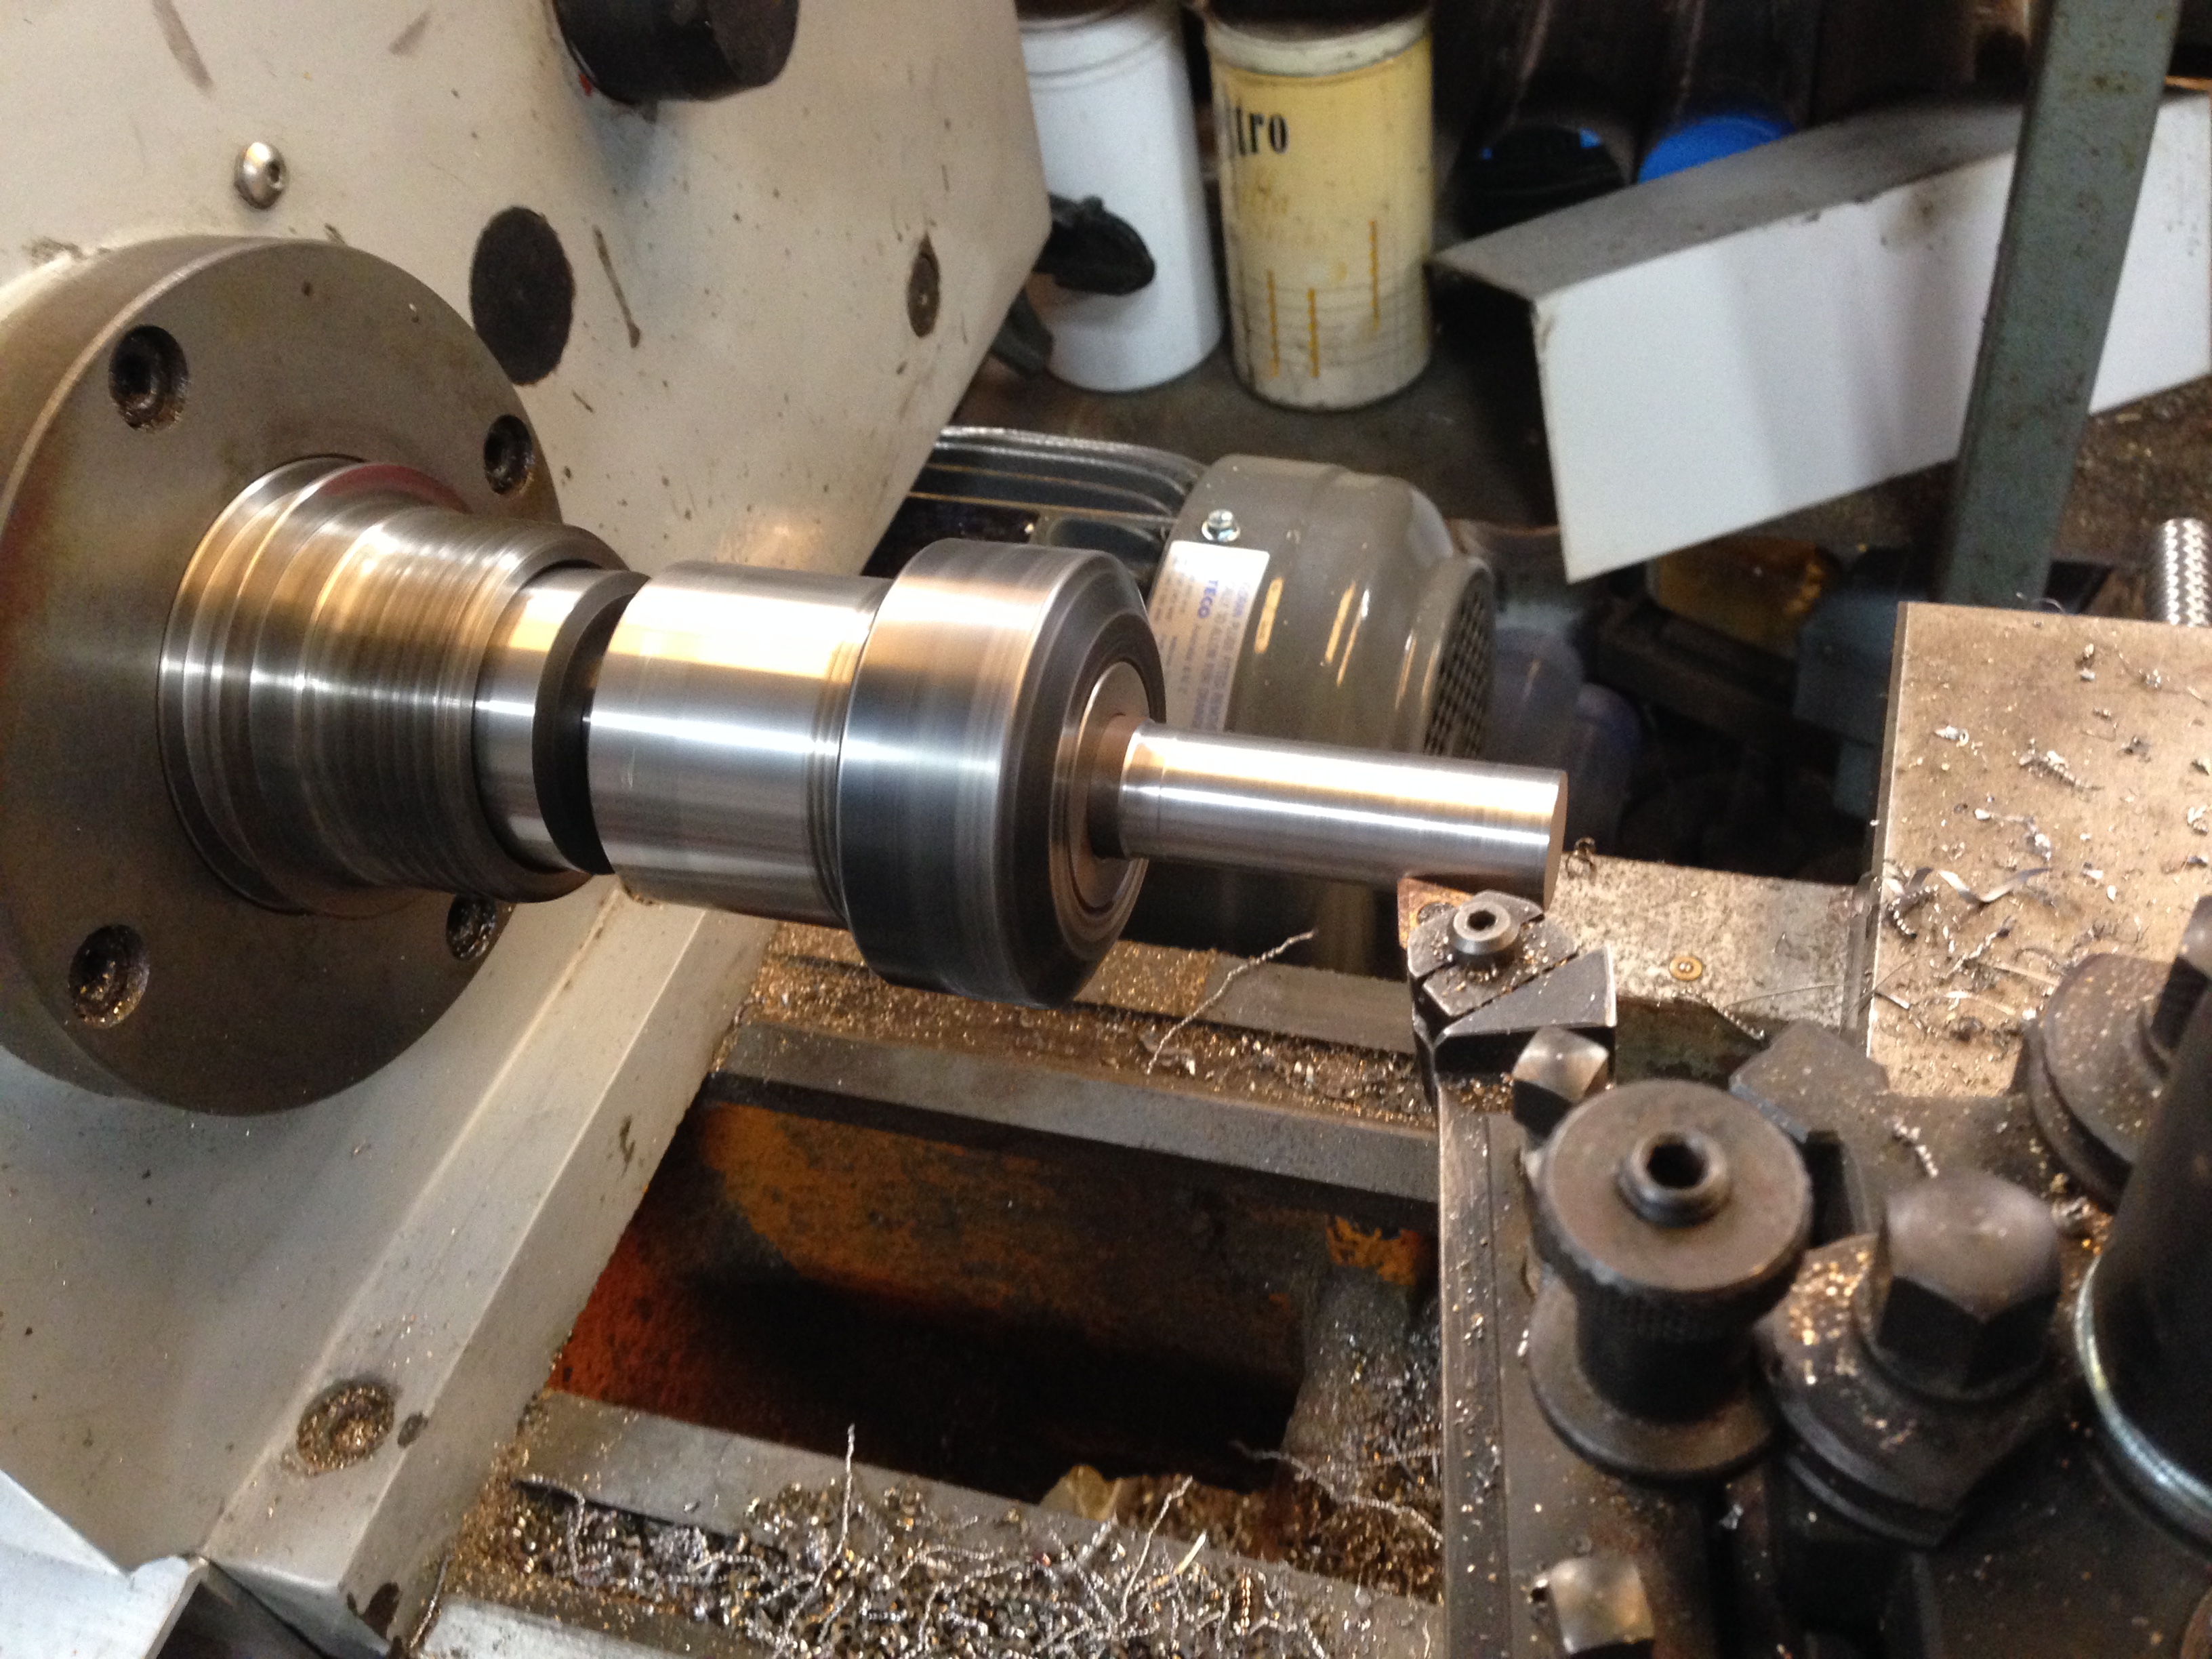
I also had the original gear water jetted to remove the outer 25mm, including the teeth, because it had originally been heat treated hardened, and I did not fancy machining that on my other lathe and maybe breaking more teeth!

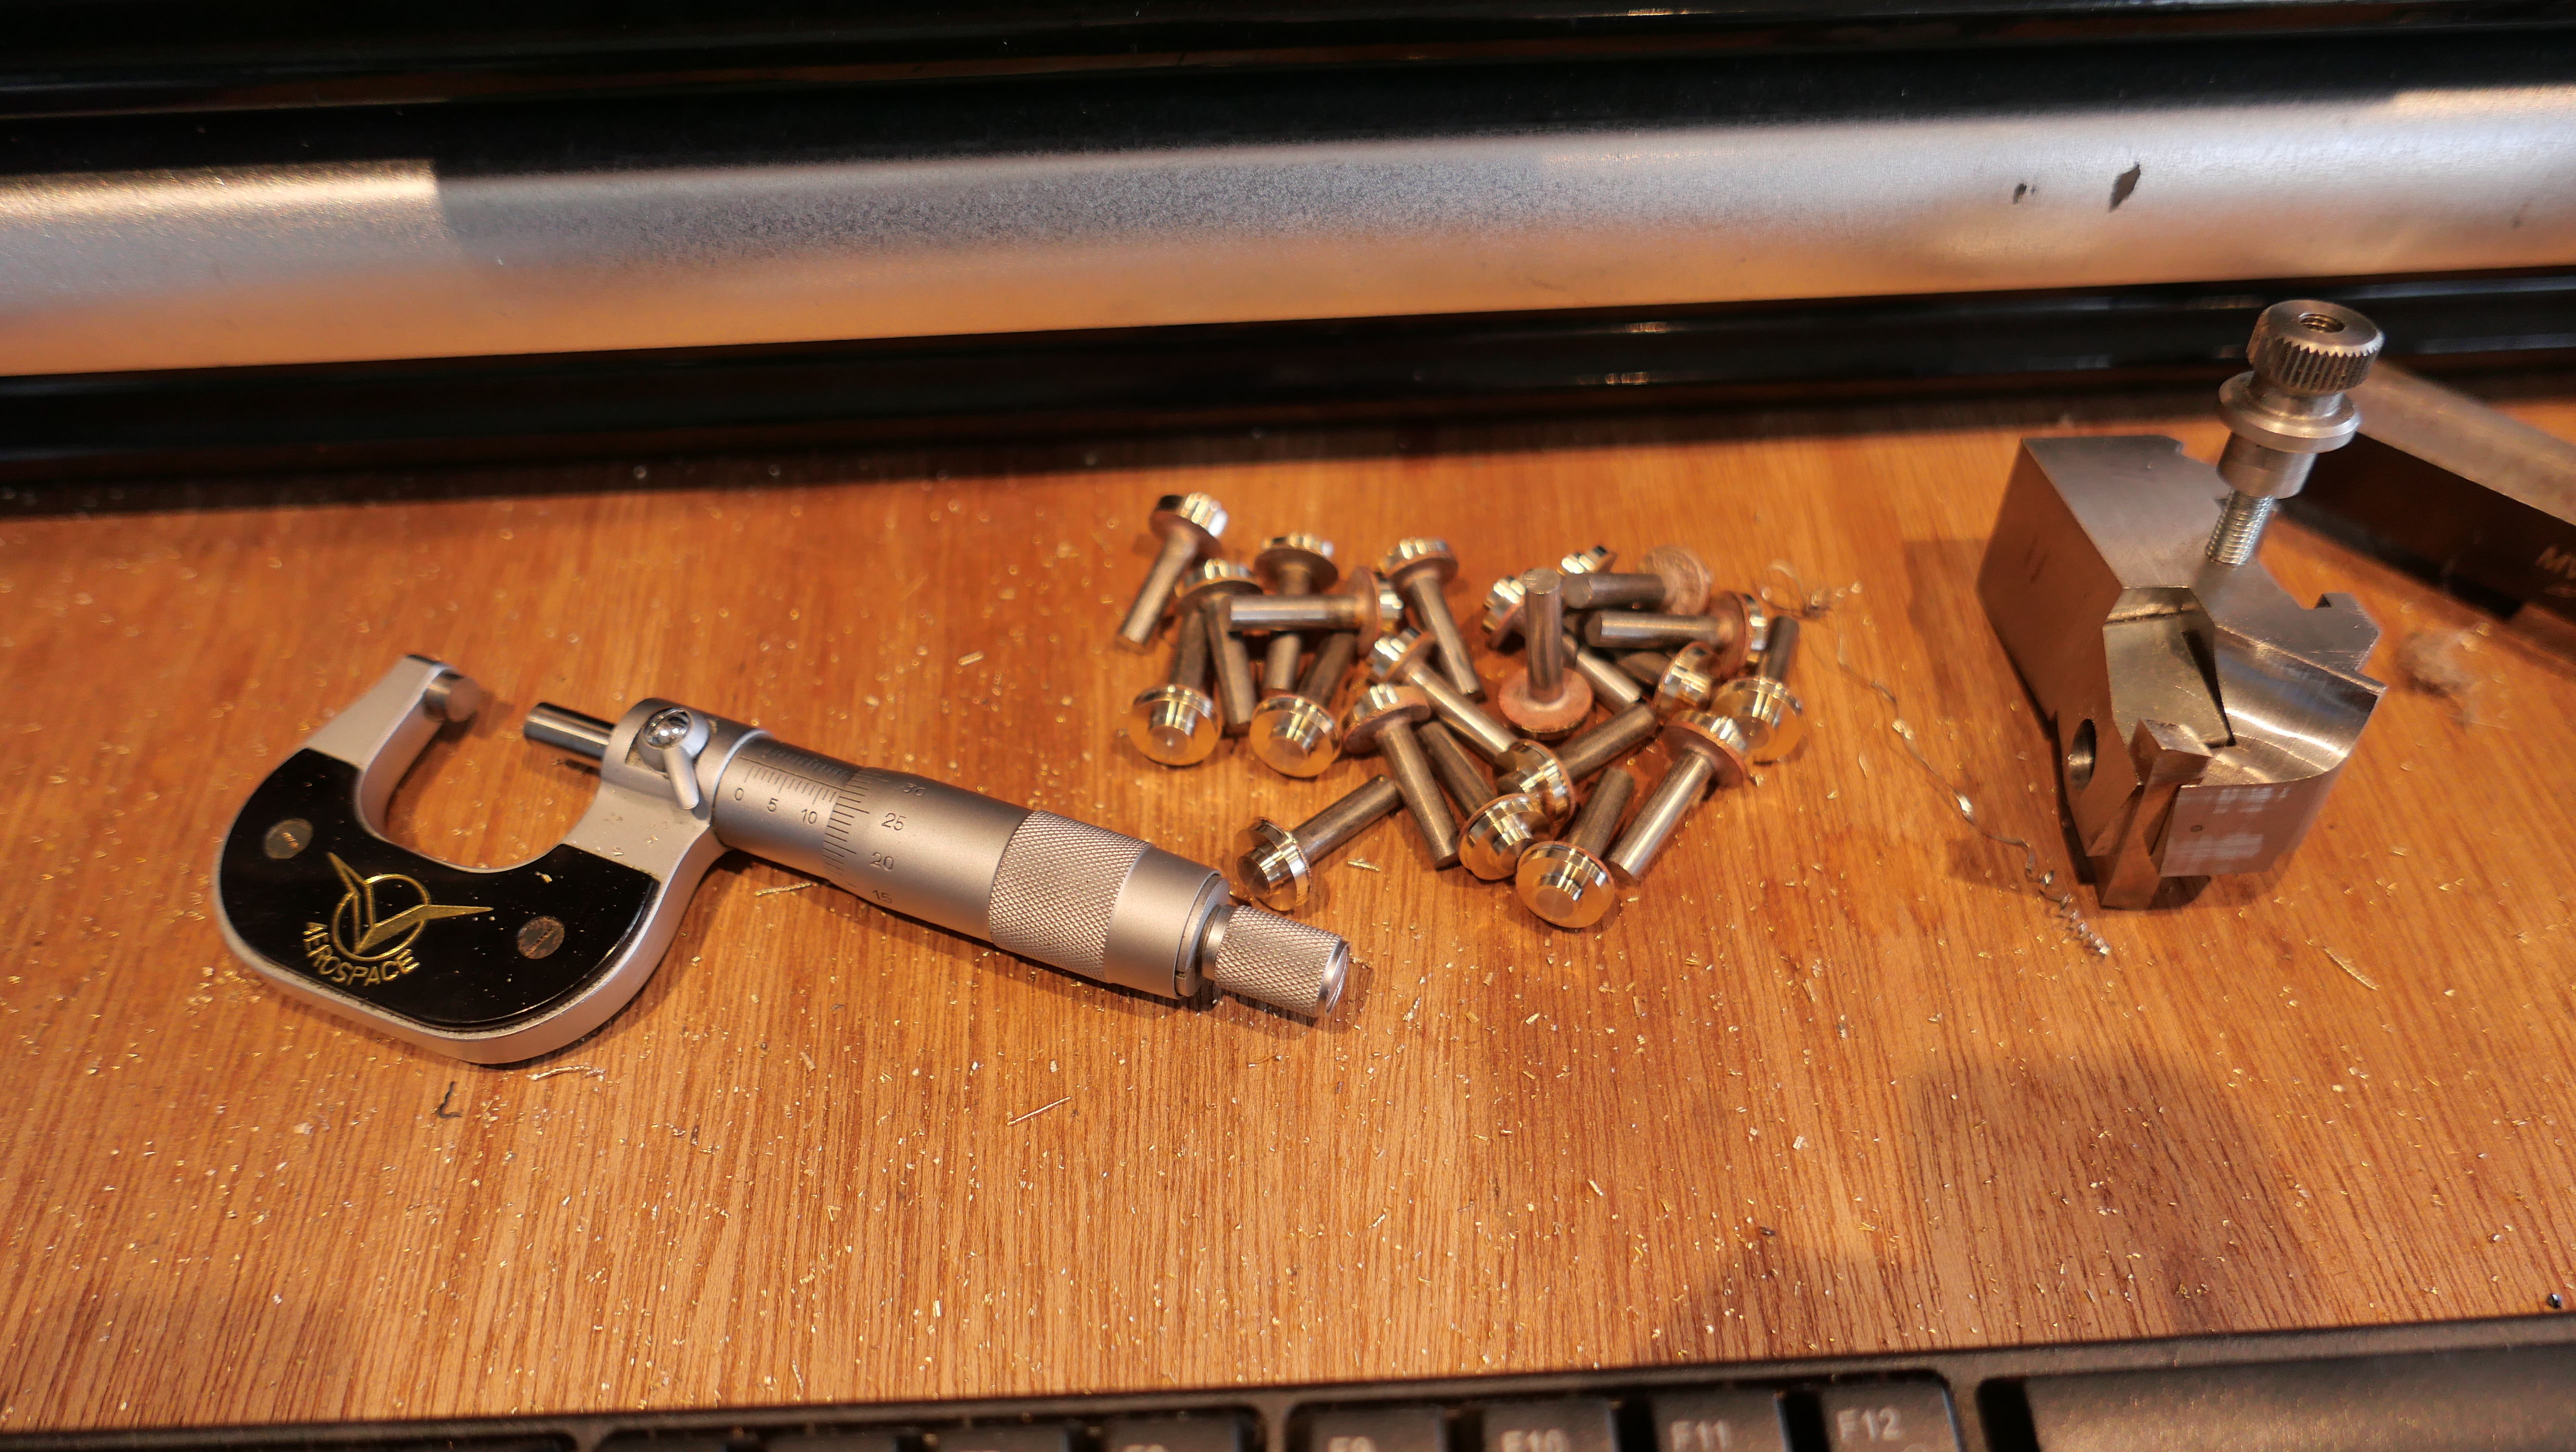
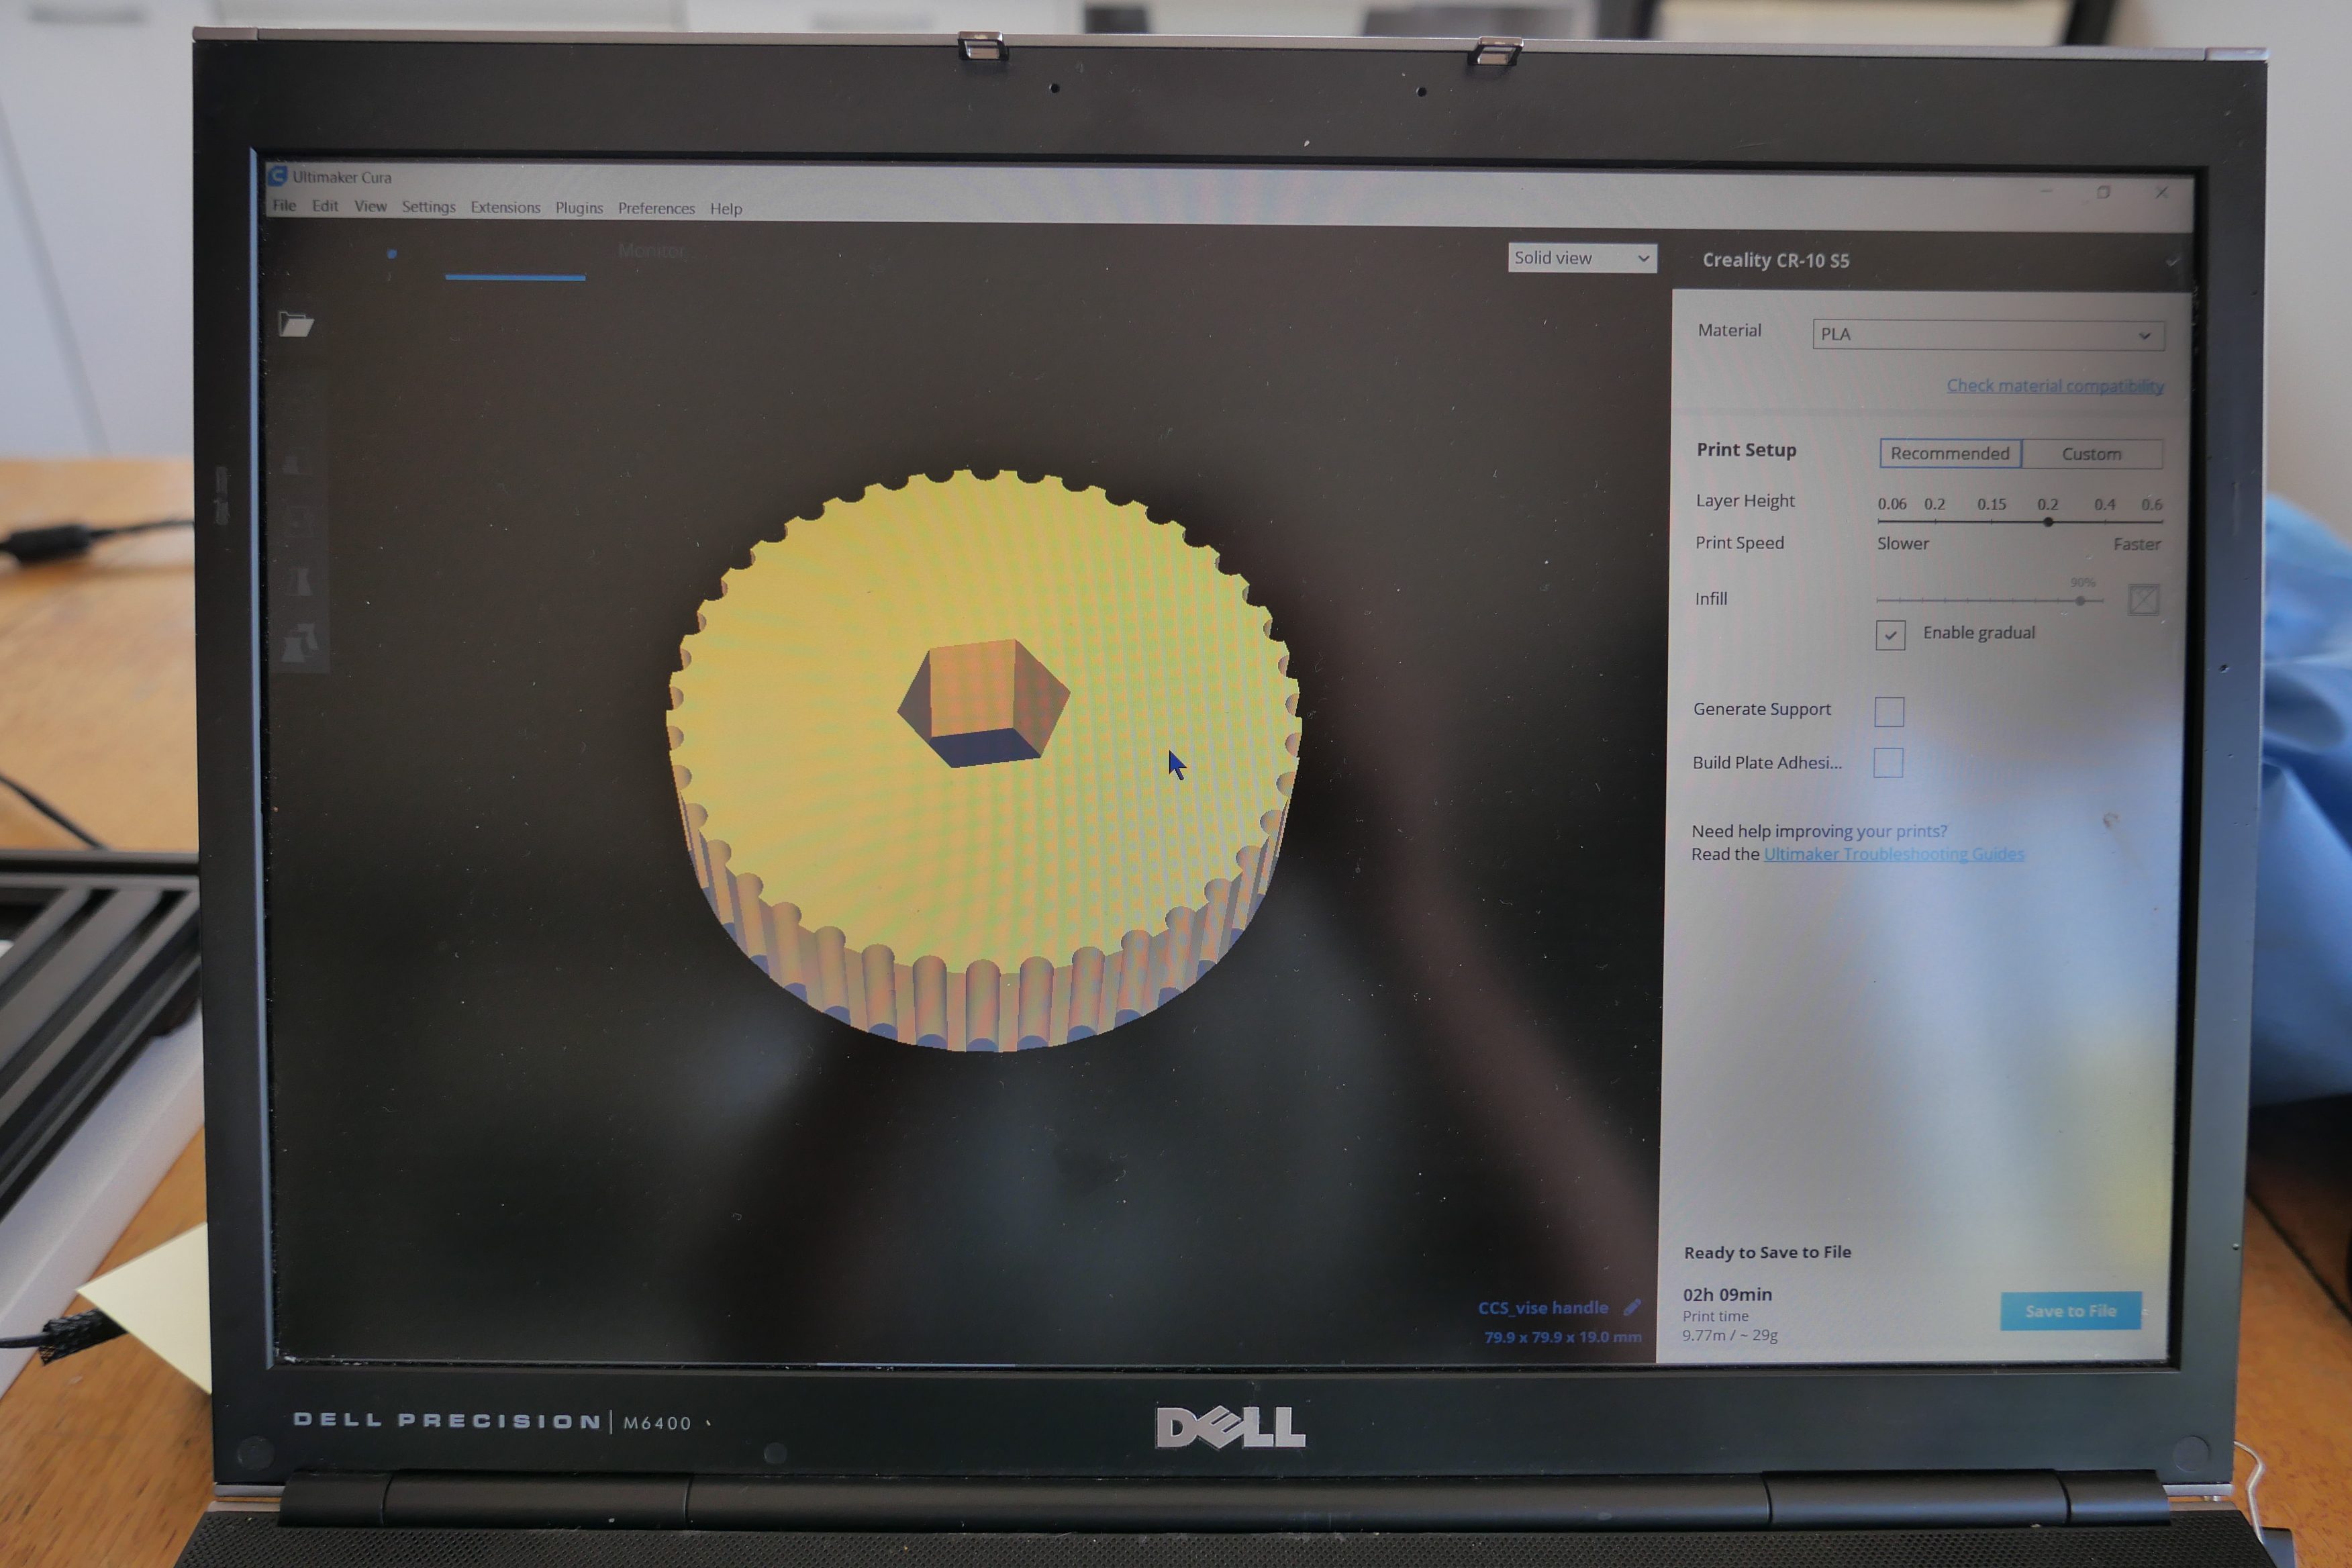
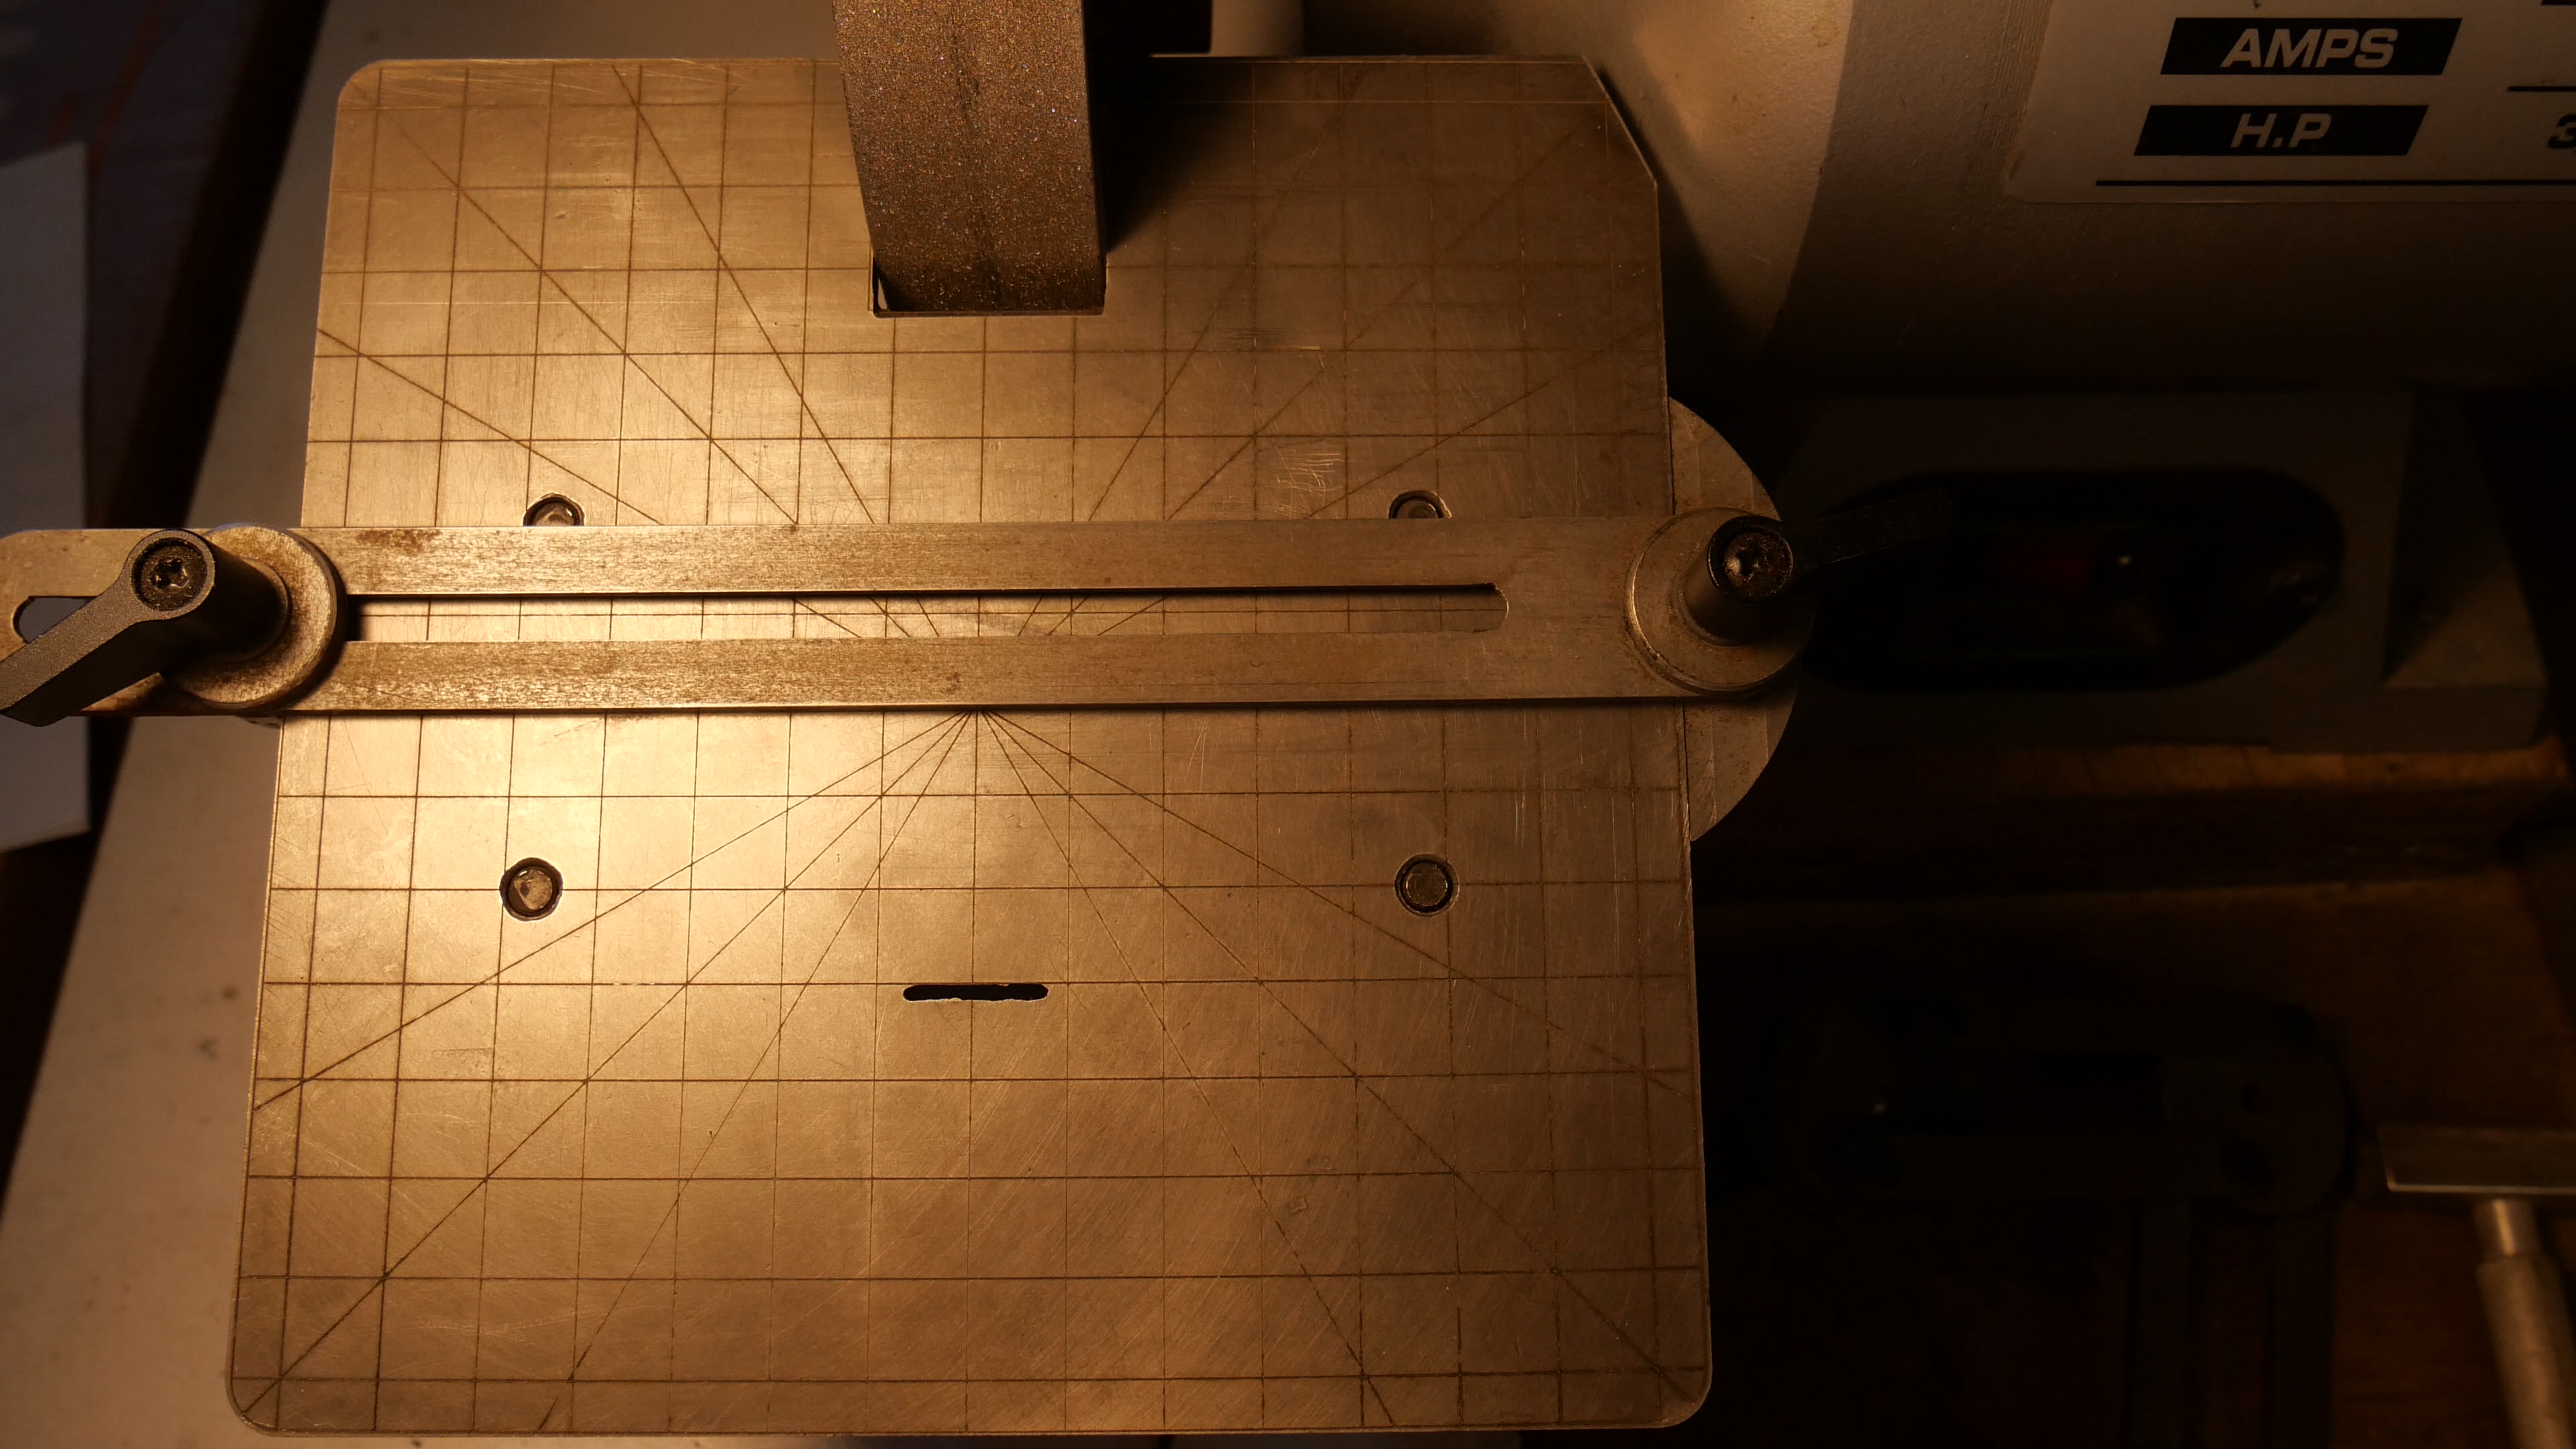
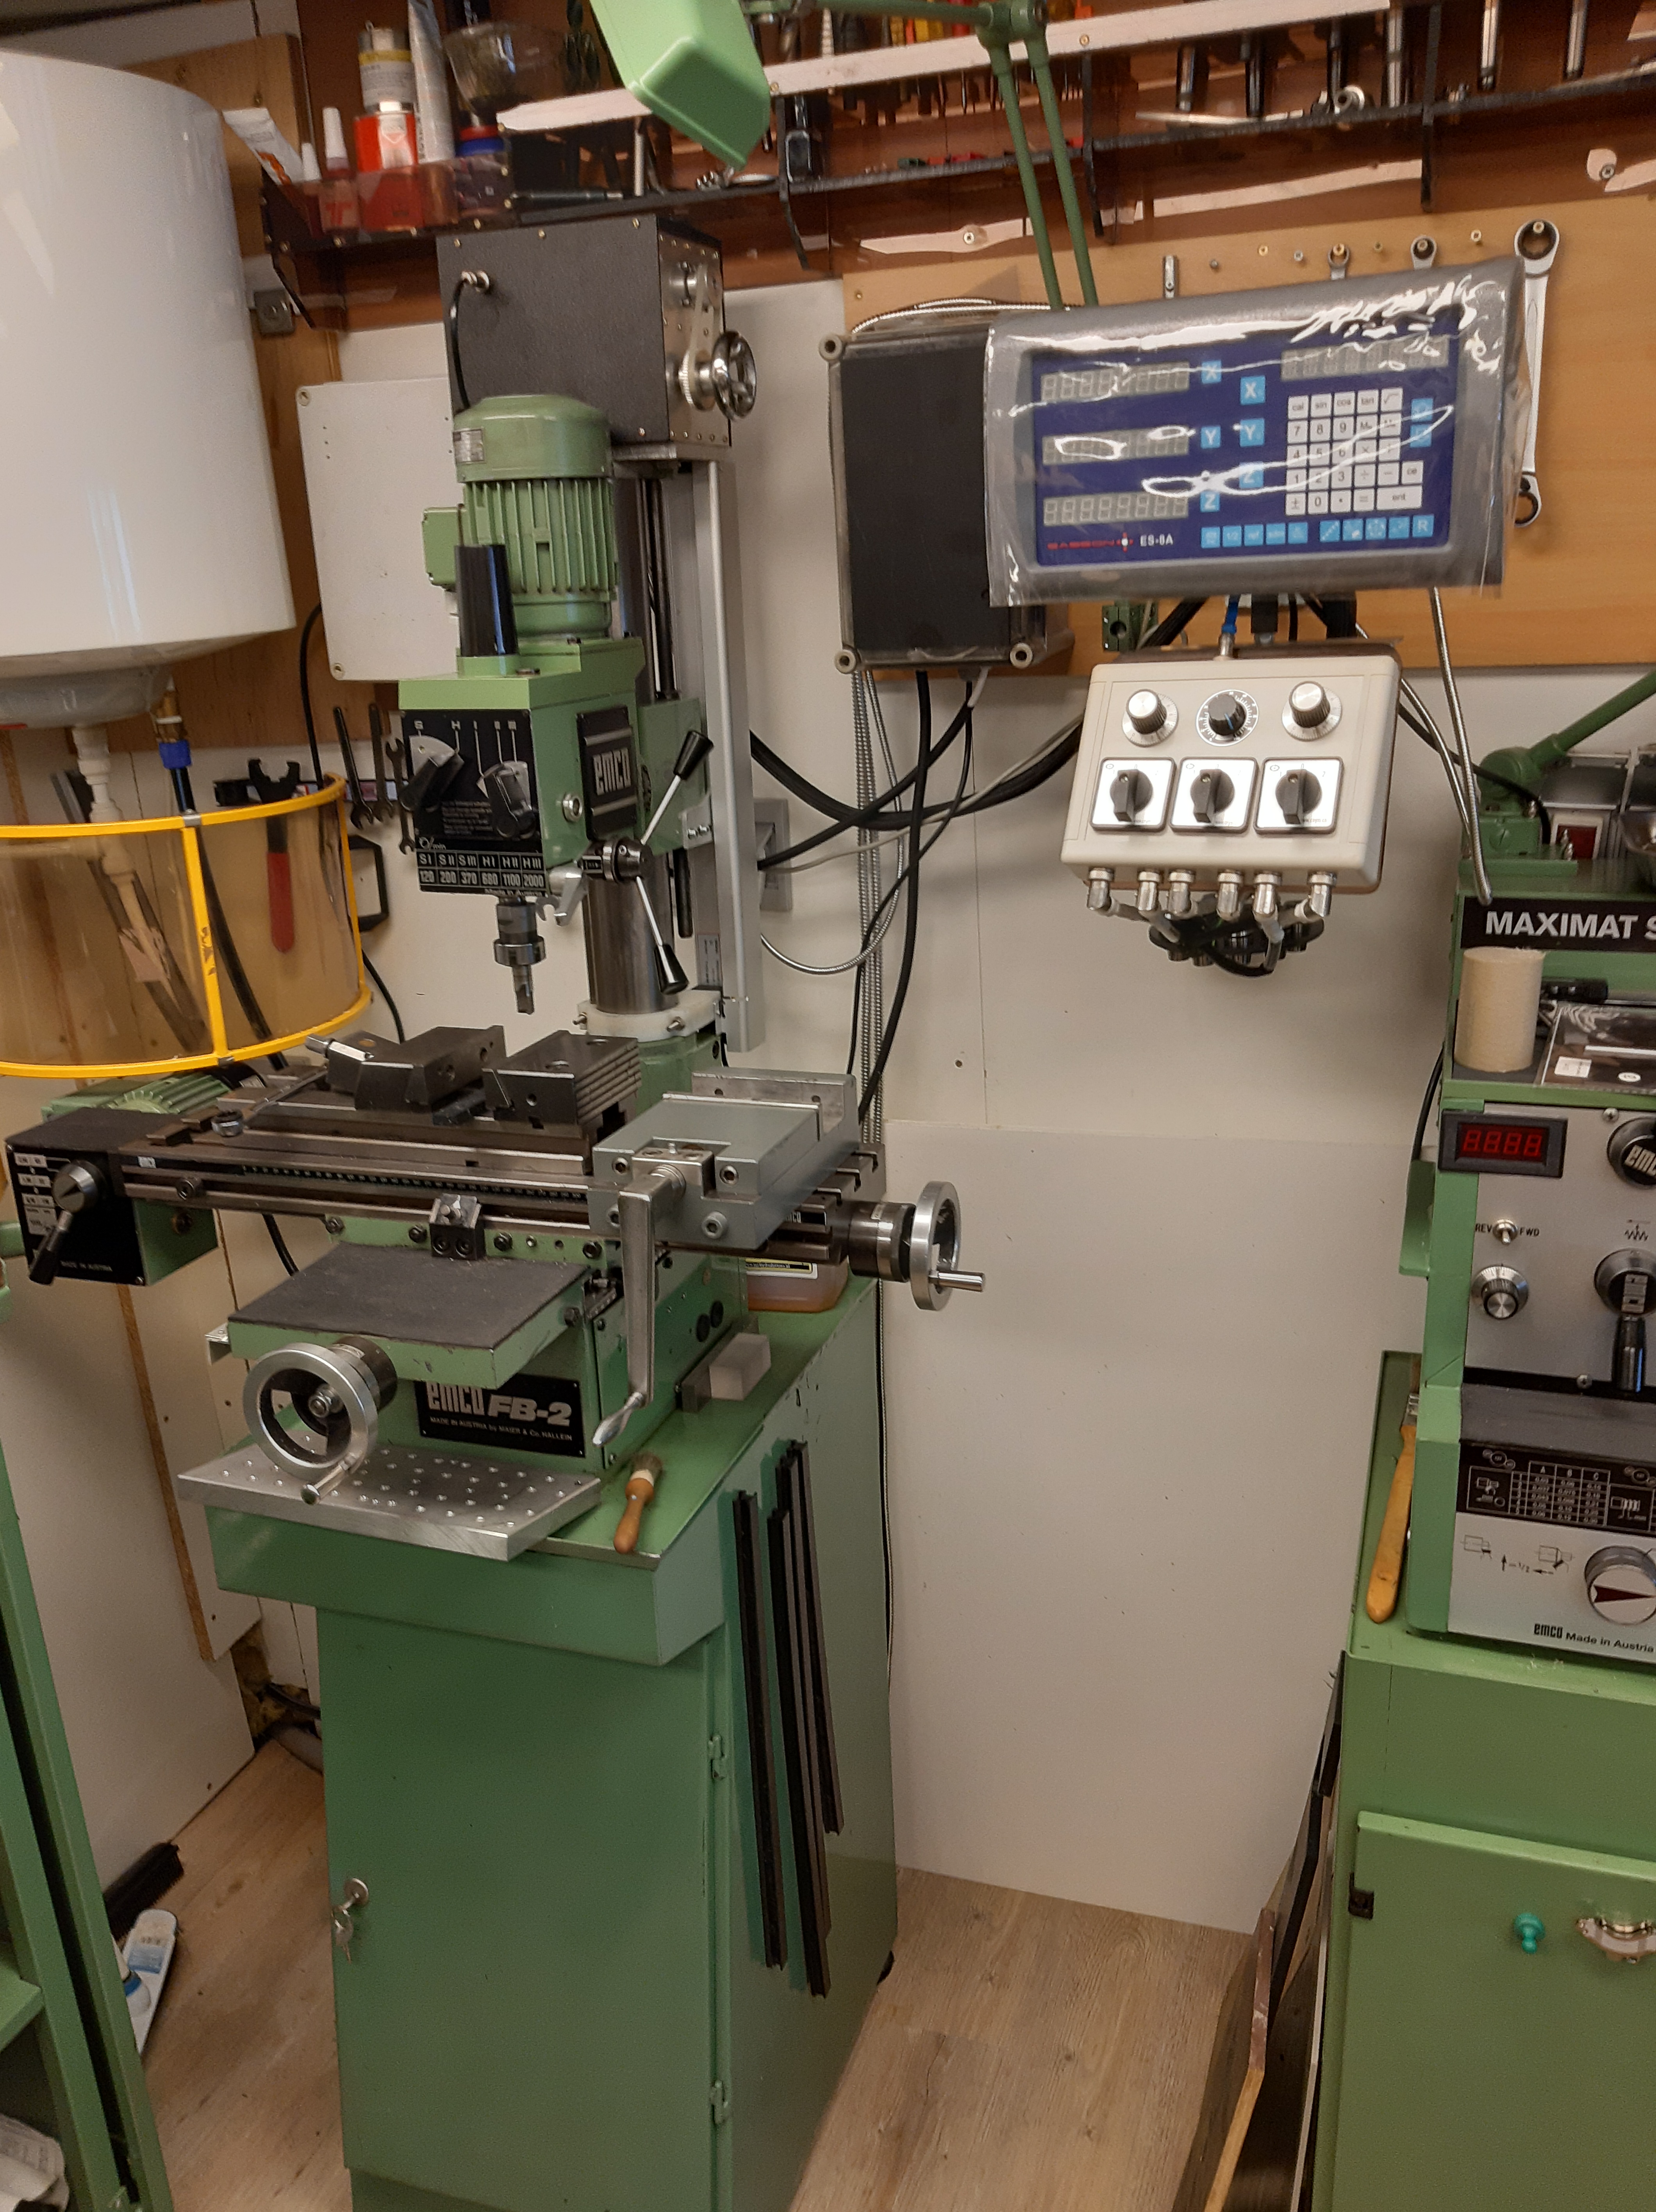
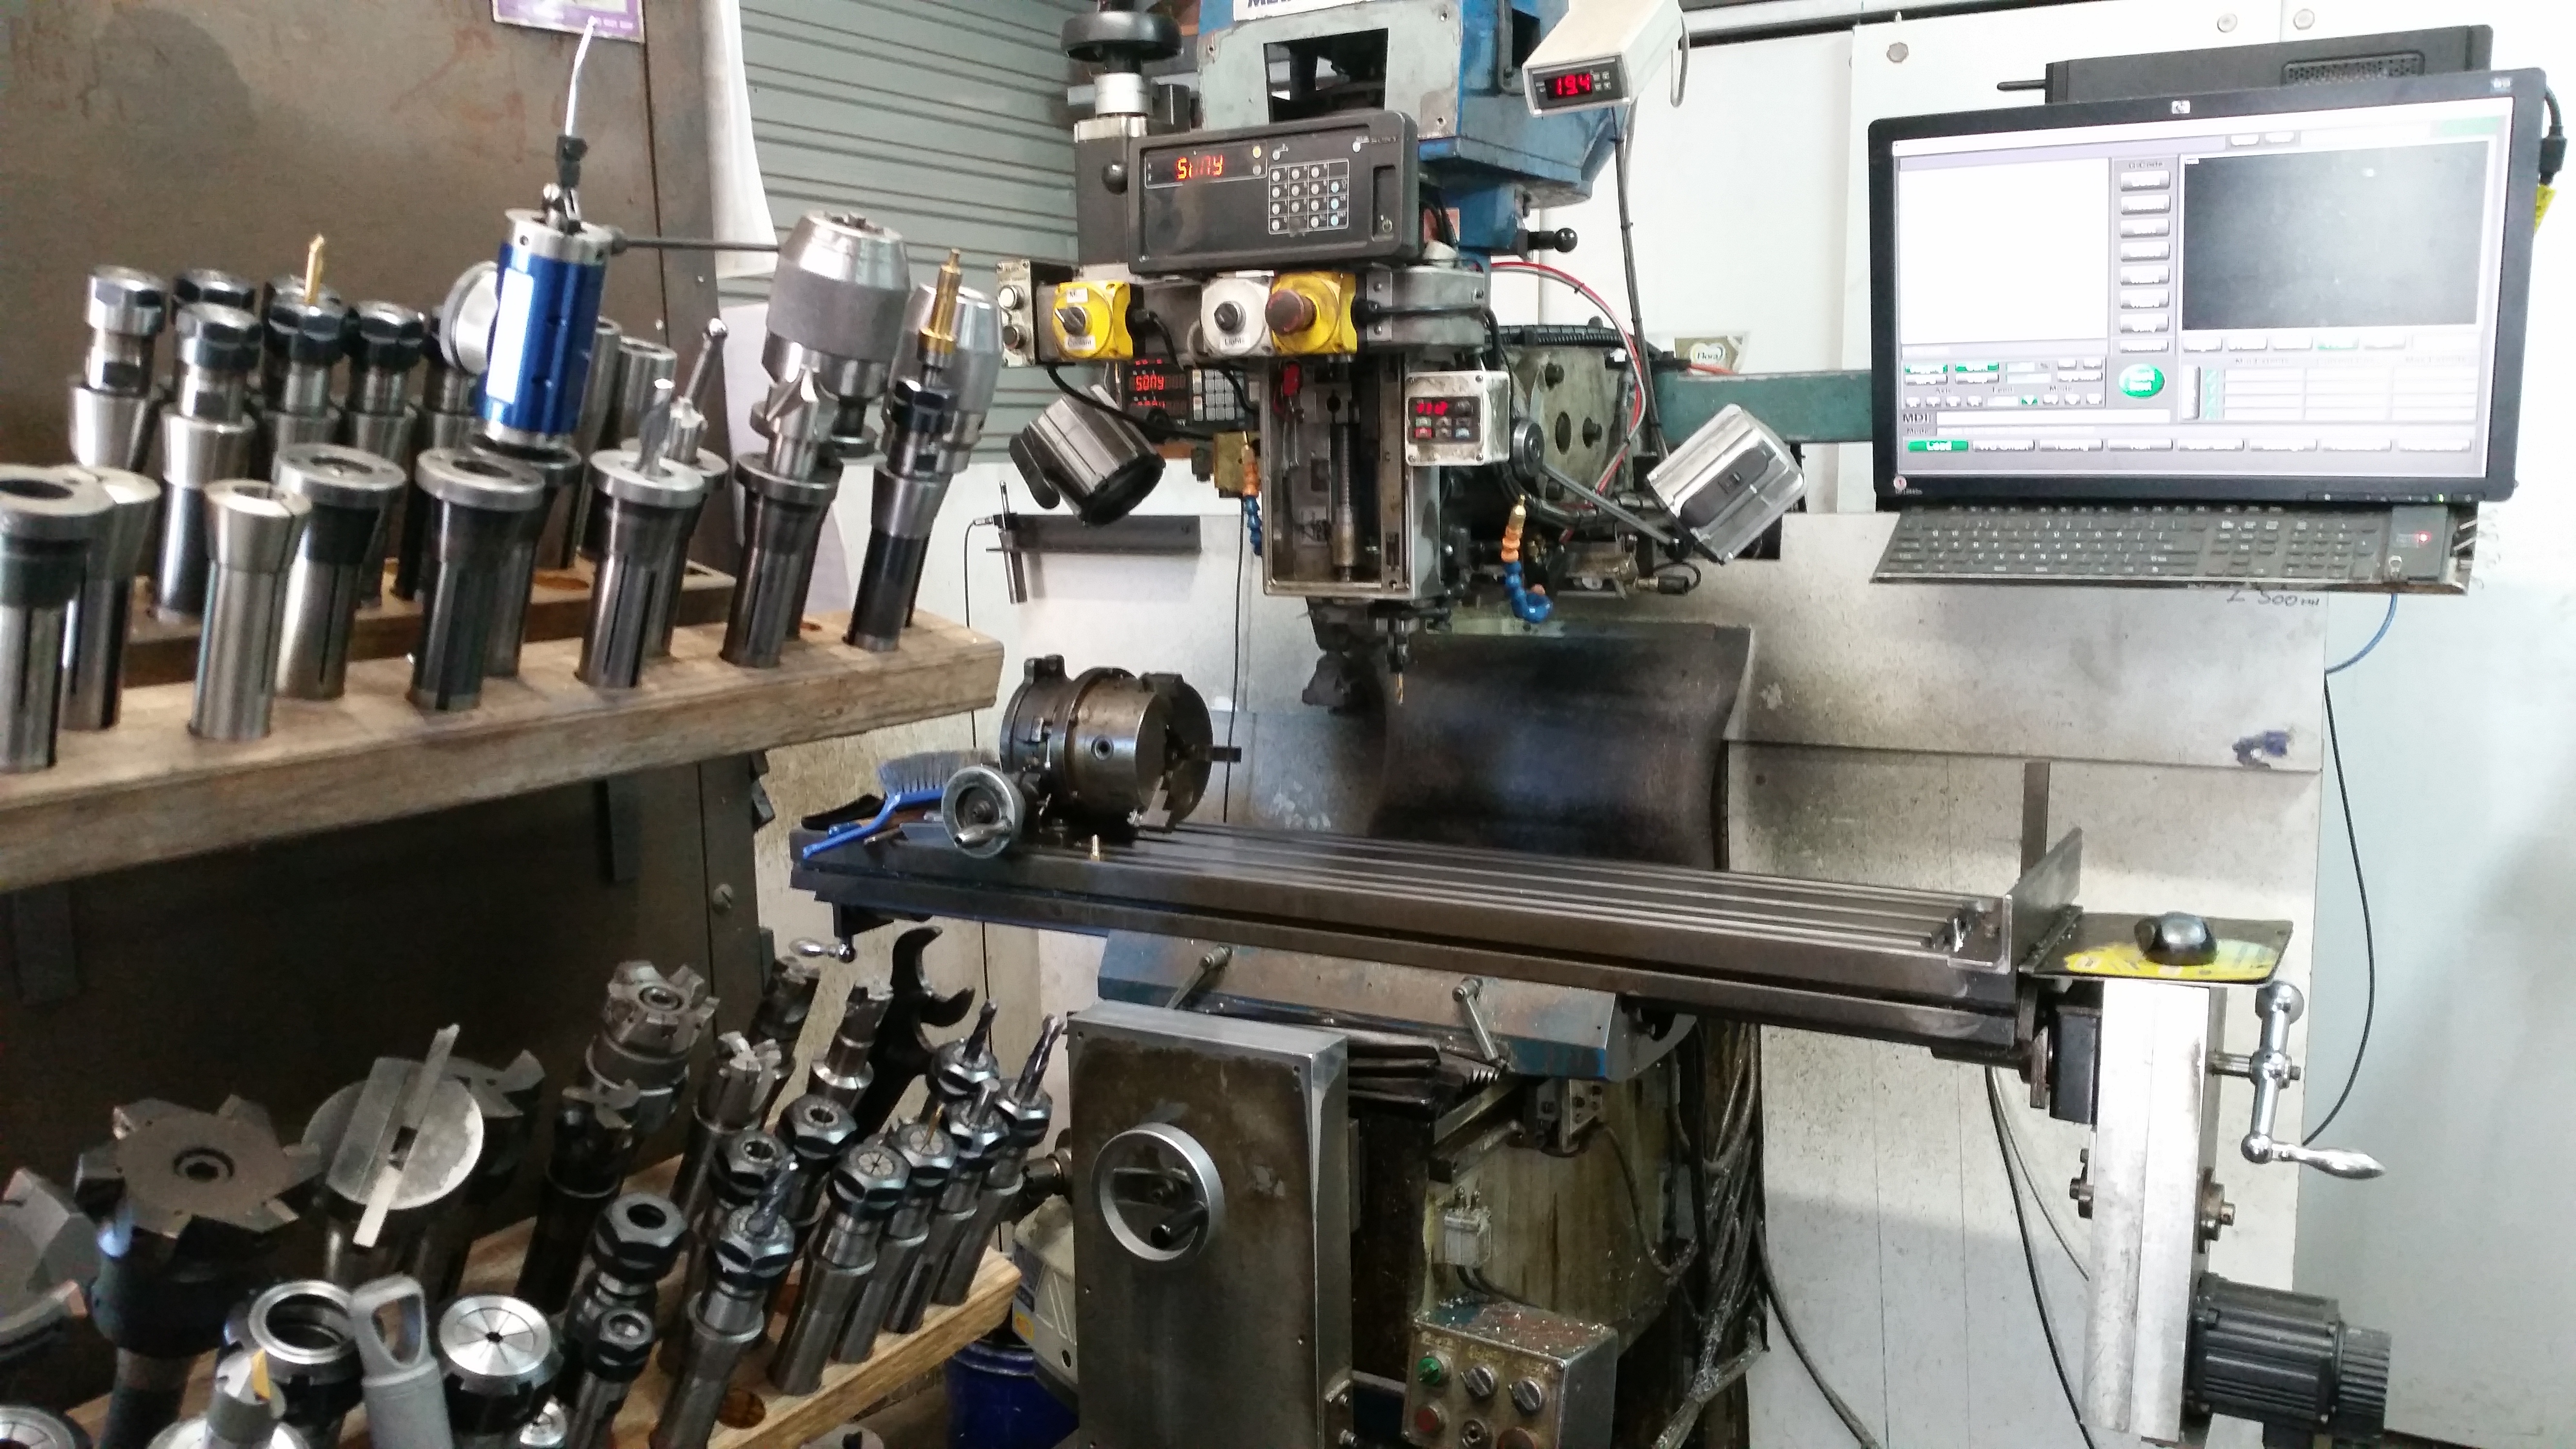
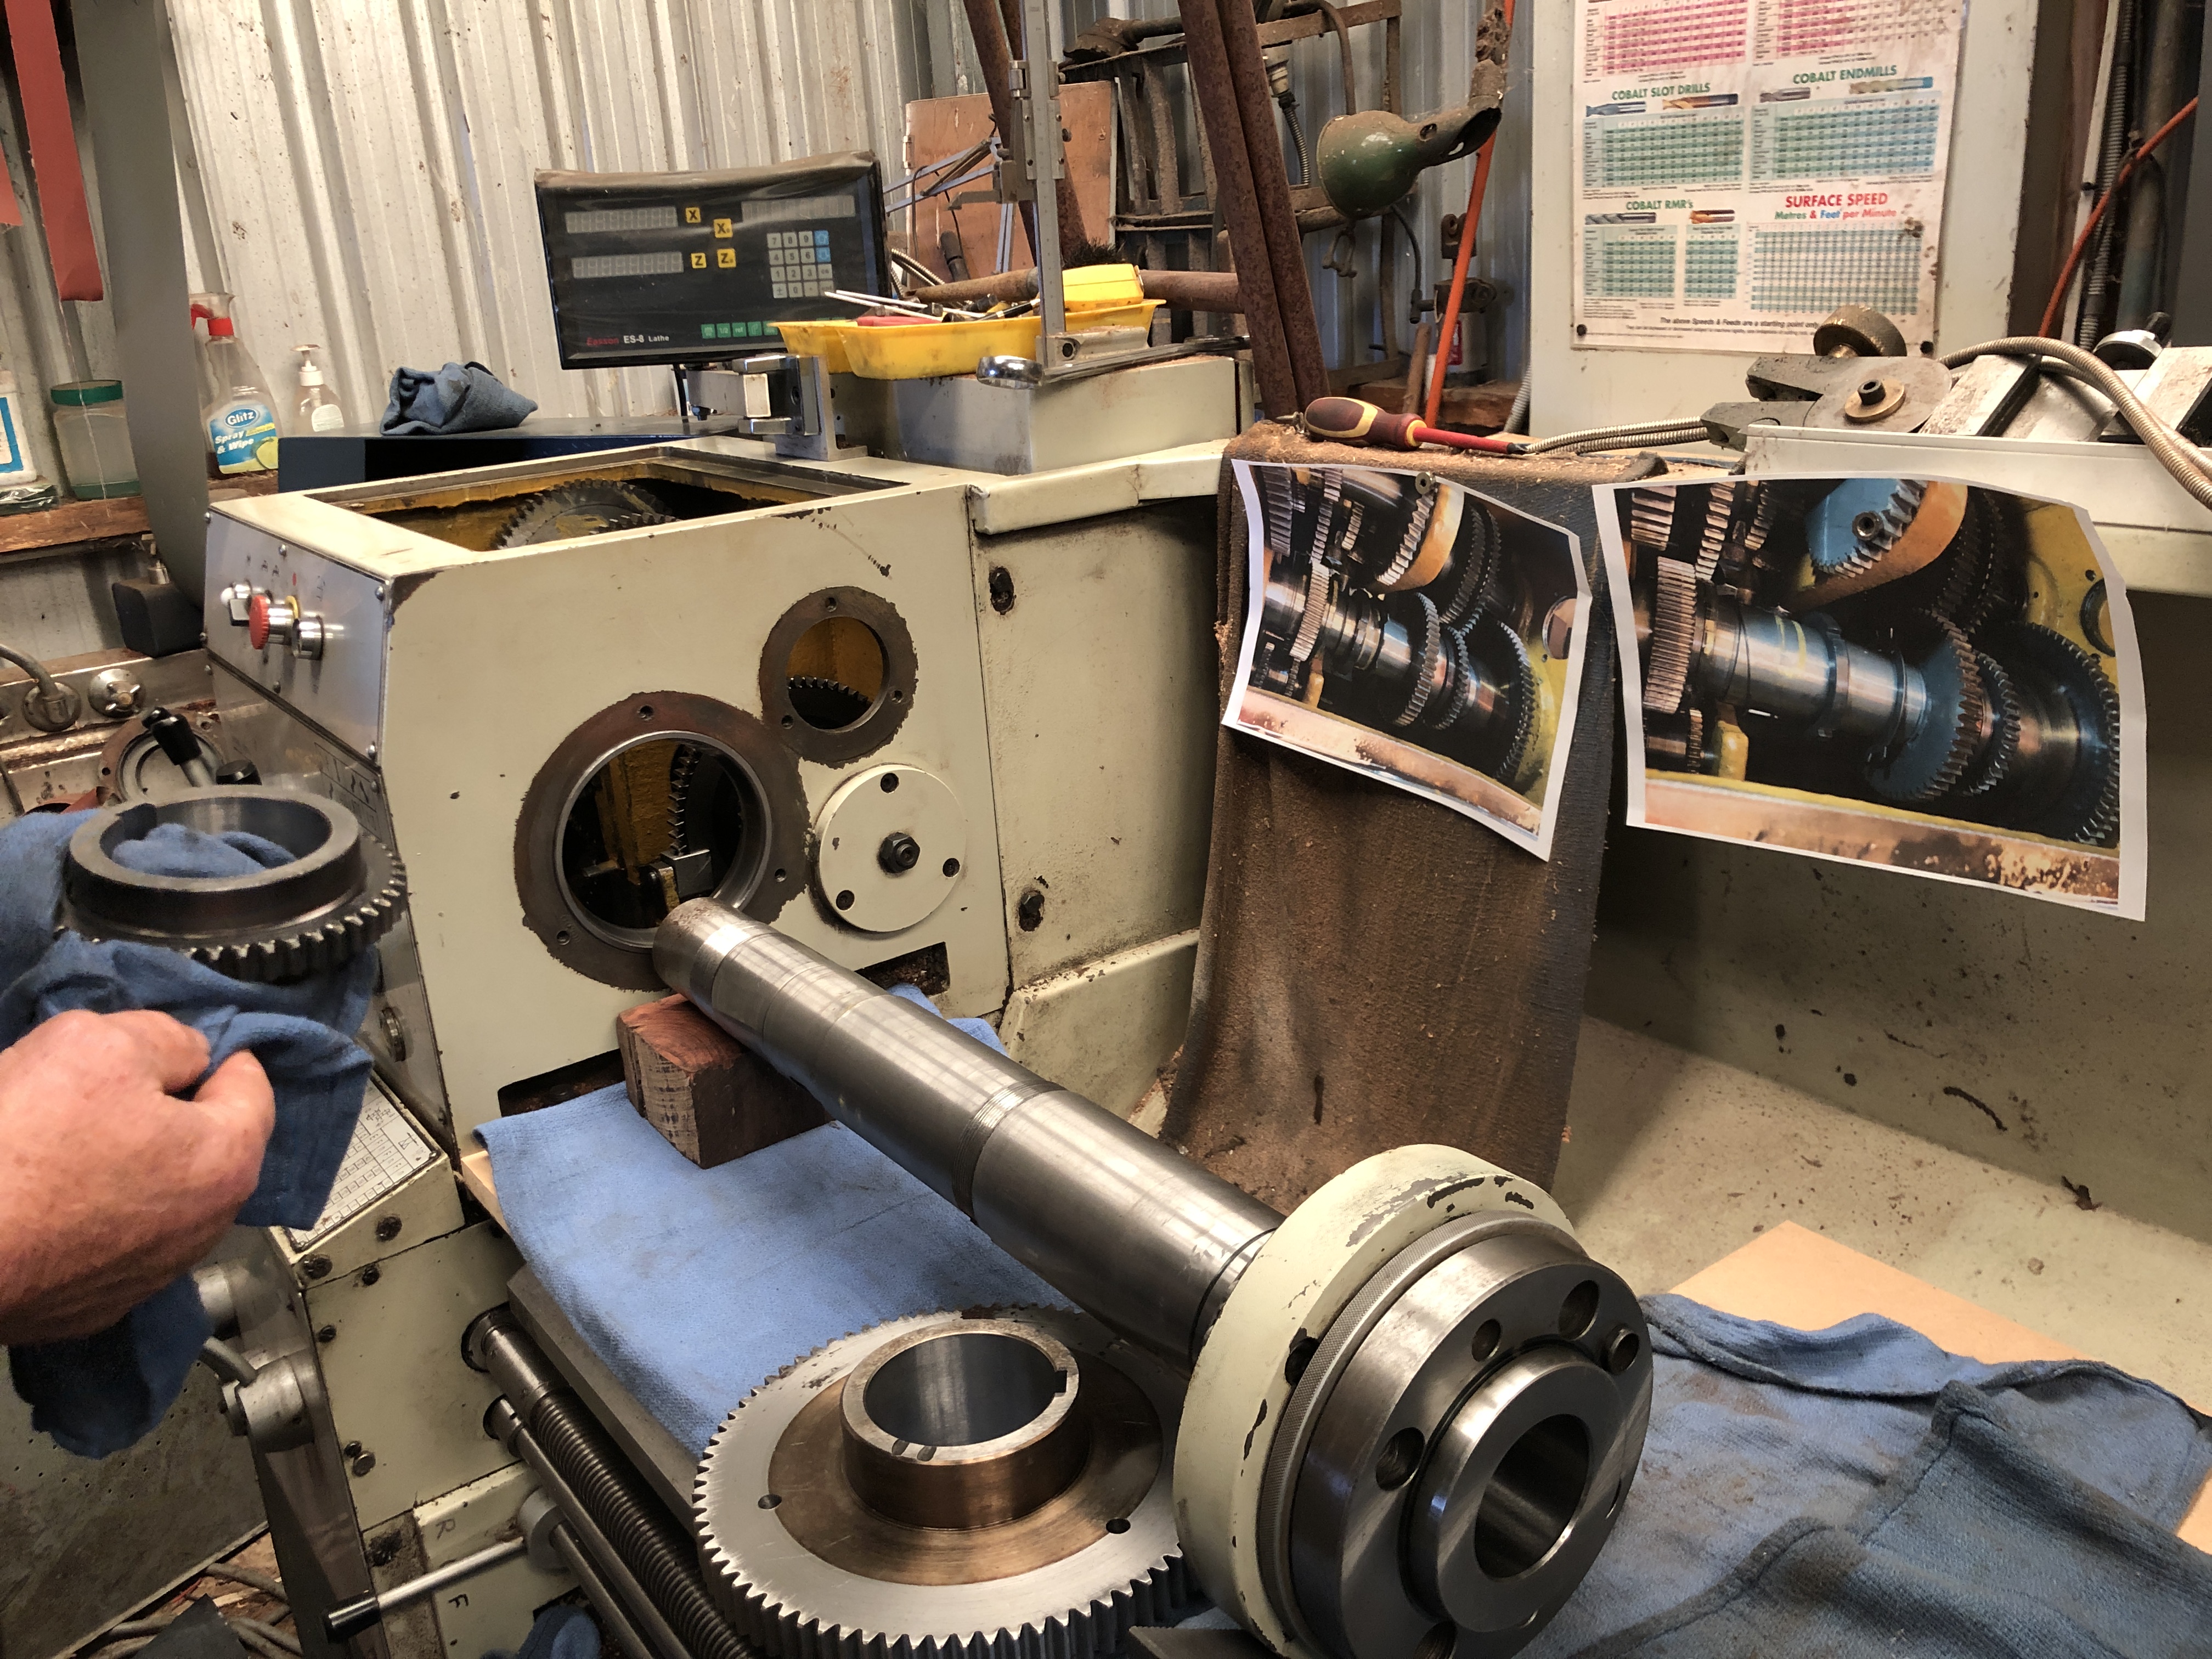
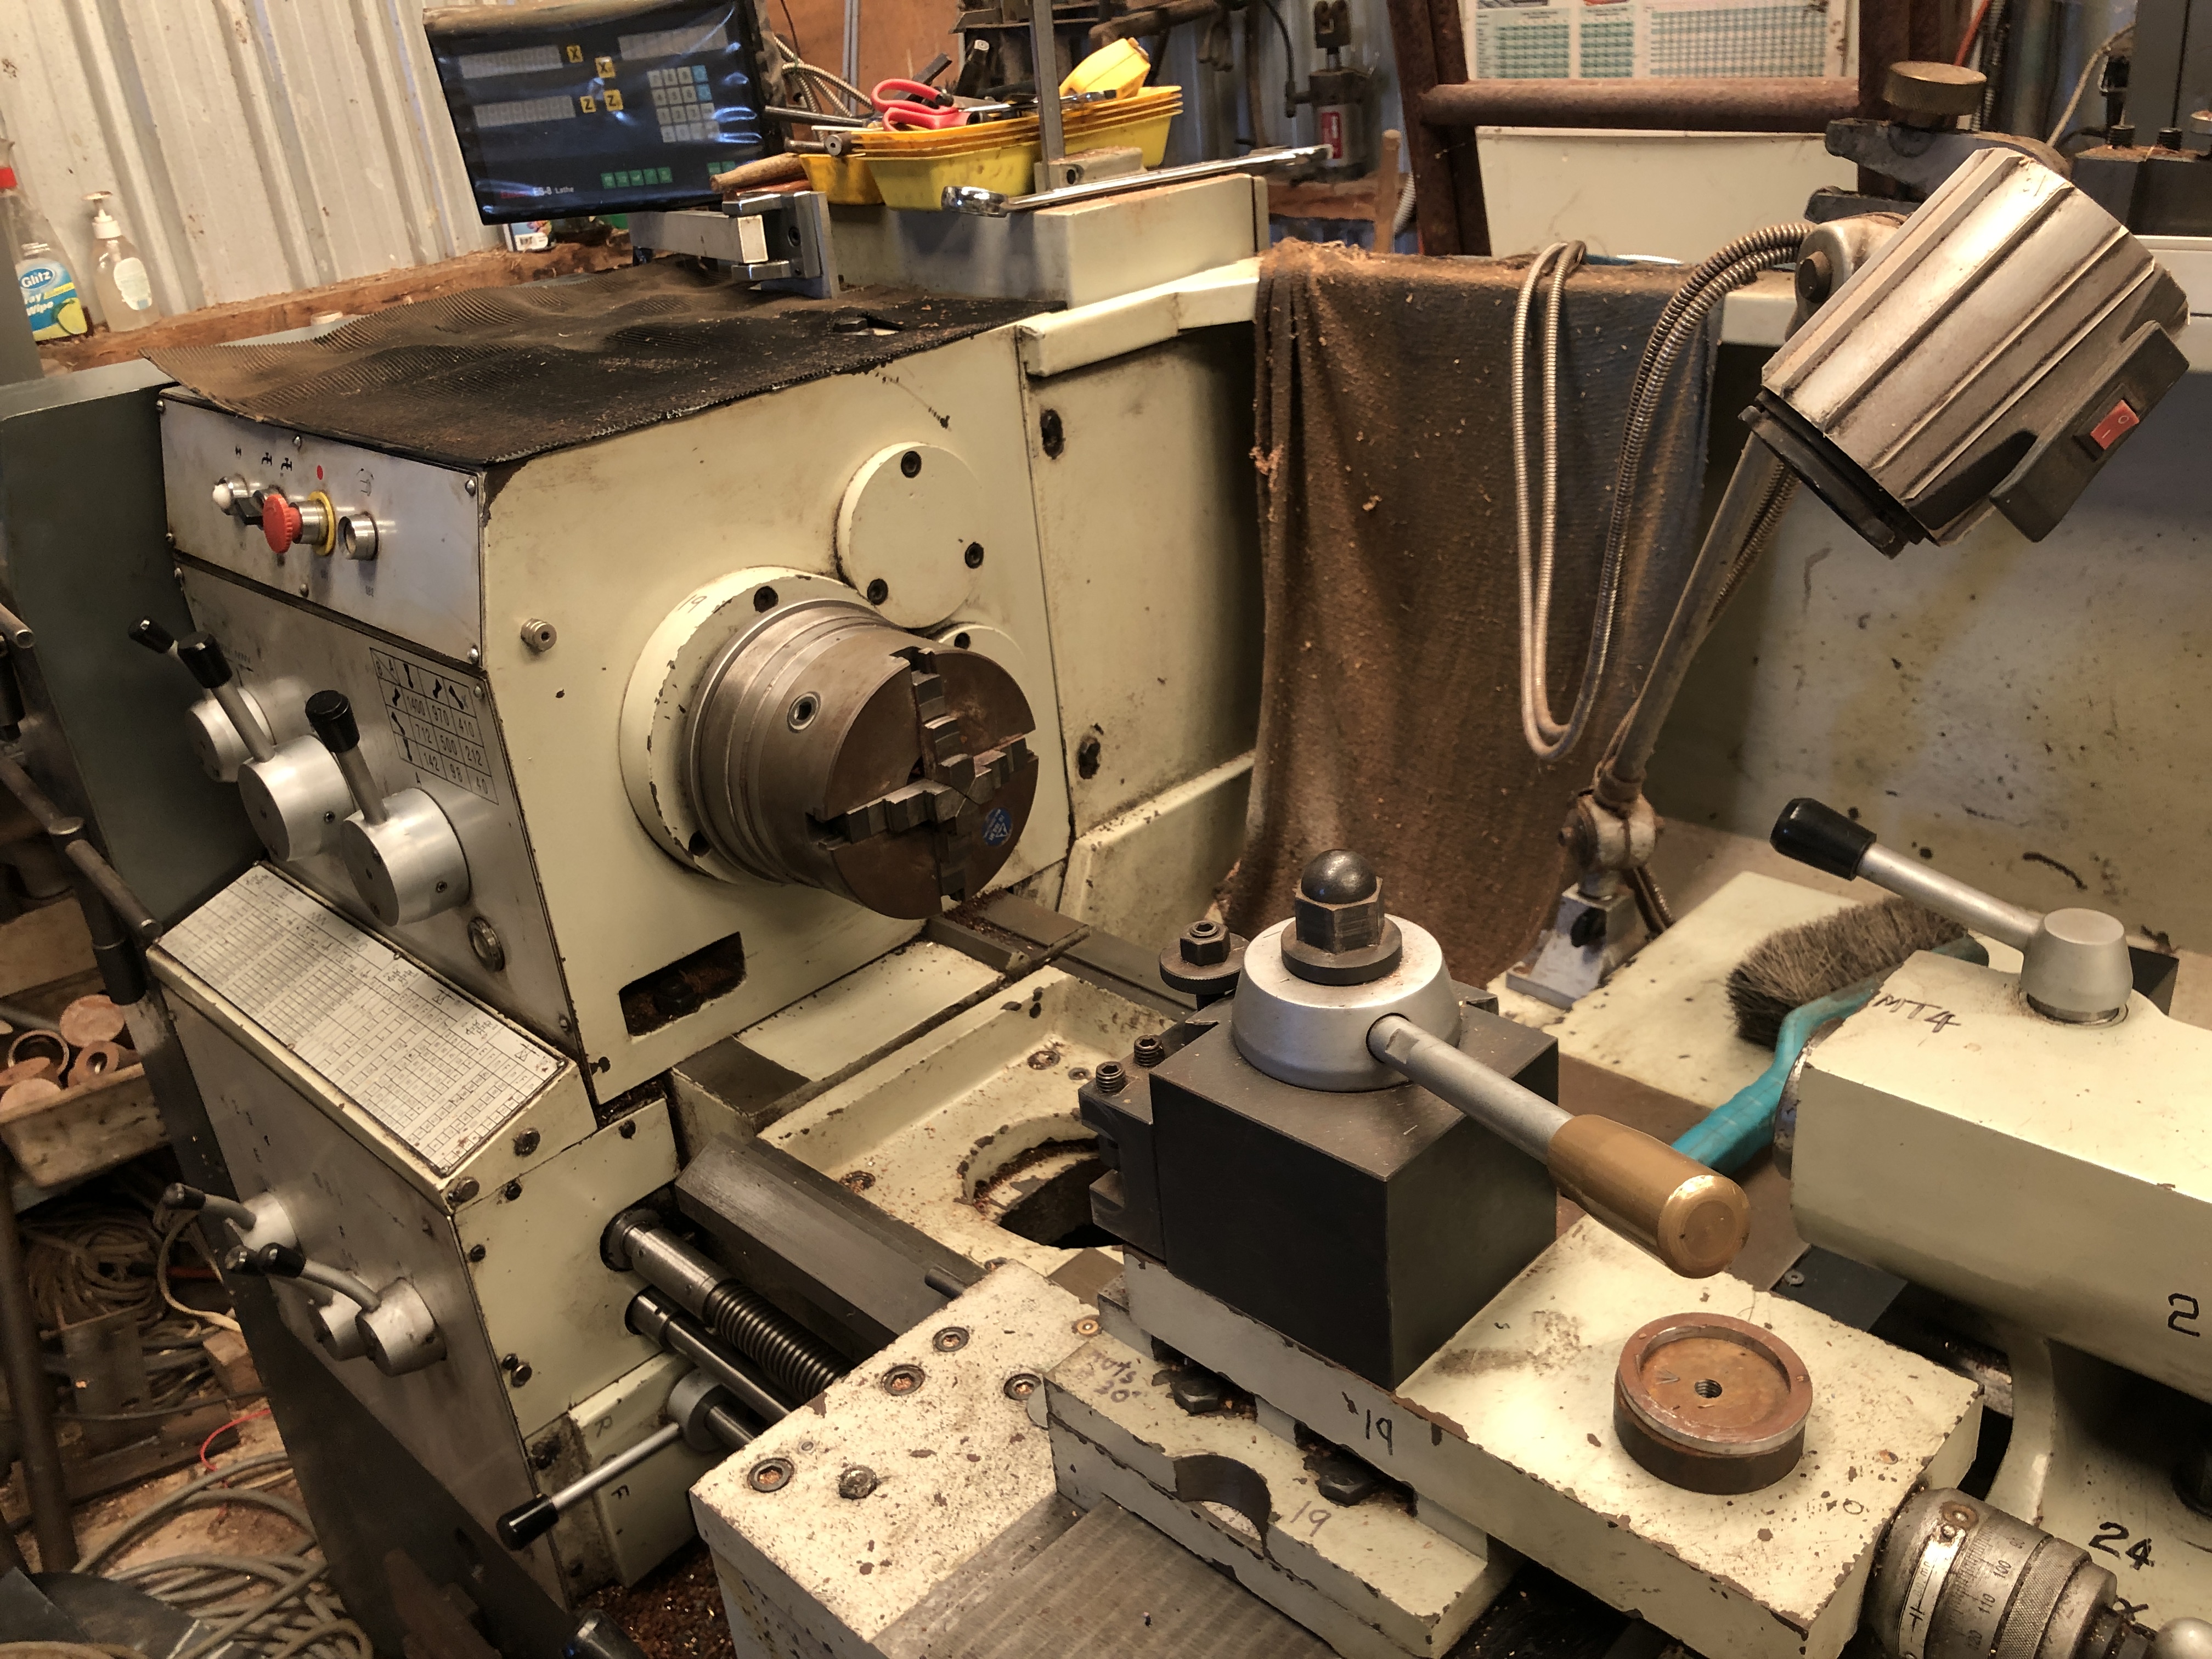
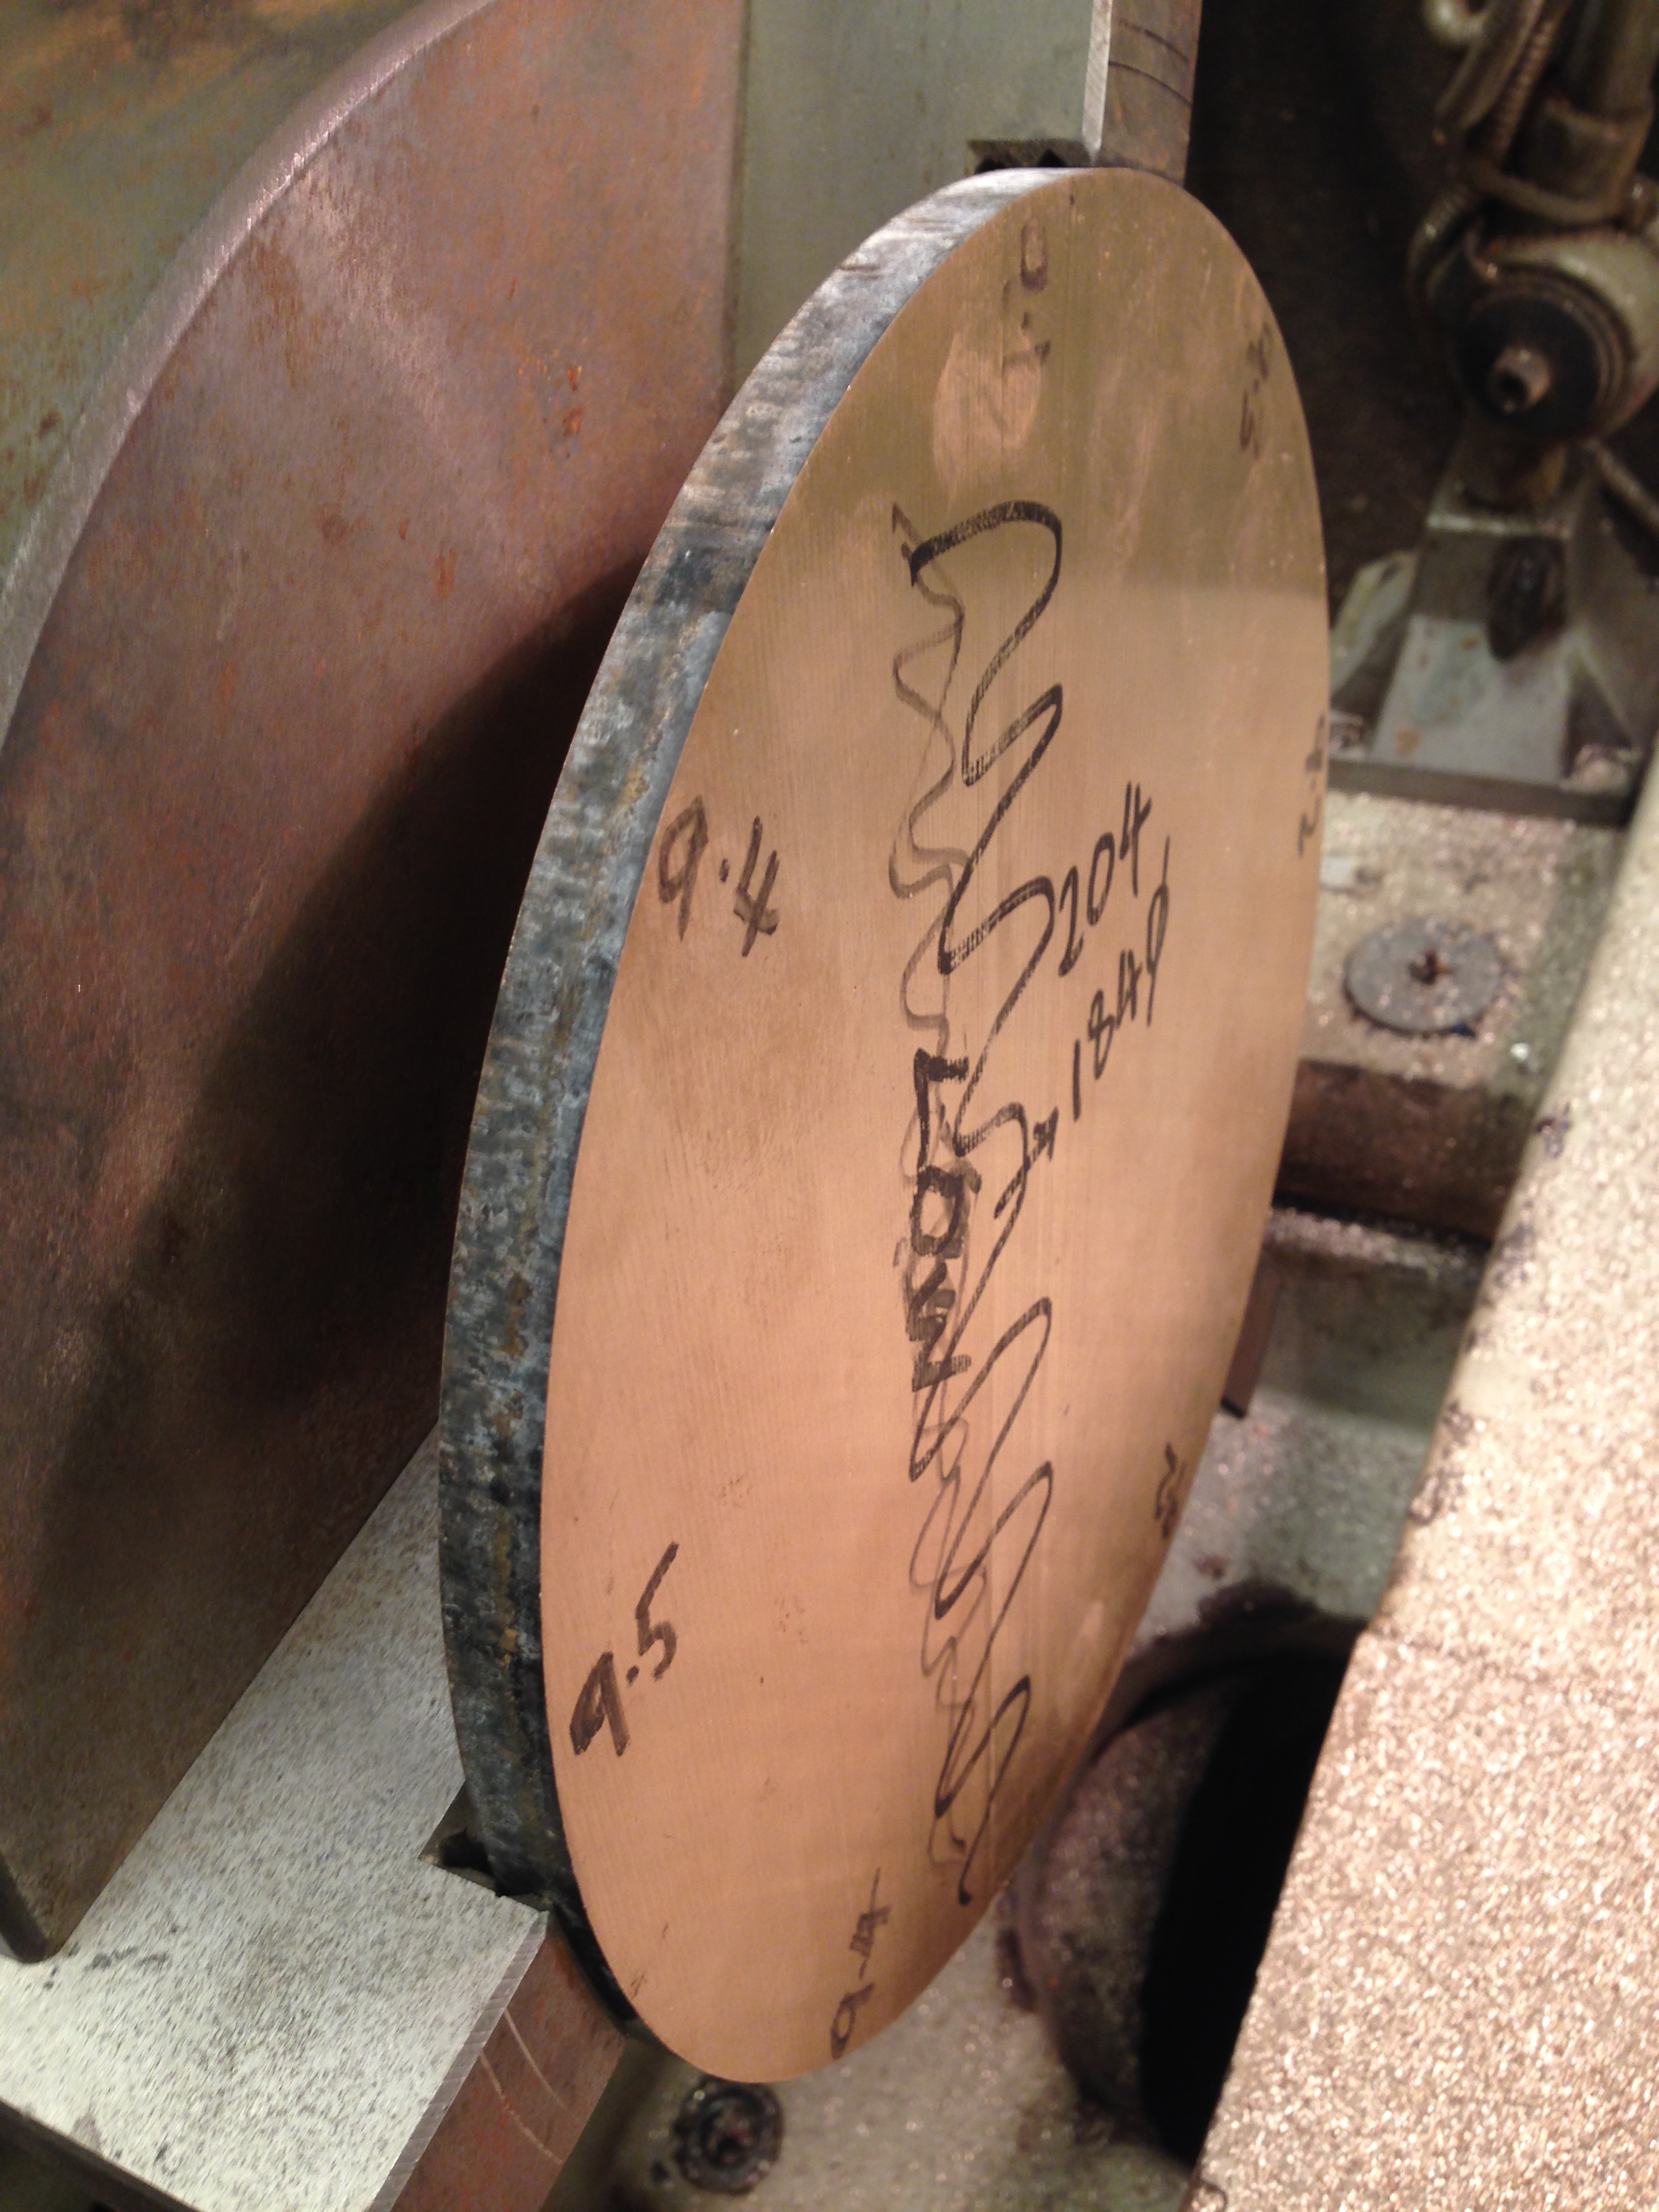
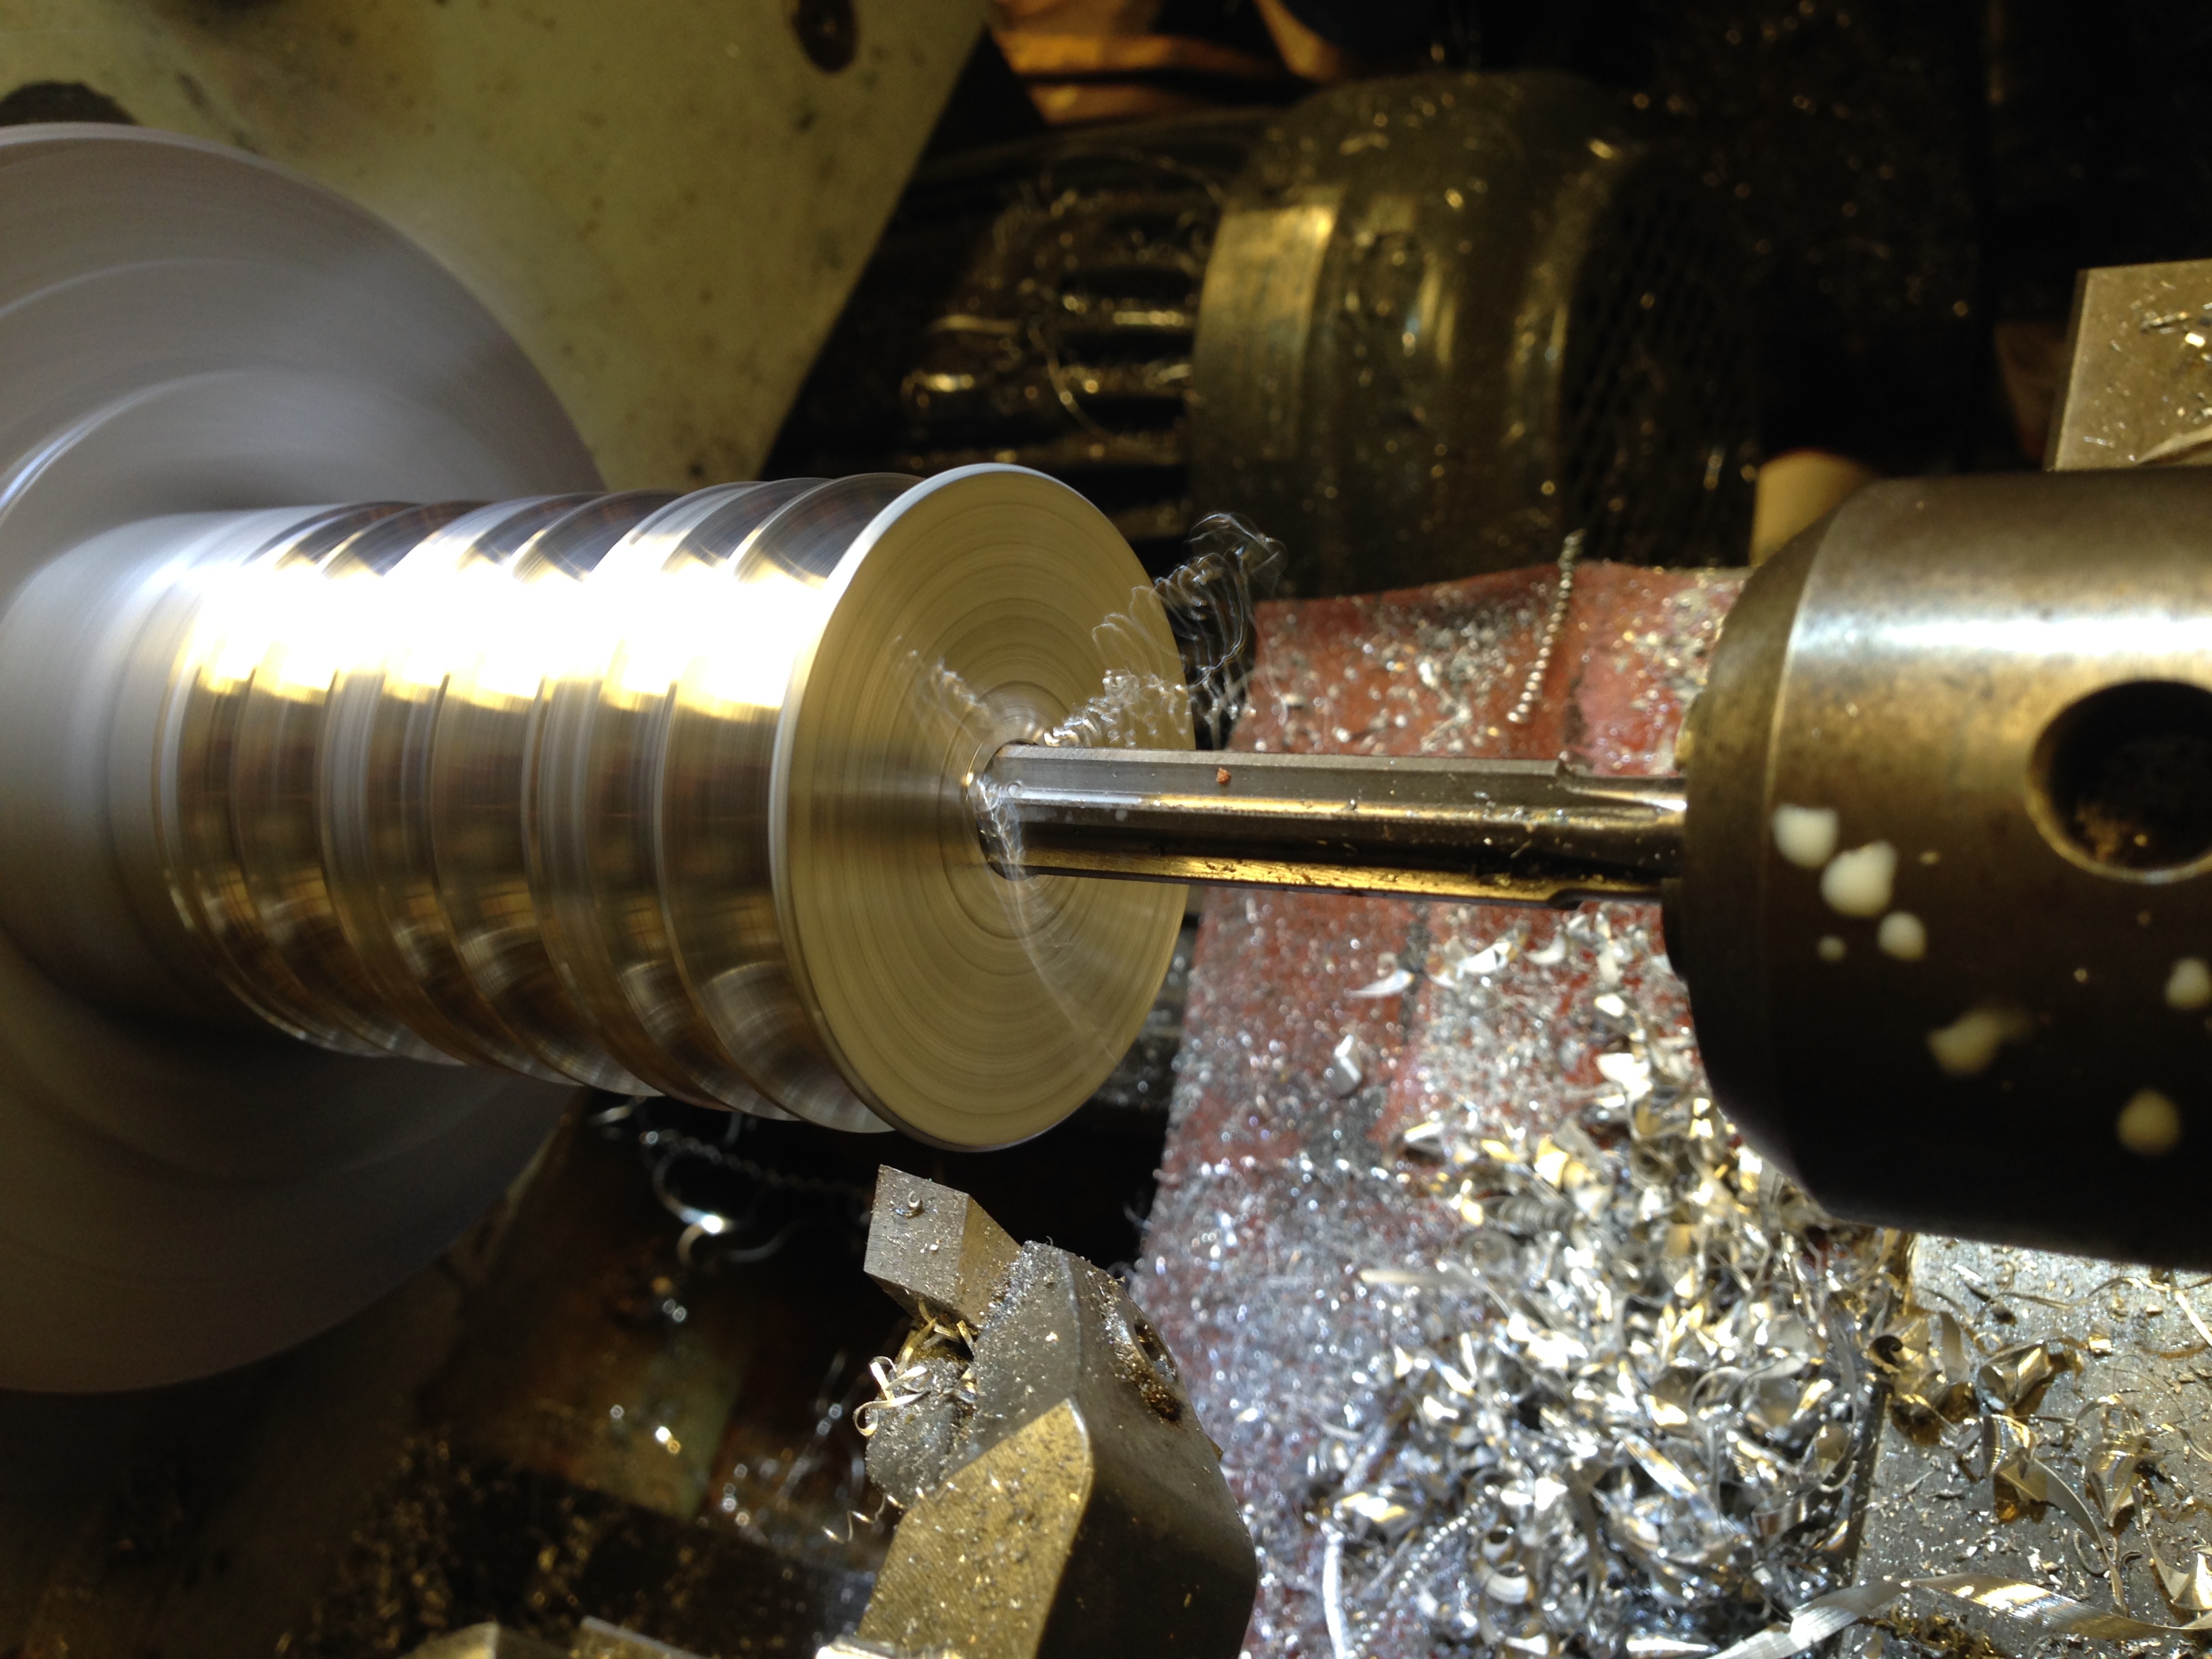
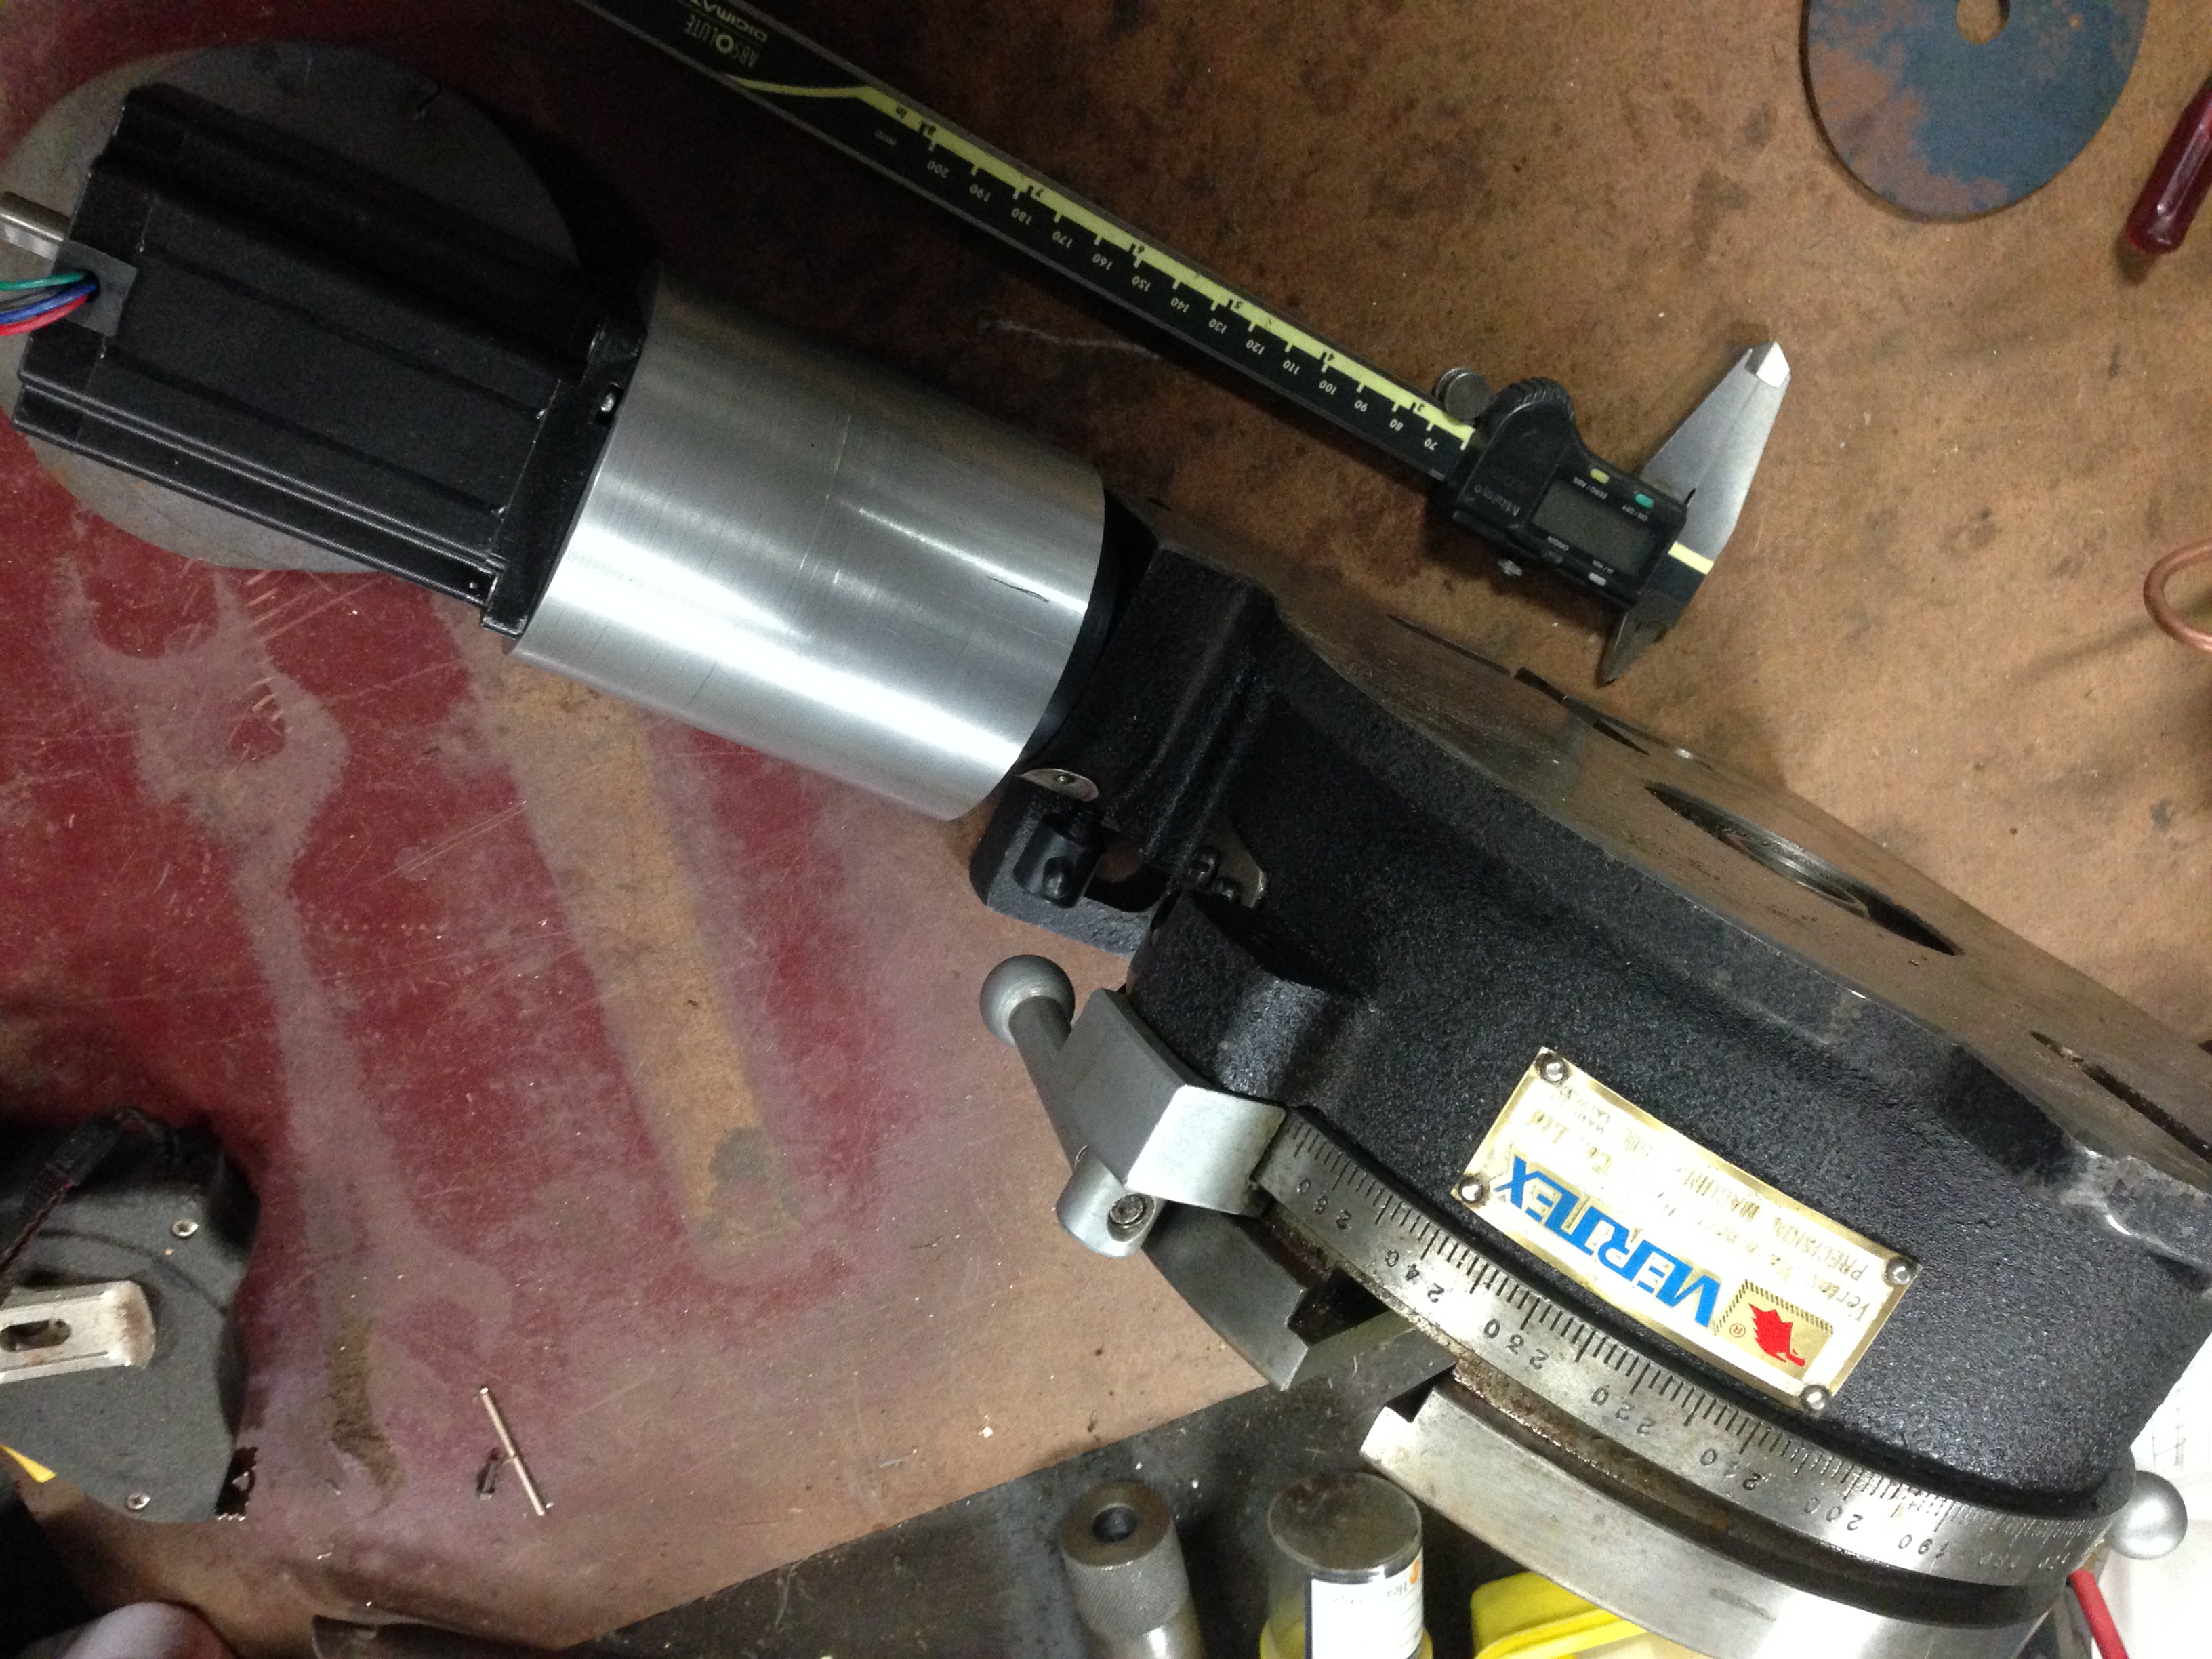
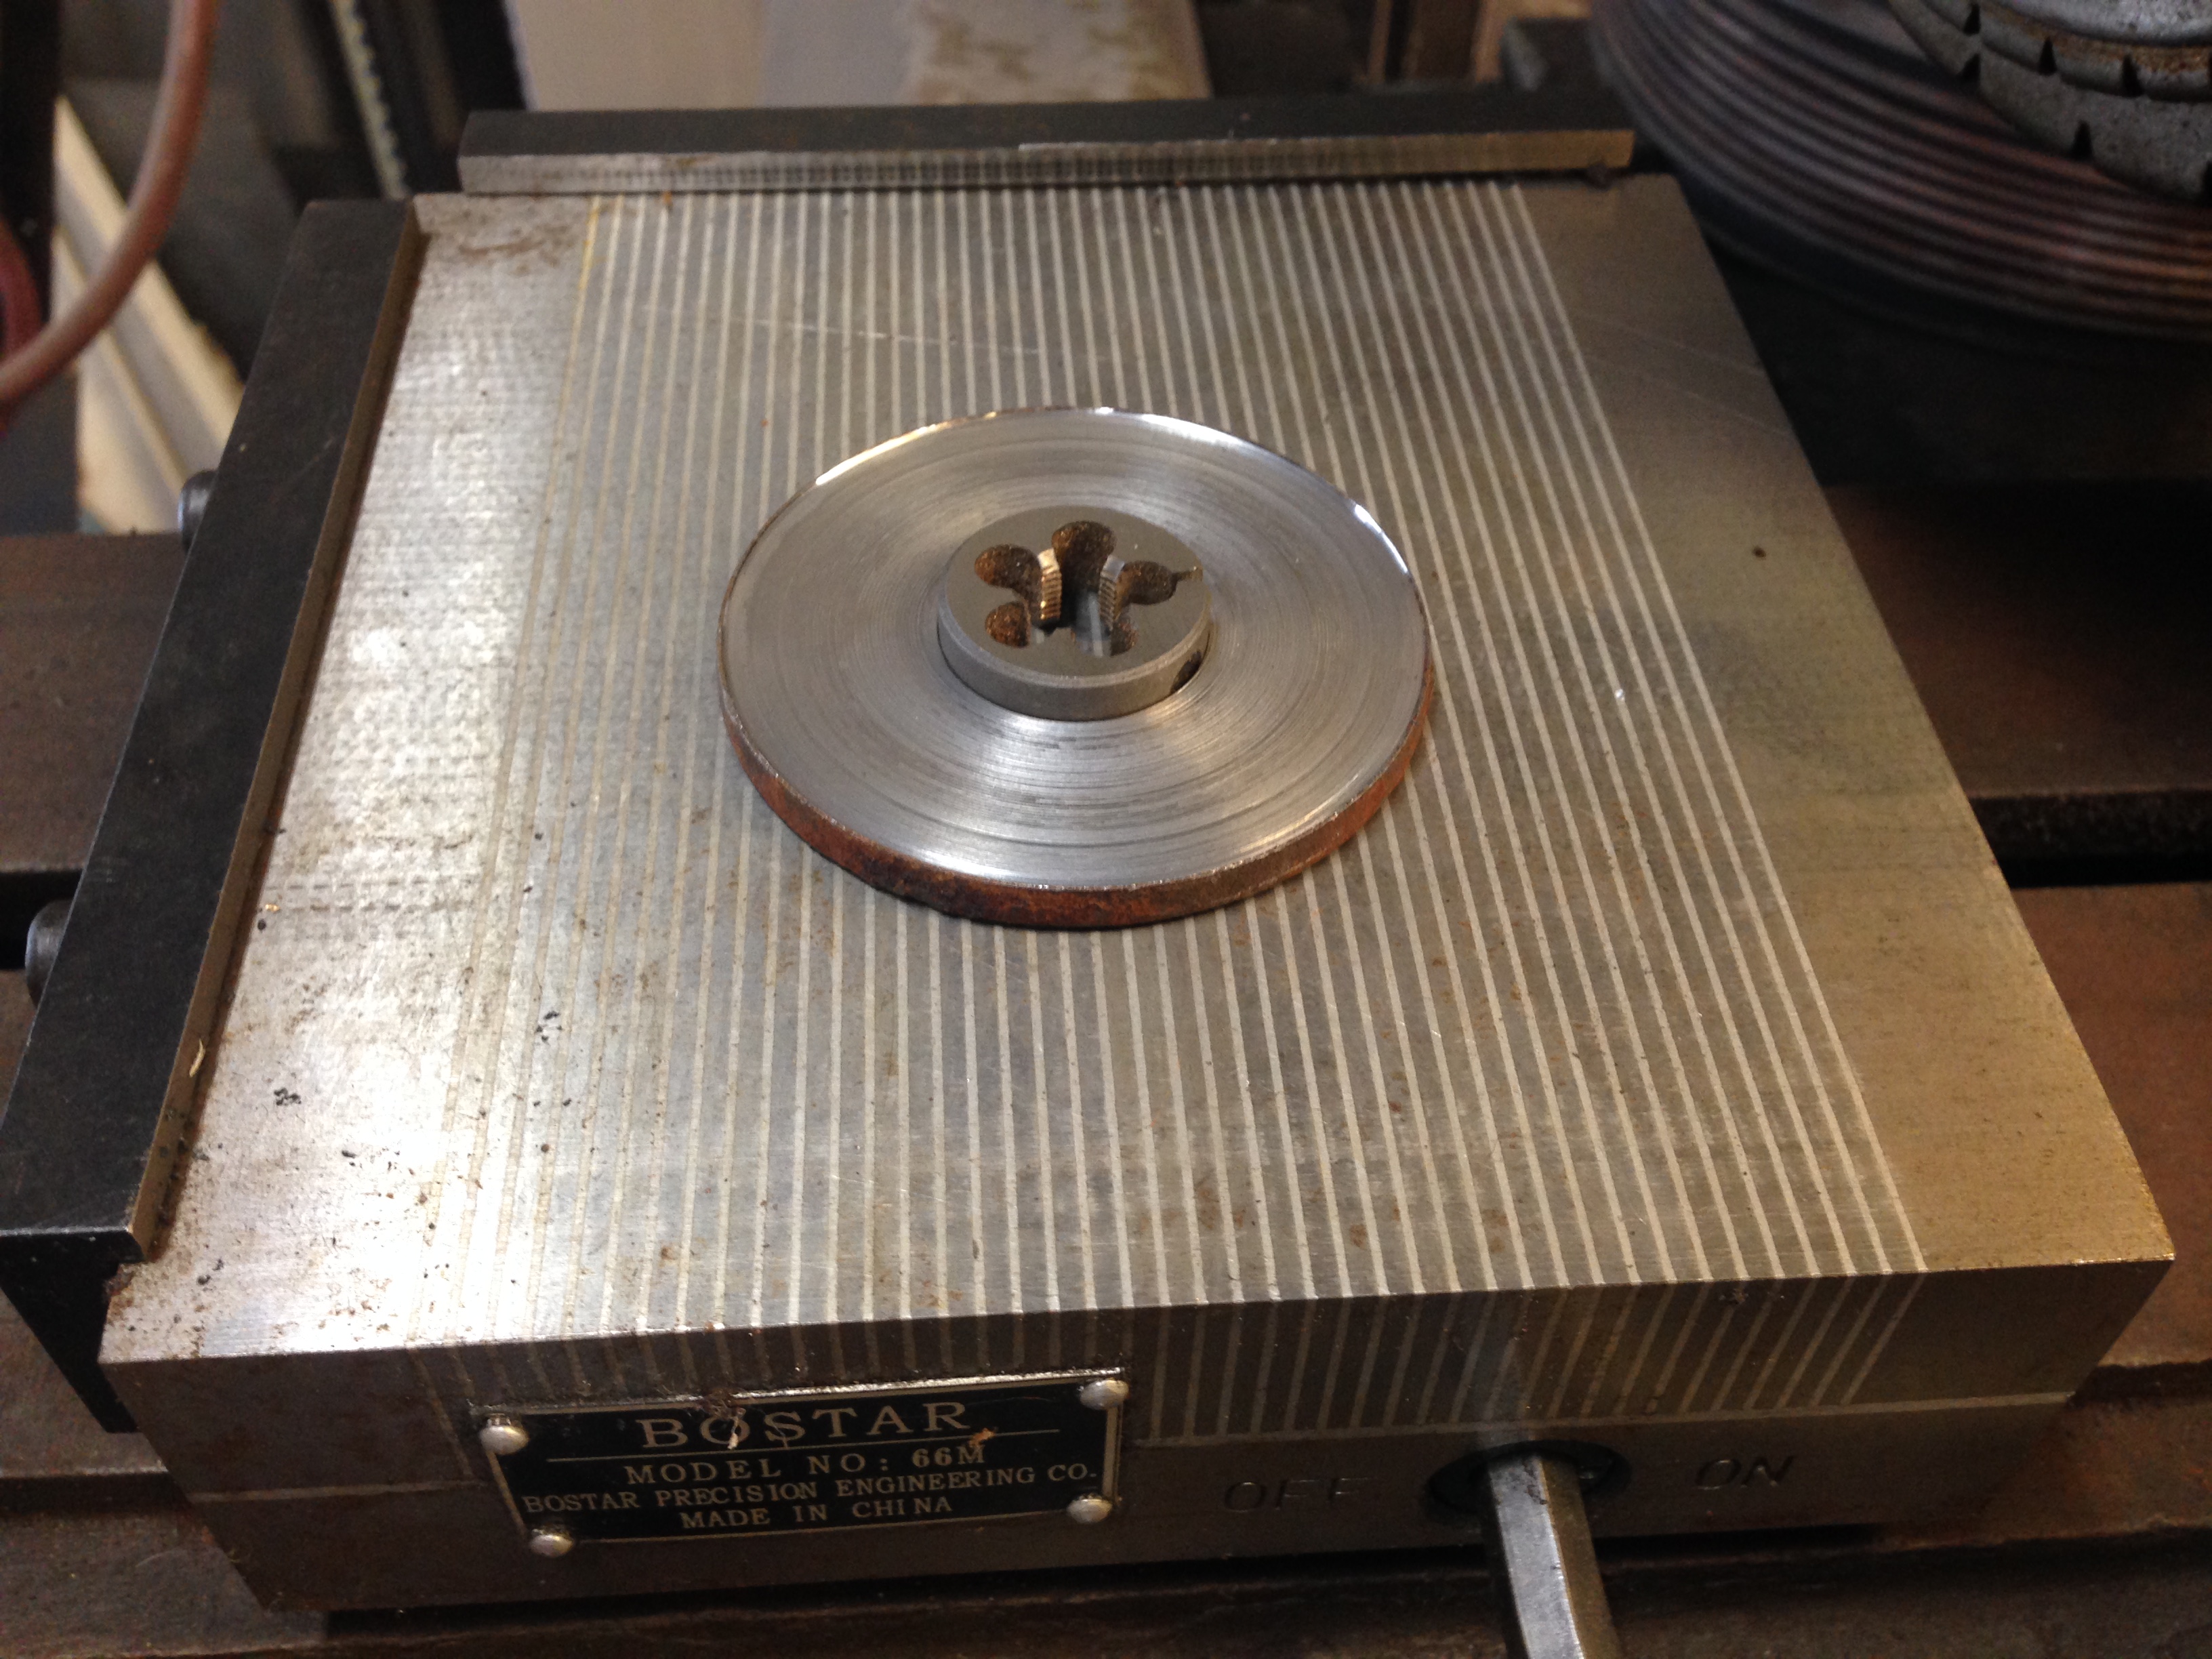
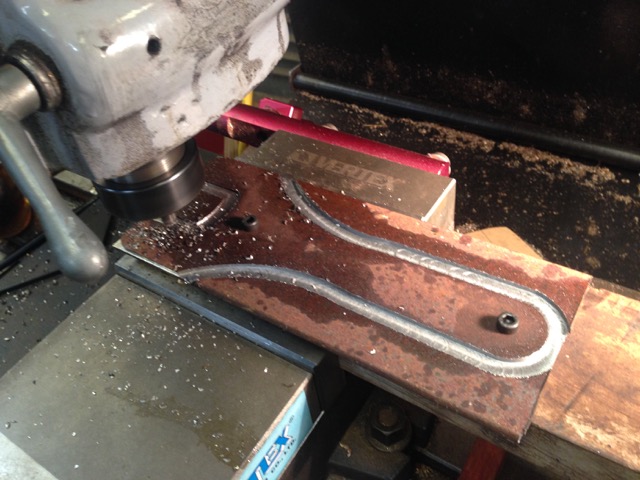
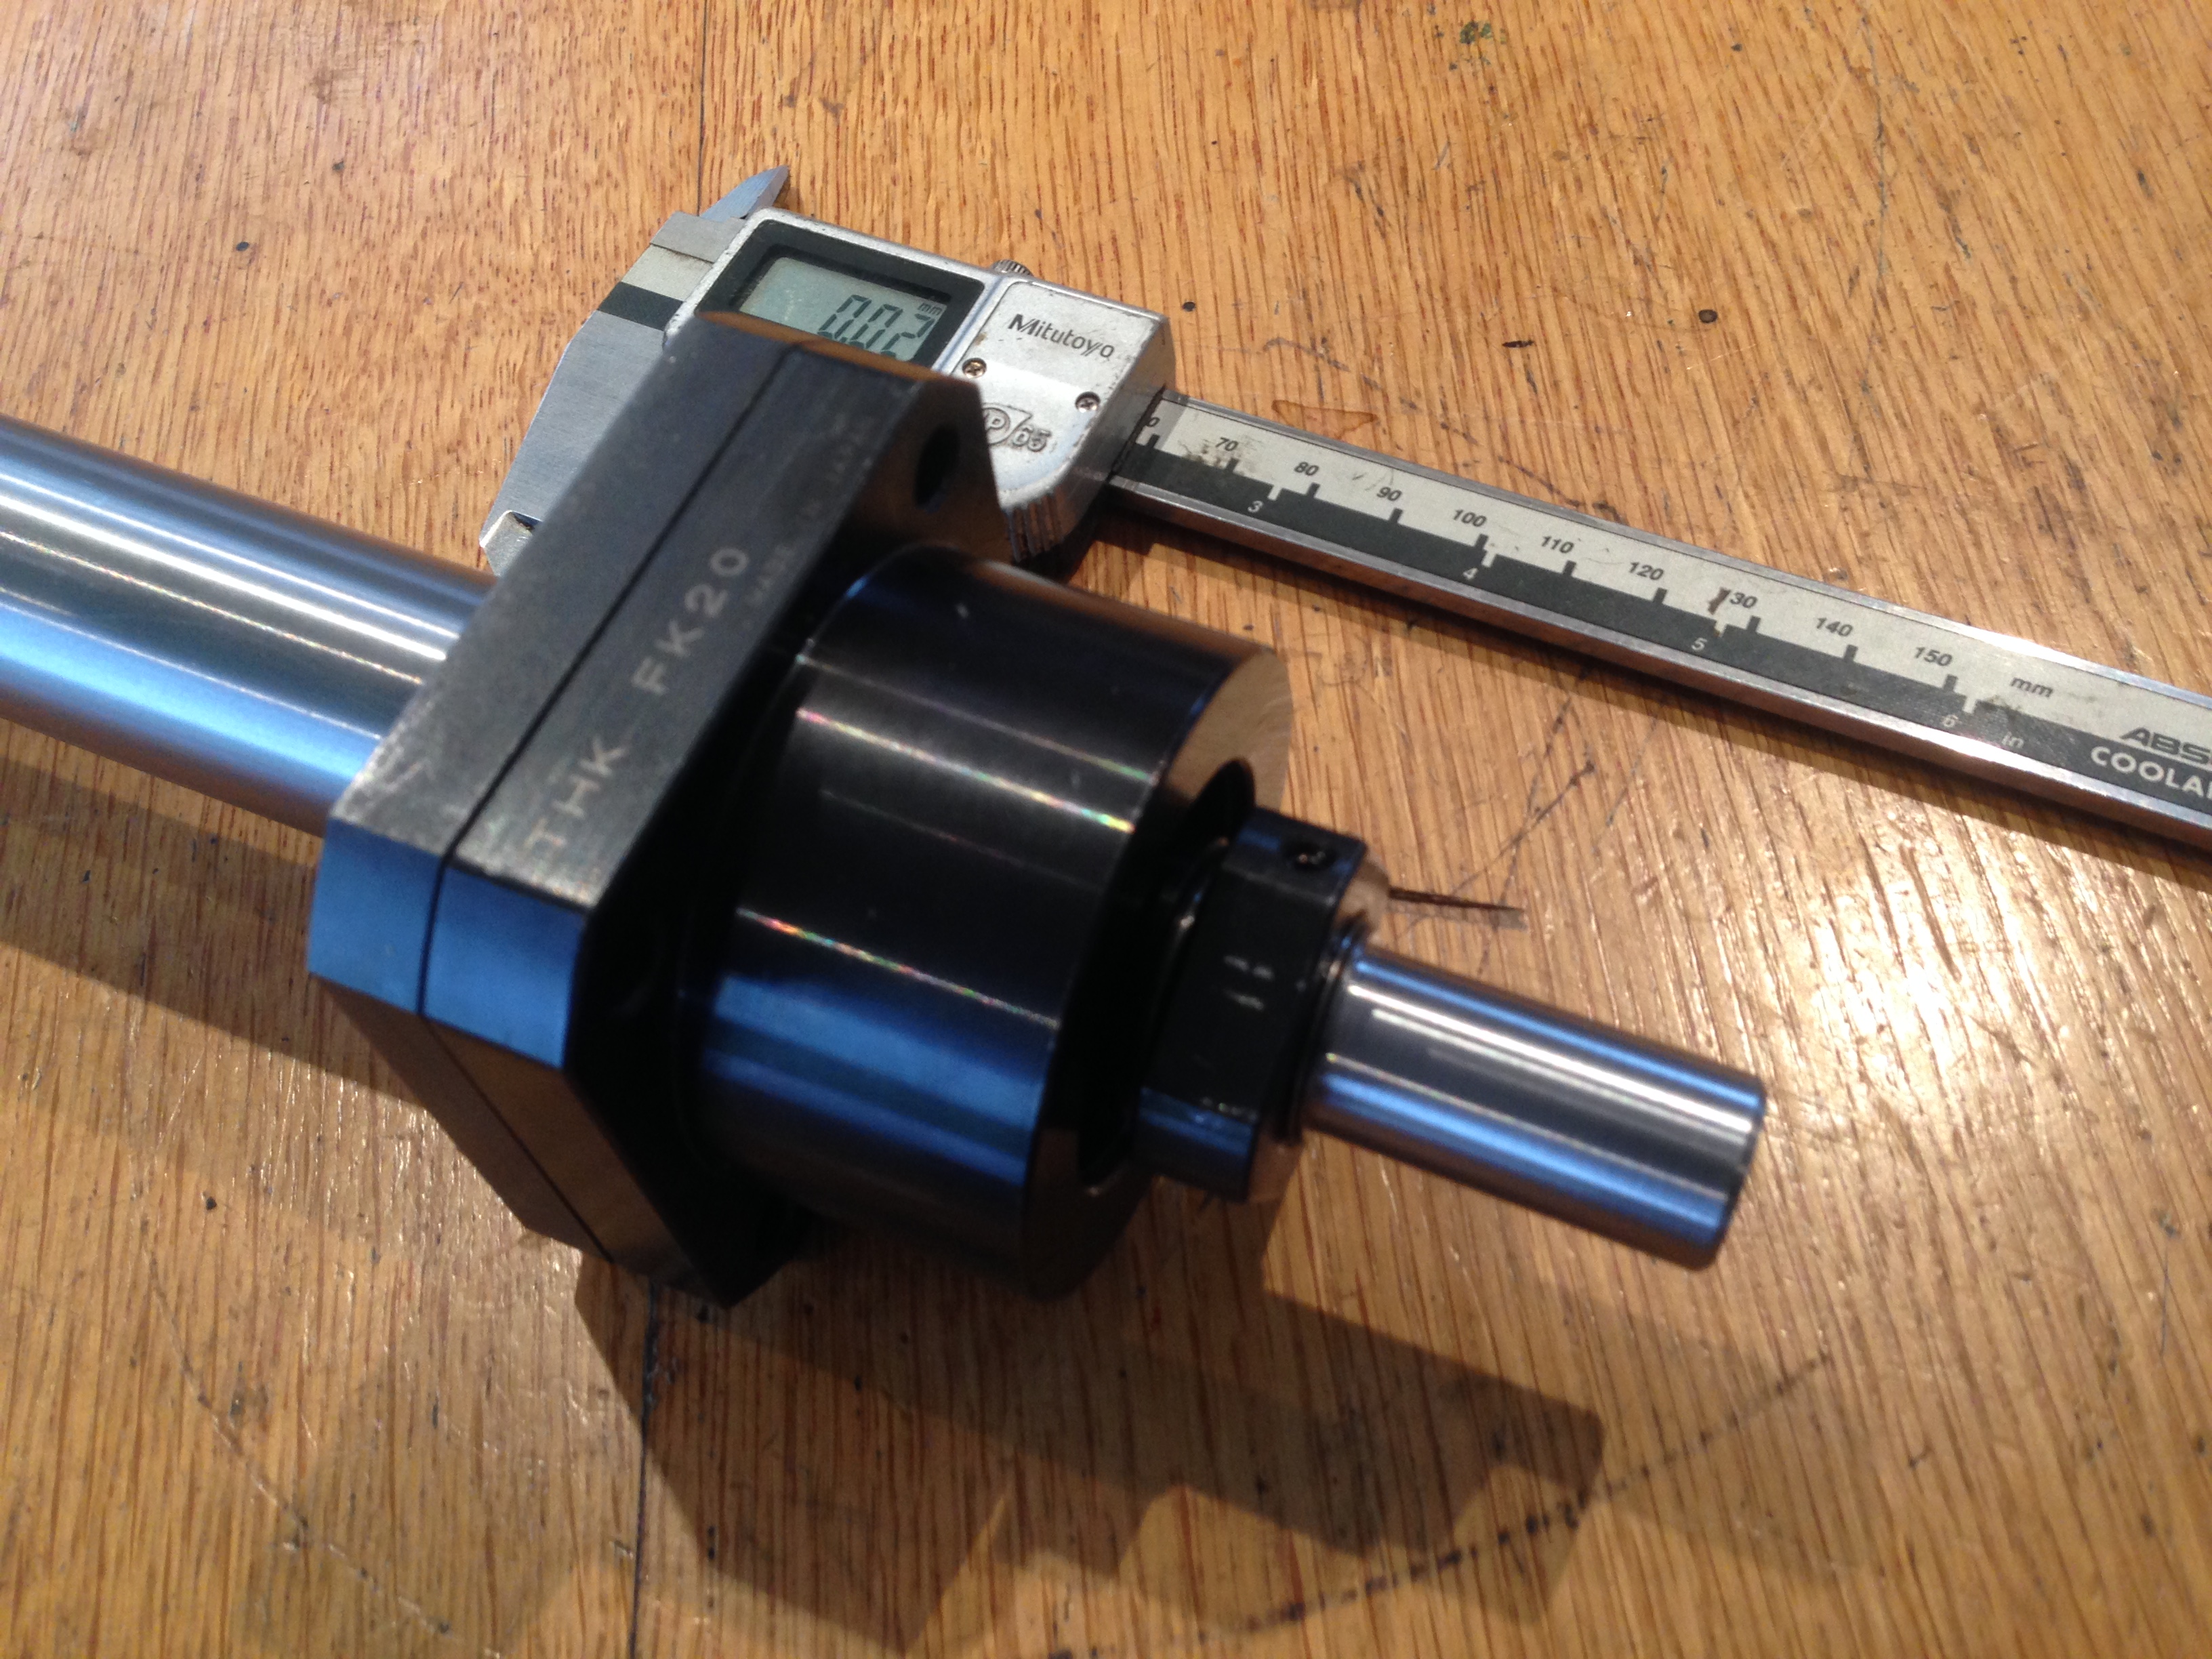
It was not cheap.  But a nice finish, which machined easily.  So the hub and the blank ring were machined with a 0.1mm gap, and glued together with Loctite 620.  Then Scotch pins were inserted.   Since my CNC mill is out of action, I reverted to calculating X and Y co-ordinates, using FS Pro.  See screen shot below.


IMG_8057.PNG

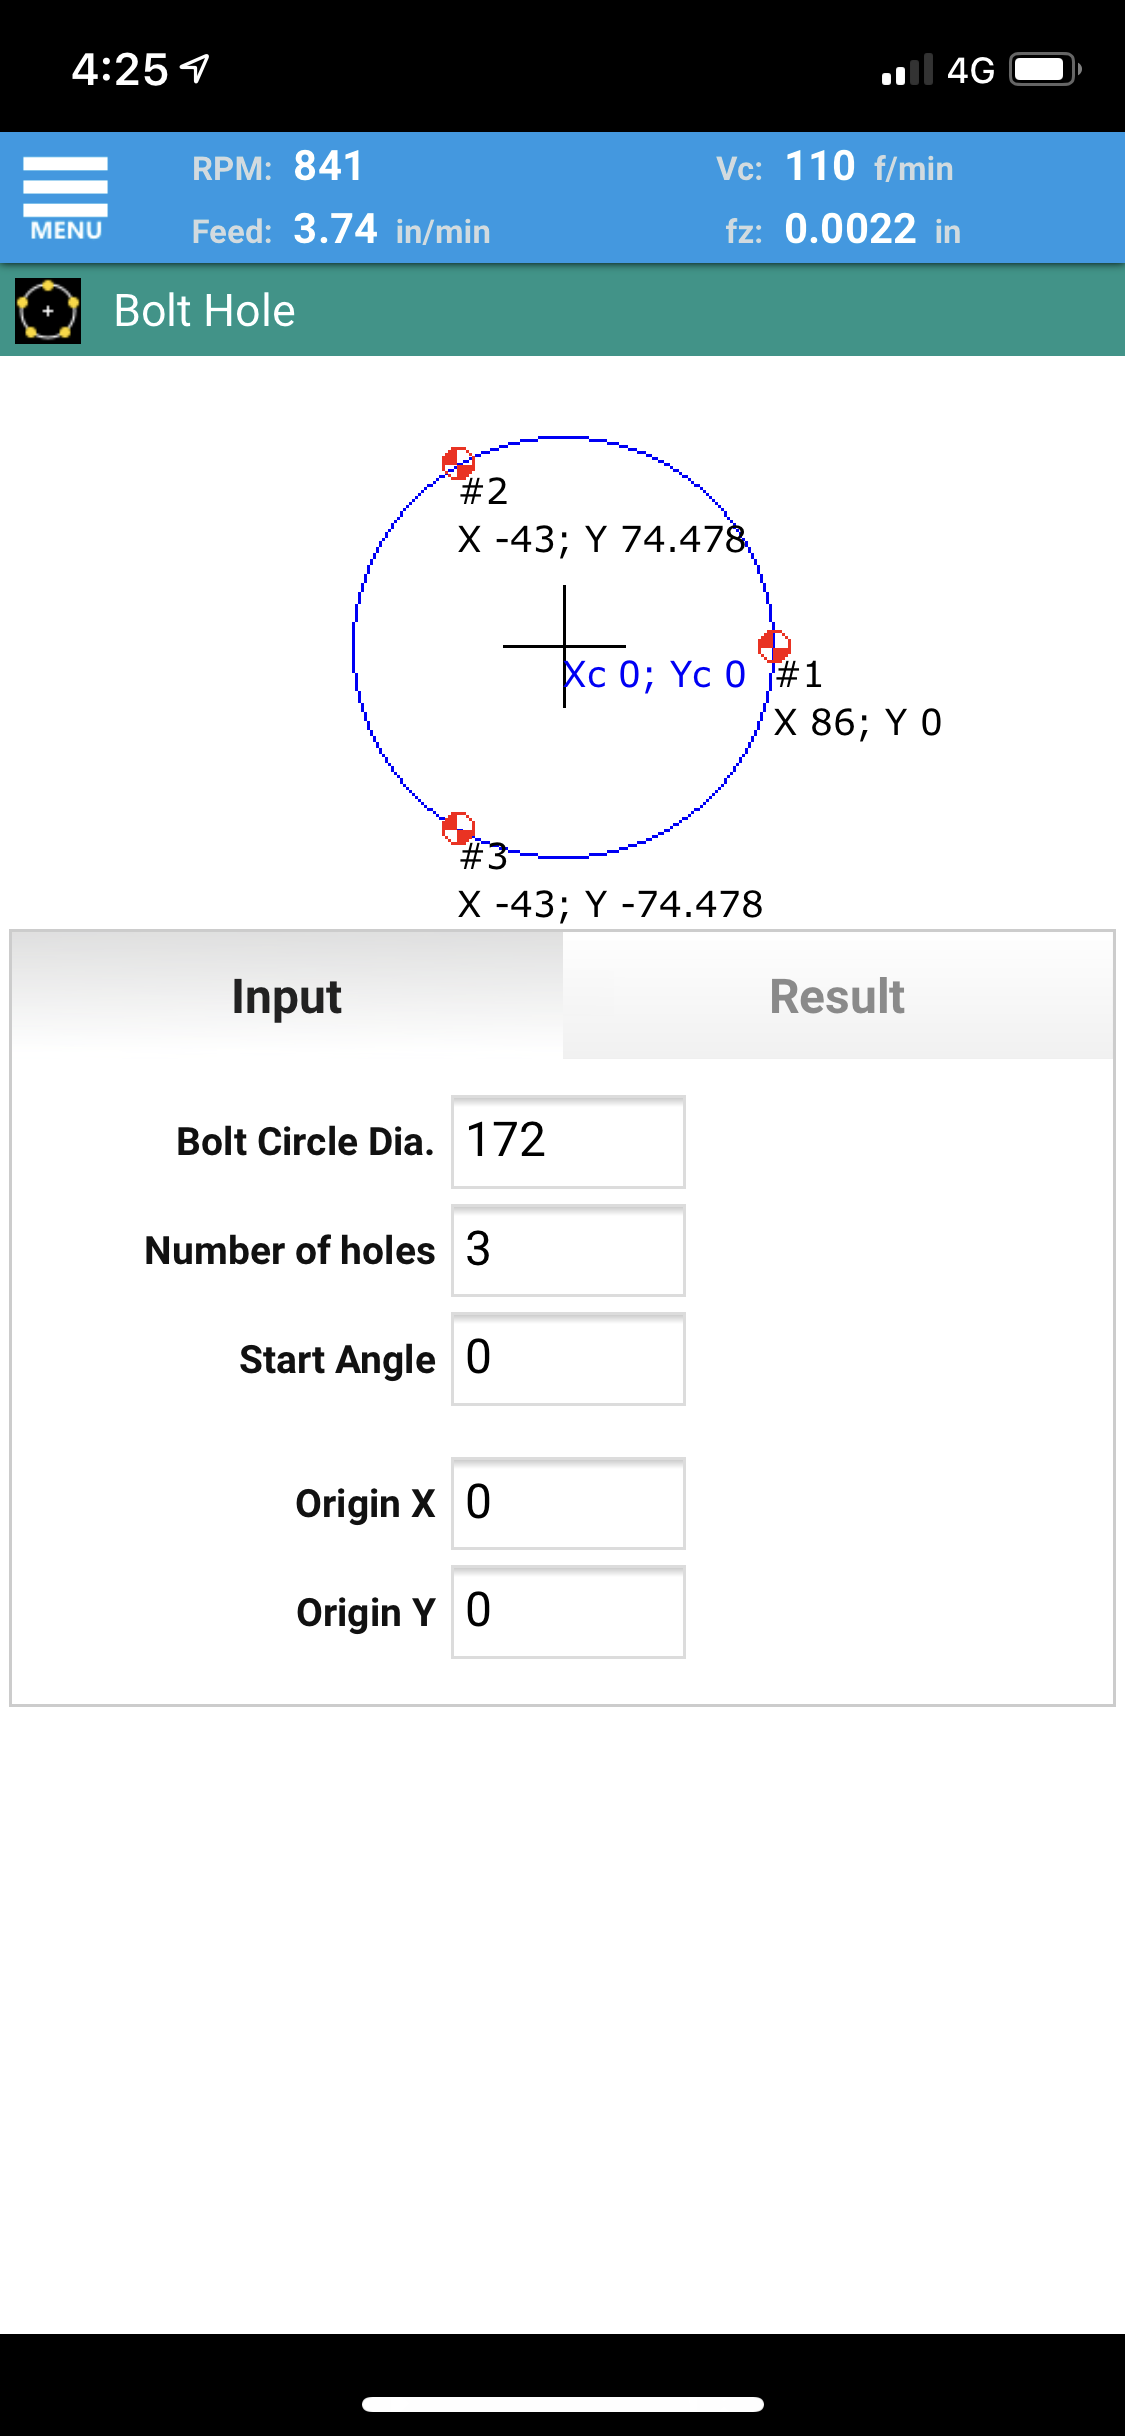
My CNC mill is out of action, so I reverted to doing some XY calculations on the manual mill with DRO, using FS Pro.   Screen shot above.


IMG_8056.JPG
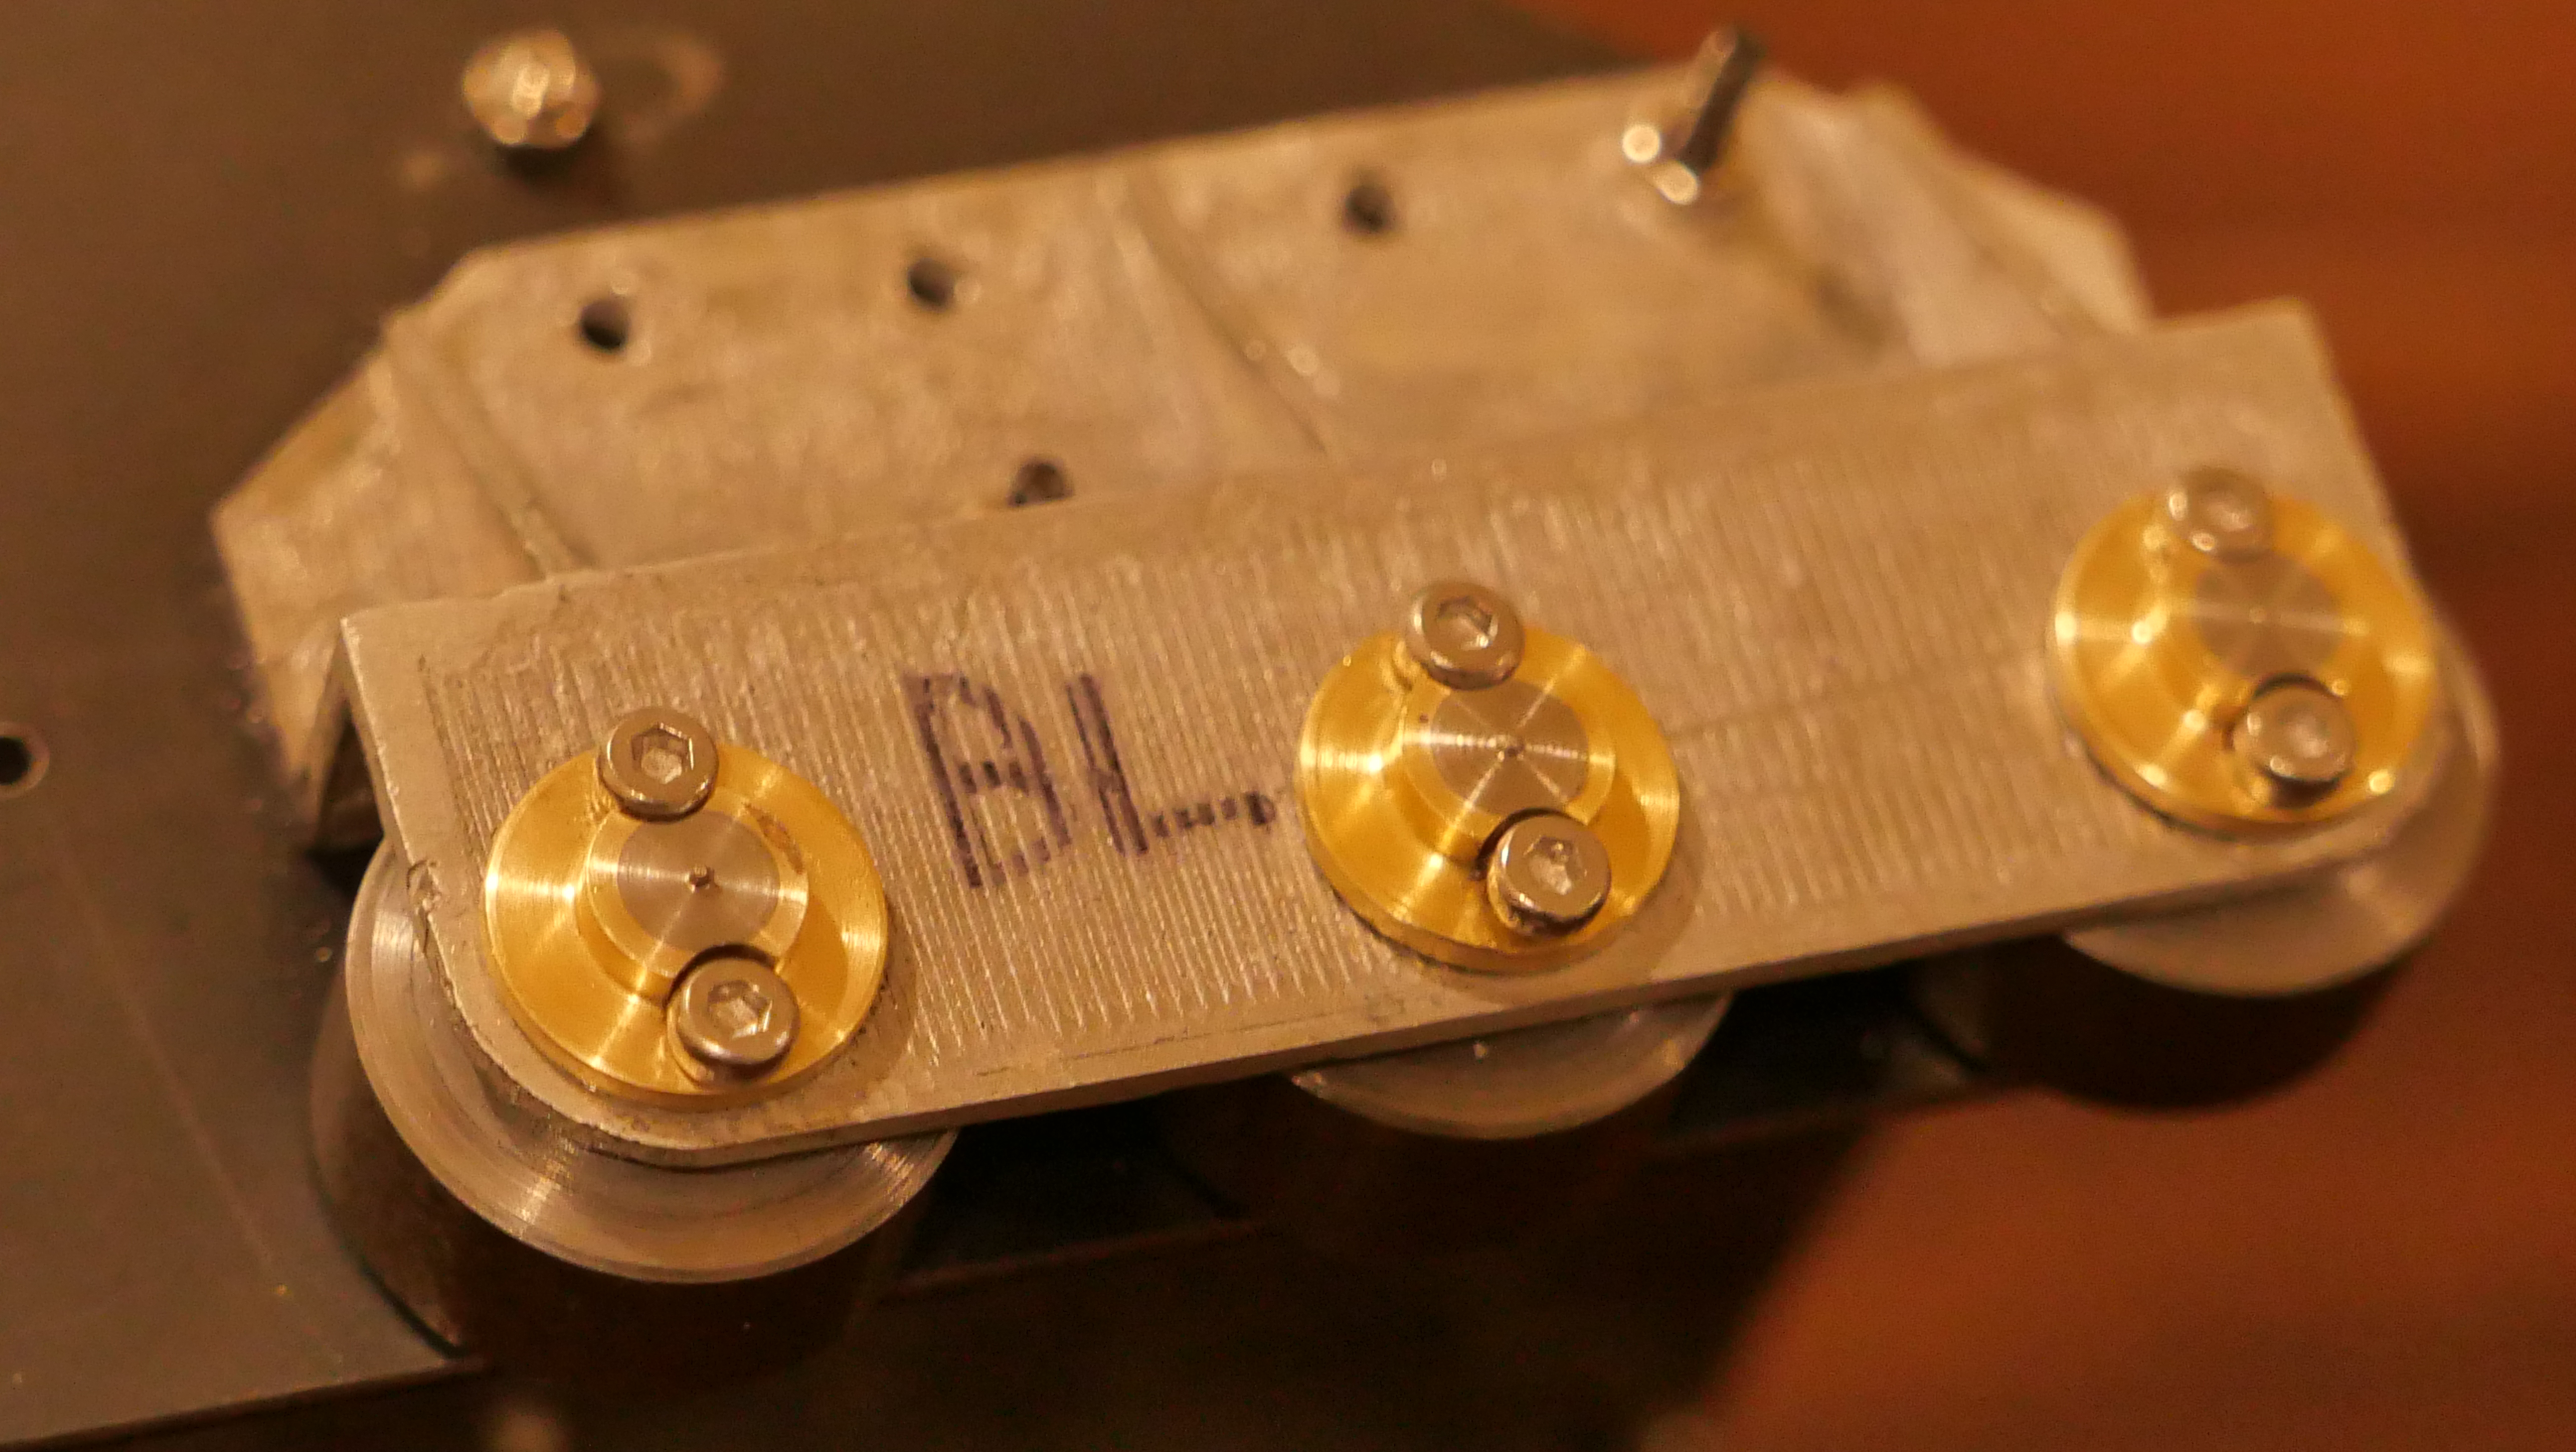
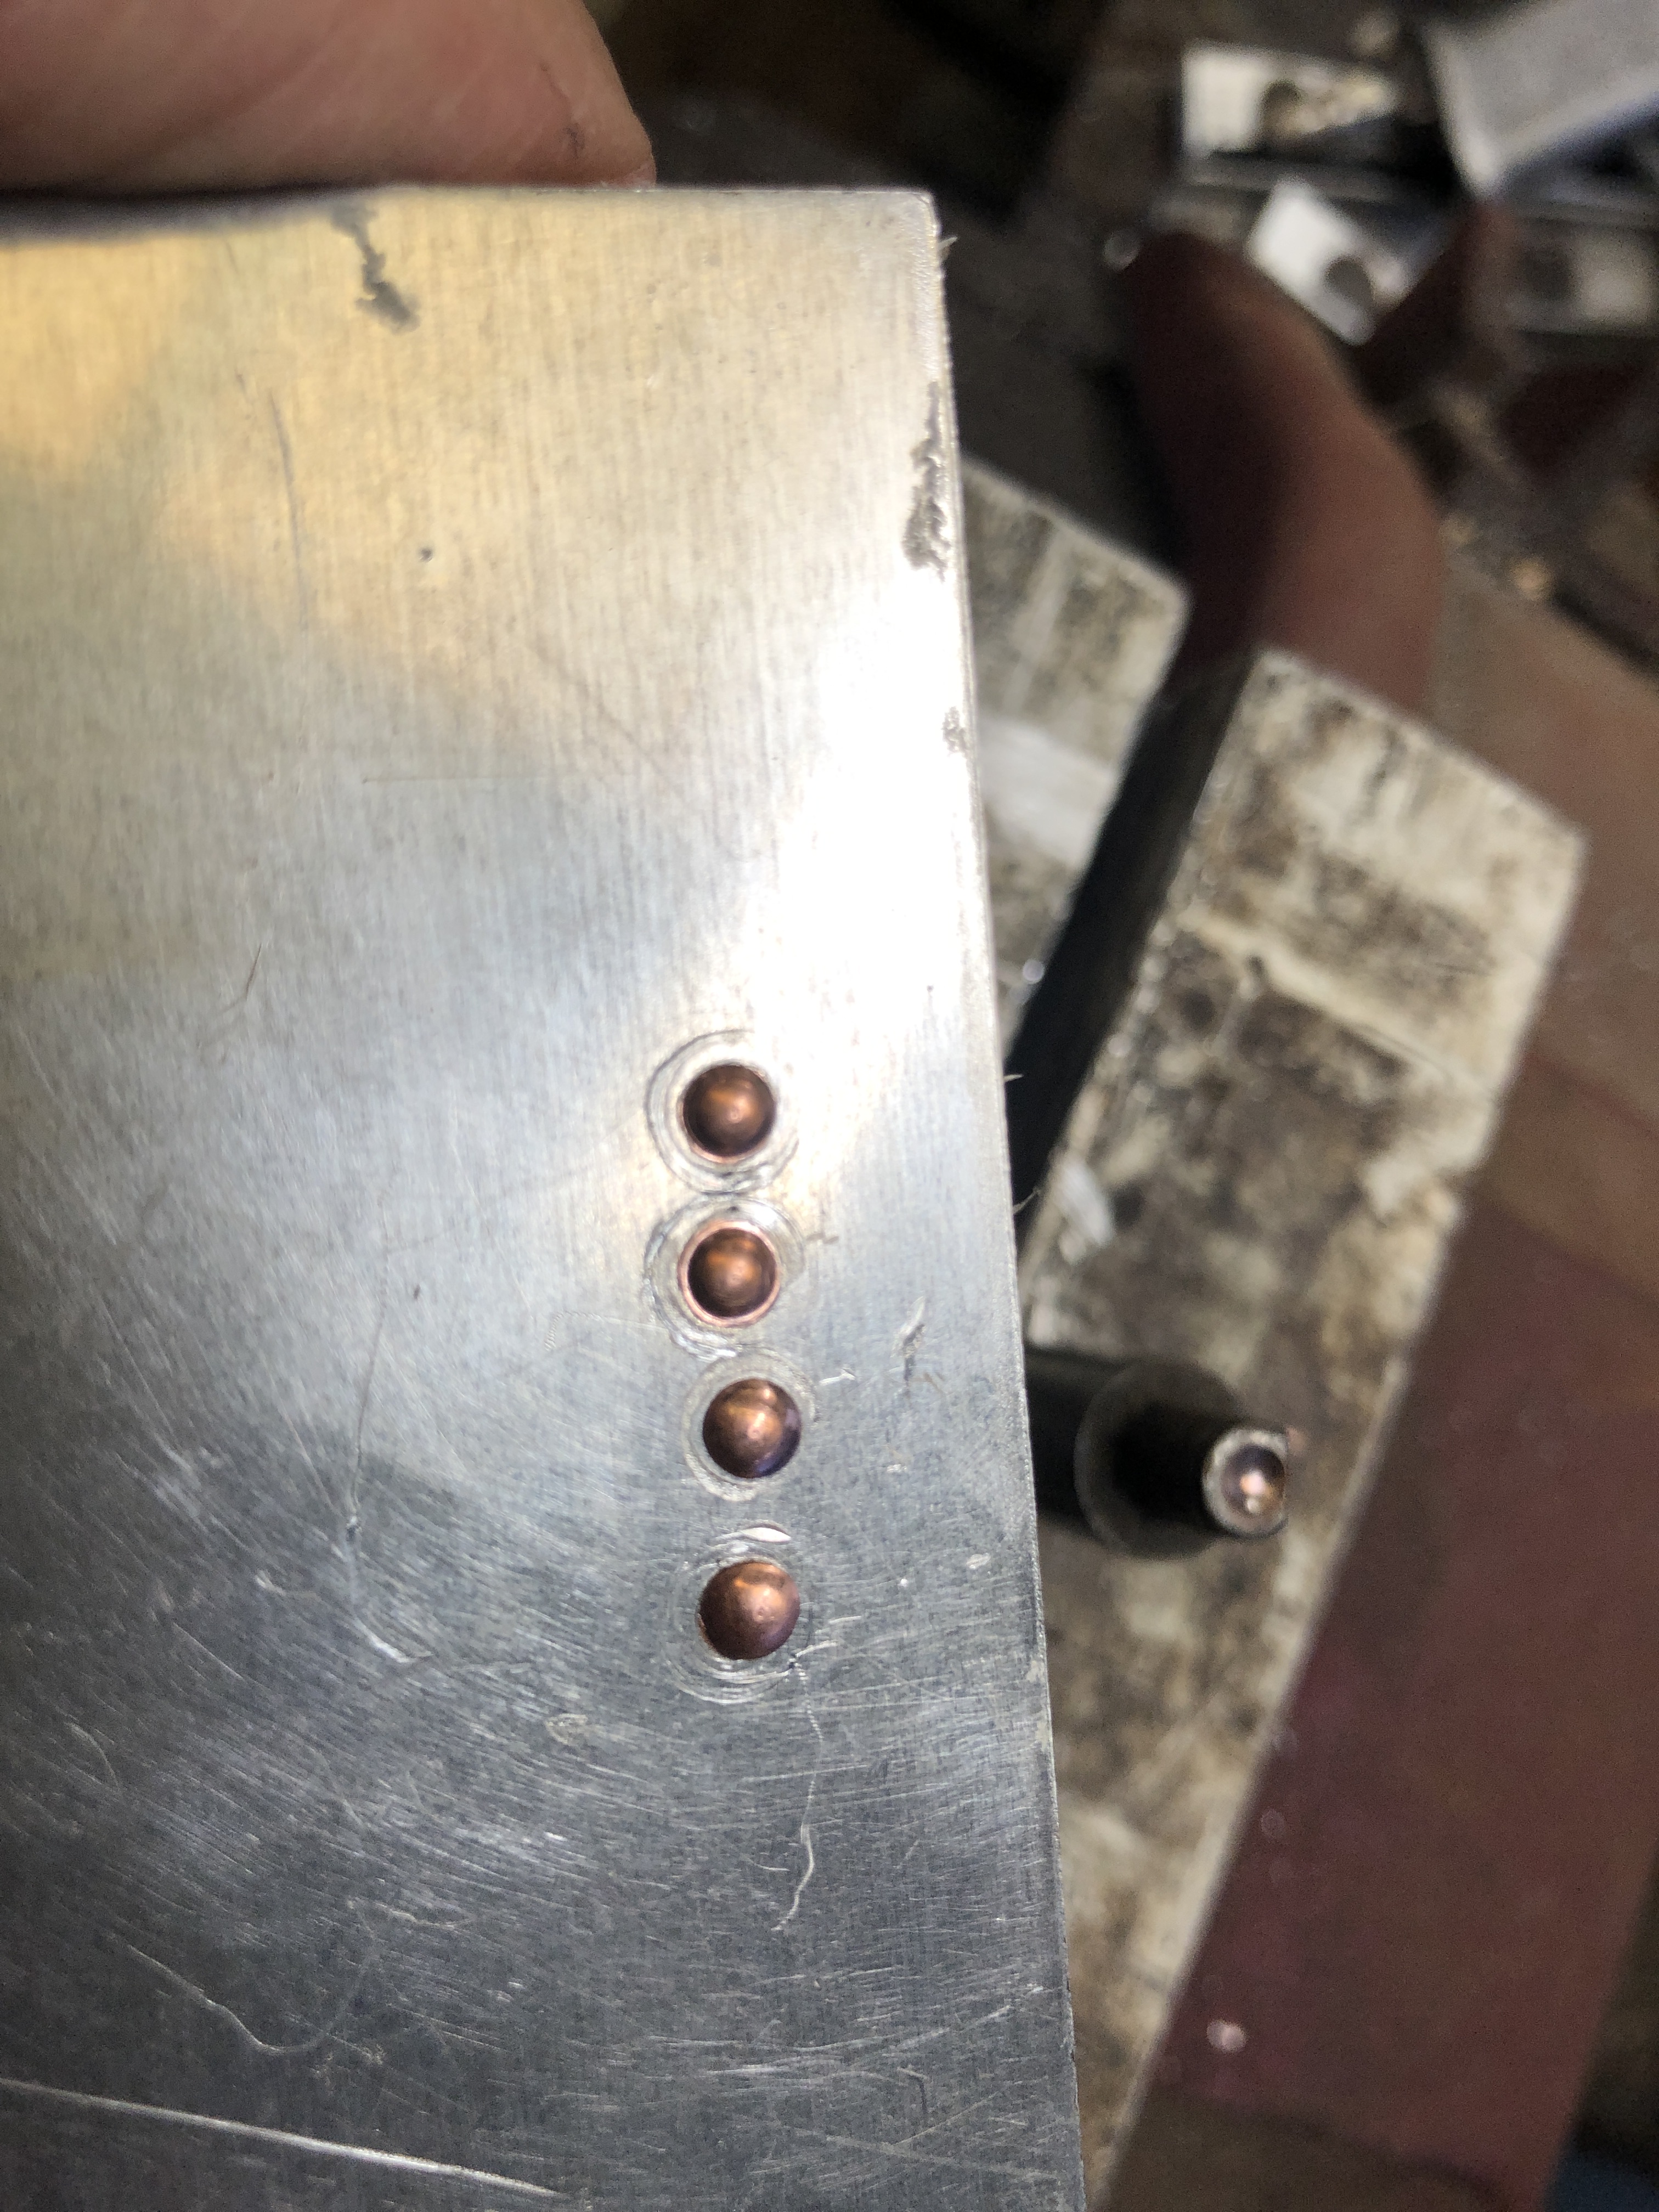
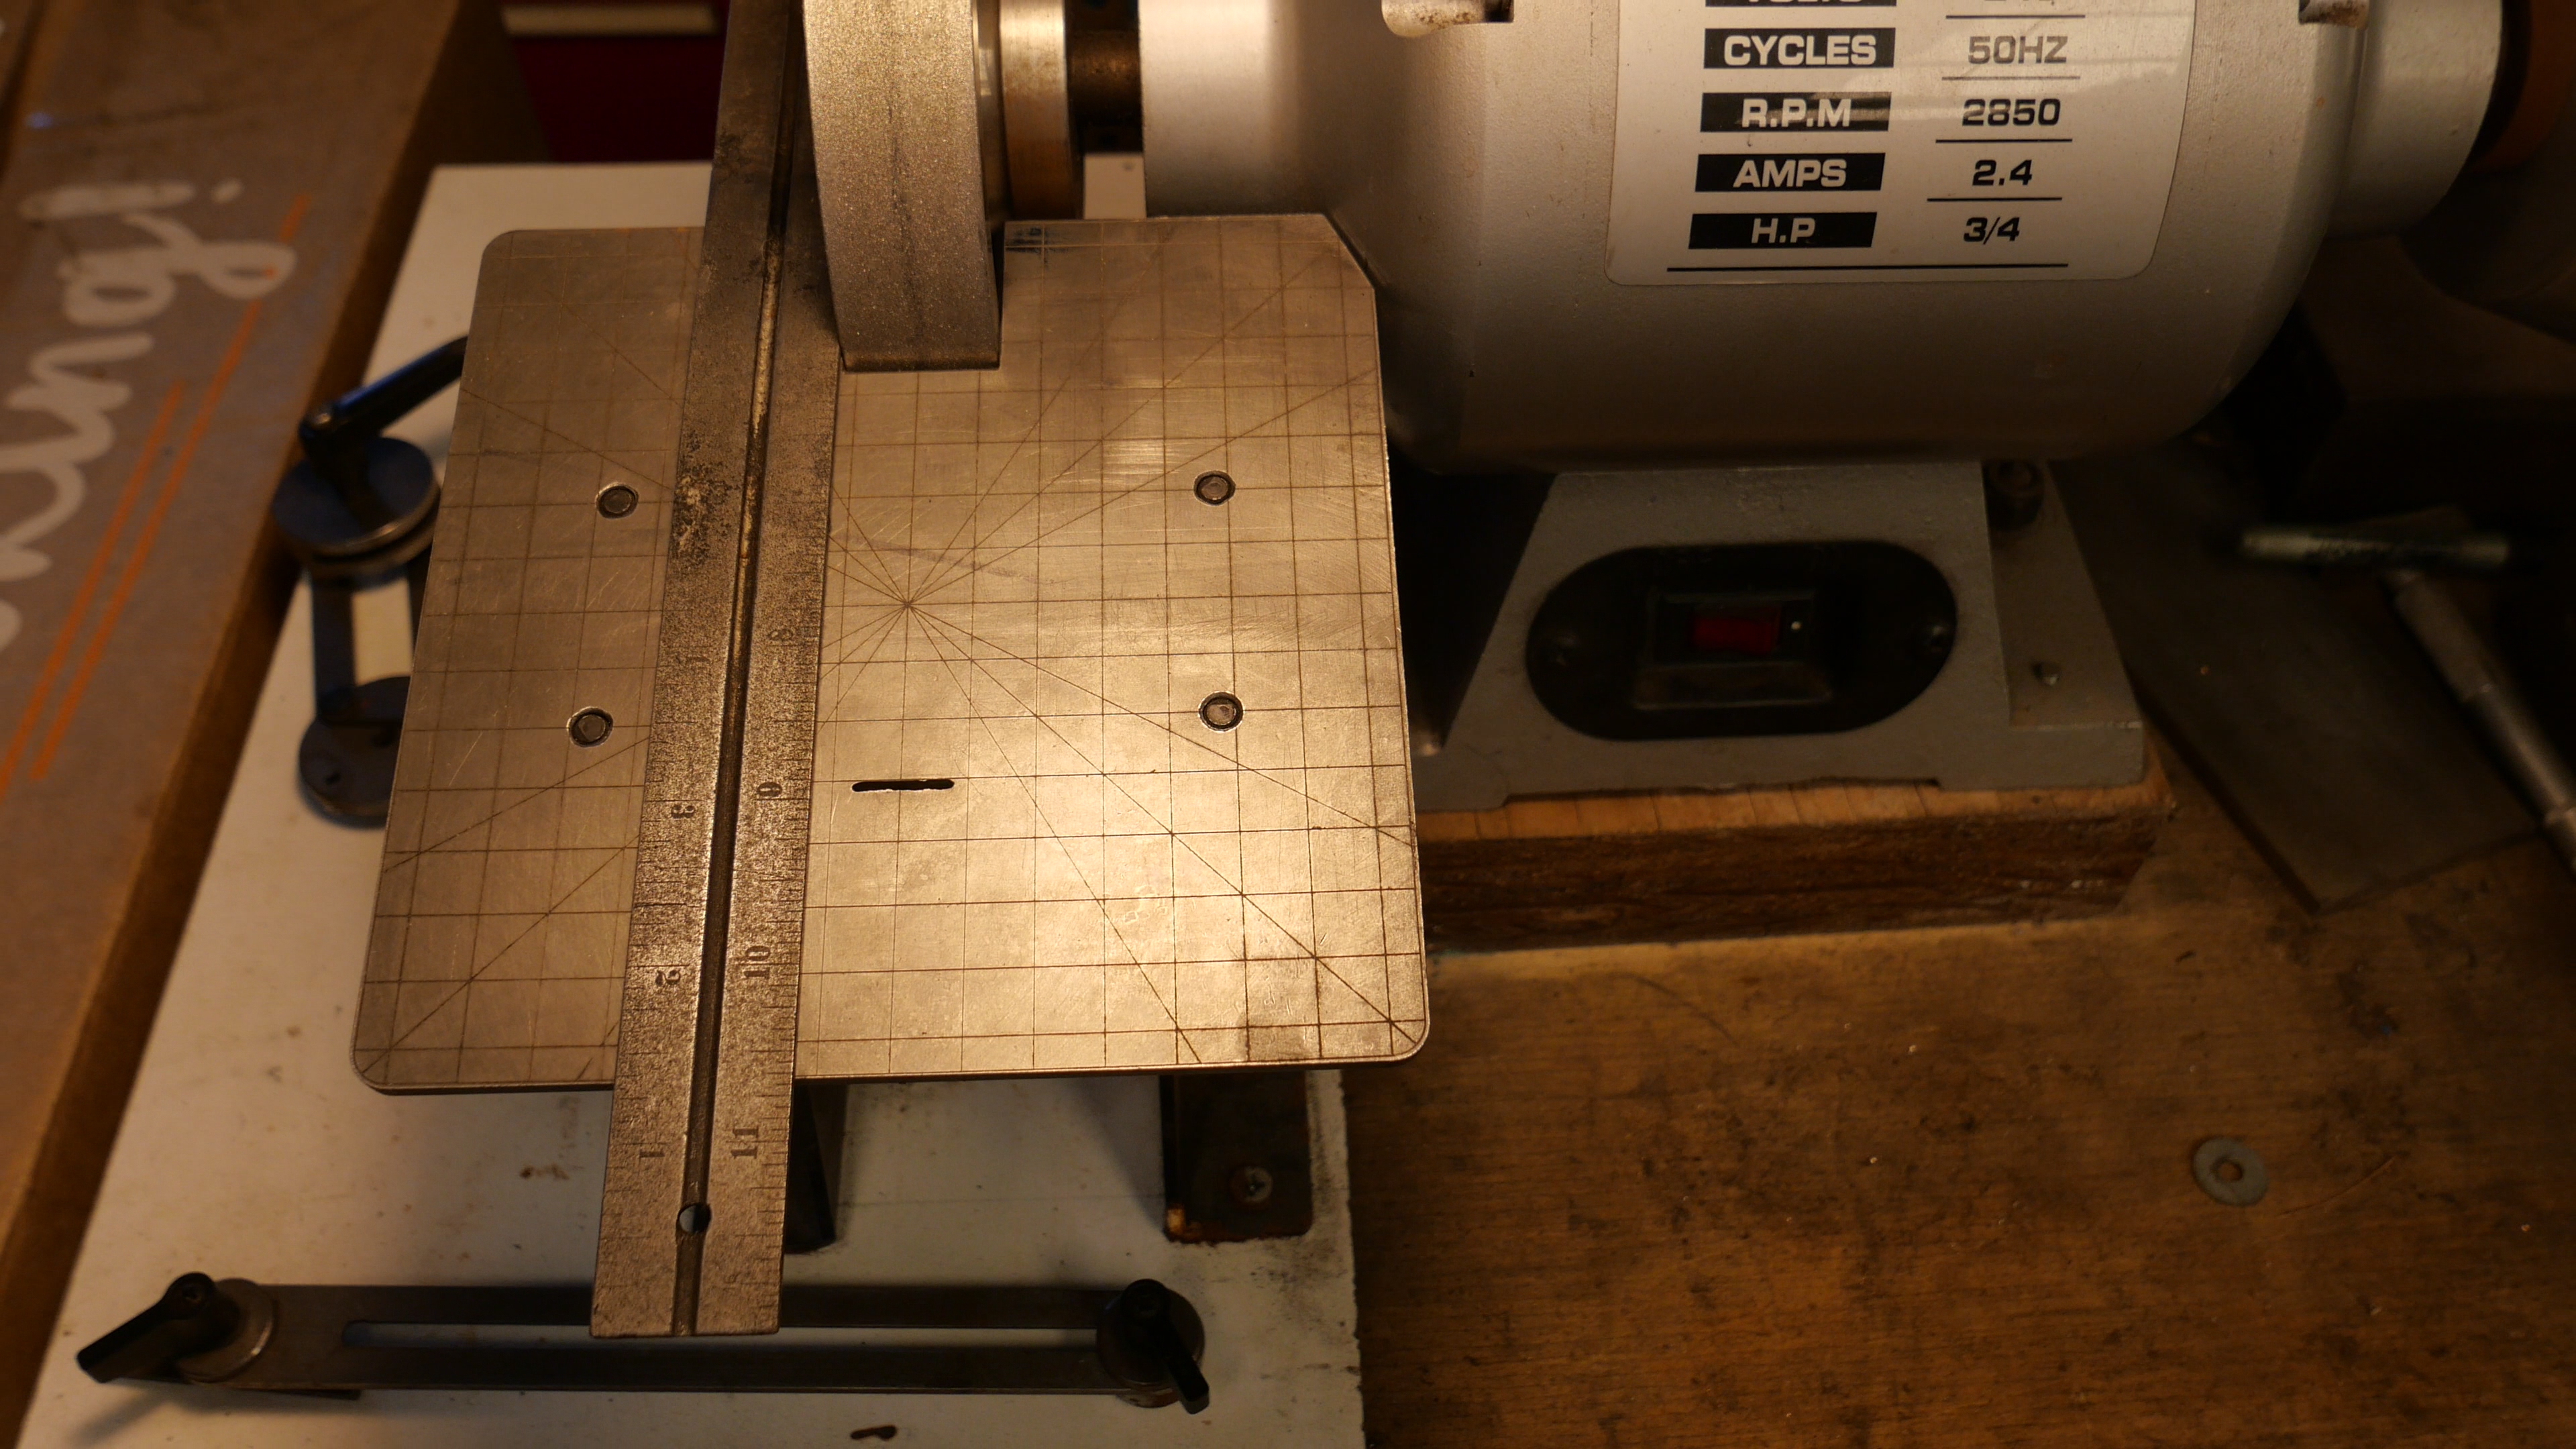
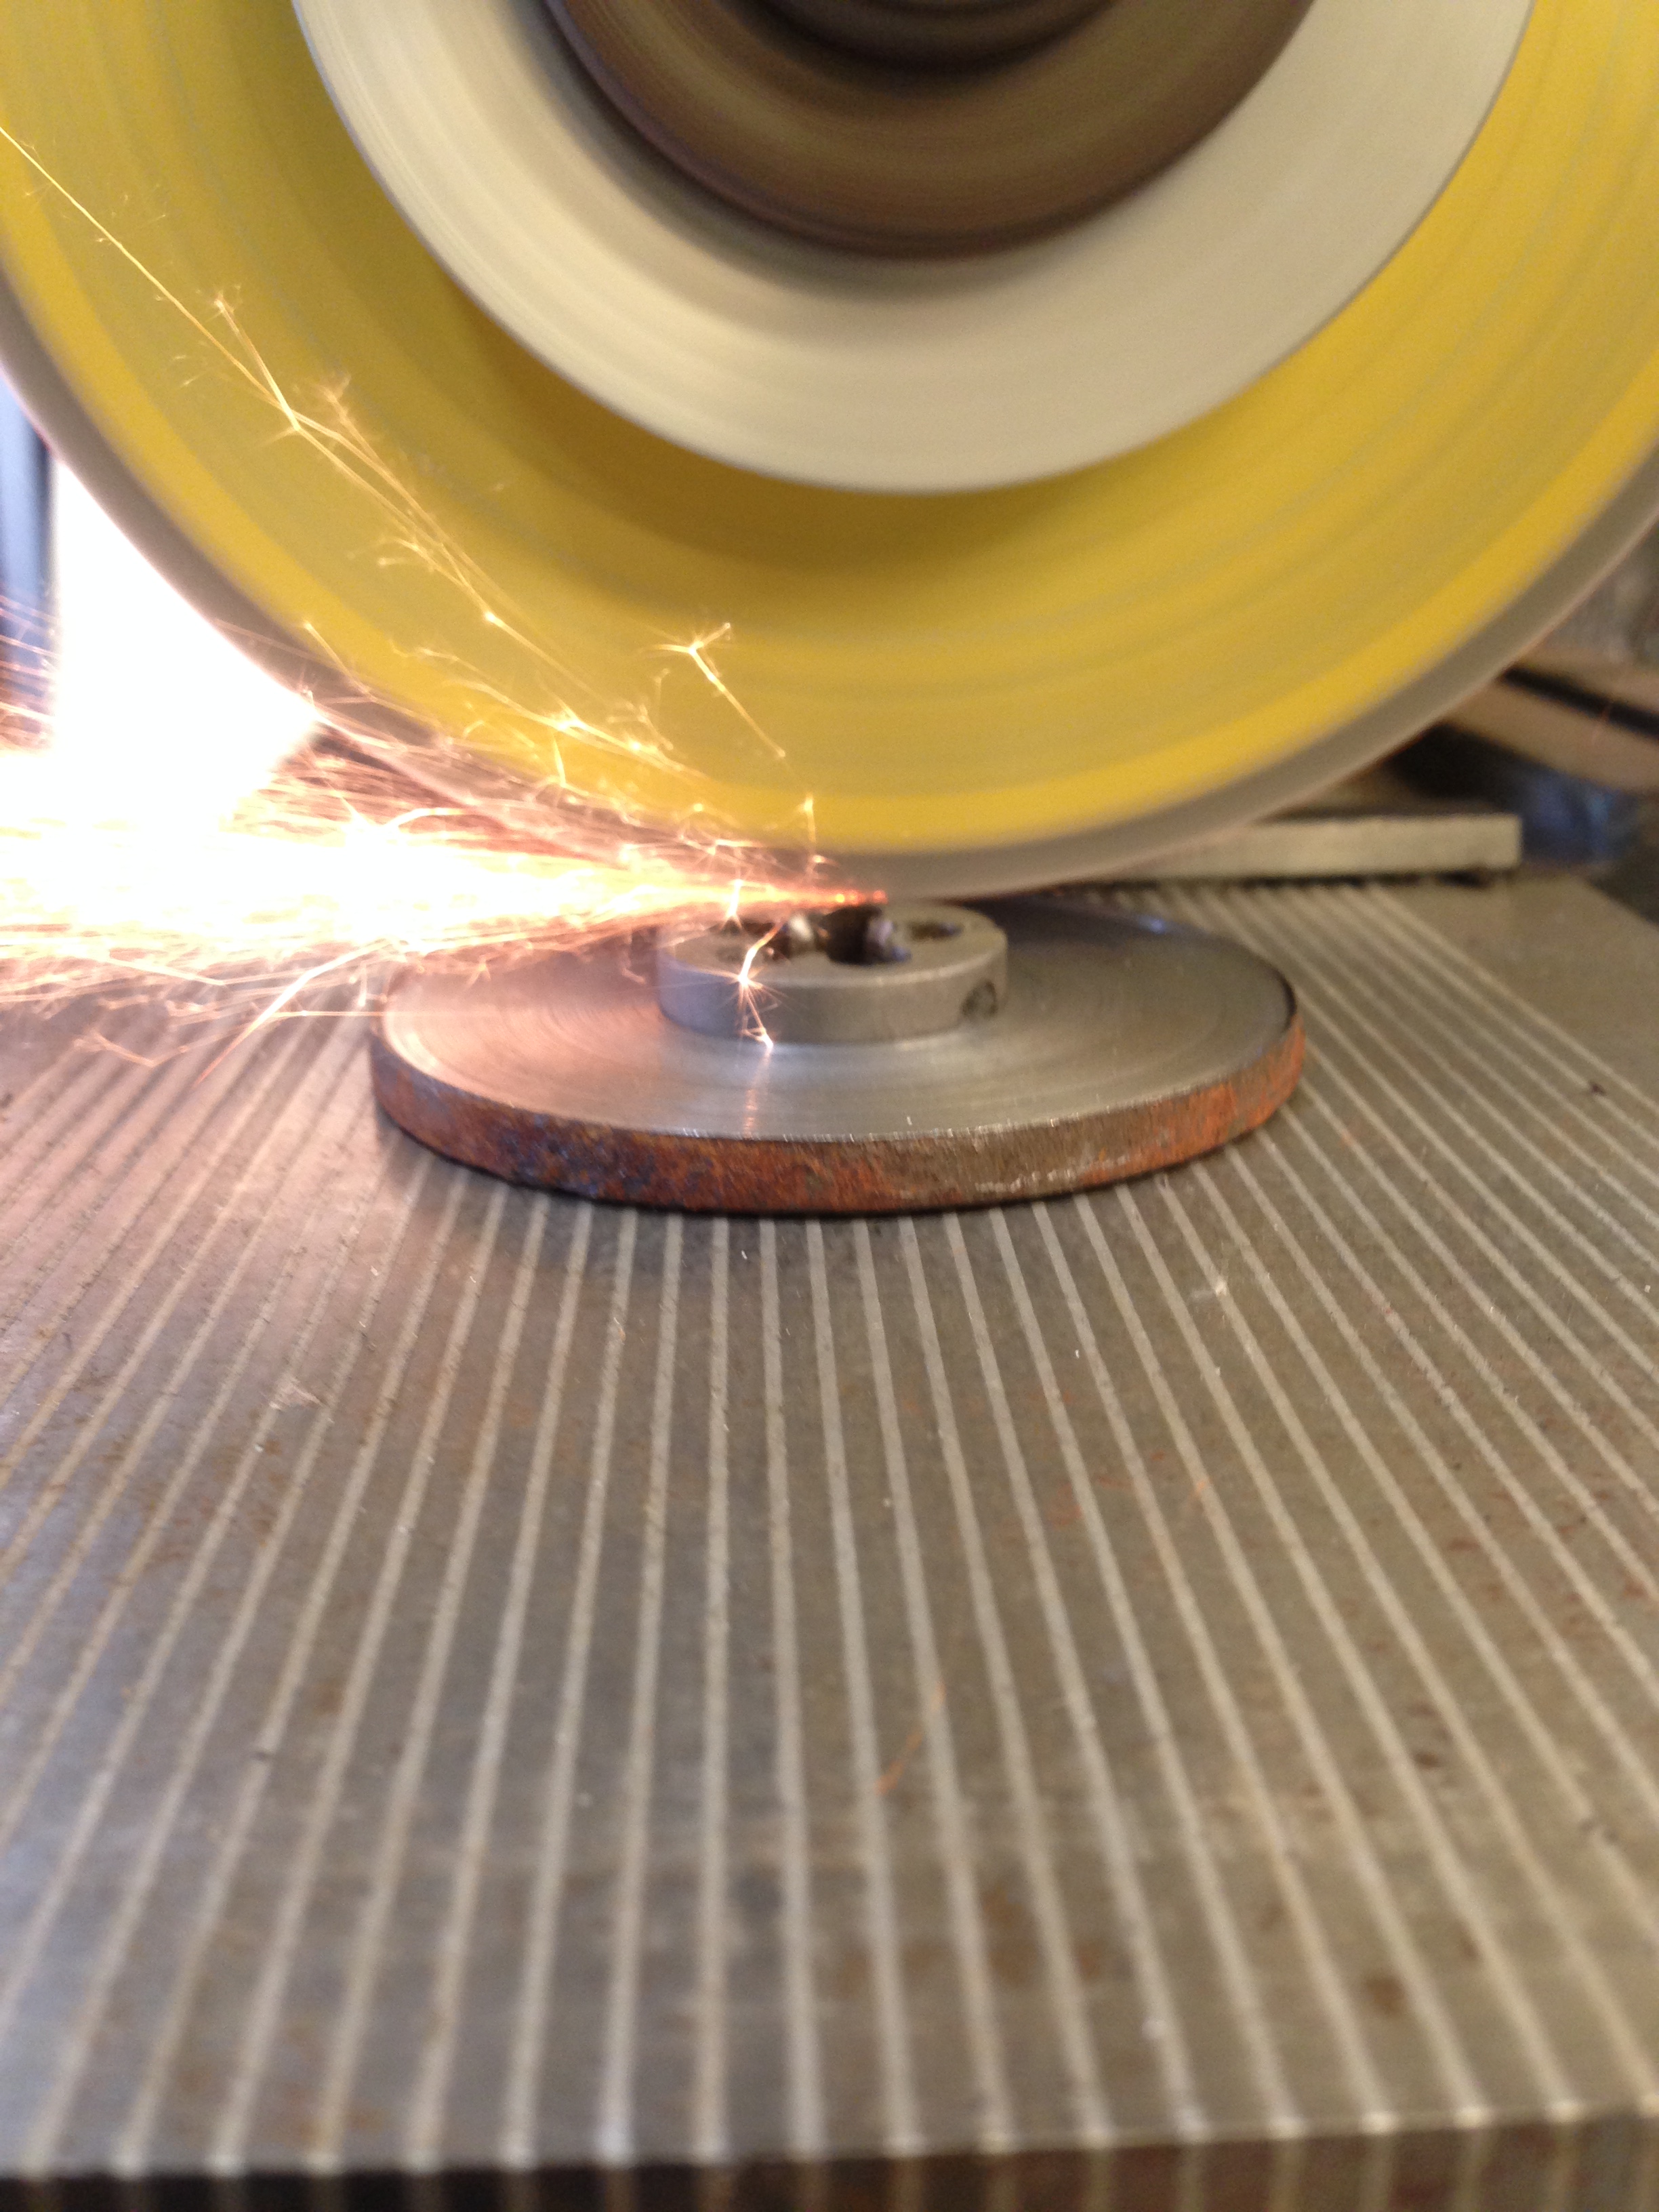
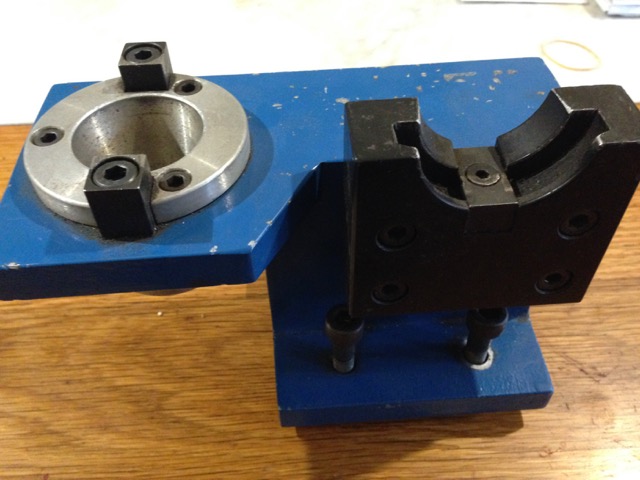
And in the above shot, I have drilled and threaded some M6 holes and Loctited in some M6 grub screws.

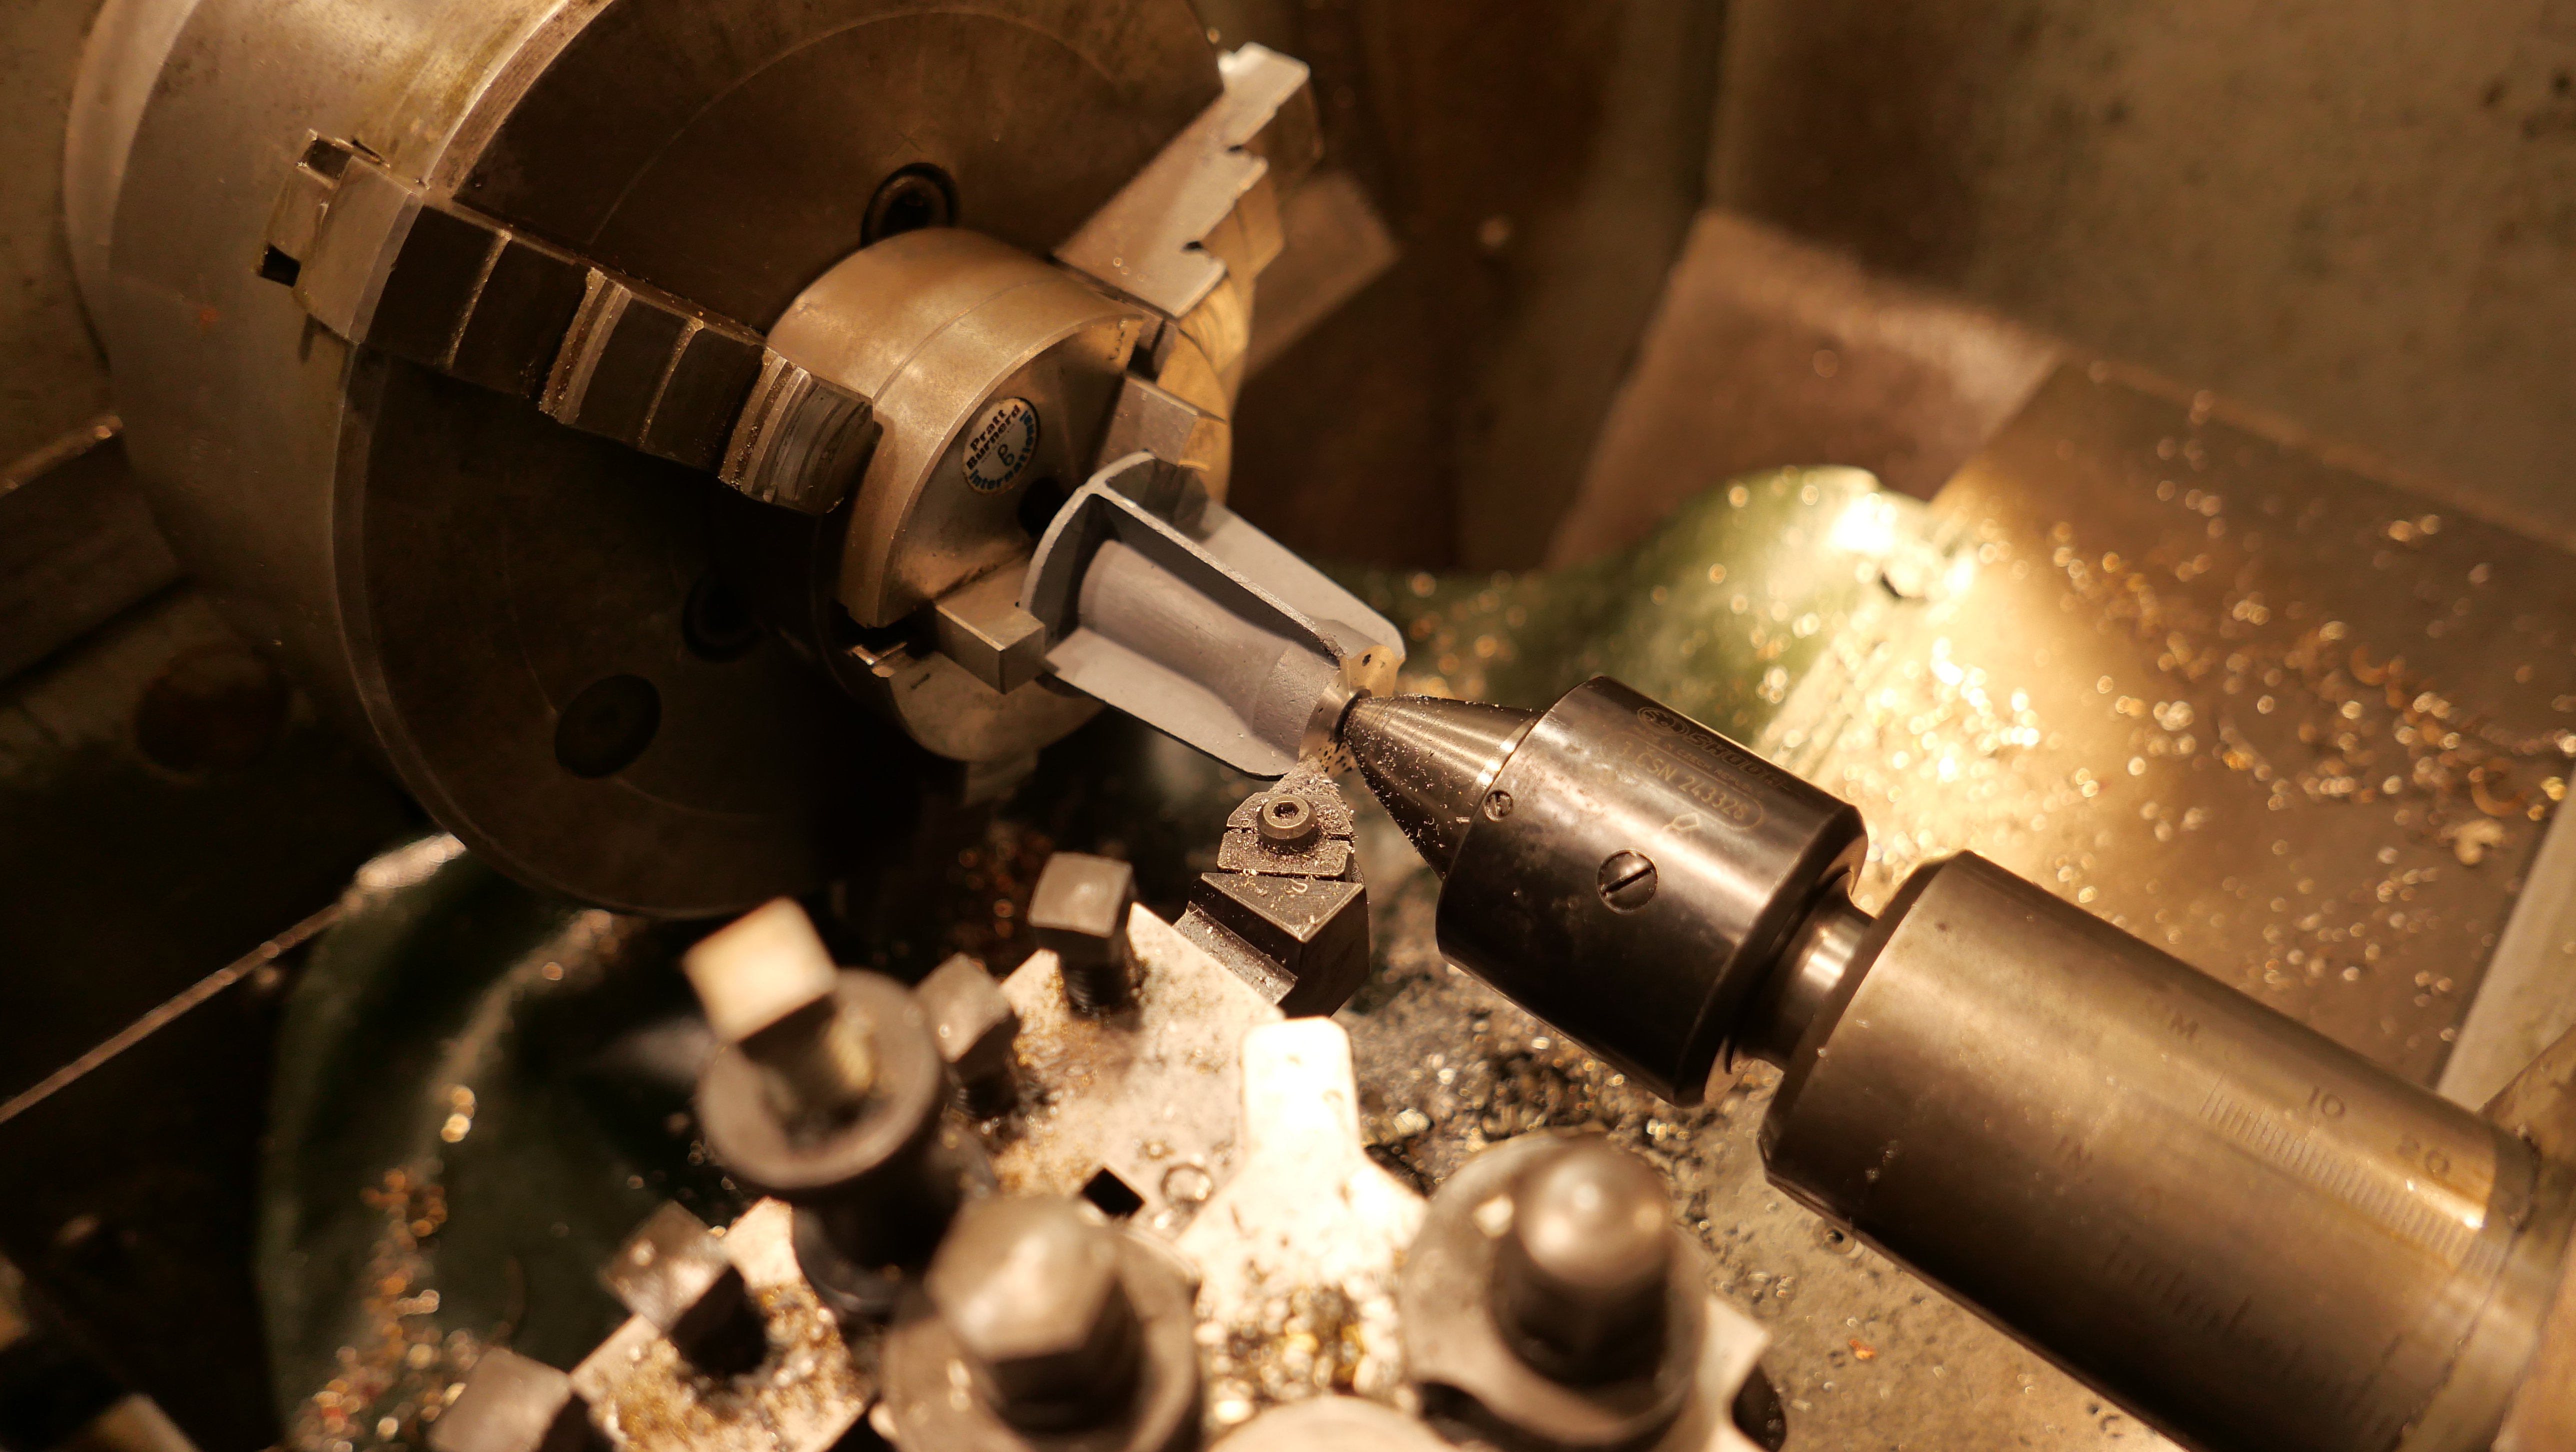
Then machined it to size,

IMG_8058.JPG

The 6mm holes are the Scotch pins.  The 10mm holes are to attach the assembly to the CNC rotary table for cutting the teeth.

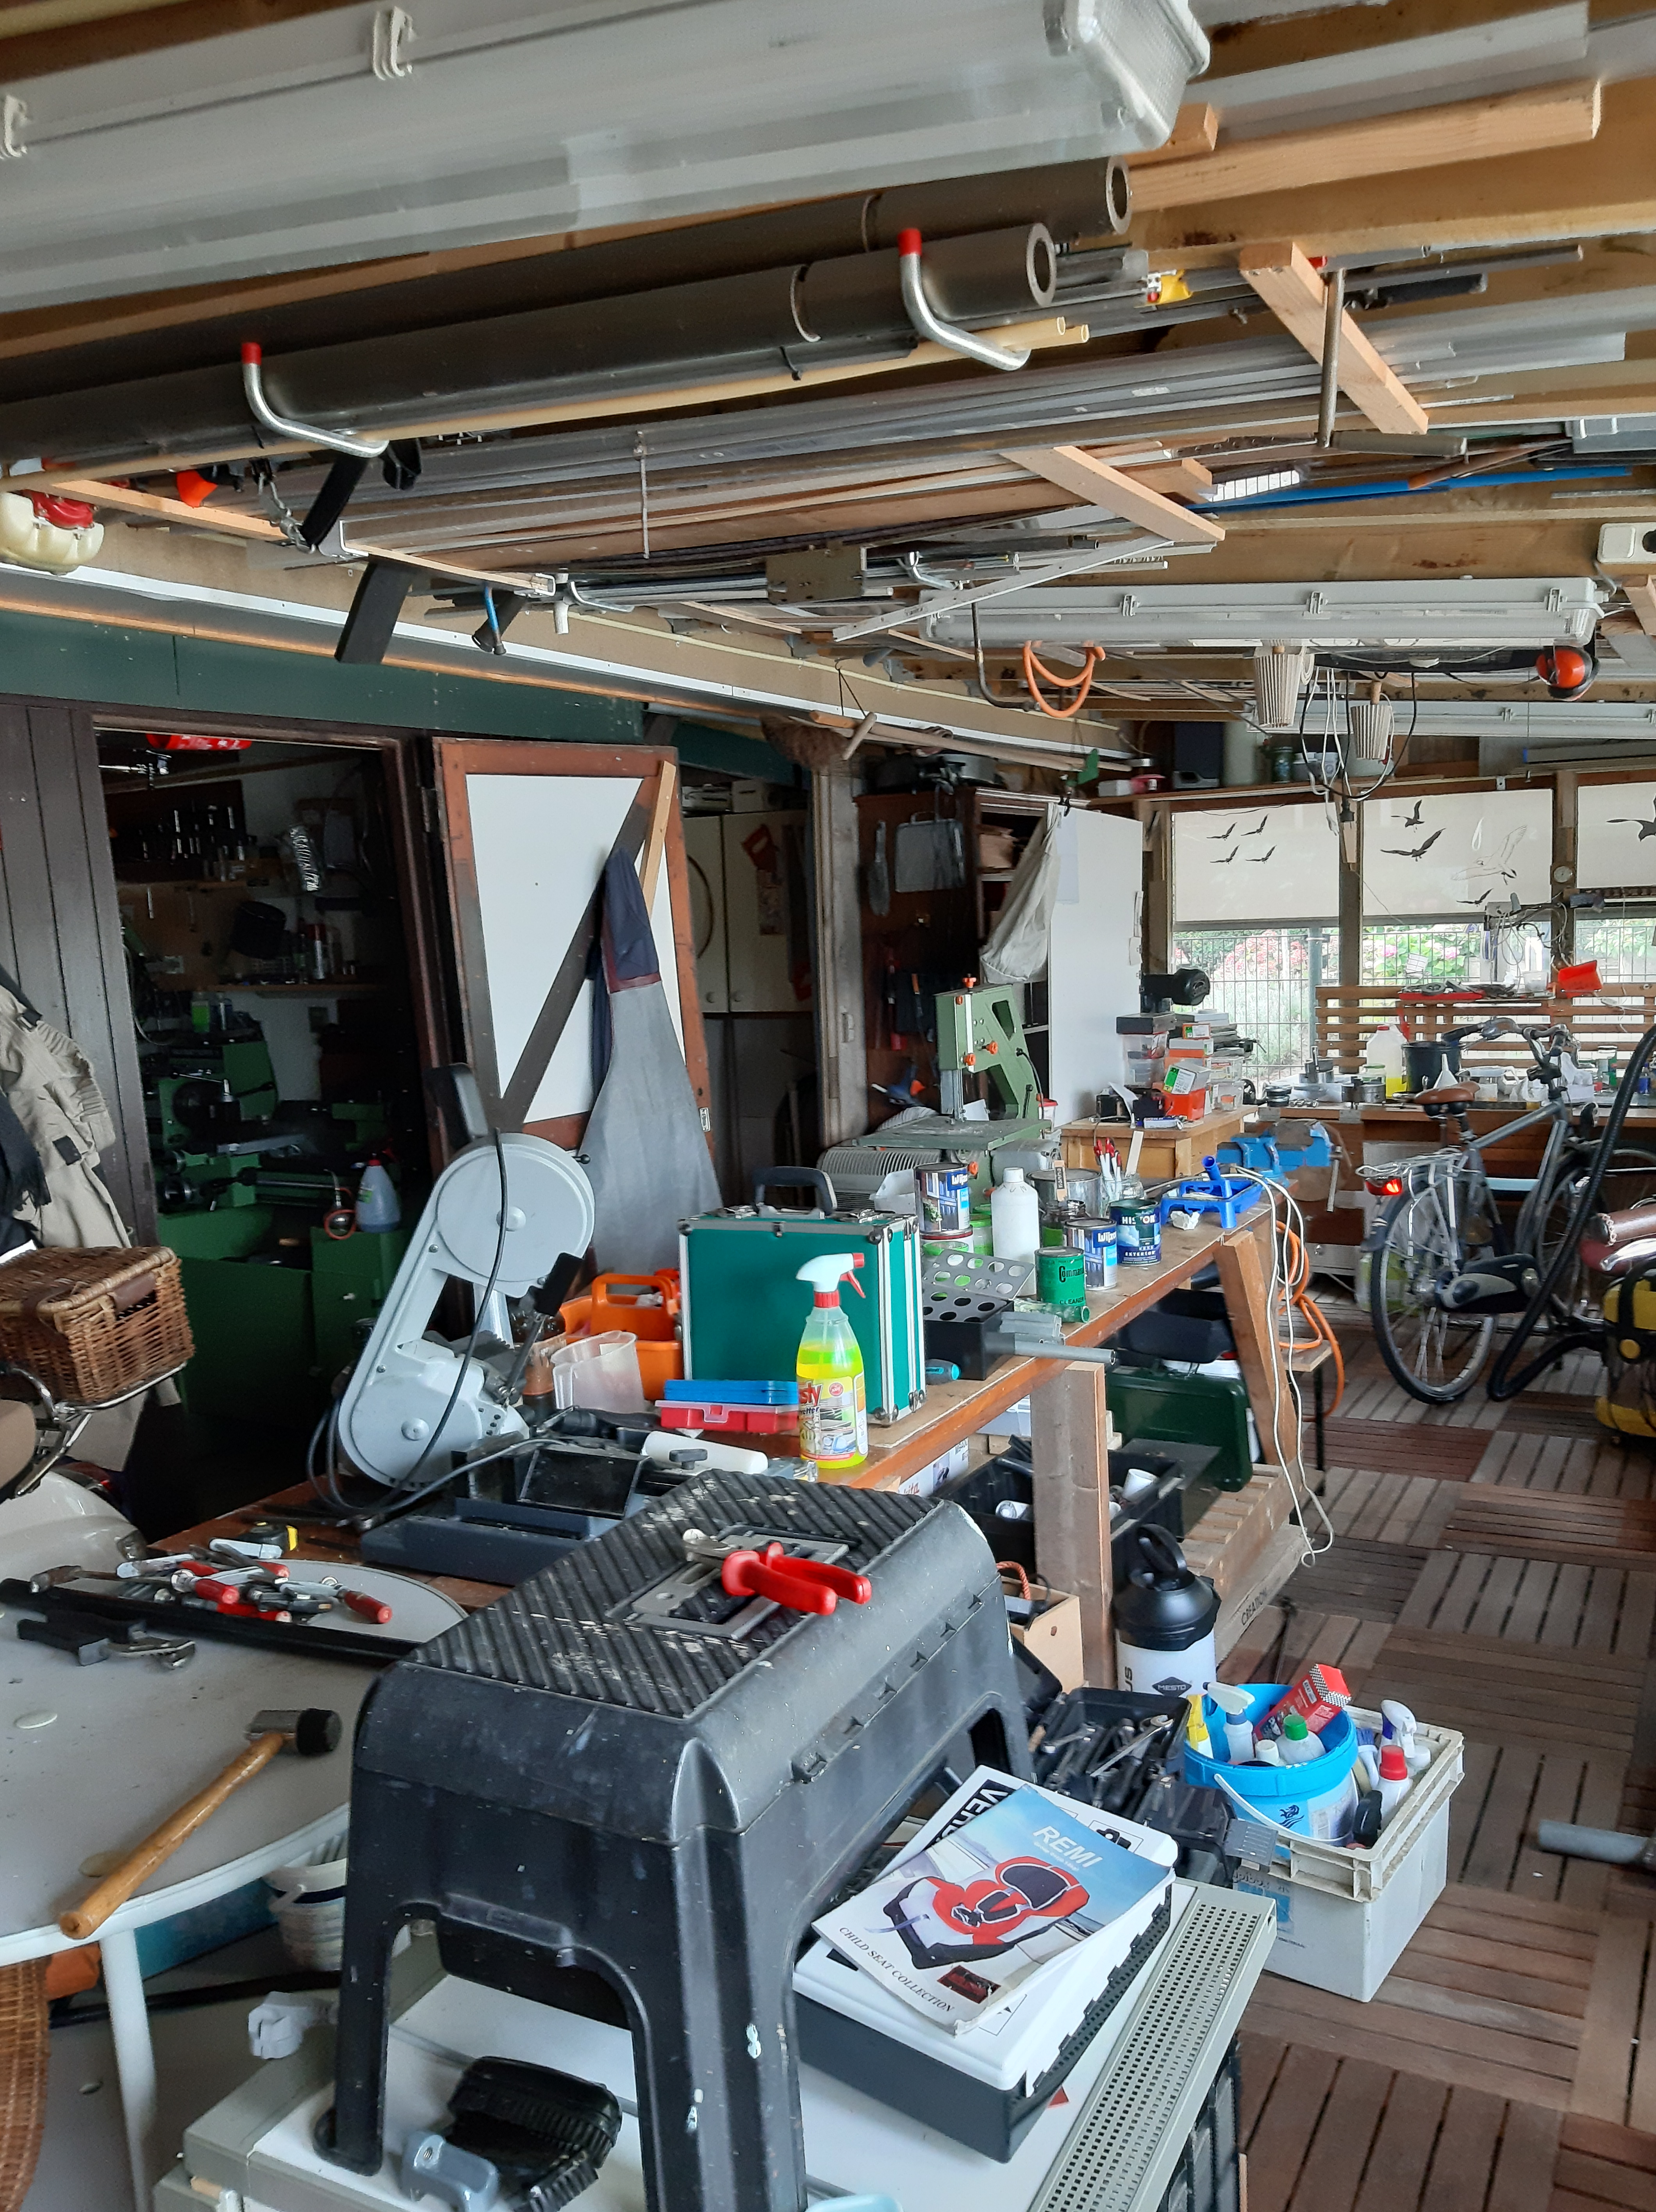
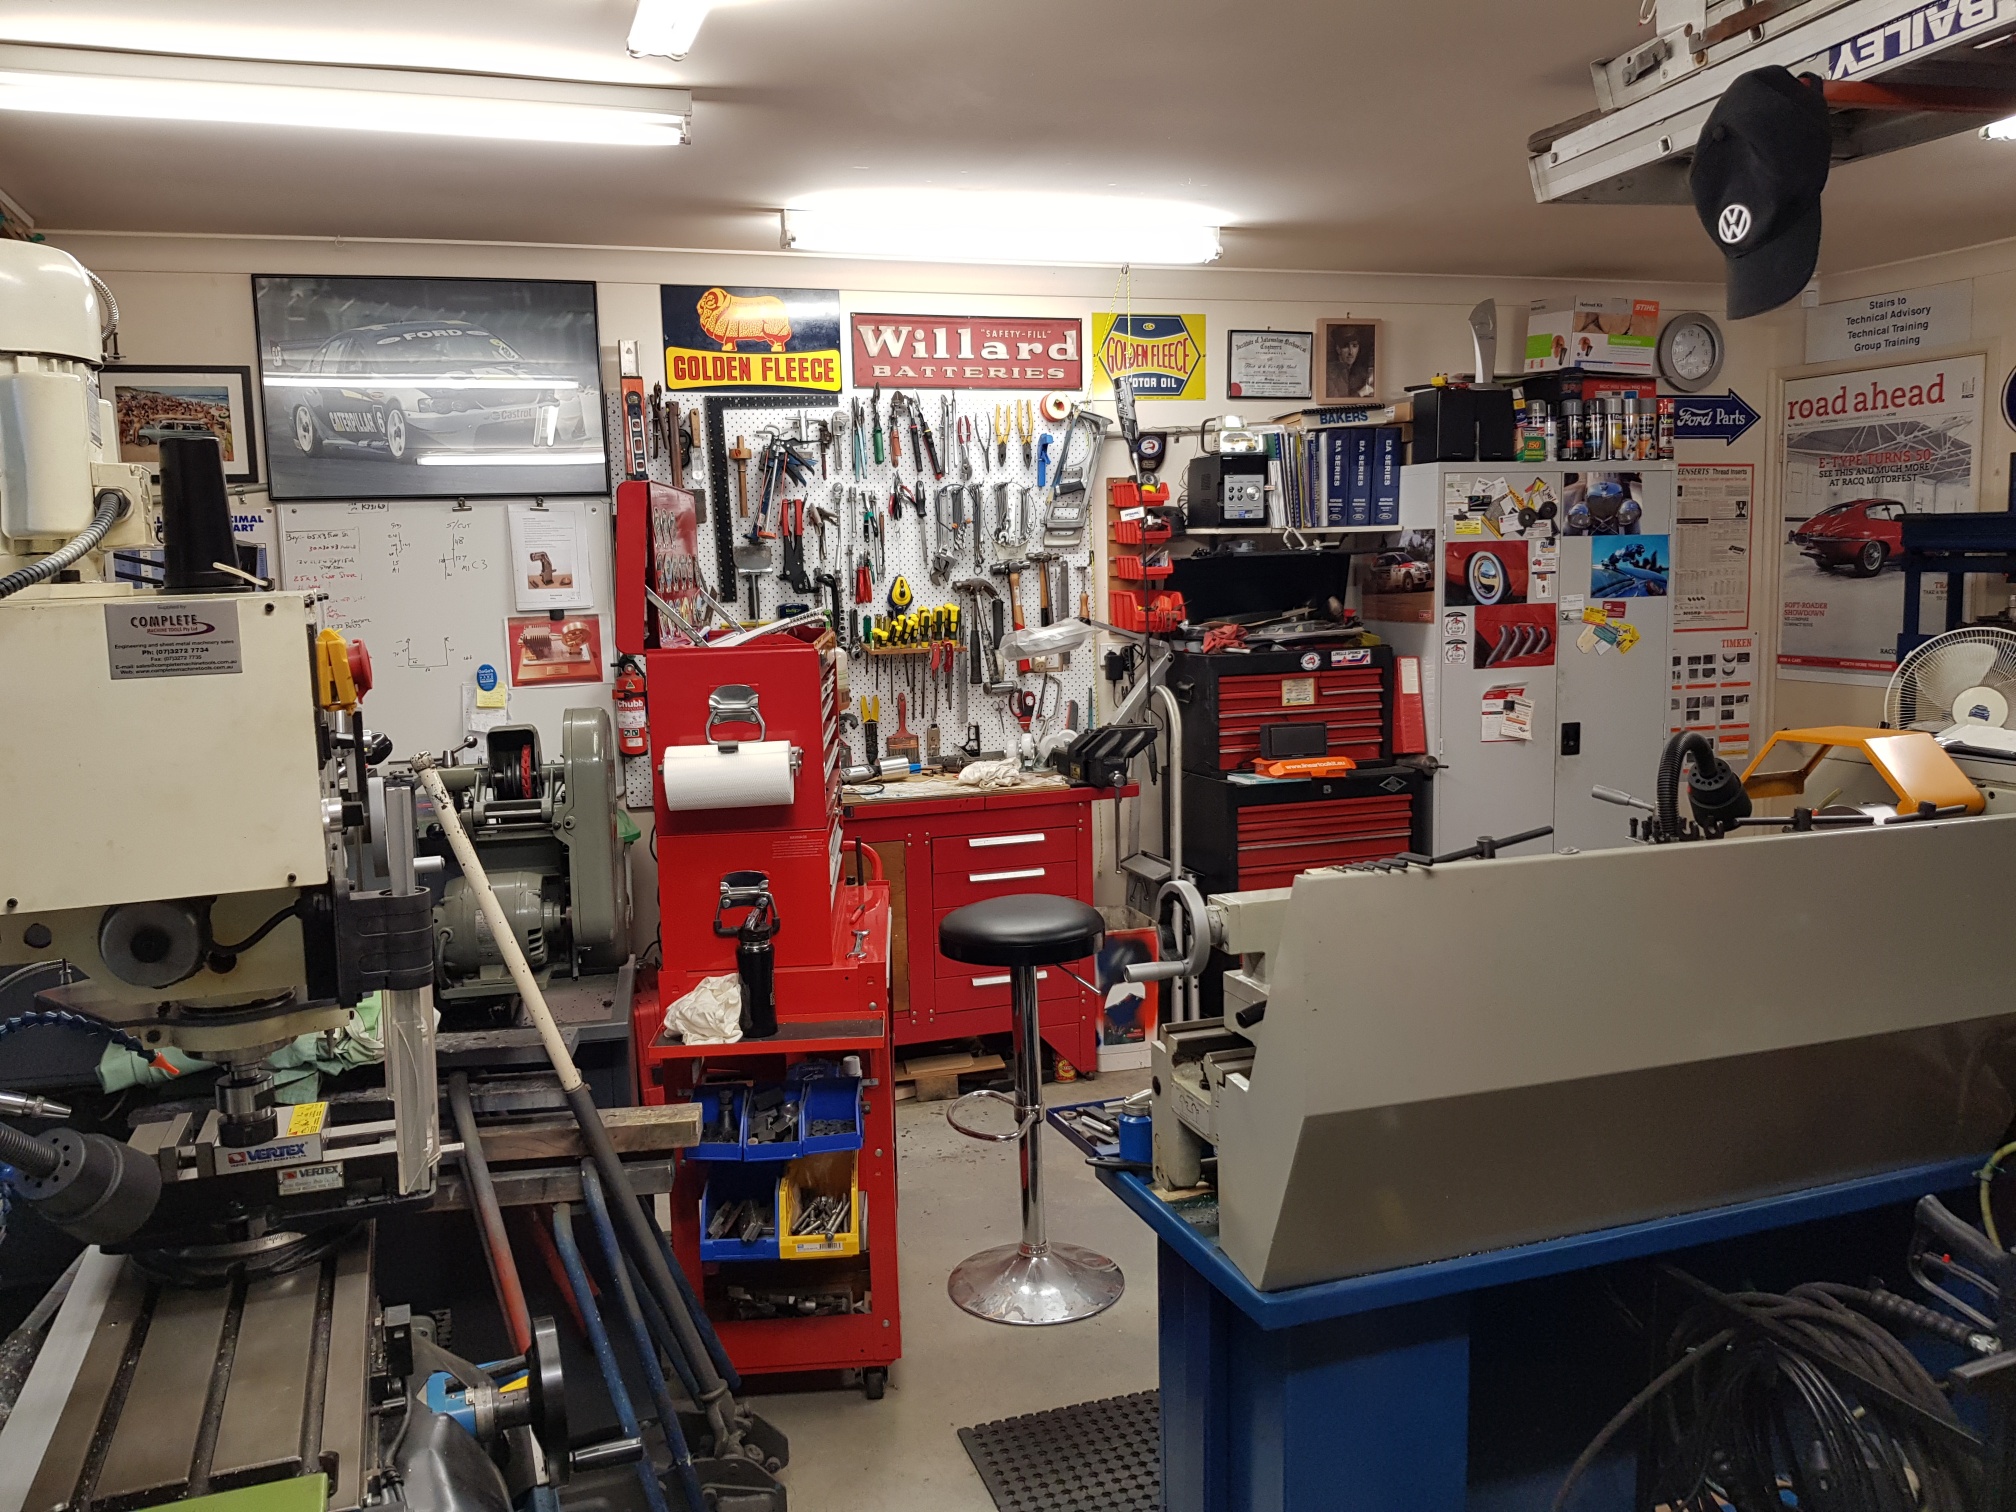
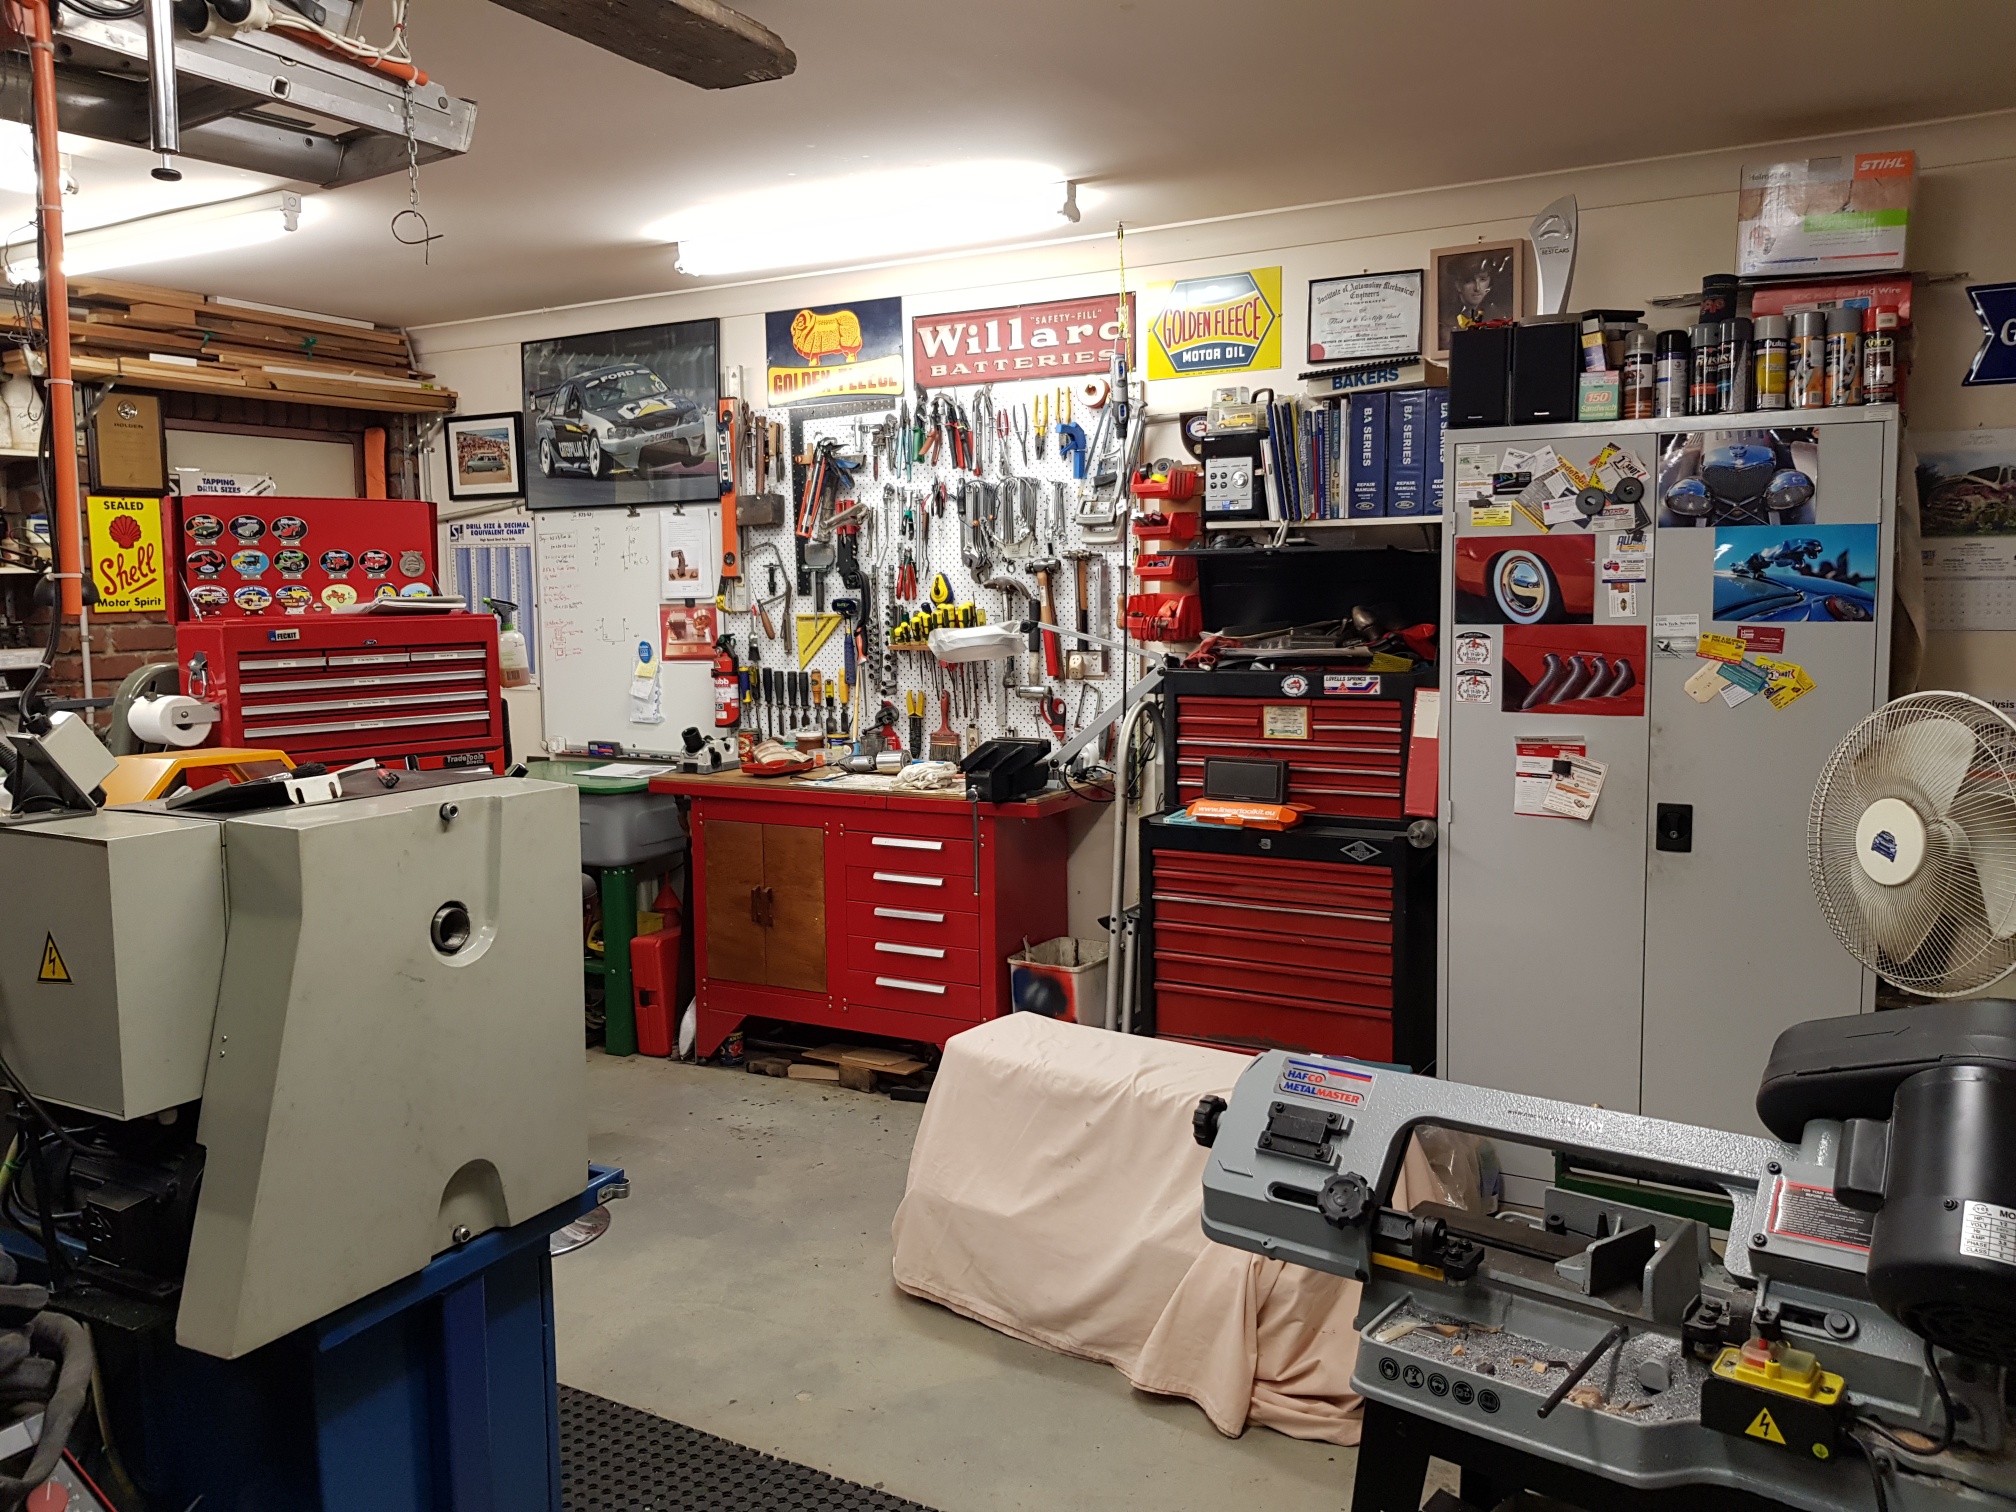
So, this post might be a bit ramshackle and disorganised.   A bit like my workshop at present, and possibly my brain.  My GP has started me on blood pressure medication, so I will blame that.

Watch this space for cutting the gear, soon.


CNC Mill Upgrade

I was not planning any more major projects for 2019, instead intending to finish the triple expansion engine, the beam engine, the vertical boiler, and the CNC rotary table.

But… my hand has been forced.

The Y axis on my CNC mill has been a bit unpredictable for some months, and on my return from UK, it has totally stopped working.  It seems to be the encoder on the Y axis servo.  I could just repair or replace the encoder, but after discussing the situation with my expert advisor Stuart, I have decided to replace all of the electronics in the mill.  New axis motors, new breakout board, new drivers etc.  It is a 1997 model, and this is the second electronic failure this year.  Plus, it is only a 2.5 axis mill.  It will move in only 2 directions per move….   XY or XZ or YZ,  never XYZ in a single move.   Plus I would like to add a rotary axis, making it a 4 axis machine.

The in built computer in the mill has a 7k memory.  That’s correct, 7000 bits.  I have an external computer linked to it, which makes it a bit more useful, but the Fagor controller is clunky and idiosyncratic, and I would like to switch to Mach 3.

So, I will document the upgrade as it happens.  The mill is a good solid machine, with big ball screws, and 1000mm of x travel, 450mm Z and 450mm Y.  It is worth spending some money on it.  There are a lot of big, old, CNC machines with obsolete electronics out there for sale.  It will be a project which might just be worth watching.

Showing the handwheels for XYZ axis movements, including the broken X axis handwheel


Lathe Woes

Removed the gear with the broken tooth from my GBC 400-1000 lathe yesterday, with some help from my brother.    Approached the disassembly a bit nervously.  Did not want to break or damage anything else.

First took some photographs, so I can put things back together eventually, in the correct places and order.

Then removed the chuck, then the back gears, then the large heavy plates at each end of the spindle.  The cap screws came out without any drama, but the end plates required breaking free of the paint, and out of the tightly fitting mounting rebates.

Then loosened the big nuts against the internal gears, the external gears, and one grub screw.

img_7853.jpg

Tabbed locknut undone, allowing the gear cluster to be slipped and driven towards the left, eventually allowing the spindle to be removed.

Gradually removed the spindle by tapping the gears along the spindle with brass drifts.  Pretty tight.  And retrieved the little bits as they fell into the oil in the headstock.

Was finally able to lift the spindle out through the chuck end of the headstock.  It is heavy.   Took two of us to lift it out without damaging the outer races of the tapered roller bearings.

Then looked at the broken gear, and retrieved the tooth from the headstock oil.

IMG_7862

The broken tooth.  Unfortunately, on closer inspection, and adjacent tooth is also cracked.  And very likely more are on the way.   This is more serious than initially thought.  It is a big heavy gear, 240mm dia, with a 65mm long collar,

Next step was to look closely at the meshing gear.

IMG_7857.JPG

With a good light, and getting close I still had trouble checking for cracks.  Only when I looked at this photo did I realise that I had forgotten to change my sunglasses.   Ah, the joys of getting old and forgetful.

Meanwhile, I remembered a tool which might help with the inspection….

IMG_7859.JPG

It is a cheap fiberoptic inspection camera.  Worked fairly well here, and I am reasonably happy that the other gear is not cracked.   But it did convince me that I should have bought a better quality fiberoptic camera.  Put it on the wish list.

So, I have a large, hardened steel gear with at least 2 cracked/broken teeth.  Options?….

  1. Buy a new gear.  I will try, but not confident.  The local importer of these particular Chinese lathes went out of business last year.
  2. Get a new gear made.  I will get a quote.
  3. Make a new gear myself.  Or, if all else fails….
  4. Machine off the teeth of the damaged gear, and the adjacent 20-30mm.   Then make a new set of teeth on a ring which will be attached to the old core of the damaged gear.
  5. Use the lathe without that gear.   This option does not appeal.
  6. Install a VSD and use electronic control of spindle speeds.  The main spindle motor is 5HP, so it is possible.

More information required.  Watch this space.

Read the rest of this entry »

Back in the workshop, a Lathe Problem…

I have a problem with my big Chinese lathe.  I was hearing a KNOCK-KNOCK-KNOCK as the main spindle was revolving at low speeds with one setting of the gears.

It is a GBC 1000-400 lathe, meaning that it has a maximum of 1000mm between centres, and it will turn a 400 mm disk.  It weighs 2 tons.  Has been quite useful when turning flywheels, big lumps of metal, large pieces of wood and so on.

So today I removed the cover from the headstock and had a look.   The cause of the knock was quickly obvious.

IMG_7828.JPG

The headstock of the GBC 1000-400

img_7825.jpg

The big gear on the main spindle at bottom.   See the broken tooth?  The meshing gear is intact.

So, what do I do about this?   I need some suggestions, people.

Thoughts so far….

  1. remove the spindle, remove the gear and bronze braze a replacement piece of steel or bronze, then machine a new tooth.
  2. same as 1, except use silver solder.
  3. same as 1 or 2, except do the job insitu (after draining all of the gearbox oil, and screening off the other headstock parts).  Unfortunately the missing tooth is close to the headstock case, so filing or grinding a new tooth would be tricky.
  4. leave it as is, and just avoid using that gear.  I can do that.  It removes 3 of the 9 gear ratios, including the slowest speed (40 rpm), and is not an elegant, or desired solution.

So what do you think?   The gear is most likely made of steel rather than cast iron, from its appearance.  The base of the break is shiny, smooth and not porous.

Here are some pics of the ends of the main spindle.   It does not look too complicated to remove the main spindle, but what would I know.

IMG_7827.JPG

The main spindle is the one in the centre.

IMG_7826.JPG

And the other end, with a self centering 4 jaw in place.

I imagine that the main spindle bearings will be pre-loaded, tapered, roller bearings.  I certainly do not want to damage them.  And how difficult will it be to reinstall the bearings and main spindle?   I imagine that it will involve some careful and precise work.   Am I taking on a job which is way beyond my abilities?   If anyone has experience of this task I would be delighted to hear your views.   I have no drawings or plans of the headstock to assist.

(In parentheses, when I was a teenager, I remember my father pulling a Toyota Crown automatic gearbox to bits, identifying a fault, and fixing it.  There were bits of the gearbox everywhere.  But he fixed the problem.  He was not a mechanic, but he had a go at things, and usually managed the task, as in that case.  Similarly, I dont mind having a go at this lathe job, but I would prefer not to risk destroying the lathe, so any expert opinions will be welcome.   Option 4 above remains a possibility.)


Beware of Greeks Bearing Gifts

Well, this one is OK because it came from a Hollander.

One of my blog readers, Huib, decided that I would be the recipient of some of his workshop items which he says were surplus.  This was as a thank you for johnsmachines.com.

So, a parcel arrived yesterday, and after a quick look inside, I decided to make a video of opening the items, and showing you.   It was great fun for me, and I hope that it will be entertaining for you.  It is the biggest file which I have uploaded, so give it a few minutes to open.

Oh, any other readers who would like to send me surplus tools or other interesting bits and pieces….  please feel free.  If Haas, or Hardinge would like a review on one of their machines please send it and I would be happy to do a review.

A Long Drill Bit

I have not been looking forward to attaching the Trevithick Dredger Engine to its base.

I needed to drill through the steel plinth and the wooden plinth, and then through the top part of the base.  Trouble was that the boiler and engine were in the way.

And it was not feasible to tip the whole assembly upside down and drill from underneath.

Ahah! what about a long drill?   I measured it.  The drill would need to be 450mm long!  Even a long drill bit, ferociously expensive, comes at a maximum length of 150mm.

So, I made a long drill bit, 5mm diameter, 600mm long

IMG_7565.JPG

That is a new 5mm cobalt drill bit, silver soldered into some 8mm drill rod.  Could have been a bit shorter, but it was long enough.

IMG_7567.JPG

Using the long drill bit, I was able to drill through the steel support, and through the top wooden layer of the base.   Then bolted the parts together.   And was then able to place the engine and the wooden layer on their ends, and to drill the remaining holes from below, confident (fairly confident anyway), that nothing could go wrong.   As in the above picture.

IMG_7568.JPG

Meanwhile, I had added the valve which controls the boiler feed pump output, and connected it to the boiler feed pump.

IMG_7569.JPG

Boiler feed pump valve.  This valve was left over from the vertical boiler project.  Just right, when I have repainted it.

IMG_7570.JPG

Next I must drill a 5mm hole through all layers of the base.   150mm!  4 holes, one in each corner.   The long drill made today will not do because the 8mm shank is too thick.   I must make another long drill, with a 5mm diameter shank.  Watch this space!


New Oxy-Propane Torch just watch!

Yesterday I took delivery of a tiny oxy torch.  I guess that most buyers would be jewellers,   but if you watched my post about silver soldering the tiny Trevithick dredger engine firebox door hinges, you will understand my interest in this Ebay offering for $AUD28.

I am experimenting with making videos for this post, so please excuse the amateurish faults in the following videos.

And here I am experimenting with the tiny torch.  Frankly, It is probably not up to the job here, but it was interesting trying it.  I can see that it will be very useful for other small jobs.

Please excuse the awful video technique.  I can see that I need a better camera, tripod, and technique.

This little oxy – propane/acetylene/MAPP gas/hydrogen/ etc is pretty awesome.

And BTW, the leak in the water pre-heater was fixed!

6″ Vertical Boiler. Calibrating the pressure gauge

I bought 2 pressure gauges at a recent Model Engineering Club auction night.  I paid $AUD40 for the pair, although I was really only interested in the smaller one.

It was a bit of a gamble.  Would they work?  Accurate?

Stuart mentioned that he had an instrument for calibrating gauges, and he checked my gauges.

IMG_6624.JPG

This gauge was item 51 at the auction.  It is about 4″ diameter and has some style!   Brass of course.   The cream painted instrument with the shiny brass weights is the calibration gauge.  It confirmed that my gauge was spot on at pressures of 50, 100, 150, 200 qnd 250psi.

The smaller gauge, 38mm  1.5″ diameter which I will use on the Trevithick dredger engine, was not quite as accurate, being 2.5psi out, but is adequate for use.  It is also British made, brass, and nice appearance.

IMG_6625

IMG_6625

IMG_6625


6″ Vertical boiler. 2nd Braze

Today was cold, wet and windy. so the wood heater was started when I arrived at the workshop.

Then a couple of hours using emery paper and steel wool to get shiny copper surfaces ready for silver soldering on the vertical boiler.  Then copious application of flux to the surfaces.  Loose bits held with iron wire.

IMG_6611IMG_6612IMG_6613IMG_6614

A slight re-shaping of my forge to accomodate the shape, and allow access to the top front and sides.

IMG_6615.JPG


IMG_6618.JPG

Not so pretty after applcation of heat from the oxyacetylene torch and the weed flamer at the same time.  Both hands were fully occupied, so no action photos.

IMG_6621.JPG

And after the usual sulphuric acid bath and rinse.  A couple of joins need to be redone, and then a test for leaks.

Reader and GSMEE member Ian asked about the cam lock clamps which I used in a recent post.

IMG_6575

They are “KNU-VISE” clamps, used in aircraft manufacture I believe.  I bought a box full of them in Ebay’s early days, when bargains were still to be found and US postage was not prohibitative.  Very useful for powerful clamping up to about 50mm.

IMG_6620

IMG_6620


Another Use for Magnets

I purchased some bronze disks for use in the model Trevithick dredger engine.  The disks 204mm diameter had been bandsawn off rod.  I had specified minimum thicknesses of 7mm and 12mm.  One disk was 9.2-9.7mm thick and the other was 12-15mm thick.

bronze blanks.JPG

The bandsawn blanks of LG2 bronze.

In preparing the disks for machining I filed off a few protrusions, and using a straight edge, identified the valleys and ridges.

The thicker disk was held in the 3 jaw chuck and both faces were turned flat with no problems except avoiding the needles which were thrown off in a wide arc around my lathe.  Final thickness 12.5mm.  A persisting divot should be able to be avoided in the final part.

The thinner disk needed to be packed out from the jaws of the chuck by 4-5mm in order that the lathe tool  cleared the jaws during machining.  In the past I have used machined packing pieces, but it is always a fiddle to hold the workpiece, the 3 packing pieces and the chuck key in only 2 hands.  Today I had a brainwave.

chuck magnets.JPG

I used rare earth magnets!

I tried to measure the thickness of the magnets, but they are so powerful that I was not confident that I was getting accurate readings.  So I just used them and measured the thickness of the finished workpiece.

I am sure that this idea is not original.  But it is to me.

bronze in 3jaw.JPG

Here is the thin workpiece held in the 3 jaw, and packed away from the chuck by rare earth magnets.  Of course the magnets are attracted only to the jaws, and not the bronze workpiece, which helps, but I will try this on steel later.  Should work for magnetic metals also.

After machining both faces I took various measurments of the workpiece thickness.  The measurements in mm were 8.73, 8.68, 8.69, 8.72, 8.70, 8.72.   Not perfect, but not too bad at all.   I wonder if I might have improved the measurements by surface grinding the magnets.  I wonder if the chuck and its jaws are contributing to the variation.  It was certainly an easy method.

If the workpiece had been thinner I could have increased the thickness of the packing by doubling up the magnets.

For those who are following the Trevithick Dedger Engine build, the bronze was not cheap.  The 12-15mm disk was $AUD90 and the 9mm disk was about $AUD80.  From George White P/L, Melbourne.  I will be nervously trying to not muck up the machining.

A New (to me) Tool

One aspect of our weekly GSMEE meetings (Geelong Society of Model and Experimental Engineers) is that I learn something new at every meeeting.  The exposure to new information is not too surprising considering that our group has members who are or were a machinery designer, mechanical engineer, CNC operator, marine engineer, aircraft mechanic, a quarry operator, gun enthusiasts, a fireman and various other areas of expertise.  Even a bee keeper.  And even a retired gynaecologist.

Recently Neil brought in a boiler which was assembled but not yet soldered.  And it was held together with spring loaded clamps the like of which I had never before seen.  Some other members were also very interested in the clamps, which are, apparently, extensively used in aircraft panel assembly and repair, and also in car body work repairs.

boiler clecos

31856056_10216930893251437_4083847603039502336_n.jpg

Neil’s boiler end plates, clamped together.

The clamps are called CLEKOS or CLECOS.  They are easily applied and removed and are reusable.  They are used for temporary joining of materials to facilitate marking, drilling, riveting, soldering, welding or gluing.  Exciting to me because I can see many applications in model engineering and wooden toy making.

The Clecos come in a variety of sizes and configurations.

IMG_6311

This Cleco requires a 1/8″ hole, and will join materials up to 1/2″ total thickness.  This type joins 2 or more pieces of material which have a hole drilled as small as 2.5mm up to 5mm.  The range of hole sizes may be larger than I am aware.   Only one face of the materials needs to be accessible, so the Cleco can be used to fasten material to a closed container such as a boiler.   It is spring loaded and requires a tool to apply and remove it.  Application and removal is very quick.  Any materials which will accept a drilled hole can be used-  metal, wood, cardboard.  It would not work with easily compressed material such as foam rubber.  The application pliers are available on Ebay and are inexpensive.

IMG_6315

This spring loaded Cleco looks particularly interesting.  The clamps are small, have clamping thickness of 20mm and a reach of 1/2″ to 1″.  Again, they are not expensive ($AUD7-11), and very quick to apply and remove.  Surprisingly powerful grip would be quite adequate for gluing or riveting or soldering.

IMG_6317

Some Clecos do not require the application pliers but use a wing nut.

IMG_6316

And others use a hex nut.  Anyone know why there is a copper surface coating?

The Clecos are surpisingly inexpensive.  On Ebay I have seen the spring loaded fasteners as cheap as $AUD1 each, and the pliers at $AUD15.    I bought a kit comprising pliers and 20 fasteners for $AUD49.  Ebay UK has the best selection and many have free postage.  The range on US sites is good, but postage costs assigned by Ebay are astronomical.

(A reader has commented……

The Clecos and other skin pins are colour coded, silver 3/32, copper colour 1/8; Black 5/32′ gold 3/16 brown 1/4…..     thankyou “someone”.)


Small Tube Bender


I have recently been busy installing a steam powered water injector on the 3″ Fowler traction engine.  Involved quite a few bends in 1/4″ copper pipe.

IMG_6205

Some of the new pipework on the traction engine.  Since this photo, I have also made the winch functional.  (pics of that in future post)

FullSizeRender 8.jpg

Hand pipe benders.

I was not totally satisfied with the regularity in the bends, or the straightness of the runs in the pipe.  That provoked some discussion at our model engineering group, and one member (Stuart T) showed us the pipe bender which he had made some years ago.

IMG_6209.JPG

Pipe bender designed and made by Stuart Tankard.


As you can see it has a  heavy duty frame,  shoulder bolts holding the rolls with machined slots for various sized pipe, and a 19mm hex connector for the driving battery drill.  A demonstration of pipe bending on this machine convinced me of its superiority to the hand held benders

Fortunately for me Stuart still had the plans which he had drawn up, so I made my own bender.  I made a couple of changes to Stuart’s design.  I made a 1/4″ hex on the driving screw, to accept the commonly used connector for battery drills.  And I did not have any suitable bronze for the main bush, so I made a brass bush, which incororated  a thrust ball bearing which engages during the bending procedure.  Probably unecessary but it was there in my junk drawer so I used it.

IMG_6231

The radius of the bend in the tube is determined by the radius of the roll.  1″, 3/4″ and 1.5″.  Each radius has grooves for 1/8″ 3/16″ 1/4″ 5/16″ 3/8″ and 1/2″ tube.  Since then I have also made 2″ rolls.

FullSizeRender 14.jpg

Aluminium rod for the rolls.  

FullSizeRender 16.jpg

Using a bearing to centralise the tailstock end before center drilling.

Groovetools

The lathe tools used to make the grooves.

IMG_6243 3

3 rolls turned from each length, with an allowance for parting.  Then drilled and reamed, and parted in a lathe big enough for the 2″ bar to be securely held.


IMG_6232

Completed bender.  The wooden box keeps the components organised.  Not a tribute to the craft of wood working but it will do.   The vacant pegs are for 2″ rolls which are yet to be made.

IMG_6221

The raw materials for the tool.  1″ X 3″ and 1″ square mild steel, and 1/2″ silver steel.

The bender is held in a bench vice.  The bending process is quick and controllable using a variable speed battery drill.

The symmetry of the rolls (as opposed to the asymmetry of the hand held tools) means that the centre and the mid point of the bend is totally predictable.

Since then, I have made some further changes in the design of the pipe bender.

  1. I have added some feet so it sits squarely on the bench and does not require a vice for support, although it can be held in a vice if preferred.  The tool is quite heavy, so small jobs can be managed without a vise.
  2. I drilled and threaded some extra holes, to accept 2 rows of 3 rolls.  See the photo below.  That pipe bender has now become a pipe straightener.  I made some extra rolls, so now there are 6 rolls of the 2″ size.  As long as the 3 rolls in each row are identical, the rolls in the 2 rows can be different for the straightening process, but ideally there should be 6 rolls for each pipe diameter.  Straightening copper pipe is easy, as long as there are no kinks or very sharp bends, and the copper must be annealed.  The pipe should be approximately hand straightened, cut to length plus about 2″, then pulled through the rolls which have been adjusted so the rows  are almost touching.  3 or 4 passes, with some rotation of the pipe each time results in a near perfect straight pipe.   Any slight residual bend can be eliminated by rolling the pipe on a flat surface.

in box.JPG

Some extra threaded holes added pipe straightening to the tools functionality.

straightening 1.JPG

Two rows of rolls are needed to straighten bent pipe.  So I made 3 extra wheels in 1/4″ and 3/16″ sizes.  Later I realised that the extra three rolls do not have to be identical diameter to the first three, as long as each triple are identical.  The tool straightened this bend quite nicely, although with some experience, I would now probably hand straighten it a bit before putting in the tool. 

straightening 2.JPG

After 2 or 3 passages.

straightening 3.JPG

And some rotation with each pull through

straightening4.JPG

The copper does have to be annealed to get a good result.

bend start.JPG

And to put a bend in that nice straight tube…  some shuffling of the roll positions….attach the drill (slow speed setting)

bend end.JPG

And a quick and easy bend. 

Bent copper.JPG

Pretty good


underside.JPG
The underside.  Substituted cap screws for grubscrews, so the tool sits flat on the benchtop.  quite adequate for light bending jobs, but straightening needs a vise.


BAND SAW WELDER

Some posts ago I described my method of making band saw blades by silver soldering the join.

My band saw does have a German brand welder attached, but I have never been especially succesful with the results, so I have continued to silver solder, and very satisfied with those results.

But a friend asked to use the welder because that was the method which he was used to, so I watched.

IMG_5437.JPG

Colin, examining the welder, after clamping the blade ends.

In the meantime, I had used fine emery paper to clean the electrical contacts, and Colin had cut the bandsaw blade ends square, then used emery to clean up the blade ends for a distance of 25mm.   Then the ends were clamped into position.

IMG_5439.JPG

The appropriate current was selected and the button was pushed.  The current lasted only a second or so.

IMG_5443

Then the weld was annealed.  Heated red hot and slowly cooled.  Repeated several times.  The annealing makes the weld less brittle, and softer, easier to file or grind flat.

IMG_5445

The join before grinding flat.

Colin made 2 blades, then I made 4-5.  Very quick.  Much quicker than silver soldering.  Time will tell whether the joins last longer.


INSTALLING LATHE LEAD SCREW COVERS

I decided to install lead screw covers on my Colchester Master 2500 lathe.  The lathe is about 50 years old, so you might say that it is a bit late in its life to install covers now, but I really like my Colchester, and the lead screw appears to be in good condition, like the rest of the lathe.   And lately I have been turning some cast iron, which is quite abrasive.  And I occasionally use a tool post grinder.  So, protect the lead screw I bought some covers from DY-Global in South Korea.

To give DY-Global a free plug, the covers arrived at my home in Australia, from Korea, 48 hours after I paid for them.   With a hand written thank you note.  Fantastic service.

Anyway, back to the installation.  I had installed covers on another lathe a few years ago, and I was not looking forward to repeating the experience.   If past experience is anything to go on, the installer is lucky if afterwards he (or she) does not require skin grafts and a blood transfusion.

Handling the covers is like handling an oiled snake, which bites.

So this time, I thought about the job in advance.

And I made mental notes, which I am now setting down, for your benefit.  And mine, if I ever have to repeat the task.  I might add that the covers do not come with any installation instructions.  Nor could I find anything on the web which helped.  So this is how I managed.

IMG_5419

The unprotected leadscrew

IMG_5420

With the carriage moved to the tailstock end

Firstly, clean and oil the leadscrew.  This can be done after the cover installation, but it is a lot easier if done beforehand.

Also, take note of the dimensions of the lathe hardware where the covers will sit, to make sure that the covers will fit, and not obstruct the leadscrew nut or anything else.

IMG_5421.JPG

There are 2 covers for each leadscrew.  Take note of the outside and inside diameters, and the compressed length of the cover.

Then, wearing eye protection and gloves, compress the cover with one hand, while removing the metal clip with the other hand.  Then very carefully, allow the cover to expand to its full length.  WARNING:  the cover is under considerable tension (correction…  Should read “compression”).  Do not allow it to explosively expand.  How do I know this?   Do not ask.

The alternative method is to disassemble the lead screw, half nuts, leadscrew bearing mounts and most of the carriage.  It might be easier to do this, but I did not,  so I will press on with my chosen method.

The expanded cover will be about 1 meter long, depending on specifications.  It will be oily and slippery, and attract whatever dust and crap you have lying around your lathe.  I suggest that you wipe the exterior surfaces clean, to make subsequent handling a bit more like handling a dry snake than an oily one.   Re-oil it after installation.

Lay the cover near the leadscrew, in its intended position.  The carriage should be at one extreme end of the lathe.   You will note a big diameter end and a small diameter end.  In my case I decided that the small diameter should be at the carriage end.

The next instruction is the pearl in the description.  Read it carefully.

Using fingers, prise open the big diameter end of the cover and slip it over the lead screw about half way long the exposed length.  It will resist you, but be forcefull.

Then twist the cover to screw on the rest of it.   Simple!

I found that 95% of the cover went on in a few seconds, but the final 3 or 4 turns of the cover would not go on by twisting.  To get those last turns on, I used small flat screw drivers to lever them on.   Even better, I realised later, would have been to use bicycle tyre levers.

The cover then snaps into place, in a most satisfying manner.

IMG_5423.JPG

The big diameter end of the cover slipped over the leadscrew.

IMG_5424.JPG

Screwing the cover on.   Make sure to keep the small diameter coils inside the big diameter ones.

IMG_5429

One of the covers in place.  The one on the other side of the carriage is mirror reversed of course.

The compressed cover occupies about 50mm, so the carriage movement is slightly reduced.

The first time I installed these covers took me several hours.  And skin grafts and a blood transfusion.   Now that I have this technique it takes me about 5 minutes.

Heat in the workshop. Heaven!

Today I fired up the pipe heater which I have welded up over the past few days.

Fantastic!!

I was so keen to get warm on this 10 degree celcius day, that I deferred water proofing the flue.

And of course it rained!

heater fire 2.JPG

I forgot to bring some newspaper or kindling, so I used a propane torch to get the wood burning.

Within 5 minutes the temperature of the burner was over 200c, and in an hour it was 350 degrees celcius/ 660 fahrenheit.  Heaven.

heater finished.JPG

The shape of the furnace accepts wood up to 1400mm long.   The handle at the bottom is the ash tray.  The hefty looking handle above is for the furnace door.   The bit of RHS on the floor is so I can open the door when it is hot.

spacer for 2 layer flue.JPG

This is the external sheath of the flue.  The strip of corrugated iron is to separate the hot internal flue from the cooler external layer.

And then it rained!   And I had not installed the waterproofing fitting to the roof.   So water poured down onto the heater, and filled my workshop with steam.!!

Error
This video doesn’t exist

Despite today being only 10 deg celcius, I happily machined away until 6pm.  2 hours later than I usually stop due to the cold.

Then I had to go home to cook dinner.   SWMBO was getting hungry.

Oz is hot. Right? Bloody Cold just now.

It is the depths of winter here in southern Oz.  I know that is difficult for you northern hemisphere types to realise, but here at present we have frosts when we get up, and the workshop is just too cold to do anything productive after about 4pm.

And the tooling surfaces rust up in front of my eyes.

So I decided to make a wood burning heater for my workshop.

The workshop is 7m x 13m.  Not lined or insulated.  Just a tin shed.

Electricity supply is dodgy and expensive.  And I dont want to suck power away from my CNC machines.  Bottled gas is very expensive… about $AUD20-25 per day.

But I have plenty of trees dropping dead branches.

So I decided to make a wood burning heater.

Parameters…..

Not occupying much floor space.  No wall space available.

Able to be removed in warm-hot months (it gets up to 110 fahrenheit  / 45celcius in summer.

So this is what I have come up with.  I had some 220mm dia pipes left over from a building job.  That would be the body of the heater.

IMG_5348.JPG

The footprint is 300x400mm.  It is 1600mm high.  There is an ash pan under the grate.  The air intake (hidden) and flue are placed to encourage swirling in the pipe, and maximise heat transfer to the body of the heater.  The top is closed with a heavy plate.  I plan to add a proximity rail.

The heater is now finished, and I will do a test burn tomorrow.  If it works as hoped, I will post a video.

And totally unexpectedly, I have bought a model traction engine.  It feels a bit strange to buy rather than build, but here it is.

IMG_5363.JPG

1500mm long.  Deceased estate, never run on steam.  Beautifully made.   based on a steam engine which was used to power a sawmill.  ? 3″ scale.  Needs boiler re-certified. 

I will make a ride on driver’s trailer, and a kids ride on trailer.   I really have caught the steam disease.

Arduino Controlled Indexer-2

Most of the bits and pieces have arrived for this project, so I made a start on the machining today.  I used 80mm dia aluminium rod to make the stepper motor support piece.

IMG_4959.JPG

Stepper motor (right), flexible 8-12mm shaft coupler, and the rotary table shaft (left)

IMG_5008

I cut a 92mm cylinder of aluminium, squared the ends, centre drilled a face, drilled it out to 25.4mm, shown in this photo.  Note the 4 ribbons of swarf coming off the work.  The drill bit is an industrial stepped bit, with 4 cutting lips. Then the hole was bored to 28.80mm.

IMG_5011.JPG

An upside down photo of the stepper motor (left), motor support which is hiding the flexible shaft coupler, and rotary table (right).  Next to drill and tap for the bolts, and provide access holes for the coupling screws.

IMG_5013.JPG

And some more milling to convert the cylinder to a rounded square section, then drilling and tapping for the grub screws and bolts for the stepper motor.  (tapping with the Mogens Kilde tapping head in the picture).

IMG_5014.JPG

The finished support block

IMG_5015.JPG

Mechanicals finished.  Now for the electronics.

Cutting a thread up to a shoulder

A problem with some thread dies is that they have such a large “lead in” that they are unable to cut a thread up to a shoulder.

fullsizeoutput_19d9.jpeg

A 3/8″ x 32tpi die.  Note the large lead in taper.

This results in the thread stopping a long way from the shoulder… undesireable in some situations.

IMG_4984.JPG

This is a thread made with the die in the previous photo.  I wanted it to go right up to the shoulder, but this is as close as it gets.  About 2mm gap.

IMG_4987.JPG

The screw in this upsidedown photo does not allow the shoulder to seat properly.

The solution?  Modify the tool.

IMG_4988

Here is the tapping die, held onto a magnetic chuck, within a machined steel disc to increase the magnetic attachment force.

IMG_4991

So I ground off the top 1-2mm of the die.  My surface grinder is out of action, so I used the tool and cutter grinder.   A bit rough but it worked.

IMG_4993.JPG

This is the die after grinding the surface.  Note that there is no lead in.  I ground the unlabelled face so I did not lose the specs of the die.

IMG_4994 3.JPG

And the screw after using the modified die.  The thread  now goes right up to the shoulder.  Incidentally, this is a zoomed photo using an iphone.  Not bad?

So that does the job.

The downside is that in future the thread must be started with the unmodified side of the die, and finished with the modified side.  Adds some time.  And the die is thinner and a bit weaker.

A pity that the dies are not manufactured with one “no lead in” face.

The particular set of ME dies will now all be modified in the same way.


A Turntable for the Triple Expansion Engine.

I have not weighed the Bolton 9 triple expansion steam engine, but I would guess that it is 20-25lb.  (weighed it.  25.5lb)

Access to the various bolt on bits and pieces has become increasingly difficult and tricky, and involves frequent repositioning of the engine.

I removed the bolt on base and that has improved the situation a bit.

Then I had a brainwave, thought bubble, inspiration  whatever, and I tried a ball bearing turntable….   you know….. one of those Chinese restaurant middle of the table gadjets.

It is incredibly useful!

Here are some pics and a video showing it in place;  just a demo of the engine at its current (unfinished) stage.  I think that the turntable might  become a frequently used tool for heavier models.

triple apr7.JPG

The Bolton 9 on the turntable

triple water pump valve.JPG

And the latest additional bits…   non return valves on the water pumps.

Project in the Wings.

While finishing the triple expansion steam engine, I have decided on my next project.  Actually, based on my past history of procrastination with the triple, I might even put aside the triple to start on this one.

Reading this article in “Model Engineers’ Workshop” gave me the inspiration to convert a rotary table to electronic control.

IMG_4926.JPG

Dec 2016 MEW article

So I have commenced accumulating the bits and pieces…

IMG_4876.JPG

An 8″ Vertex rotary table.  I have had this for years, but unused since acquiring a universal dividing head.  Should be ideal for this project.

IMG_4908.JPG

A Nema 24 Stepper motor, shafts at each end, so I can use the table manually as well as electronically.  The Microstep driver was supplied packaged with the motor as a kit.  $90AUD inc postage.

indexer pwr.JPG

From the same supplier, a 48volt power supply.  $38AUD

Arduino uno.JPG

The brain of the system.  A programable microcontroller “Arduino Uno”.  I bought 5 of these for $20AUD post included.

arduino display shield.JPG

And an easily attachable display.  To attach the Arduino.  $19AUD

arduino book.JPG

And since I knew nothing about Arduinos, a “Getting Started” book.  Excellent.  On loan from a friend (thanks Stuart)

arduino kit.JPG

And to practice some circuits and get some idea about the Arduino programming, a starter kit of bits and pieces.    $75AUD, but has been very instructive and loads of fun.   The program to run the Arduino is downloadable free from the Internet, so this kit might be a bit superfluous.

And some items of kit.  Each under $20AUD.

magnifiers

A magnifier soldering station, and head light and magnifier

multimeter

A very cheap multimeter.  Previous purchase.  Works fine.  $10AUD

I have disassembled the rotary table, and ordered a 12/8mm coupler.  I am waiting for the coupler before I start designing and cutting the main part to be fabricated which is the piece which joins the stepper and the table.

Also ordered a box to contain the electronics and switches.  Havn’t yet thought about cables,  joiners etc.


NEW SPINDLE MOTOR for CNC LATHE?

Now that I have replaced the stepper motors in the Boxford CNC lathe, (see “New steppers for an old CNC lathe”)  I am considering whether I might replace the spindle motor for the same reason…  that it has become less powerful due to the age of its permanent magnets.   Sometimes I am aware that it struggles to keep up the revs while cutting.

Watch the YouTube video about the next generation servo motors.  They use modern rare earth magnets.  They are powerful, compact and precise.  And not cheap.  Stuart T, who has the same Boxford CNC lathe as me, has suggested that these Clearpath motors would be suitable replacements for the ageing Boxford spindle motors .


Harold Hall Grinder Rest – modification; and triple expansion update.

Harold Hall has written many articles and several very useful books about metalworking, using a lathe, using a mill, and much more.

Recently he has been posting videos on YouTube.

He is a very knowlegable, dignified, elderly gentleman.  His books are precisely, beautifully written, and the plans and projects are excellent.  I have made quite a few of the project pieces in my quest to learn as much as I can about machining metal.

I came across his Youtube videos quite recently, and have been enjoying them.  One of them was about his grinding rest.

I made 2 of the HH grinding rests from plans in his book, and they have proved to be useful, reliable, and compact.  Here is a photo of one of them.

IMG_4883.JPG

The original HH plans specify that the footprint of the base is much smaller than I made it.  This one is 200 x 100mm.   The larger footprint adds some extra stability (IMO), and the slots permit the grinder to rest distance being easily adjusted.  It is a bit grimy because it is used frequently.  Polishes up quite nicely.

In HH’s video he mounts the rest on a metal plate, joined with a couple of switchable magnet bases.  Here is a link to HH’s Youtube video.

And in case you are wondering what has happened to the triple expansion engine, I have been working on the reversing mechanism.  The intermediate cylinder reversing curved slide would not fit into the available space, so I removed it, silver soldered in a new end, and ground it several millimeters shorter.  Then reinstalled it.   It is still a mm or so too long but I think that it will do.

IMG_4878.JPG

The high pressure reversing mechanism on the right, and the intermediate hiding behind, on the left of the pic.

IMG_4880.JPG

The intermediate cylinder valve rods and eccentrics.   Rather difficult access.

The Robert the Bruce approach to turning problems.

Robert the Bruce was watching a spider making a web in the cave they were sharing, so the story goes.  The spider tried 6 times to make a difficult connection, and on the 7th attempt, it succeeded.  Robert, who had tried many times to become king of the Scots, was inspired to try yet again, and he did indeed become King Robert 1 of Scotland, eventually.

I thought of Robert more than once recently, when I was making an ER40 collet chuck for my CNC lathe.  The particular  collet chuck involved making a 2.25″ x 8tpi internal thread, a 50mm x 1.5mm external thread, and cutting an 8 degree internal taper.   Not too complicated you say.  I agree, but for the chuck to be useful, each step had to be extremely accurate.

I made 4 successive collet chucks until one was adequately accurate.

CNC lathe - 3.jpg

CHUCK 1, 2 and 3

Chuck 1 actually went very well.   Nice tight spindle thread, taper good, and external thread just right.  But the chuck did not quite seat firmly.  Could it be that the spindle thread (the internal one) was not quite long enough?   So I cut a deep distal groove.    Wound out the carriage.   Oh shit!   Forgot to clear the spindle thread.   Totally destroyed it.   The chuck actually fitted the spindle quite nicely, but with only 10% of the thread remaining, it was useless.

Chuck 2 was made in 2 pieces, on suggestion from Stuart T.  The idea being that if there was any inaccuracy in the lateral runout, the piece with the taper could be adjusted.  OK.   Sounded sensible.  Again all went well, but the spindle thread was not correct.  For some reason the thread cutter seemed to make a new path about half way through making the thread.   So the spindle thread was thinned  excessively.   But still tight.   So I made the tapered half, and joined it all together.  Fitted it to the lathe and measured the runout and taper.  All good.  Less than 0.01mm runout and perfectly parallel to 100mm from the chuck face.   But.   The next day I removed the chuck, replaced it, and did the runout measurements again.  I did not need a gauge.  I could see the wobble.  Chucked the chuck  into the rubbish bin.  That thinnned out spindle thread was hopeless.   But what caused the problem?  The thread was CNC cut, and it should have been perfect.

So chuck 3.   One piece again.    All seemed to go well, but again the big spindle thread was wrong.    Again there seemed to be 2 thread paths.

Then the penny dropped.   The spider made the web connection.   Robert got the throne and John saw the light.

The tool post had moved slightly during the threading!  It had twisted a little, as a result of the T piece in the carriage slipping.  F**K    F**K  F**K!!!

I replaced the T piece grub screws with more solid cap screws, and really tightened them.  Then made another chuck.    I must point out that each chuck was about 6-8 hours of machining, normally a very pleasant time.  But by this time, I felt like that  bloody spider in the cave.

cnc-lathe-5

ER40 Chuck Number 4.

One advantage of making 4 chucks is that each one was made faster, and with more confidence.   This one was made in about 5-6 hours, including painting with selenium oxide to give it a black appearance.

It has a runout at the chuck face of 0 – 0.01mm (which might have been due to inaccuracy in the rod which was being measured), and a taper of 0.02mm at 50mm from the chuck face.  It feels nice and tight when being screwed on.   OK,  Success.   Eventually.

Next job, the throne of Scotland.

But obviously that slipping top slide on the CNC lathe has to follow chucks 1,2 and 3 into the rubbish bin.   It will be replaced by a fixed, immoveable tool post.

Swap Meet Bargains

Yesterday I travelled to Ballarat, (Victoria, Australia) to a swap meet which was held on 22 acres at the airfield.

Most of the stuff in the thousands of sites, was junk from shed and farm cleanouts.  However, despite rapidly walking up and down the rows, I did not quite cover all of the sites.  My Apple watch indicated that I had walked 18km (11.2 miles) and much of that was carrying a backpack full of bought items, so it was no wonder that my ankles were aching at the end of it.

I was really only interested in the few sites which had tools from factory closures.  But my eye was drawn to the very old Caterpillar crawler tractor, a 2 tonner, not too derelict except for a broken exhaust manifold and some rusted growsers.  $AUD9500, so I kept on walking.   Lots of elderly, old and antique cars, motor bikes, and vehicular bits and pieces.

The following photos show most of the stuff which I bought, and some prices (except for the ones which SWMBO must never discover).

ballarat-swap-meet-2

A Japanese woodworker’s chisel.  9 mm wide.  Razer sharp, oak handle.  I buy one of these at each Ballarat swap meet from the same seller, a lovely Japanese woodworker who lives and works in Victoria.  These chisels are a pleasure to use.  $AUD25

Ballarat Swap Meet - 4.jpg

This was a bargain.  A set of good quality English BA open ender spanners, probably unused, for $AUD8

ballarat-swap-meet-3

I dont know what this is called, but it has an INT40 taper, and bolts to the workbench or mill for inserting and removing cutters from the toolholholder, and avoiding the cutter dropping down and being damaged.  Is it a tool setter?  Anyway, $AUD40

Ballarat Swap Meet - 5.jpg

Used but sharp, quality brands.  Carbide ball nose end mill, countersink bit, T slot cutter, and 1/4″ BSP spiral tap. $AUD30

ballarat-swap-meet-6

A new, interesting woodworking cutter, carbide, with left and right hand spirals to avoid surface furring.  $AUD10

Ballarat Swap Meet - 7.jpg

3 Mitutoyo telescoping gauges.  $AUD10

I mulled over a Mitutoyo 1000mm vernier caliper in perfect condition for $AUD300, but decided that it was a wanted rather than needed item, and walked on.

ballarat-swap-meet-12

A box of 12 brand new quality Wiltshire triangular files. $AUD12

ballarat-swap-meet-13

2 very nice Moore and Wright thread gauges, which have BA and Acme threads as well as metric and Imperial angles.  $AUD6

Ballarat Swap Meet - 14.jpg

A box of metric counterbores.  Not cheap, but good price considering the German quality, and condition.  $AUD55

Ballarat Swap Meet - 15.jpg

Small die holder, Sidchrome 10mm spanner, tiny Dowidatadjuster and new box of inserts.  All useful.  About $AUD45

ballarat-swap-meet-11

Chesterman vernier height gauge.  Unusual triangular column. Beautiful condition, complete range of accessories, in a lined box.  Metric and Imperial.  Price not to be dislosed to SWMBO.

ballarat-swap-meet-1

These are brass wick type oilers which I will give to the local Vintage Machinery Society.  No markings.

ballarat-swap-meet-8

My brother was a navigator in the Australian Air Force many years ago, before the age of satellite navigation.  He would sight the stars using a sextant something like this to calculate the plane’s position, while standing in a glass dome in the roof of the aircraft.  (I think that I got that description approximately correct).   He once told me that he would like to have a sextant again, so when I spotted this at the swap meet, and the price was OK, I decided to get it for him.  Maybe it will make up for all of those forgotten birthdays.  So little brother, leave some room in your suitcase when you next visit.  I will leave the clean up and renovation to you.

ballarat-swap-meet-9

Elliott Bros London.

ballarat-swap-meet-10

It looks fairly complete and intact.  Of course I have no idea how it works.

A Full Size Weighshaft

The crowds were down at this year’s Truck Show at the Geelong Showgrounds.  Maybe the  38c weather prediction had something to do with that.

But those hardy souls who did turn up were treated to a feast of steam engines working on steam, and other antique engines popping away, as well as the magnificent trucks, tactors, and military vehicles.  There was a superb display of radio controlled trucks and excavators, and unbelievable machinery created with Meccano.

My interest was mainly focussed, for some reason, on the full sized triple expansion steam engine, which is the prize display in the vintage machinery shed.  it once powered a tug boat, and later a dredge on Port Phillip Bay.   And the following photos and video, if it will upload, show the bits which were of particular interest.

triple-expansion-engine-1-37

The red control handle top right is the main steam control valve.  The one on the left is the reversing control handle.  Note the big steam piston centre bottom.  It is a steam powered reversing control piston.   This engine was made in 1951, so is just about the last gasp in triple expansion steam engine development.

triple-expansion-engine-2-8

and the rod at top is about 5″ diameter.  It is the weighshaft, which carries the reversing levers for each cylinder.  On my model it is 5mm diameter.

triple-expansion-engine-3-6

Another view of the weighshaft and the levers.   Massive.

triple-expansion-engine-4-5

And note the drag links in the adjustable block.   That would have been set at intitial installation, and probably never altered since then.

Video of the big triple expansion engine working.  Maybe not.

For those following my triple expansion steam model engine build, I have put it aside again.  It is at the final assembly stage now.

Meanwhile, I am making some extra tool holders for the CNC lathe, and another ER40 chuck for the CNC lathe.

The ER40 chuck which I am currently using has an M5 shaft which is held with a drawbar, so I cannot feed work through the lathe spindle.  Plus it sticks out of the headstock a bit excessively.  So I have drawn up plans for a new chuck which I will fit to the lathe spindle and use the CNC to make the ER40 taper and threads.  Pics will follow.

And I really need some extra tool holders for the CNC lathe.  I have 5, but have material to make another 10.   The material is high quality cast iron off a scrapped T&C grinder.  I bought the grinder table cheaply (($AUD20 from memory) and have been gradually canibalising it over the last couple of years.   I have cut up the remains into rectangular 30x80x40mm chunks and will make the tool holders in the next couple of days, SWMBO and weather permitting.  Unfortunately there was insufficient material to make a long section, machine it, then cut it up, so each tool holder will have to be made separately.

SS Valve Rods

Making the new valve rods, as predicted, took me an entire day.  They required a high degree of precision, and being in stainless steel, not an easy material to machine, and quite thin and delicate, multiple stages in the machining.

But before I started on the valve rods I made myself a new spanner for the collet chuck on the CNC lathe.  I had been using an adjusting spanner, which was continually  going out of adjustment and causing angst.  The tool merchants did not have anything suitable (46mm opening, and thin profile), so I made my own.

triple expansion engine - 1 (34).jpg

The 46mm spanner being cut from 6mm steel plate.

triple expansion engine - 9.jpg

It is a bit prettier after this photo and being painted.  The rounded jaws facilitate easy application to the collet chuck.

triple expansion engine - 8 (1).jpg

Tightening the ER40 collet chuck with the new spanner.  It works very well.

So then I got on with the new valve rods.  Some end of day photos follow.

triple expansion engine - 2 (6).jpg

The valve rod is the silver coloured rod.  Actually stainless steel.  This photo shows the high pressure cylinder valve and valve chest.  There are 2 other valves, one for each cylinder.  All different sizes.

triple expansion engine - 4 (4).jpg

The high pressure valve chest and valve, the valve rod and guide.  On the right is the Stevenson’s link, yokes and eccentrics which control forward and reverse.  This setup is repeated for each of the 3 cylinders.  This is hooked upto the worm and gear which was shown a blog or two ago.  There are 22 components for each, not counting fasteners.

triple expansion engine - 7 (1).jpg

The low pressure setup.

And thank you to those readers who responded to my whinge about likes and comments.  I will continue this blog until the triple expansion steam engine is finished, and hopefully running.  Not sure after that.

CNC Lathe Conversion- final

Before I am hung, drawn and quartered, for operating a lathe without guards, here is the proof that I have been sensible.

IMG_4292.JPG

Guard over the X axis pulleys.  I like to watch the wheels going round and round, hence the transparent top.   Also note the cover over the exposed ball screw.

IMG_4293.JPG

Cover over the Z axis pulleys and belt, again transparent.  If I wore a watch it would be transparent.

IMG_4295.JPG

I also installed an ER40 collet chuck.   I will be using this for all work with diameters under 26mm.

CNC Lathe Conversion – 17

First Test Run

After some test runs without tool or material, I performed some measurements.

500mm movements along the Z axis were reproduced multiple times with a deviation of 0.00mm!  (the Z axis has a ground ball screw)

100mm movements along the X axis deviated 0.02mm.  (the X axis has a rolled ball screw).

I was delighted to note that the lathe is extremely quiet and smooth.  The only noise is some belt slap from the very old belts, and from the stepper motors.

The video below was taken from my iphone, while I was operating the lathe controls, so please excuse the erratic movements.

The steel is 27mm diameter.  750rpm, 50mm/min feeds.

And the guards will be made next step, without fail.

The G code was generated using Mach3 for these very simple shapes.  For more complex items I use Ezilathe.


The lathe is 600mm between centres.  38mm spindle bore.  Swing about 300mm.

OK, so guess the purpose

IMG_7699IMG_7704

A pair of sheet metal pliers, to which I welded a steel tab.   Why?

For the answer click on the link.

For some reason the auto link is not working.  You will have to type the link manually.

Later update…   I dont get this.  Even the manually typed link to the explanation does not appear.

OK.   The explanation is that these sheet metal pliers have been converted into canvas stretching pliers for my daughter who likes to make her own canvases for oil painting.  Youtube sucks sometimes.

Try searching “Thomas Baker’s canvas stretching tutorial” to see how the pliers are used.


MORE ANCIENT GREEK TECHNOLOGY, THE ANTIKYTHERA MECHANISM

This mechanism was discovered in 1901, in a Roman era shipwreck, off the Greek island of Antikythera, which is a bit north of Crete.

It has been dated to between 100BCE and 205BCE, with the older date considered the best estimate.  ie, about 2200 years old.  Experts believe that its makers were Greek.

It is currently housed in the Greek National Archeological Museum in Athens.

IMG_4180.JPG

Not much at first glance, but when it was examined with modern scanning and X ray techniques…

Look it up on Wikipedia..

https://en.wikipedia.org/wiki/Antikythera_mechanism

According to the Wikipedia entry the gear teeth are too irregular to have been machine cut,

but watch the computer reconstruction.   Could you make this machine without a lathe and gear cutters?

How much more technology did the ancients have that has not survived the ravages of time?   A lathe for example.

CNC Lathe conversion -16

The wiring of the lathe is complete.  (Except for limit switches.  They can be added at any time).

Mach 3 is configured.  The wireless hand control is installed and working.  Ezilathe installed and waiting for input.

Some covers to be made.

IMG_4154

Hook ups in progress.  That’s the faulty VSD on top of the electronics enclosure.  The CNC engineer lost his hair trying to figure out the problem.

Still some testing and fine tuning required.

But nothing much will happen in the workshop for the next  3 weeks.


CNC lathe conversion -15

Another couple of advances in the conversion.  Today I installed the lead screw cover and the cable protector to the cross slide stepper motor.

The cable protector was easy and straightforward. It flexes in one direction only, and is fixed at the ends after the cable is threaded through it.  The length is adjusted by adding or removing links.  It was placed so that coolant liquid will drain out of it, and to minimise the accumulation of swarf.   The cables themselves have a thick covering and are well protected.  The link protector will not kink, further protecting the cable.

It was cheap.  About $AUD20 for 2 meters, posted from China.  I used about 1.1m.

cnc lathe - 2.jpg

Showing the stepper motor cable protector, and the lead screw protector (one half of it.  The other half is on the other side of the carriage.)

The lead screw protector was another story.  It is a spring steel coil, about 50mm wide, and as it is compressed the coils fit inside each other.  I made a big mistake in allowing it to spring open before I had installed it (there were no instructions).  It immediately opened to a length of over a meter, in coils about 50-60mm diameter.   No big deal, I thought.  I will just compress it back to its original configuration.    Big mistake.

It was what I imagine coiling a live, oily, biting, boa constrictor would be like.  (OK, boas constrict rather than bite.  How about an anaconda, or a big eel.)

I fought it for about an hour.  And eventually succeeded.  Minus a few bits of my skin.

So I did not allow the protectors to expand again until after I had them on the lead screw.

This is what they look like.   Pretty cool IMO.  They just expanded into position when I removed the restraining clips.

cnc lathe - 3.jpg

The lead screw stepper motor and protector.  The Estop box above will get some ends to exclude swarf.

It was not cheap.  The best price that I could find was from South Korea.  $AUD200 inc postage.  But it is excellent Japanese quality.

The wiring is happening, but the variable speed drive seems to be dead.  It has been sitting unused on a shelf for 2 years, so no point asking about warranty.  Took it apart to check for broken wires, fuses, burnt out components etc, but nothing visible.  Will order another one.  About $AUD200.  An unexpected expense.


CNC lathe conversion -14

These lathe CNC conversion posts are probably becoming a bit tiresome, but just in case there is someone out there who is interested, I will continue until the job is finished.

The latest was to make and install a spindle speed (and position – thanks David M) sensor.  It consists of a disk with a slot cut in the periphery, attached to the main spindle.  And an opto-electronic sensor which is connected to its own electronic board, thence to the breakout board and VSD.

cnc lathe - 1.jpg

The disc with the slot at 8:30 and the sensor at 9:00.  I must have chosen the wrong cutter or turning speed for that disc aluminium…  looks a bit rough.  (note added 13/7    Stuart T says that I should have used coolant-lubricant).

cnc lathe - 4.jpg

View from above.  Any clearer?   That gear is now superfluous except as a spacer.

So there is one electronic impulse per spindle revolution.  That is enough to measure the RPM’s.   Essential for cutting threads.

The beauty of this system is that there is no gear selection or changing, and ANY thread pitch can be selected…  metric, imperial, BA  etc…  any odd ball thread that your heart desires.

cnc lathe - 2

cnc lathe - 3

The HTD (high torque drive, I am informed by many readers) pulleys and belts and taper lock fittings.  Unfortunately I could not find a taper lock to fit the small pulleys, so when it is all finally, definitely, absolutely, correctly,  positioned, I will Loctite them in position.  Protective covers yet to be made.  I quite like to see the mechanicals in action, so I am intending to make the covers from clear polycarbonate.(Lexan) .

CNC Lathe conversion -13

IMG_4125

Adjusting the lead screw.

The 48 tooth HTD pulley has been installed using a taper lock.

Then some time was spent adjusting the parallelism of the lead screw.  That requires quite a few movements of the carriage along the 600mm thread.  Each 360 degree turn of the lead screw advances the carriage 6mm, so you can understand that I became a bit impatient with all of the repetitive hand actions to move the carriage from one end to the other.

So this was a solution to that issue.  That HTD belt is the one that was too long, so I was happy to find a use for it.    The variable speed battery drill shot the carriage end to end in a couple of seconds.

All is now adjusted parallel.

A few more little installation issues, then for the wiring.

CNC Lathe conversion -11. Ball screw machining.

Hooray!

Today I collected the lead screw after the ends were machined by Statewide Linear Bearings.

I decided to drive the 100km each way to pick it up, in preference to using a courier.  I wanted to ensure that all of the small bits were there, and also just to make sure it was handled properly.  Mostly freeway, listening to Dan Carlin on the Persian-Greek wars, so it was a pleasant way  to have 3-4 hours to myself.  (If you do not know about Dan Carlin, Google him and download an episode.  If history at school had been like this, we would all be history addicts.)

IMG_4117.JPG

This is the lead screw, ends machined, and support bearings fitted.  1100mm long. 28mm dia

All good, except that the nut was back to front.  That nut is pre-tensioned, which means that the 2 halves are separated by a precisely machined washer.  I was nervous about removing it and replacing it the correct way around.  However I had previously asked the ball screw expert about that aspect, so armed with the technique I made up a sleeve of the correct size, removed the nut and replaced it.   No balls fell out.   So all good!  The above picture shows the nut in its correct position.

IMG_4118.JPG

The nut.  Looks expensive?  Is expensive.  And beautiful.

IMG_4120.JPG

The machined driven end.   $AUD250 machining there.  But it is perfectly done.

IMG_4119.JPG

And with the support bearing installed.  A pulley for the HTD belt goes on the distal bit of shaft.